
Indoor Christmas Decor: Mantel Garland Layering Cheat Sheet
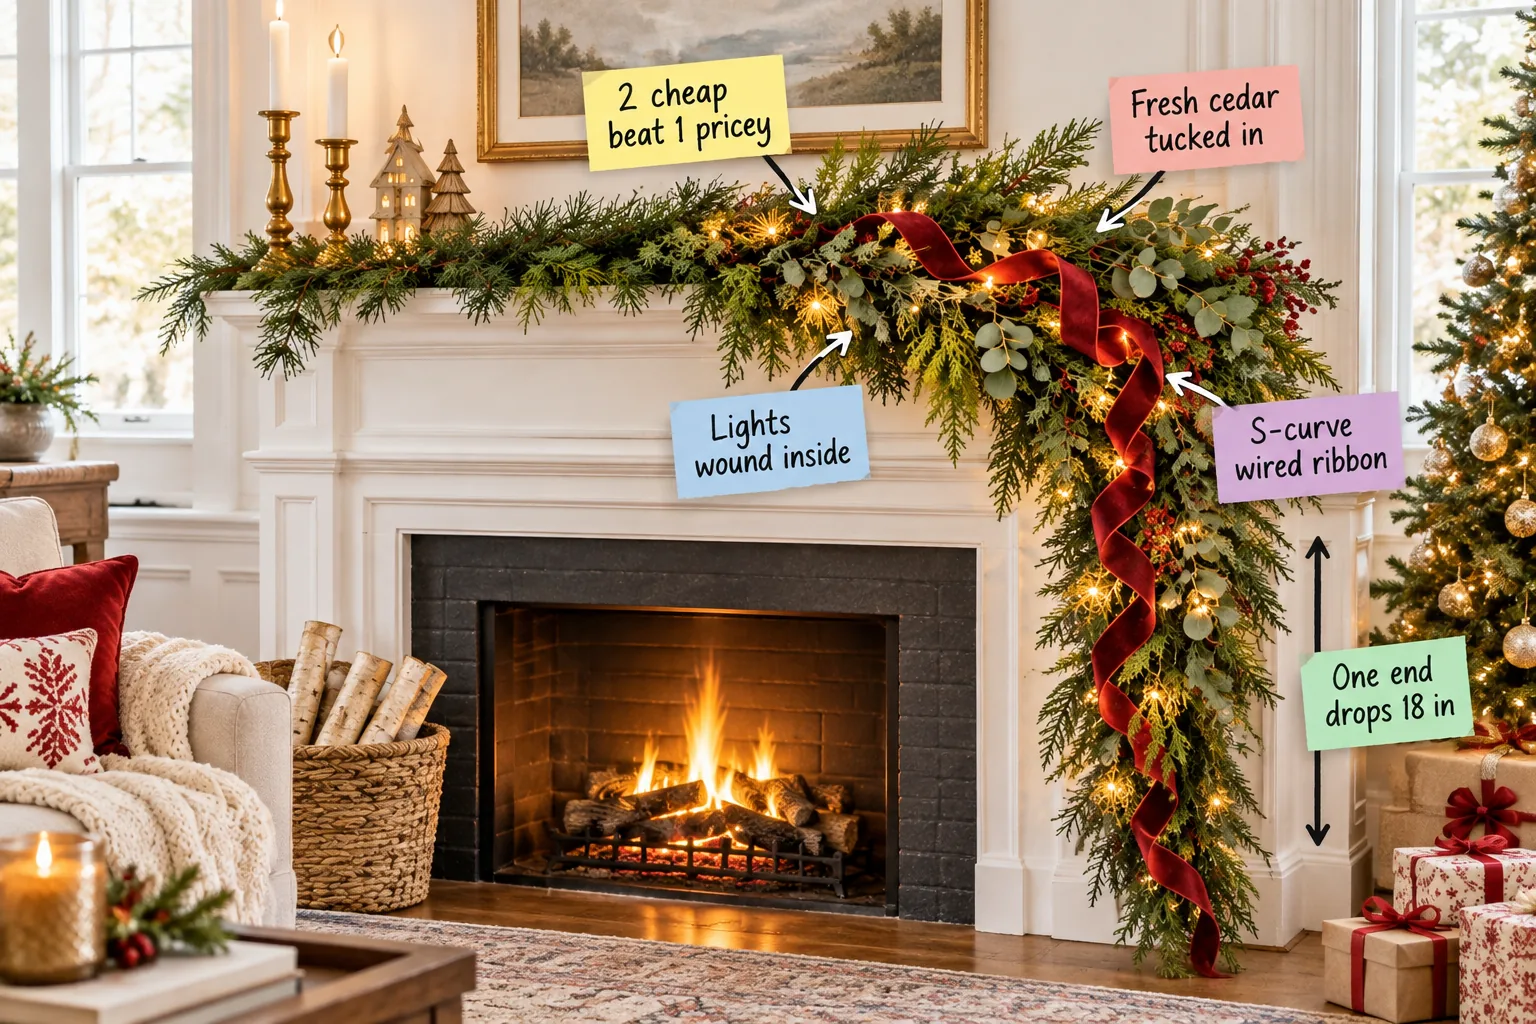
Transform your indoor Christmas decor and build a lush, professional-looking holiday mantel using our printable Mantel Garland Layering Sheet, which scales the exact shopping list to your dimensions and provides a simple six-step fill order for a stunning festive focal point.
Twist Two Budget Garlands Together
I always start my brownstone mantel with two inexpensive $15 faux pine strands rather than one expensive piece, because securing the twisted budget strands with hidden zip ties creates a stable, incredibly dense foundation for the rest of your holiday layers.
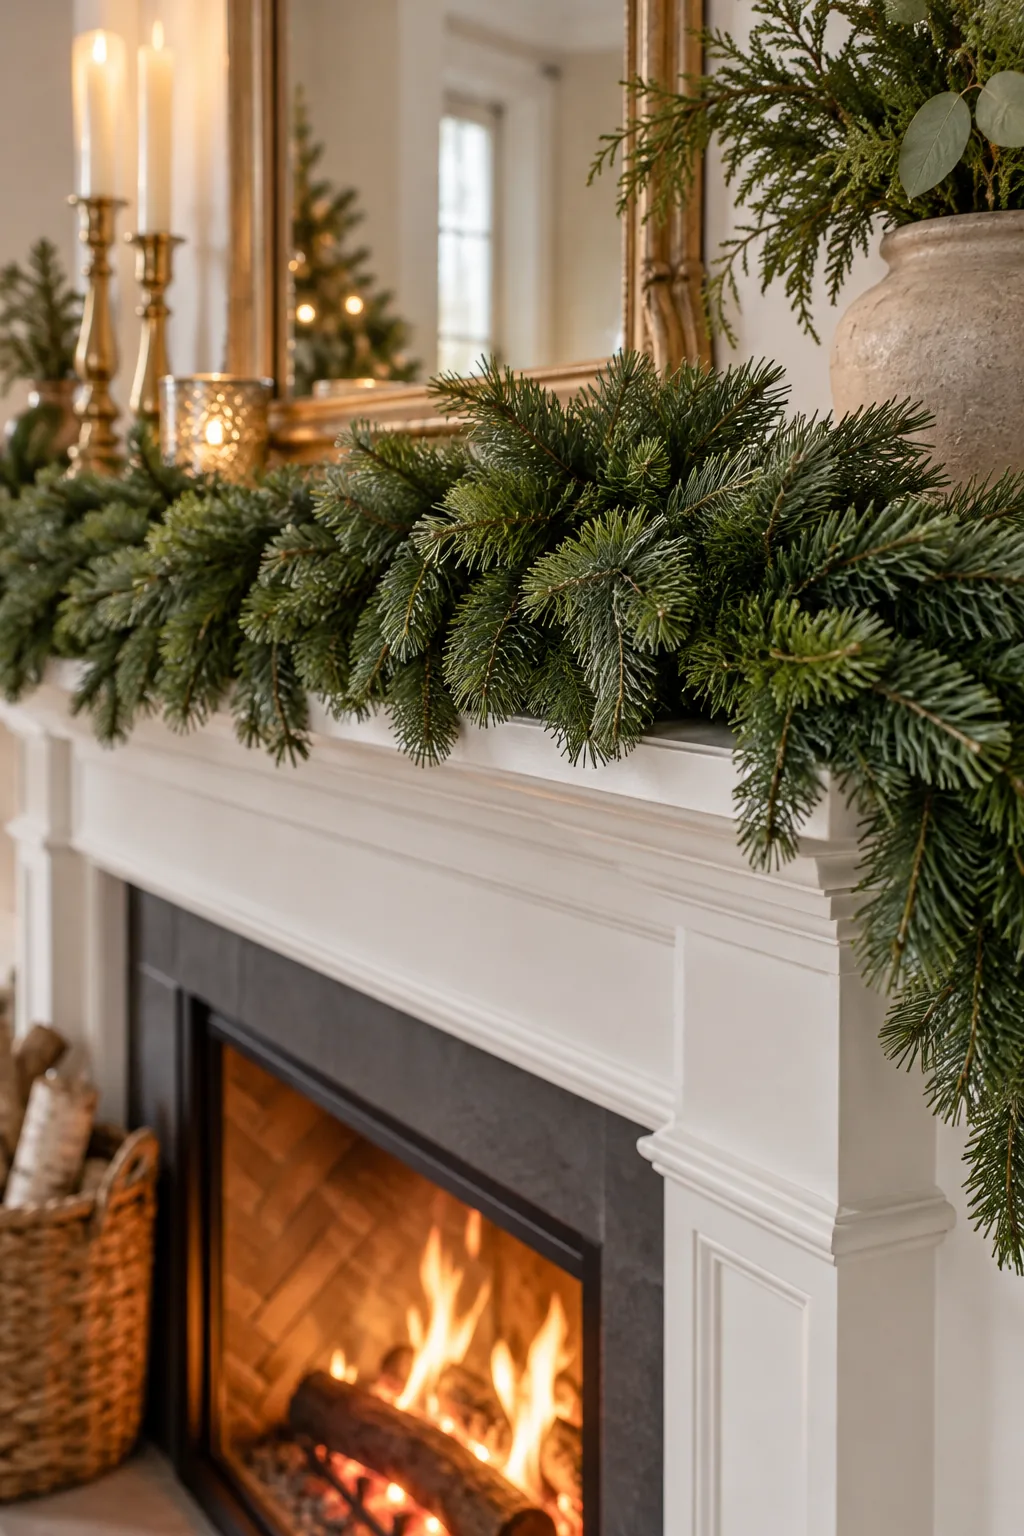
Locking the spiral together with green zip ties every 12 inches keeps the core incredibly tight so it never unrolls under the weight of your heavy velvet ribbons, glowing lights, and fresh greenery bundles.
Prepare the Faux Branches Before Twisting
Before you begin spiraling the two strands together, take the time to fluff every single faux pine tip out from the main wire, ensuring maximum volume and a much more realistic texture across the entire length of your mantel display.
Why a Spiral Beats a Single Premium Strand
A single premium garland often lies flat against the wall, but twisting two inexpensive strands together builds a thick, self-supporting rope that mimics the natural, three-dimensional growth of real pine boughs found in high-end designer installations.
| Garland Type | Average Cost | Visual Depth | Support Strength |
|---|---|---|---|
| Two Budget Strands | $30 total | Thick 3D cylinder | High |
| One Premium Strand | $80 to $120 | Flat against wall | Moderate |
Anchor the Base to Your Mantel
Before adding any delicate layers, you must secure that heavy twisted pine rope to your mantel shelf so the final asymmetric drape does not pull the entire carefully crafted arrangement onto the living room floor.
- Place heavy, decorative stocking holders at both back corners of the mantel shelf.
- Loop green floral wire tightly around the garland core.
- Tie the floral wire directly to the weighted holders for invisible support.
Protect the Mantel Surface
Laying down a thin strip of non-slip rug pad underneath the heavy pine core protects your painted wood or delicate marble mantel shelf from scratches while providing extra grip to keep the entire arrangement firmly in place.
Wind Micro-Lights Deep Inside
Once the base is absolutely secure, pushing 100-bulb warm-white micro-light strands deep into the core hides the unsightly wires and creates a professional, dimensional glow that makes the entire room feel incredibly magical and festive.
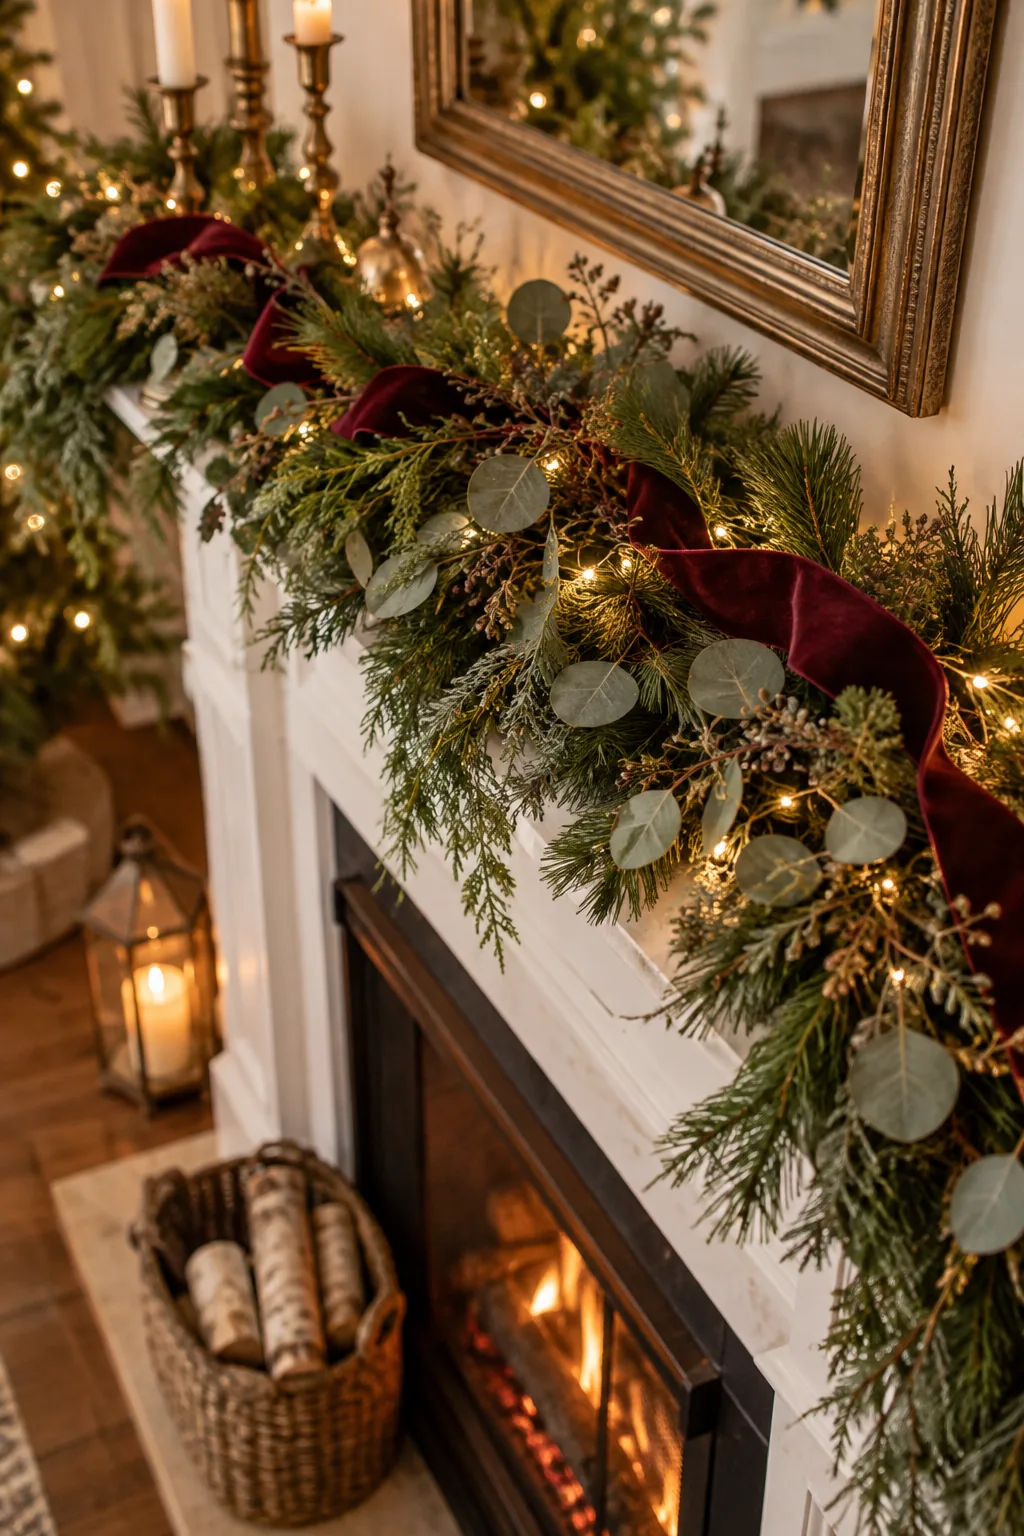
Rather than wrapping them lazily around the surface, winding lights deep inside makes the faux pine look higher quality by illuminating the dark branches entirely from within, mimicking the sophisticated look of a premium pre-lit garland.
Test the Lights Before Installation
Always plug in your micro-light strands to verify every single bulb illuminates brightly before you spend thirty minutes carefully weaving the delicate copper wire deep into the prickly faux pine core, saving you from frustrating rework later.
Calculate Your Lighting Needs
You need enough length to weave in and out of that dense spiral without pulling the delicate copper wire taut across the front needles, so always buy twice the length of your actual mantel width for the best coverage.
Select the Right Bulb Tone
Choosing a warm-white bulb rather than a cool-white option ensures your glowing mantel perfectly complements the rich cranberry velvet ribbon and the natural green tones of the fresh cedar clippings you will add next.
Hide the Battery Packs or Cords
Tucking the power source behind the thickest part of the twisted pine ensures your magical glowing display is not ruined by an ugly plastic battery box or trailing green extension cord resting visibly on the white wood.
Tuck in Fresh Cedar and Eucalyptus
Adding 8-inch fresh sprigs at 45-degree angles provides lifelike drape and texture, a trick I use every year to bring a genuine holiday scent into my living room without buying a real tree.
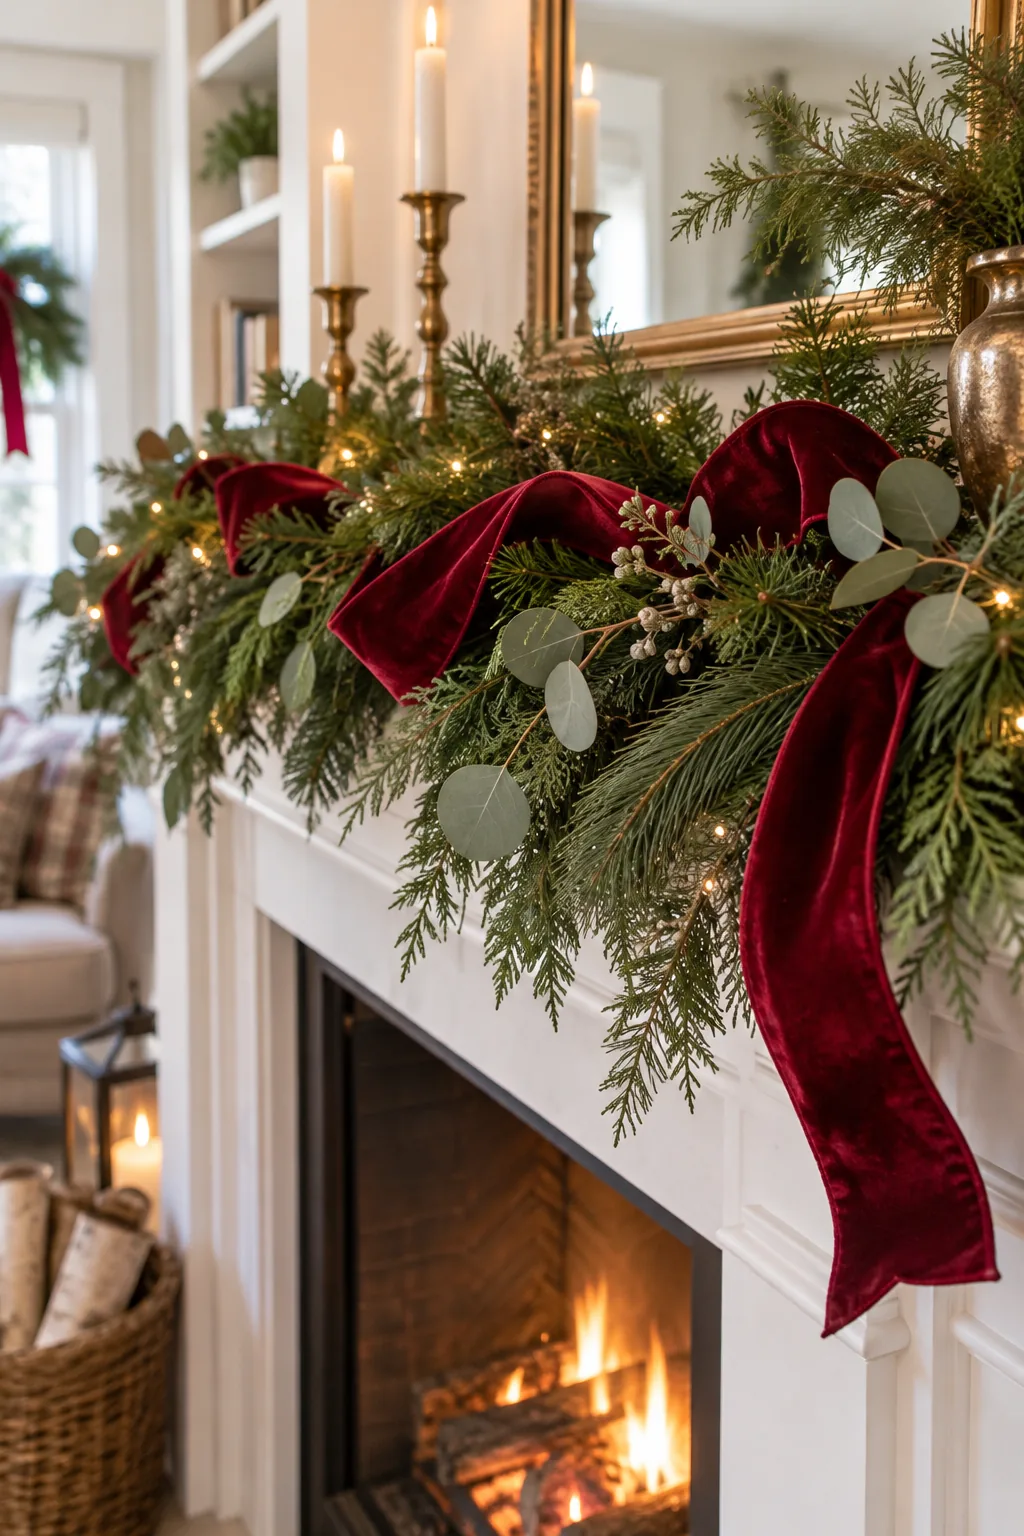
Mixing real clippings into a faux base gives you the best of both worlds, but the fresh elements do require a minor maintenance routine to survive the entire month looking vibrant and beautifully green.
Forage or Buy Your Fresh Greenery
You can often forage beautiful cedar branches from your own backyard, or simply ask your local Christmas tree lot for their free bottom trimmings to save money on the fresh layers while still achieving a stunning designer look.
Condition the Cedar Branches
Give your fresh clippings a fighting chance in the dry winter heat by soaking the cut stems in a bucket of room-temperature water for at least four hours before installation, allowing them to drink deeply.
Cut the Stems at an Angle
Trimming the bottom of every single cedar and eucalyptus sprig at a sharp forty-five-degree angle makes it significantly easier to slide the delicate fresh stems deep into the tightly twisted faux pine core without snapping them.
Blend the Textures Naturally
Silver-dollar eucalyptus adds broad, flat leaves that beautifully contrast the feathery cedar and the stiff faux pine needles, creating a high-end designer look that instantly elevates the entire holiday atmosphere in your home for just a few dollars.
Pinch an S-Curve Wired Ribbon
With the greenery fully set, pinching wired ribbon into the branches every 14 inches creates natural, elegant waves that flow beautifully across the mantel.

Using a 2.5-inch wide wired cranberry velvet ribbon allows the rich fabric to billow out in loose S-waves rather than pulling uncomfortably tight across the delicate fresh cedar and ruining the lush, organic shape.
Choose the Right Ribbon Material
Thick velvet absorbs the warm glow of the micro-lights perfectly, while the stiff wired edges hold those dramatic billowing loops exactly where you pinch them into the pine core, ensuring the shape survives the entire holiday season.
Shape the Velvet Ribbon Loops
Gently run your fingers along the inside of each velvet loop to puff the fabric outward, ensuring the ribbon looks incredibly full and luxurious from every angle in the room rather than lying flat against the pine needles.
Let One End Drop 18 Inches
Instead of centering everything perfectly, an 18-inch asymmetric drop on one side creates a modern, dramatic focal point that draws the eye beautifully.

Letting the right side cascade exactly 18 inches down the fireplace surround looks incredibly elegant when you terminate the left side cleanly at the mantel edge, giving the traditional garland a surprisingly fresh and contemporary silhouette.
Keep the Cascade Safe from Heat
Always measure that 18-inch drop carefully to ensure the cascading pine and velvet ribbon stay completely clear of the active fireplace heat zone during the winter, preventing any dangerous fire hazards while you enjoy your cozy evenings.
Secure the Cascading Tail
Gravity will constantly pull at that cascading right edge, so you must anchor the final 18-inch section firmly to the side of the mantel using a discrete clear adhesive hook to maintain that perfect dramatic drape.
Balance the Visual Weight
An asymmetric design inherently needs grounding, and using heavy accessories on the opposite side prevents the asymmetric drape from feeling completely lopsided in your living room.

To counter the heavy visual weight of that right-side drop, I rely on a simple two-part styling approach to beautifully anchor the empty space on the left and restore harmony to the overall fireplace display.
- Cluster three tall brass candlesticks on the left side of the mantel shelf.
- Ground the left hearth with a heavy, textured basket of birch logs.
Select the Brass Candlesticks
Varying the heights of your brass candlesticks creates a visually interesting triangle that naturally draws the eye upward, perfectly balancing the downward pull of the cascading garland tail on the opposite side of your beautifully styled fireplace.
Choose the Hearth Accessories
A woven basket filled with white birch logs introduces a rustic, natural texture to the hearth that perfectly complements the fresh cedar tucked into the mantel display above, tying the entire holiday look together from top to bottom.
Three More Ways to Style the Cascade
Once you master the asymmetric base, you can adapt the greenery and ribbon to fit any room's holiday aesthetic.
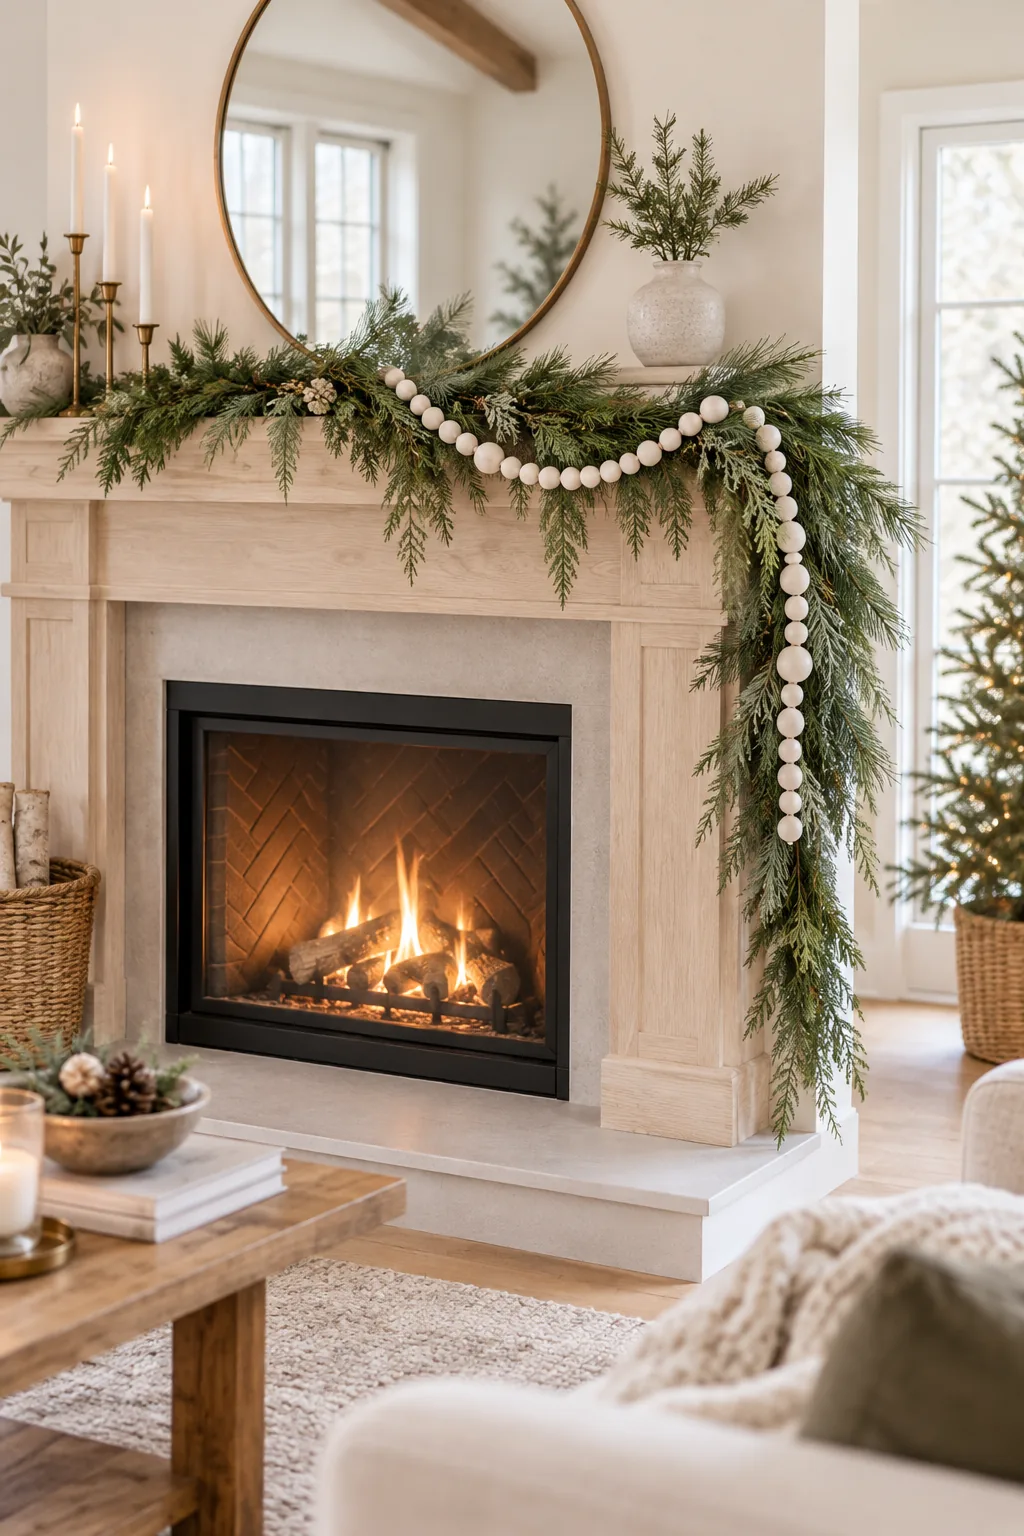
Minimalist Scandi Pine: Swap the heavy velvet for oversized white wooden beads to create a relaxed, Scandinavian-inspired drape.
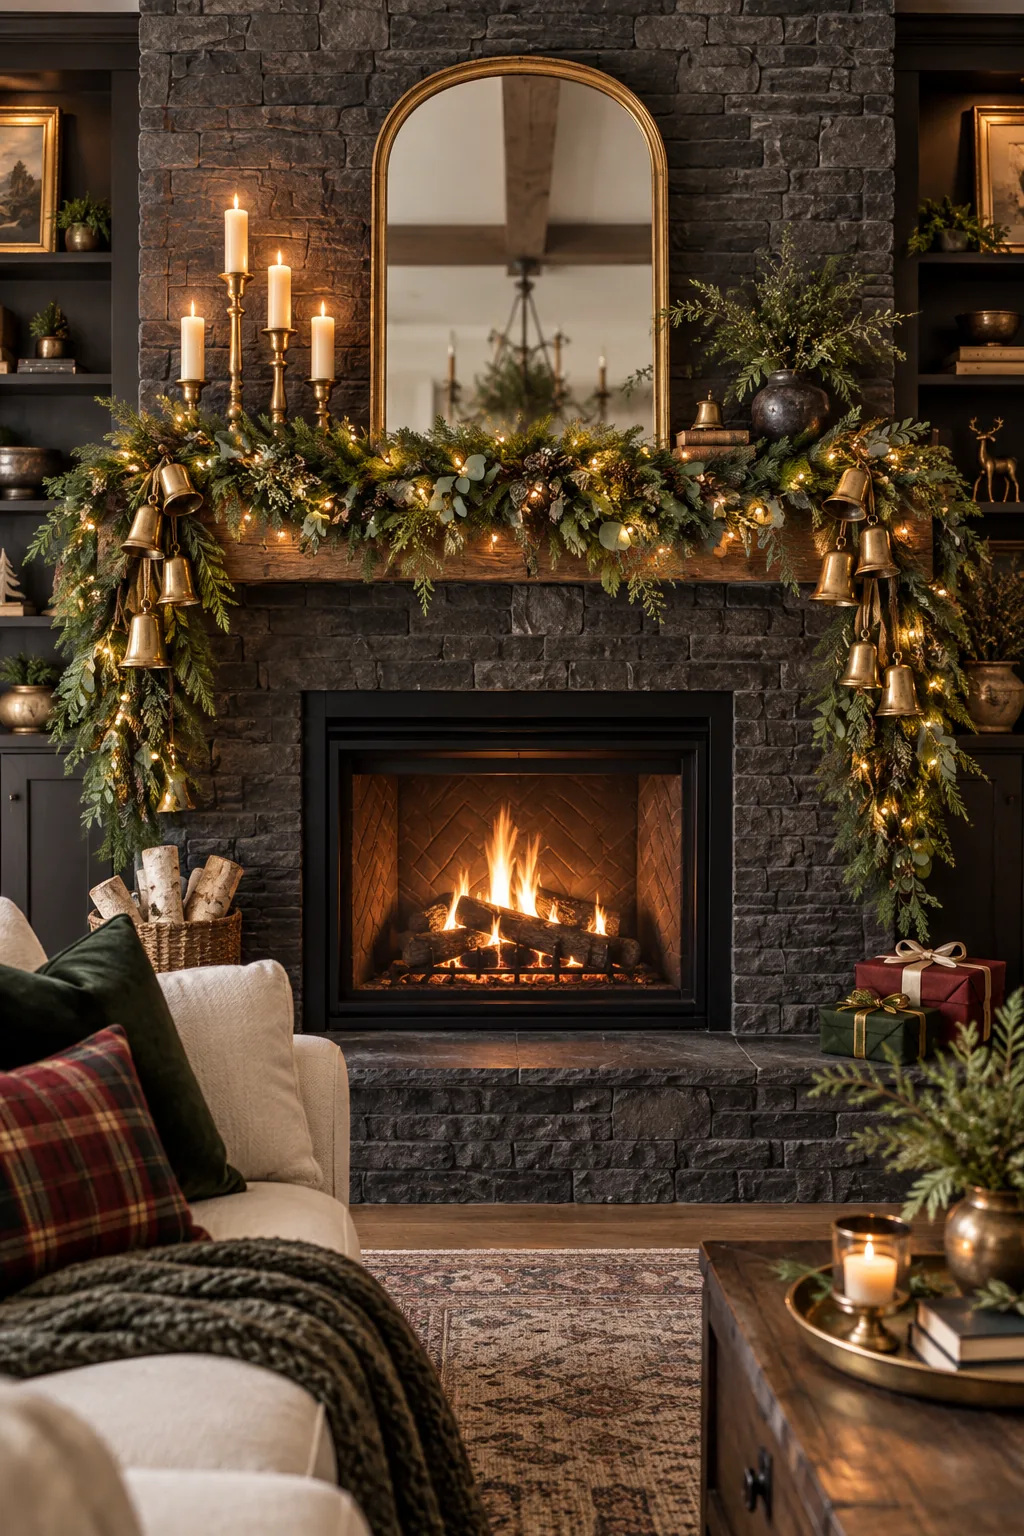
Moody Vintage Gold: Anchor a dark stone fireplace with a symmetrical cedar drape and clusters of antique brass bells.
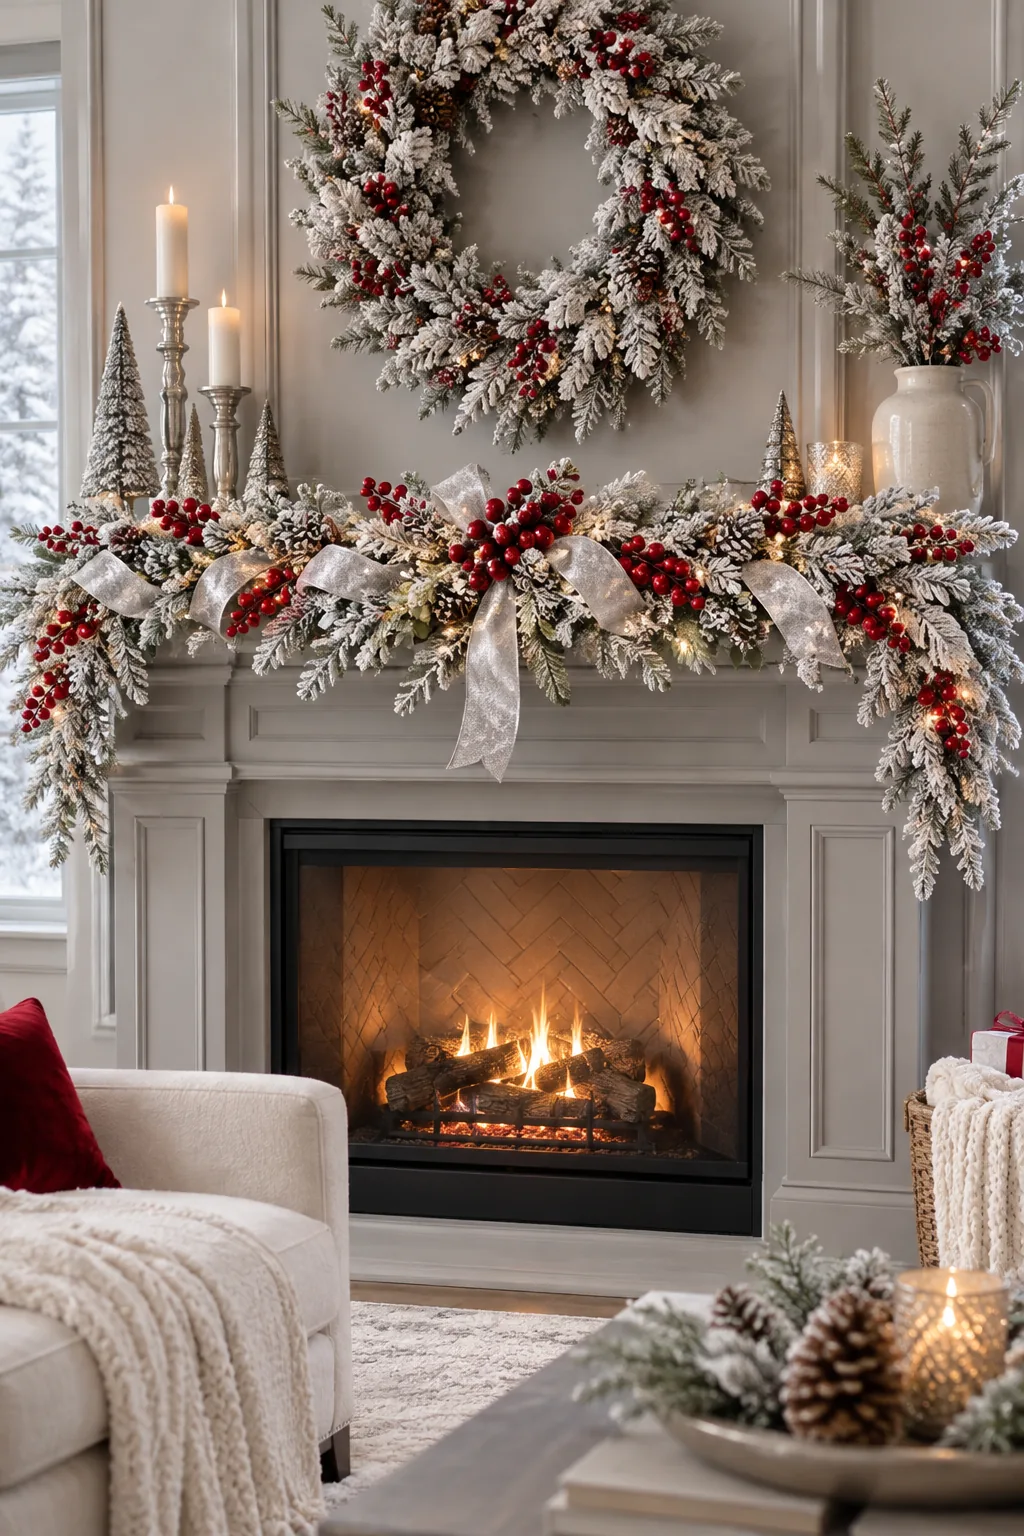
Frosted Winter Berry: Brighten a gray living room with a heavily flocked base, silver ribbon, and vibrant red berry picks.
Print the Mantel Garland Layering Sheet
The printable guide scales the exact material quantities needed based on your specific mantel width, giving you the complete six-step fill order to easily replicate this lush look.

Before you print the sizing guide and head to the craft store, take three quick measurements of your fireplace to ensure you buy the exact right quantities and avoid a frustrating second trip for more supplies.
Download your Printable Mantel Garland Layering Sheet right now to get your custom strand counts, cedar bundles, light lengths, and velvet ribbon yardage for a perfectly proportioned, professional-looking holiday display in your own home.