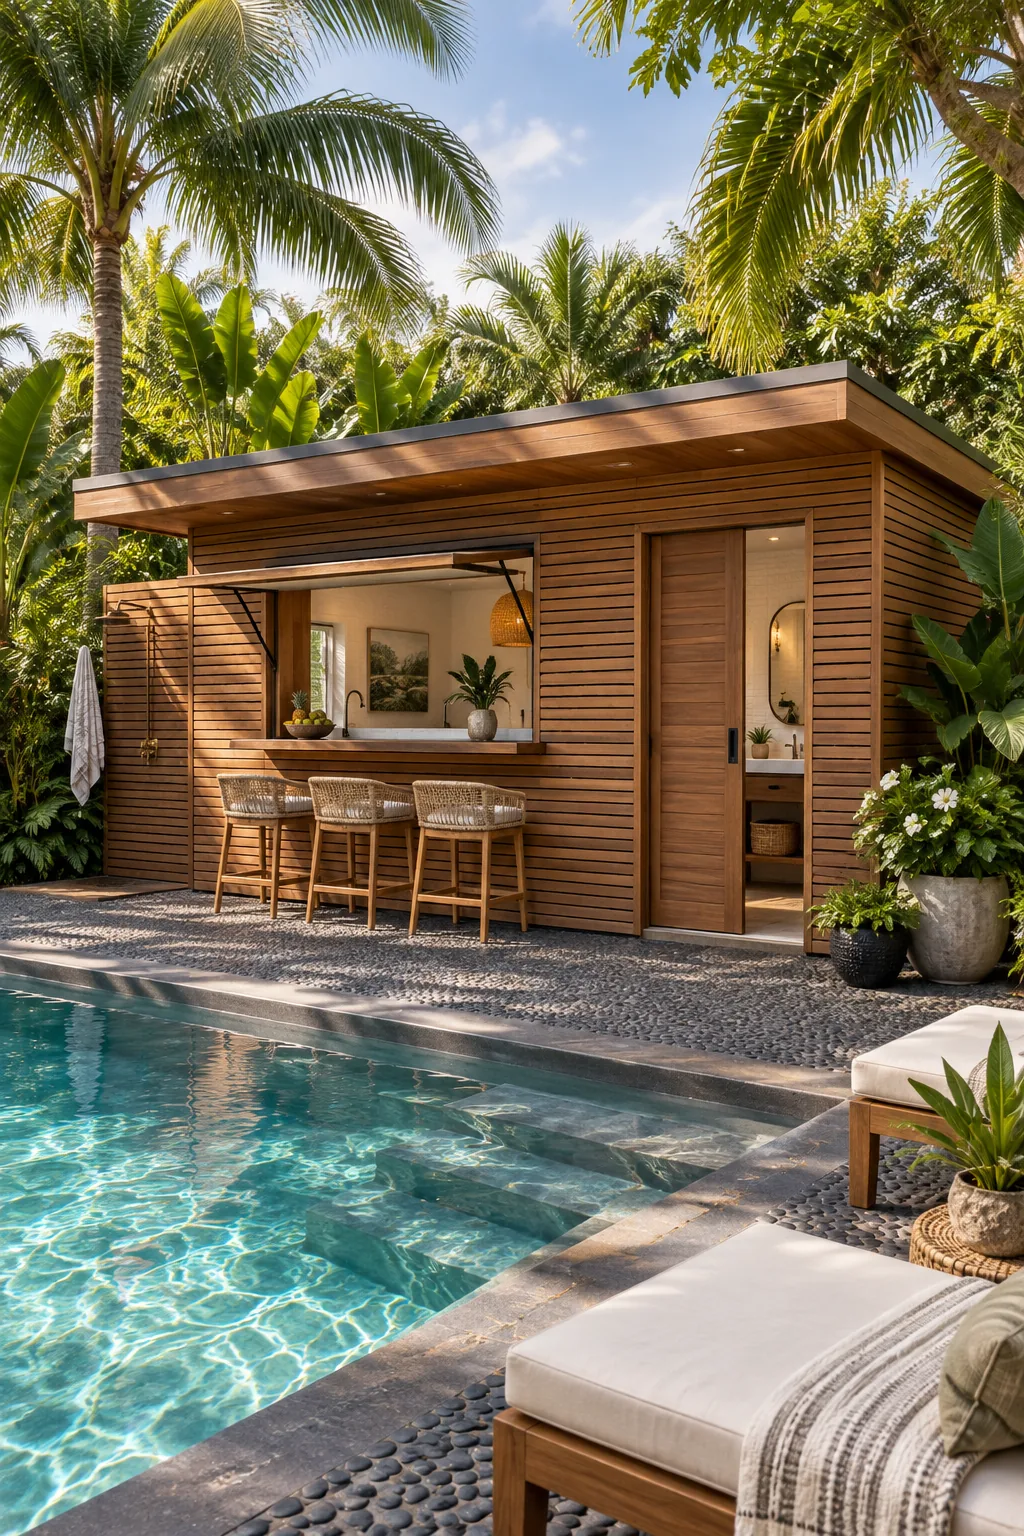
Small Pool House Layout: The 10×12 Floor Plan
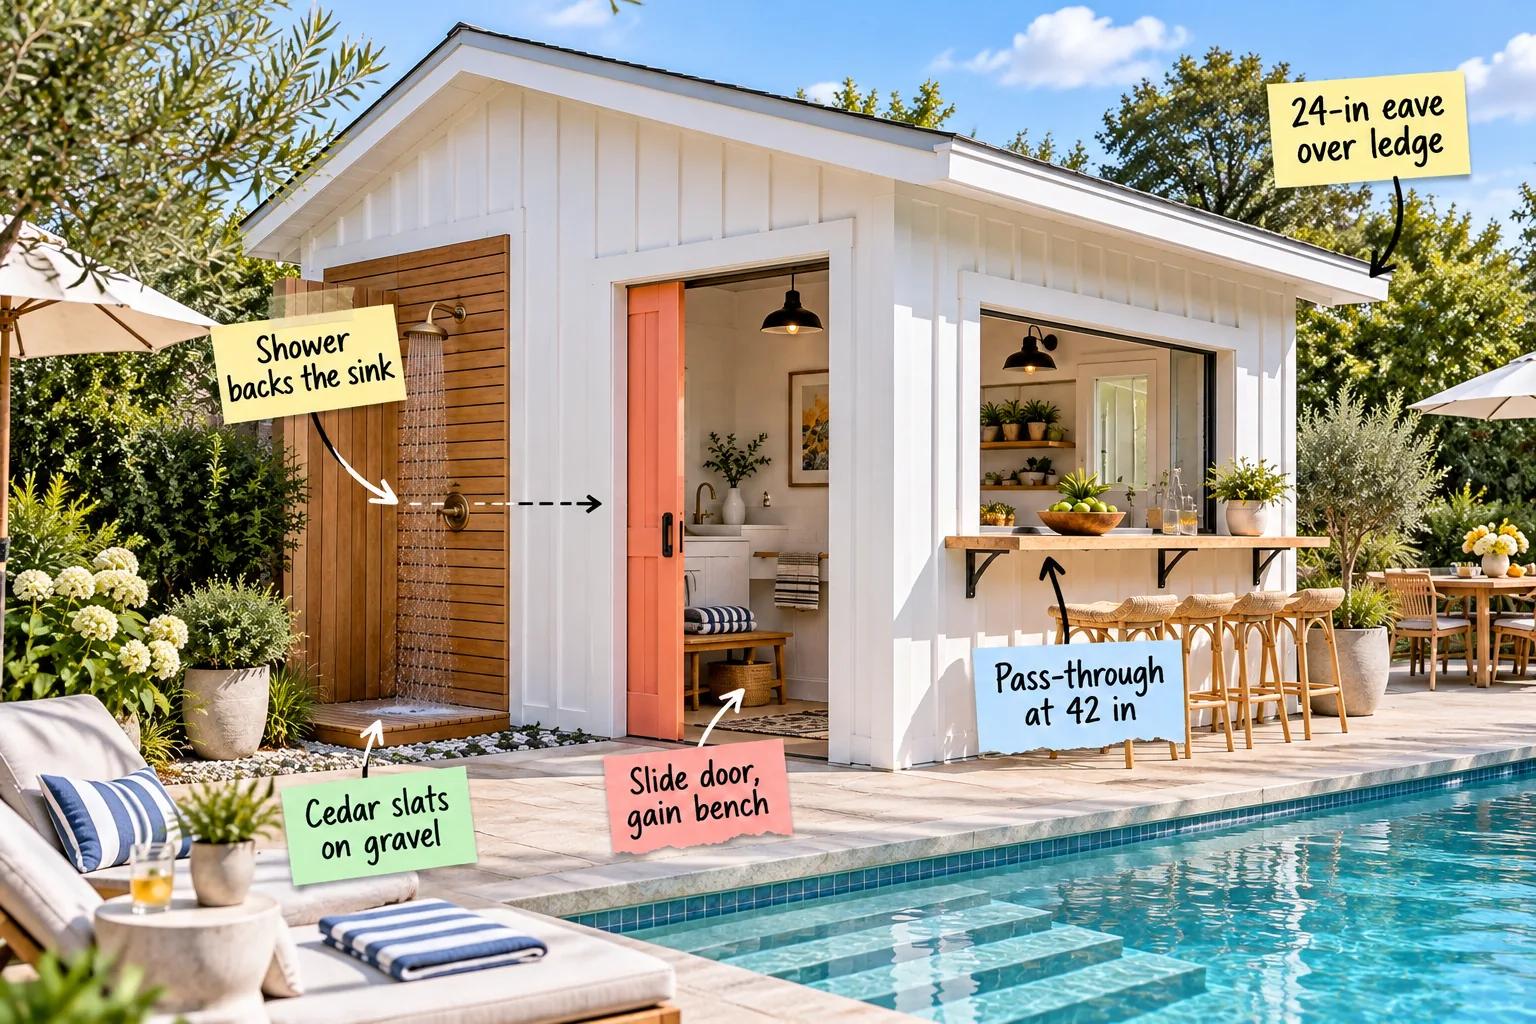
You can easily build this backyard oasis by grabbing my printable 10×12 pool house layout sheet, which gives you the exact dimensions, shared plumbing setup, and pass-through bar clearances you need.
The 10×12 Pool House Floor Plan
A 120-square-foot footprint is large enough to house a changing area, sink, and bar while remaining compact enough to fit most backyard setbacks. You can see exactly how the three distinct zones fit neatly beside the pool in the downloaded plans.
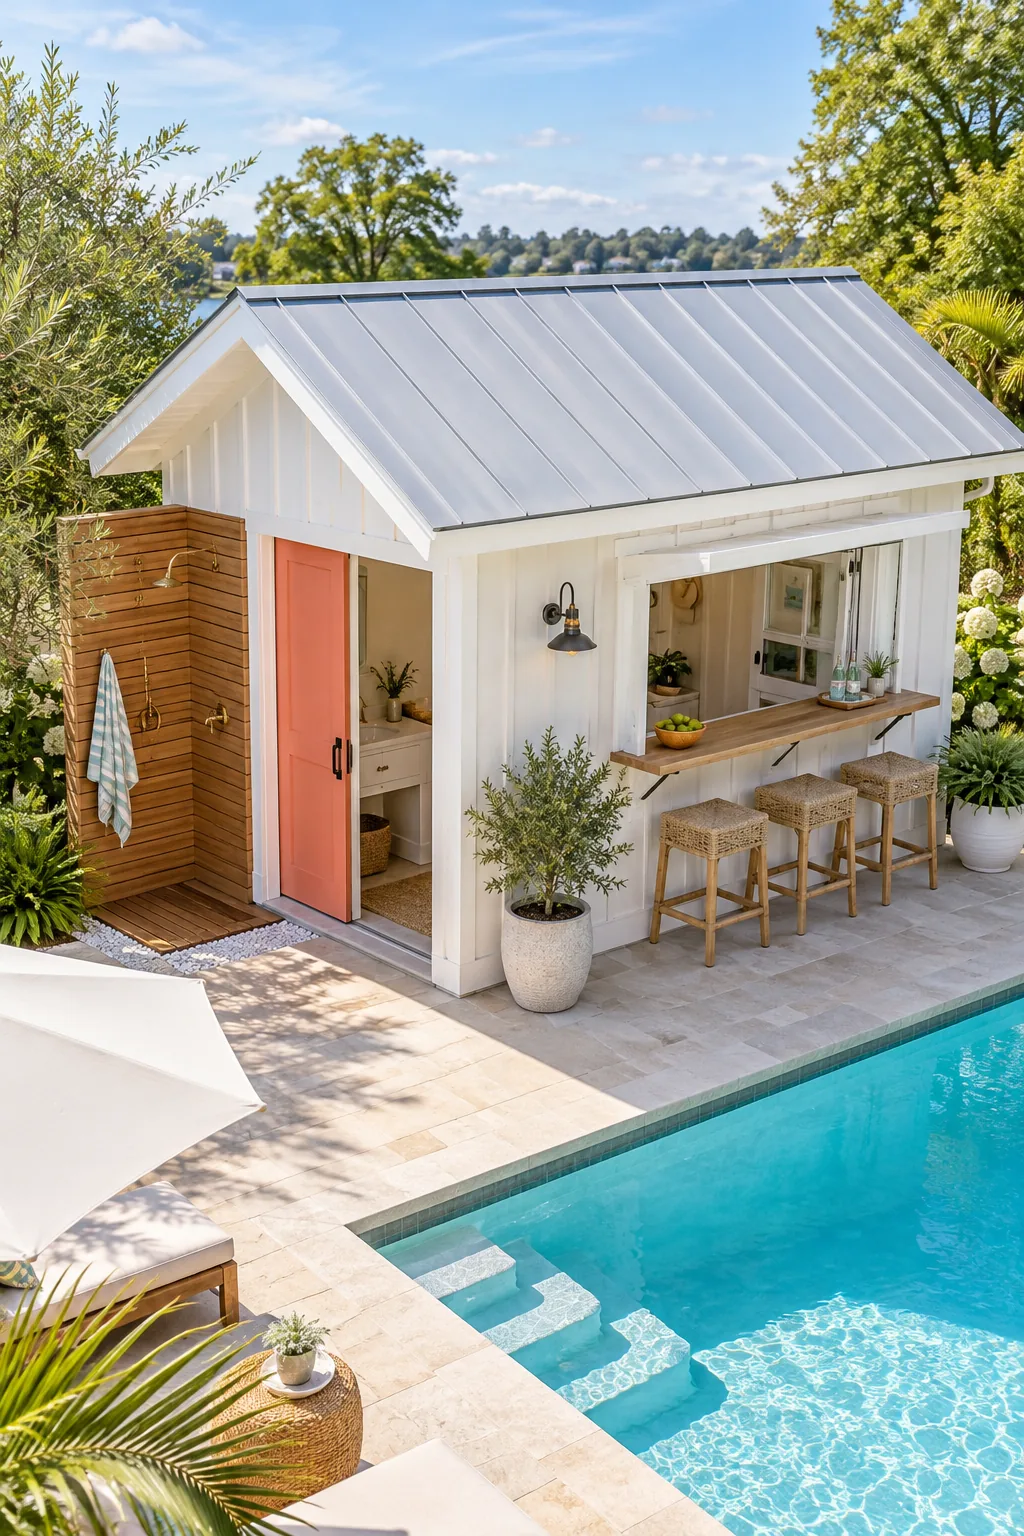
Before finalizing your backyard footprint, verify your local building requirements to ensure a smooth build. Small footprints often bypass lengthy permitting, but you still need to confirm the exact zoning rules for your specific neighborhood before breaking ground.
Navigating Local Permitting Rules
Even when your footprint falls under the standard size limits, adding plumbing often triggers additional municipal inspections. Always submit your dimensioned layout sheet to the local building office early to avoid costly teardowns or forced redesigns later.
Shared Wet Wall Plumbing
Placing the exterior shower directly behind the interior sink creates a highly efficient plumbing layout. The shower backs the sink, visually connecting the exterior valve and interior basin through one shared 2×6 wall to cut costs significantly.
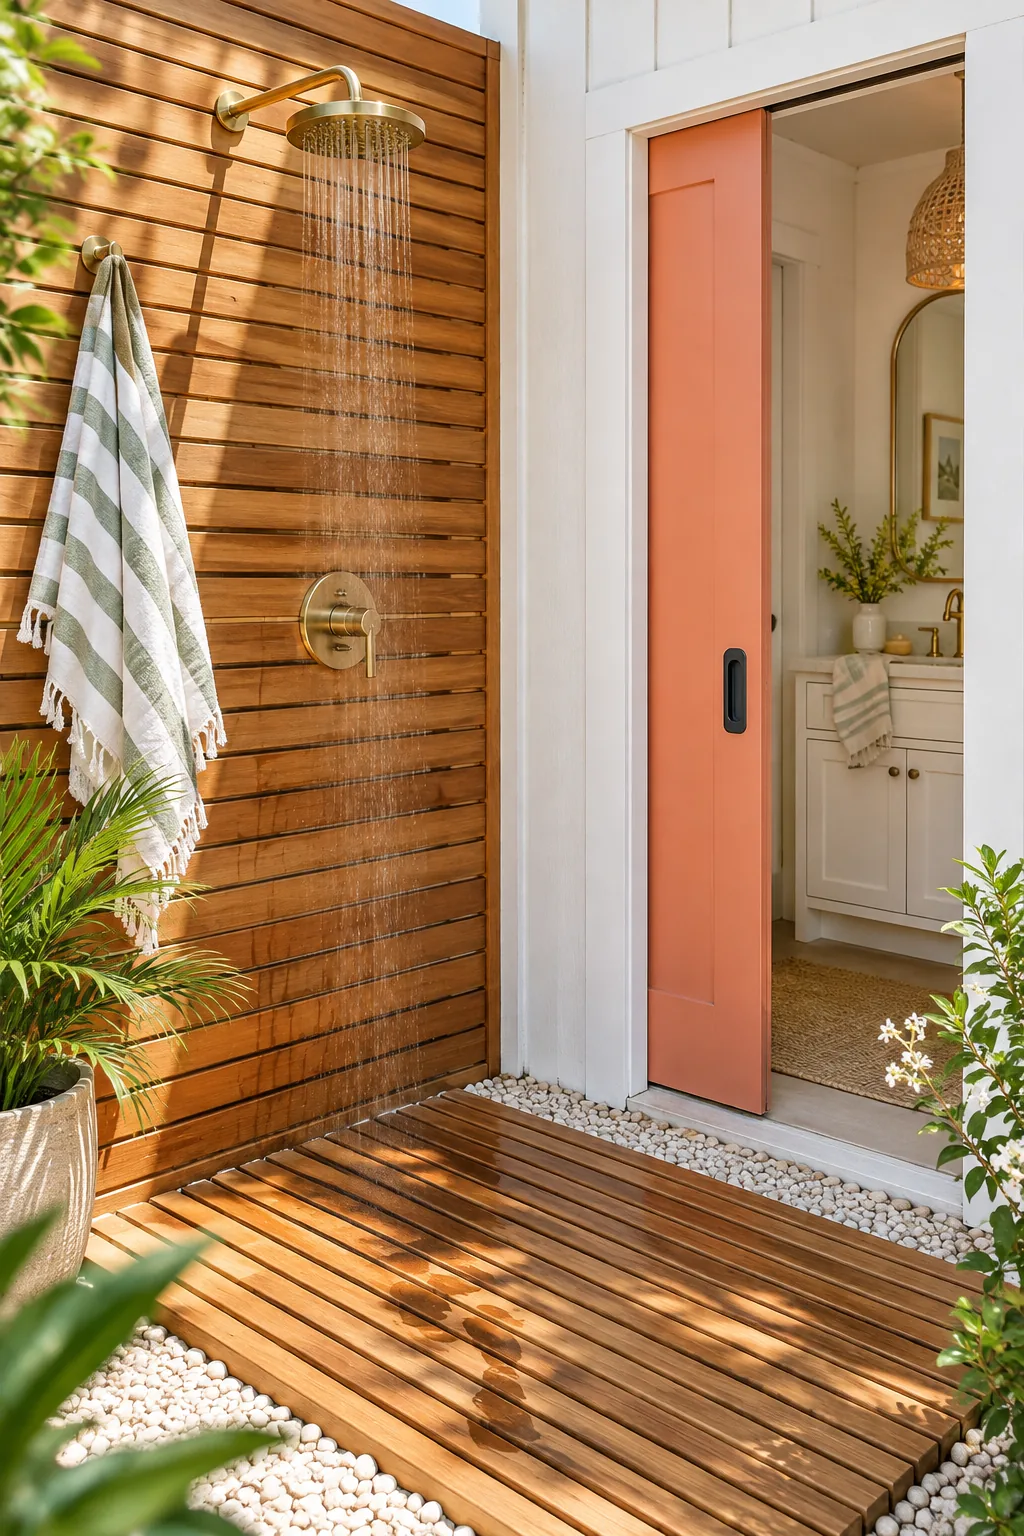
To keep the plumbing contained and protect the pipes from freezing, follow a specific assembly sequence for this shared wet wall. Consolidating the pipes into a single cavity requires careful planning before you close up the drywall.
- Frame the shared wall using 2×6 studs to provide adequate depth for the thick supply lines.
- Run a single cold water line to serve both the interior sink and the exterior shower valve.
- Install the outdoor shower valve at the standard 48-inch height for comfortable access.
- Insulate the wall cavity heavily with closed-cell foam to prevent winter pipe bursts.
Selecting the Shower Hardware
Choosing the right fixtures ensures your exterior plumbing survives harsh outdoor conditions. Solid brass valves resist corrosion beautifully, naturally developing a rich patina over time that complements the rustic wooden elements of your backyard rinse station.
Draining the Outdoor Shower
Skip the complex sloped concrete pan by using a natural drainage system for the outdoor rinse station. A layered system of cedar slats on gravel allows water to flow through instantly and disburse safely into the soil beneath.
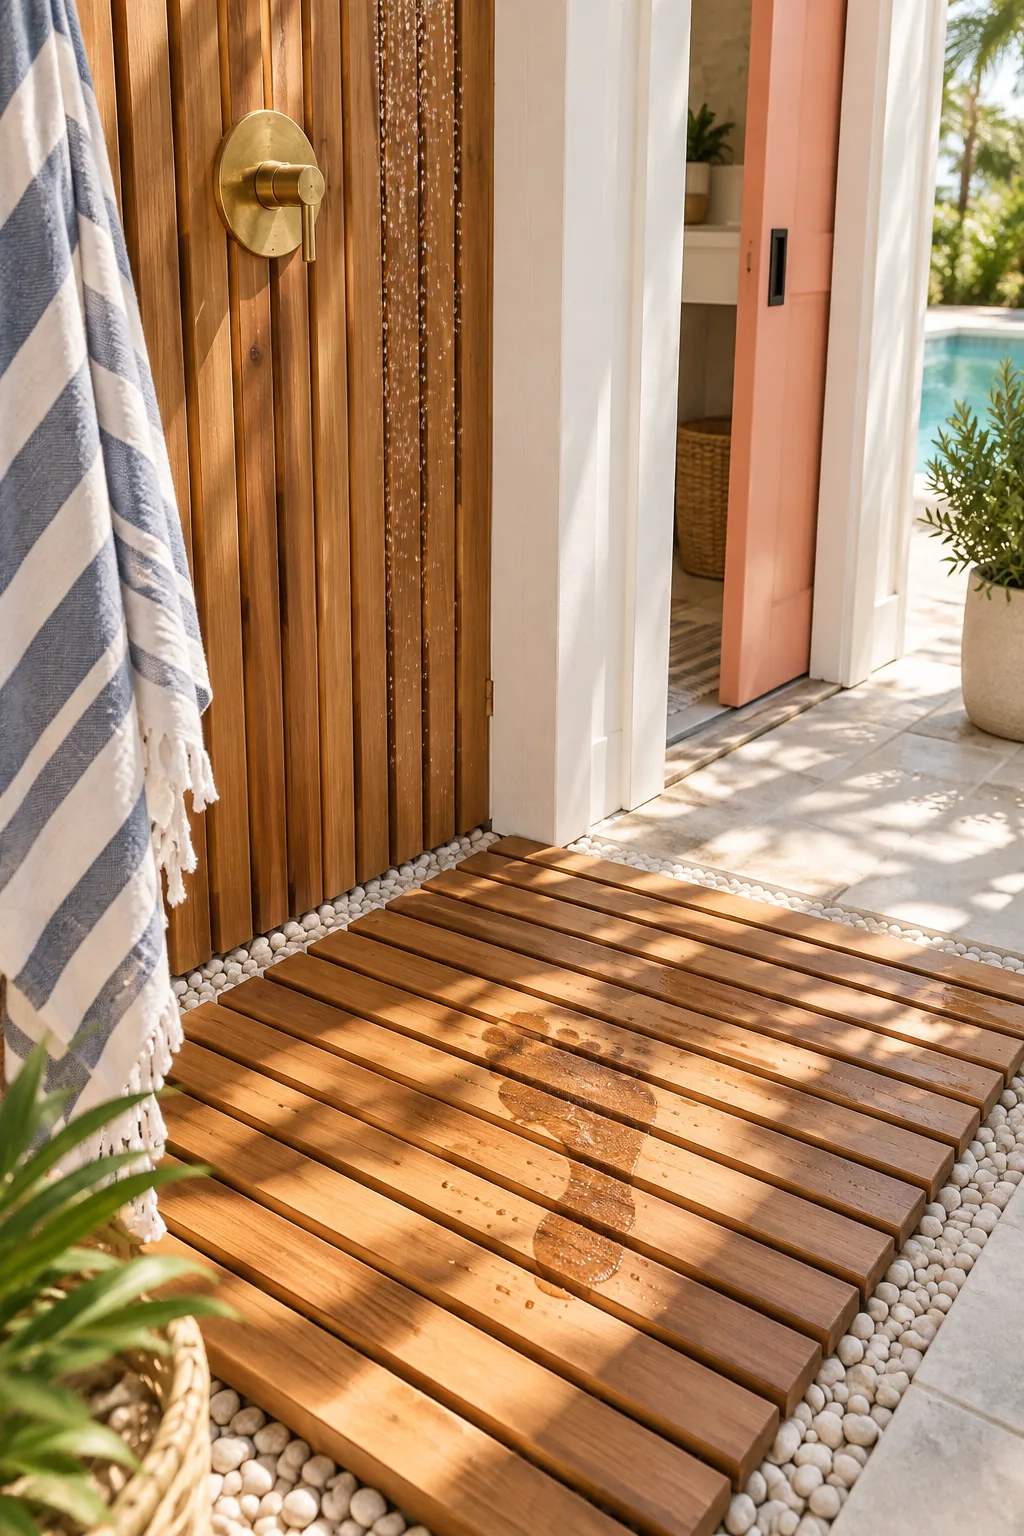
Building this natural drainage base requires digging a shallow pit and layering the right materials to prevent muddy puddles. The deep gravel bed keeps the foundation dry and ensures the slatted wood floor never sits in standing water.
Maintaining the Cedar Slats
Natural wood requires occasional upkeep to prevent rot when exposed to constant moisture. Lift the wooden shower floor twice a year to clear away trapped leaves, and apply a fresh coat of penetrating teak oil to preserve the rich color.
The Pocket Door Space Saver
A traditional swinging exterior door wastes nearly nine square feet of valuable floor space. Installing a coral pocket door lets you slide the door and gain a bench, allowing the entryway to remain entirely clear and functional.
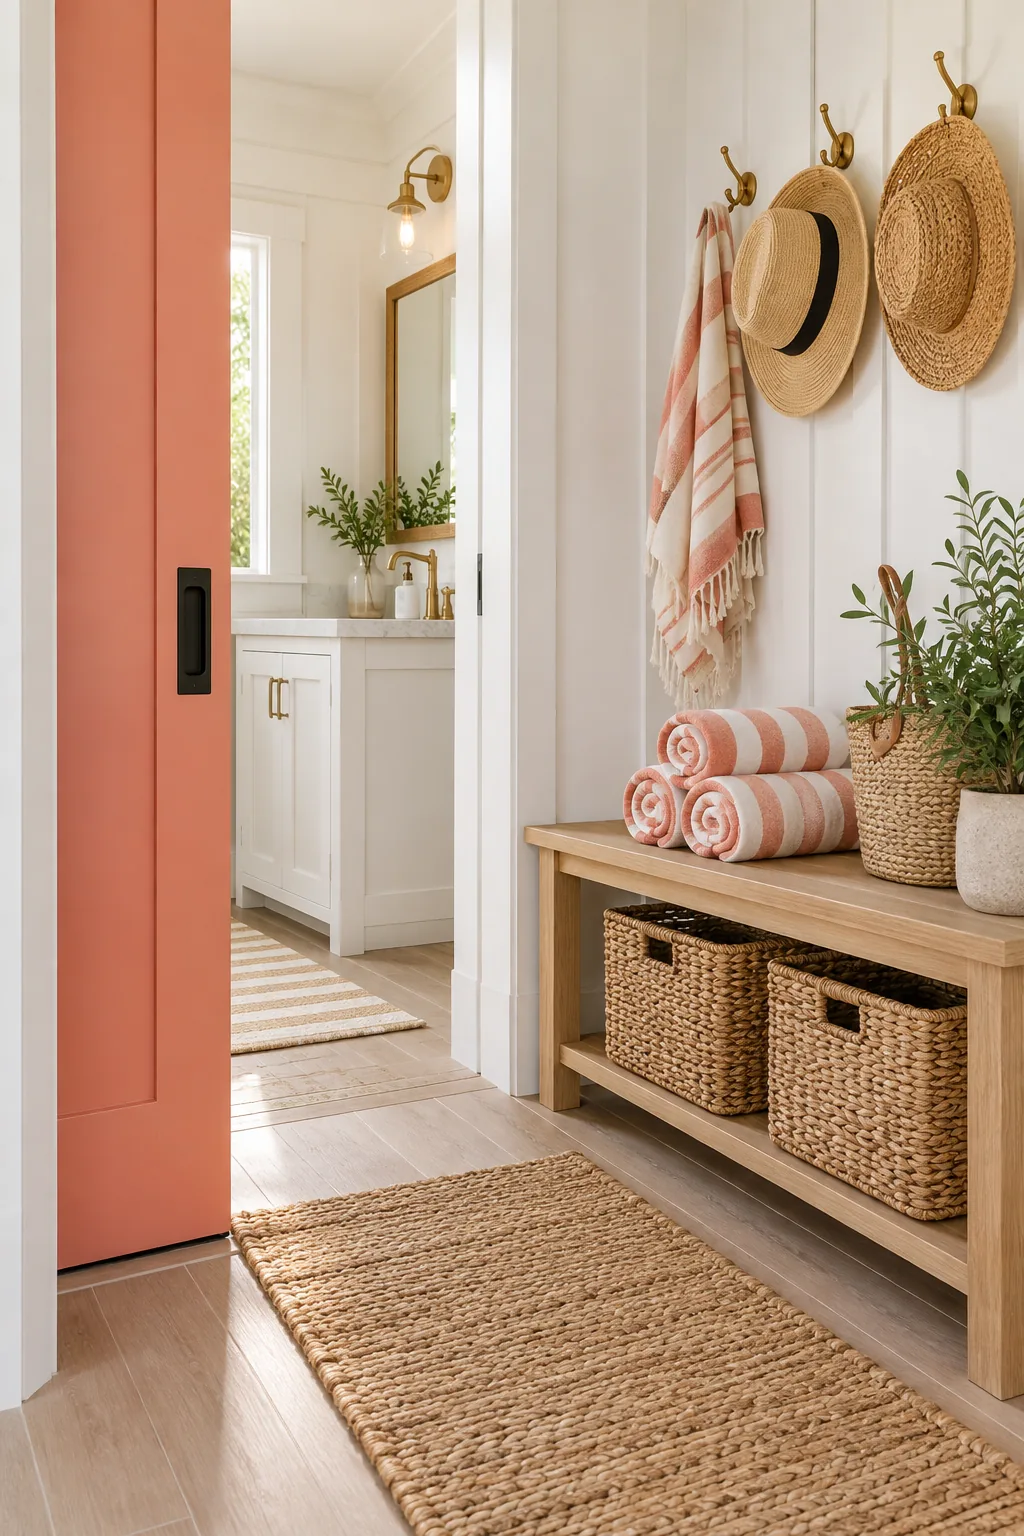
The seamless glide of the pocket door into the wall cavity also prevents sudden wind gusts from slamming the door during pool parties. You will need to install the sliding track hardware before finishing the interior drywall.
Securing the Sliding Entrance
Locking a pocket door requires specialized hardware since traditional deadbolts cannot function sideways. Install a sturdy mortise lock with a recessed pull handle to keep the building secure without obstructing the smooth glide of the door panel.
Organizing the Entry Bench
The floor space saved by the pocket door creates the perfect alcove for a light oak bench just inside the doorway. This functional arrangement reclaims the floor space to create a dedicated drop zone for wet swimsuits.
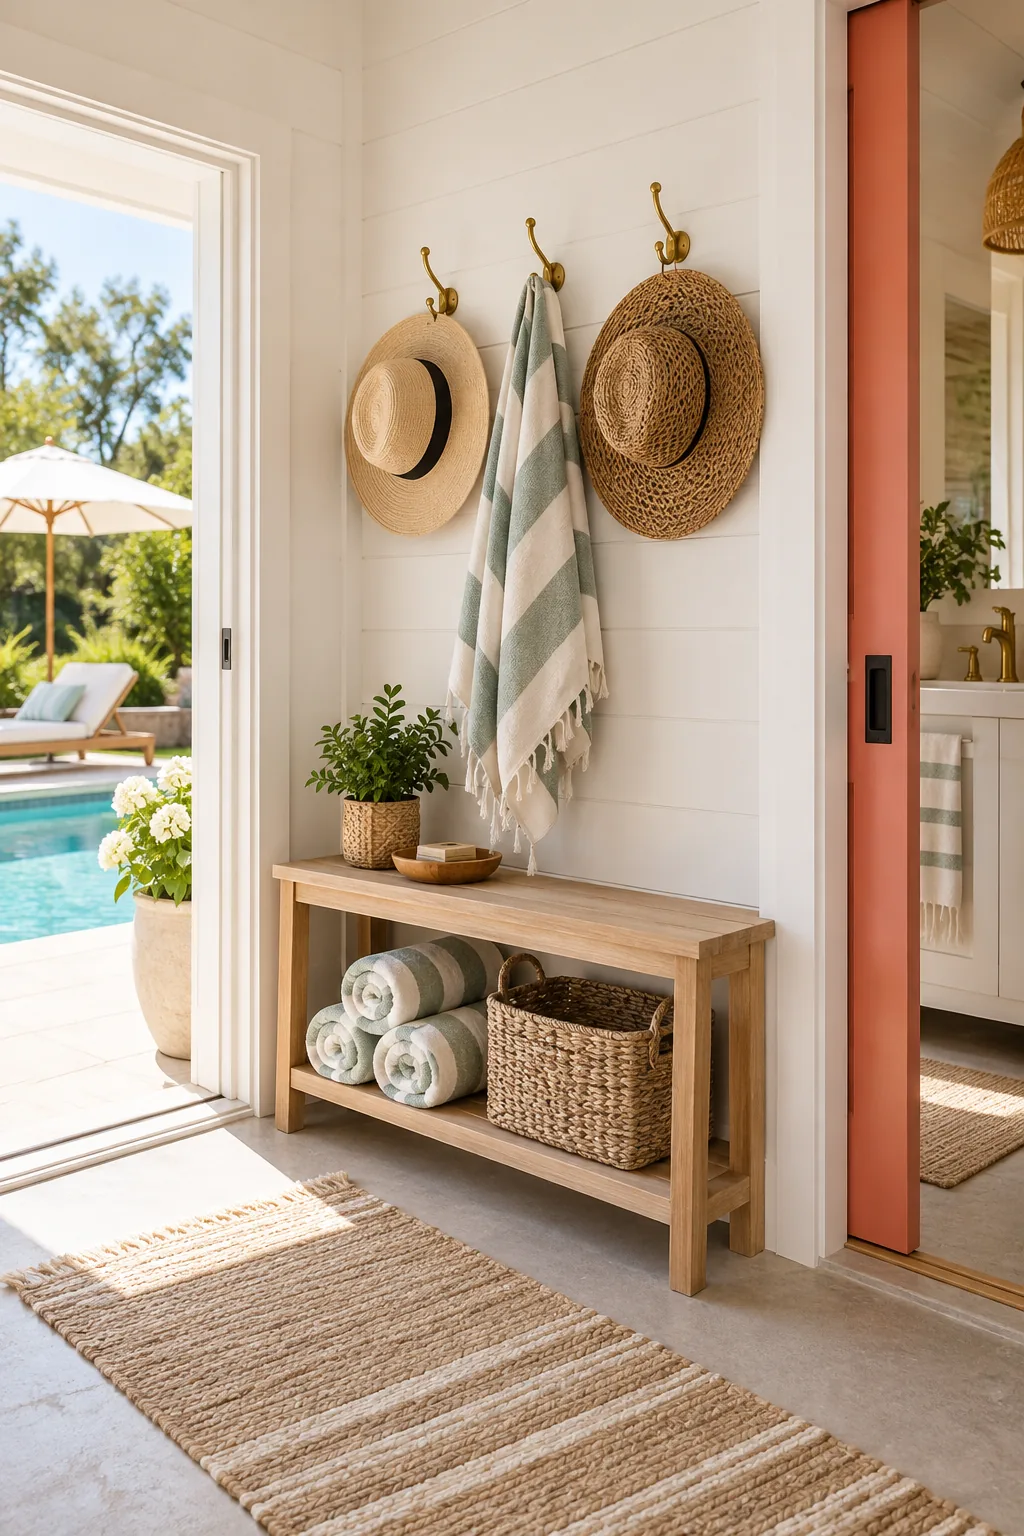
Since this drop zone sits just inches from the splash zone, material choice matters immensely. You want to keep dry storage immediately accessible from the wet deck without worrying about water damage ruining your beautiful entryway furniture.
Choosing Moisture-Resistant Baskets
Storing fresh towels near the entrance requires breathable containers that prevent musty odors. Opt for synthetic resin wicker baskets instead of natural seagrass, as they easily wipe clean and completely resist mold growth in humid environments.
Setting the Pass-Through Bar
A pass-through window turns the side of the pool house into an instant entertaining hub. Set the wooden pass-through at 42 inches to create an ergonomic relationship between the ledge and your standard outdoor barstools.
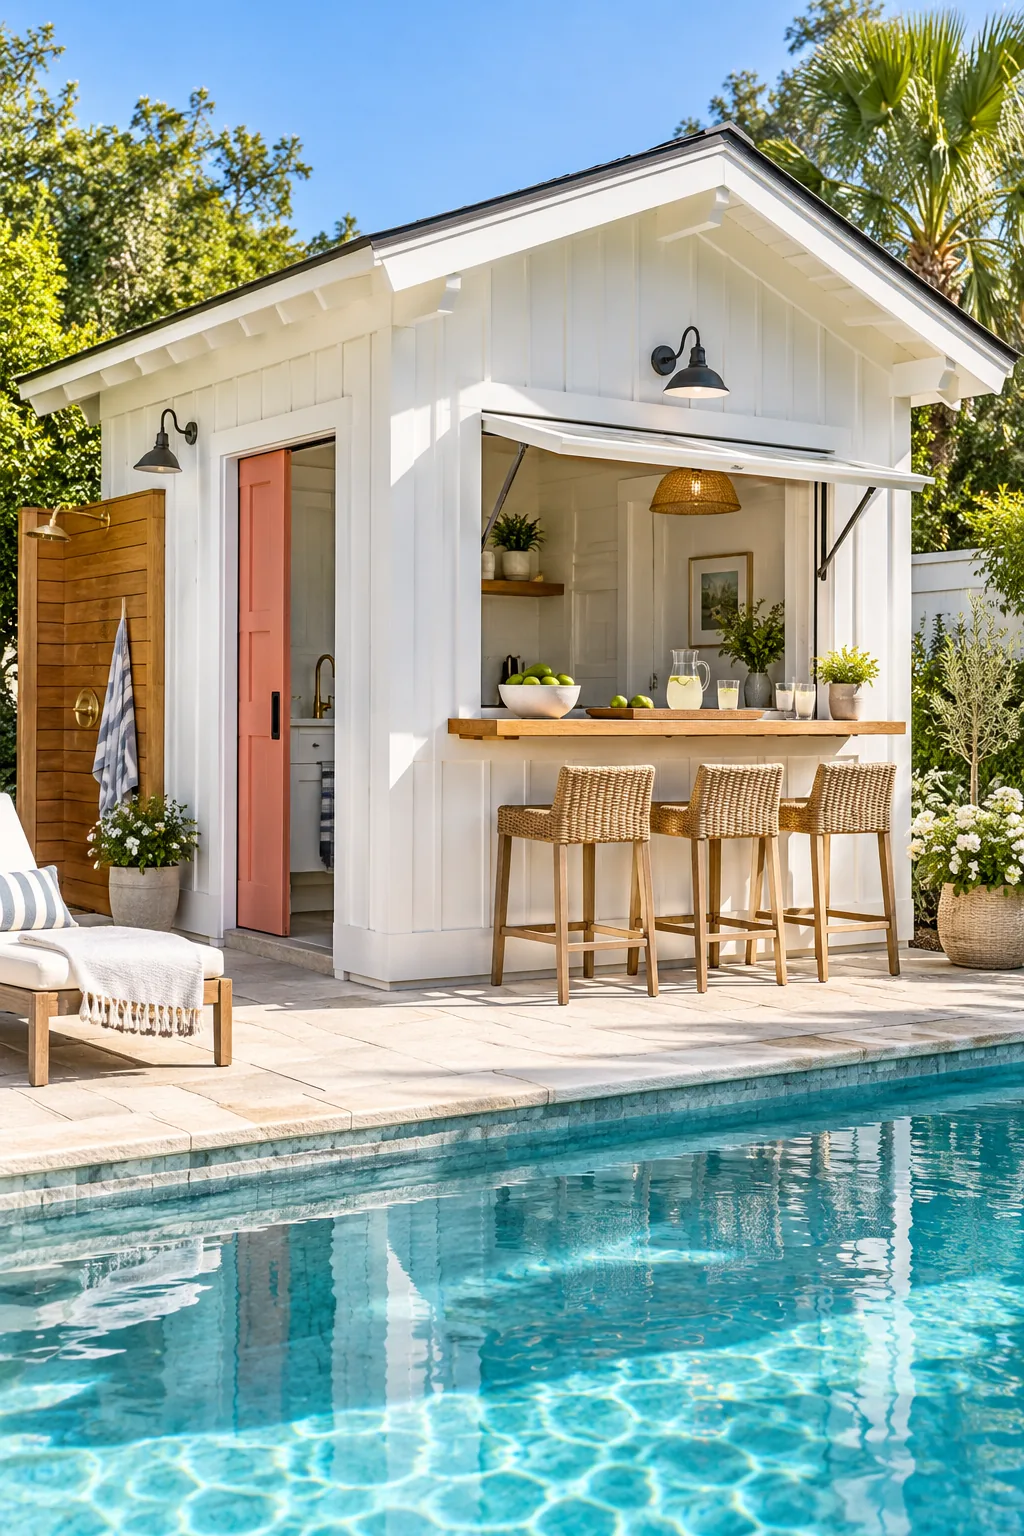
To ensure everyone sits comfortably, match your counter height to the correct stool size using these standard measurements. Providing exactly thirty inches of clearance beneath the bar ledge prevents guests from scraping their knees against the exterior siding.
| Counter Type | Ledge Height | Stool Height | Knee Clearance |
|---|---|---|---|
| Dining Height | 30 inches | 18 inches | 12 inches |
| Counter Height | 36 inches | 24 inches | 12 inches |
| Bar Height | 42 inches | 30 inches | 12 inches |
Stocking the Outdoor Bar
Maximizing the utility of your serving window means keeping essential supplies within easy reach. Install floating shelves on the interior wall directly beside the window to hold acrylic glassware, sunscreen, and extra cocktail napkins for your guests.
Shading the Bar Seating
The roof design plays a crucial role in making the pass-through window comfortable. A deep 24-inch eave over the ledge casts a protective shadow over the serving window and prevents harsh midday sun from glaring into the interior.
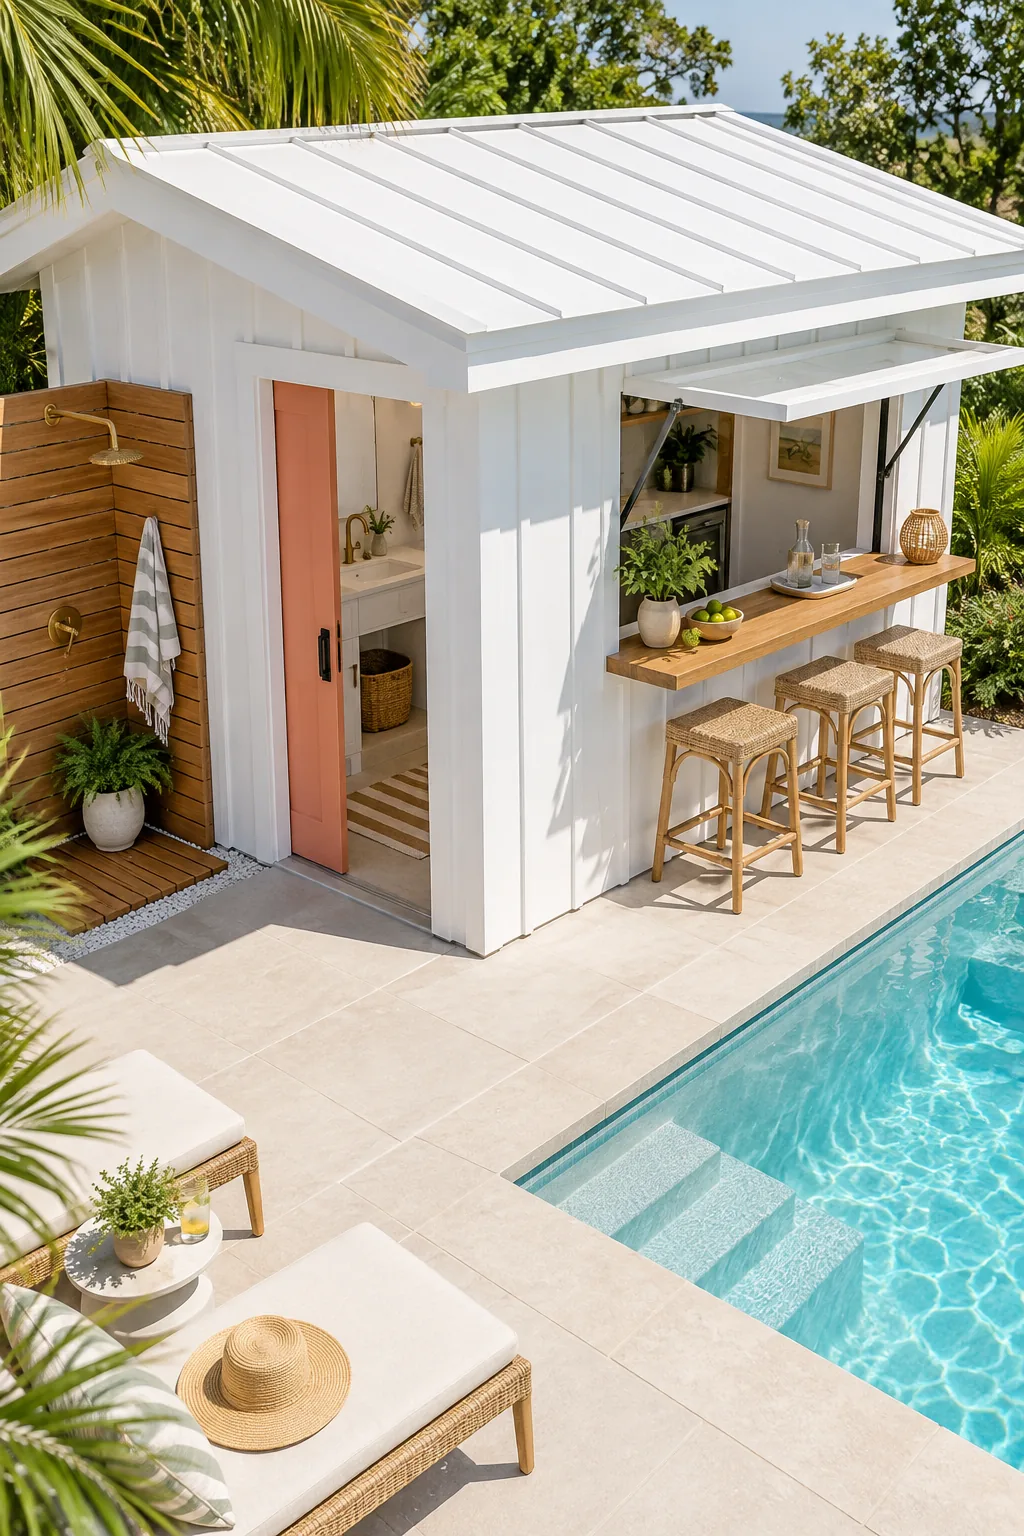
Extended rooflines also protect the interior finishes from blowing summer rain when the window is open. I learned this the hard way when our first patio bar lacked an overhang, leaving guests squinting into the blinding Texas sun all afternoon.
Gutter Systems for Deep Eaves
Managing runoff from an extended roofline protects the guests seated below. Install a seamless aluminum gutter along the fascia board to catch rainwater before it cascades over the edge and splashes onto your wooden serving ledge.
Interior Sink and Changing Clearances
The layout sheet details the exact clearances needed inside the structure. Leave a minimum of 30 inches of open floor space in front of the sink so guests can comfortably change clothes without bumping into the walls.
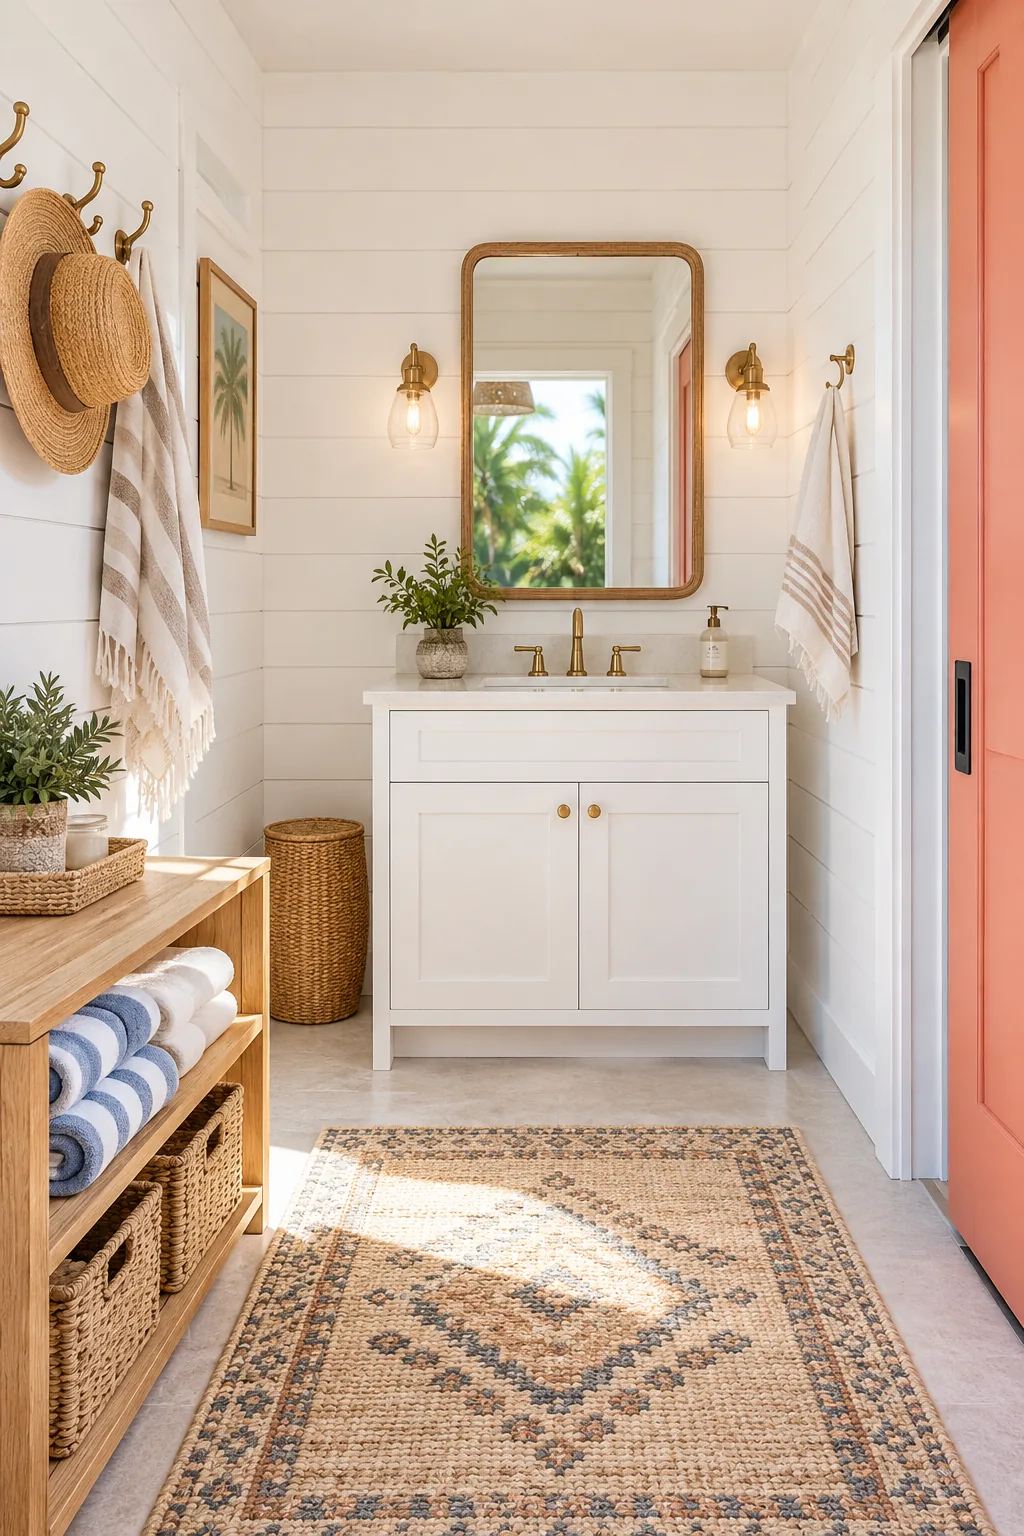
Generous floor space prevents banged elbows while changing out of wet swimsuits. In my own backyard build, carving out this spacious interior floor zone meant the difference between a cramped, frustrating closet and a truly welcoming changing room.
4 Ways to Style a Small Pool House
Choose a distinctive exterior finish and color palette to match your backyard aesthetic.
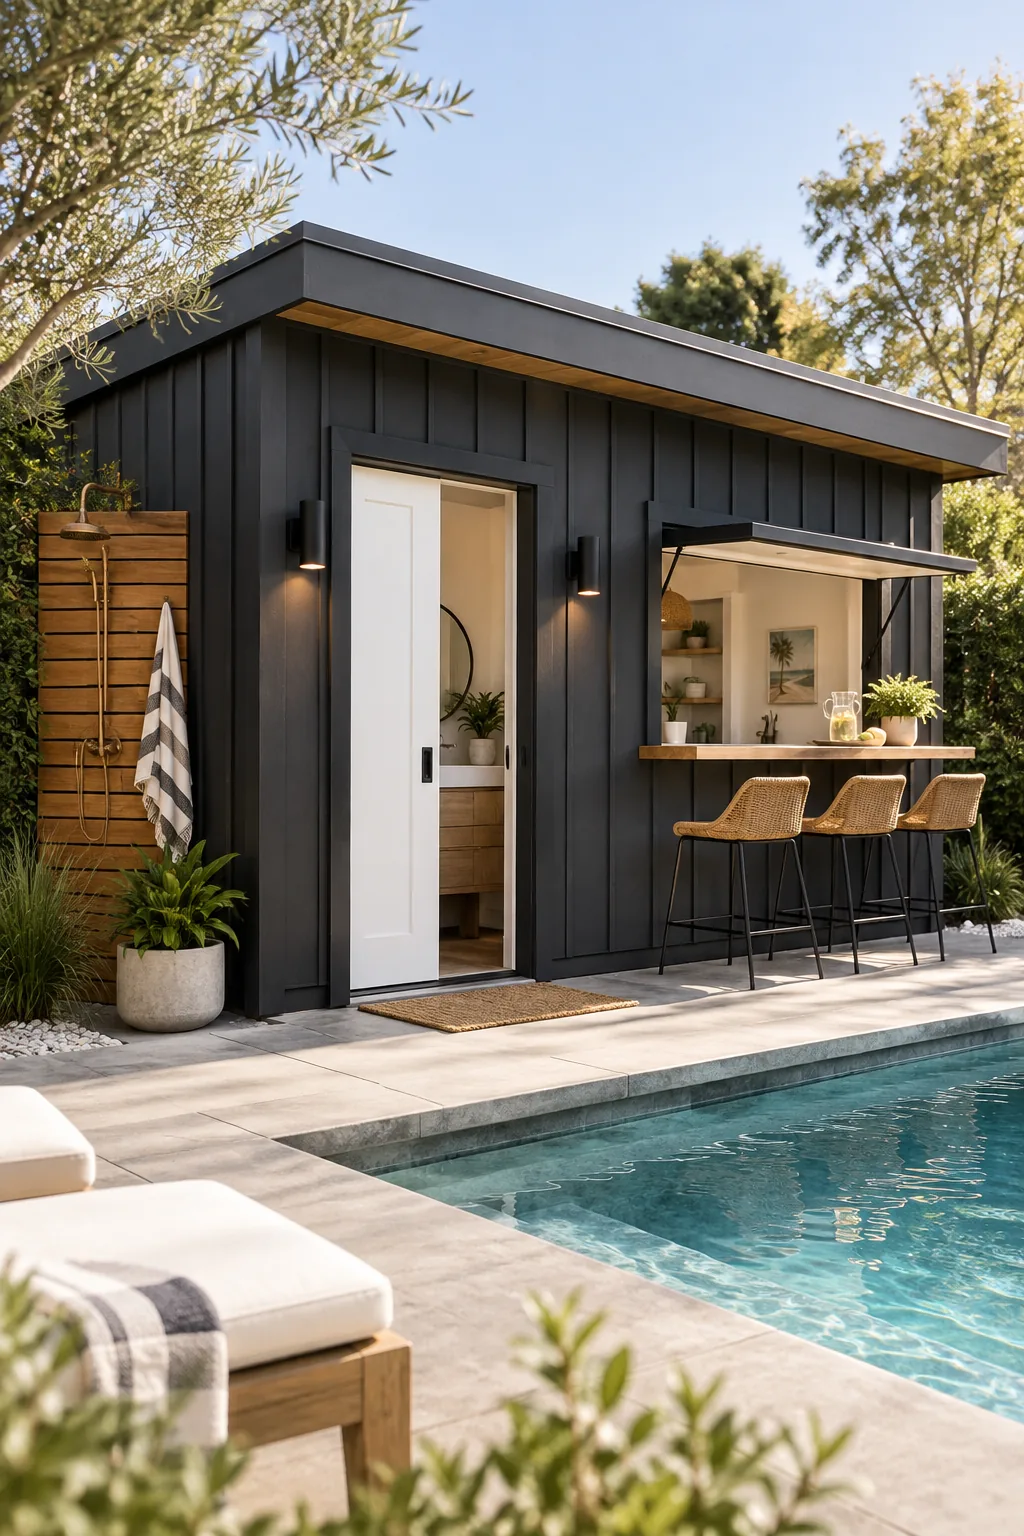
Modern Black and White: Matte black board-and-batten paired with a crisp white door gives this pool house a sharp, contemporary edge. Copy the look with dark exterior sconces.
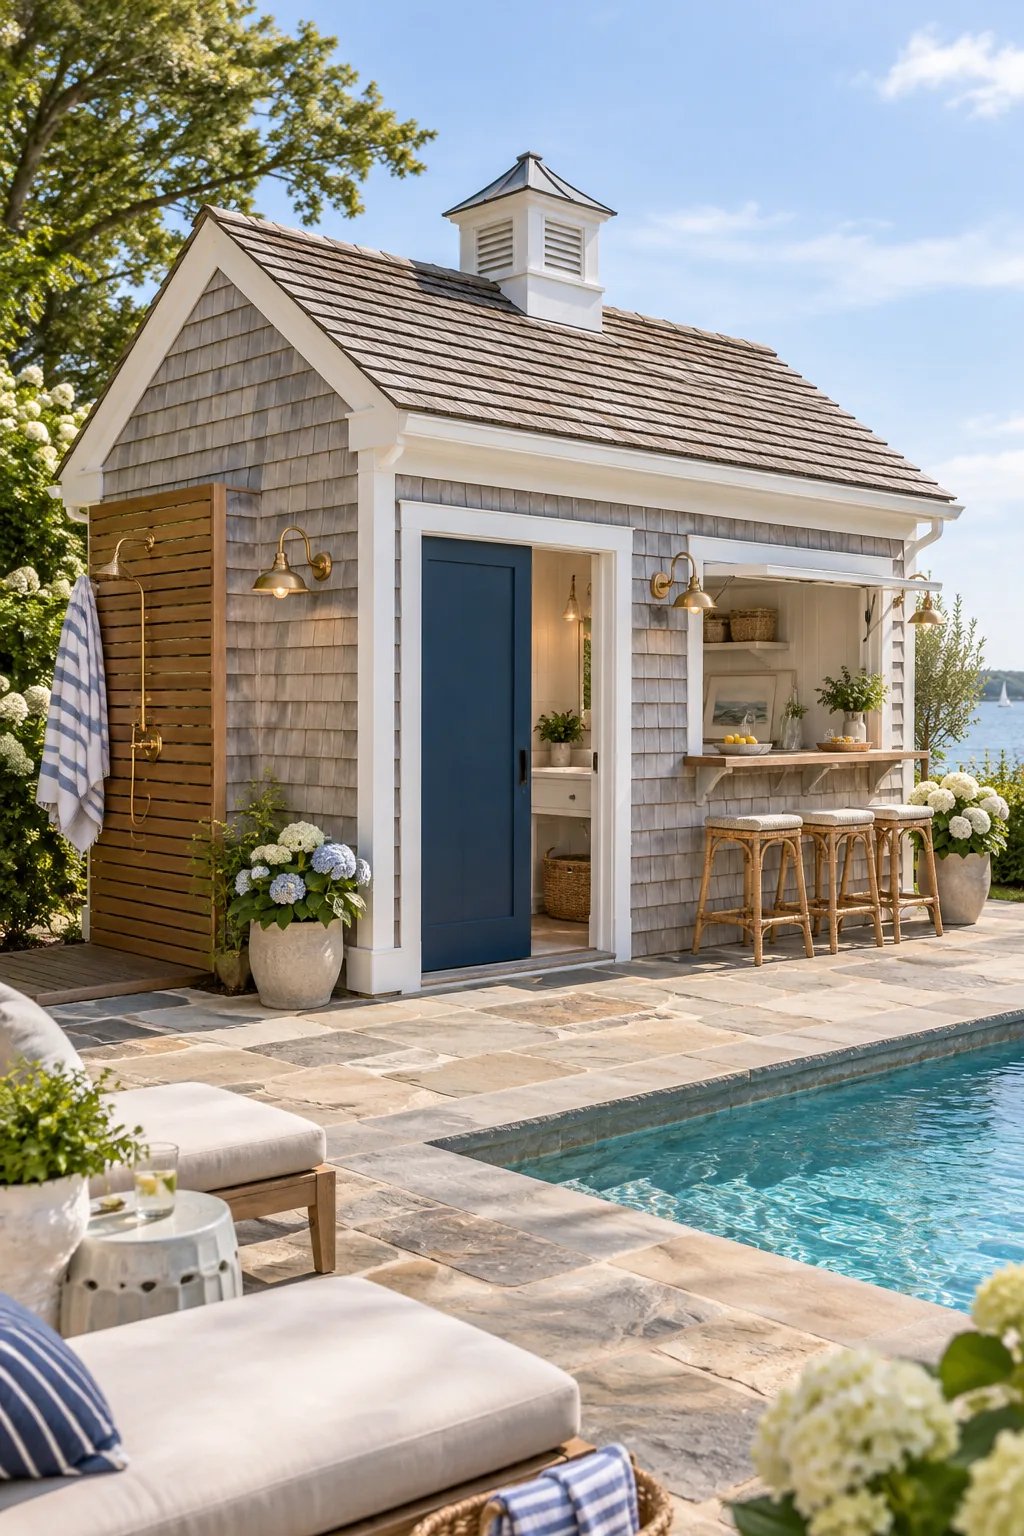
Weathered Coastal Cottage: Weathered gray cedar shingles and a navy blue pocket door create a classic maritime feel. Recreate this by using natural stone for the shower base.
Desert Stucco Oasis: Warm beige stucco and a terracotta-painted door blend seamlessly into arid landscaping. Steal this style by swapping the cedar slats for patterned cement tiles.
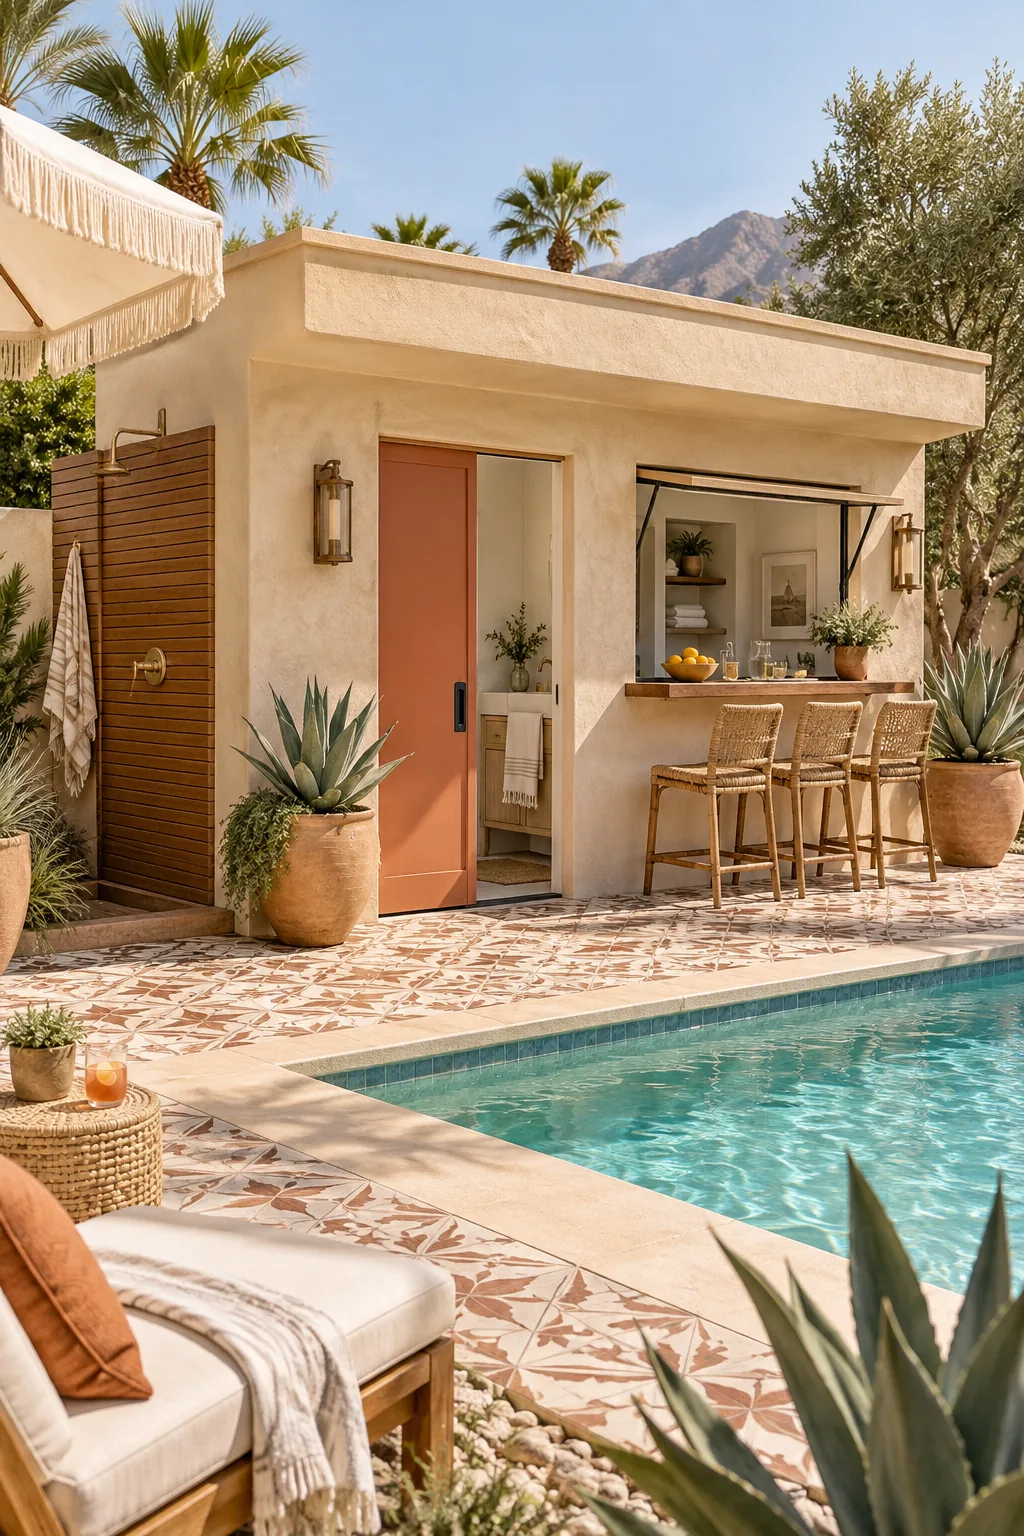
Tropical Teak Resort: A full teak slatted exterior with a matching wood door makes the structure feel like a luxury spa. Bring this home with lush potted palms.