DIY Pergola with Roof & Sides: Complete Material & Cut List
Transforming your basic patio into a cozy 3-season outdoor shelter is completely doable when you have the exact lumber measurements and hardware specs. With this complete all-weather pergola material and cut list, you will be able to purchase exactly what you need to build a weather-protected outdoor living room.
Designing a 3-Season Outdoor Living Room
Planning the 10-by-12-foot footprint comfortably accommodates standard outdoor lounge furniture while keeping your heavy lumber costs manageable. This specific size provides ample room for entertaining without overwhelming an average backyard or requiring complex mid-span structural supports.
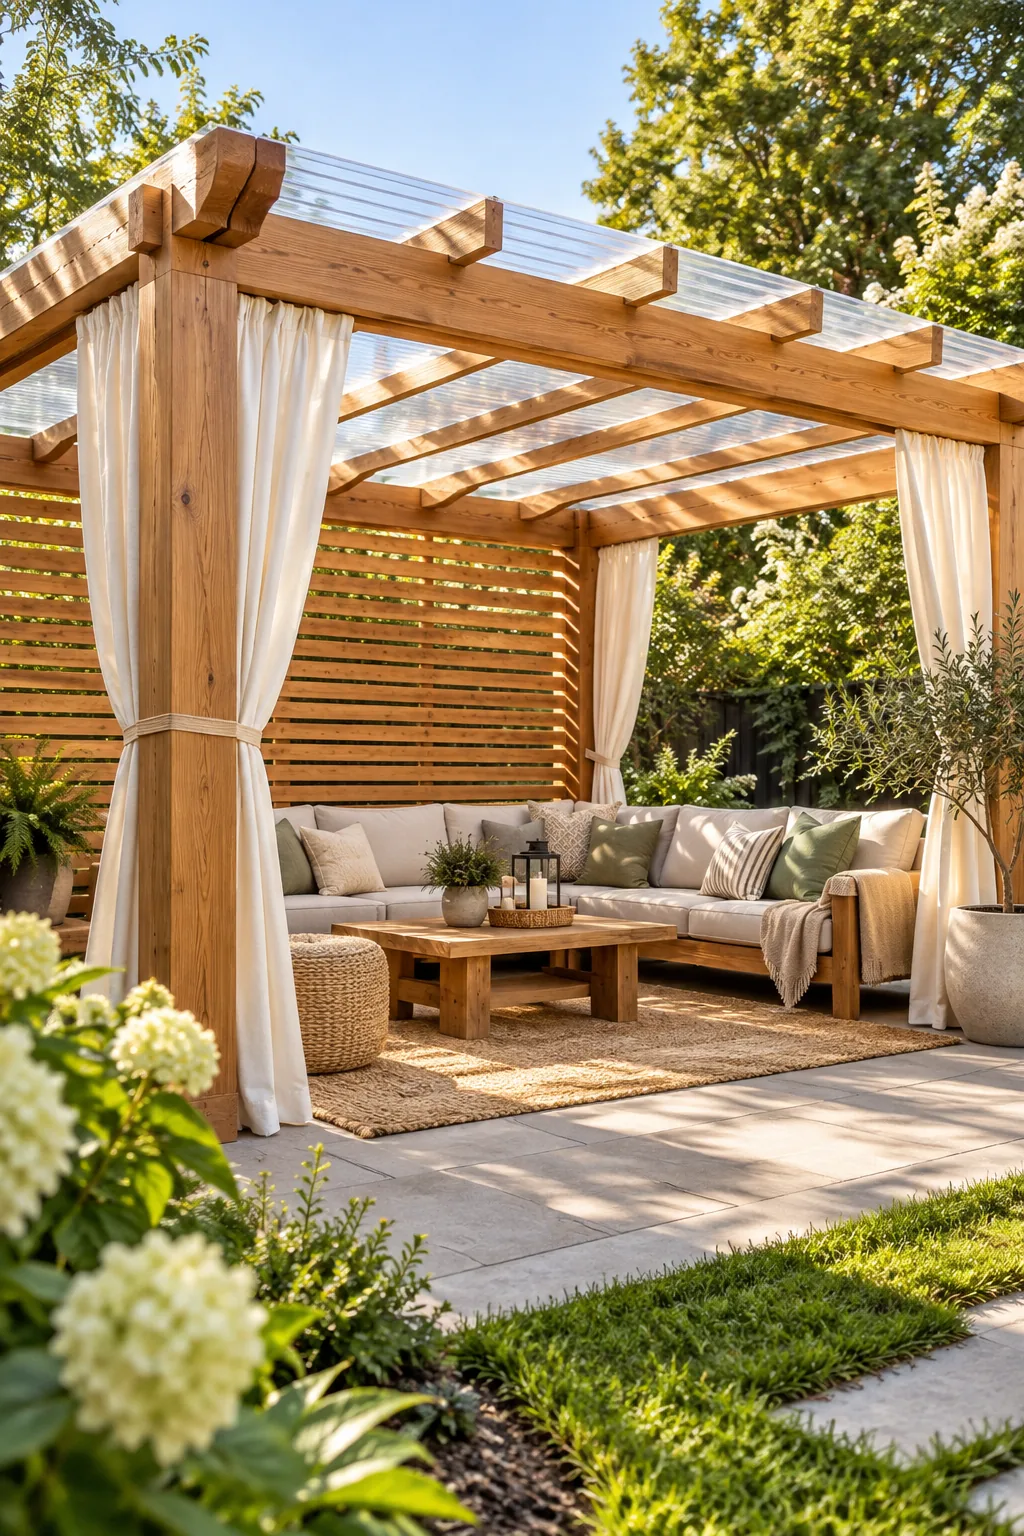
I spent weeks mapping out our Austin patio with painter’s tape to ensure our sectional and coffee table would actually fit before buying a single board. Visualizing the layout on the ground prevents costly sizing mistakes later on.
Framing the Overhead Canopy
Constructing the primary roof frame requires securing the thick cedar beams across the top of your vertical supports to create an incredibly stable grid. This robust wooden framework serves as the essential foundation for your weather-resistant clear canopy.
- Measure and mark the exact placement for each of the nine roof rafters to ensure perfectly even weight distribution across the entire structure.
- Secure the heavy 2×8 cedar support beams using thick galvanized lag bolts that will easily resist rust and corrosion over years of exposure.
- Check the overarching frame for perfect squareness by measuring diagonally from corner to corner before permanently attaching any of the clear top panels.
Pitching the Roof for Drainage
Building a slight slope into the overhead structure guarantees that heavy summer rainstorms slide right off the clear panels instead of pooling dangerously in the center. Aim for a gentle 1-inch drop per foot to ensure rapid water runoff without compromising the modern aesthetic.
Securing the Polycarbonate Panels
Laying the lightweight clear polycarbonate panels across the sloped wooden rafters requires careful alignment to ensure the vital overlapping seams sit perfectly straight. Starting from the lowest downwind corner prevents harsh prevailing breezes from lifting the delicate edges during intense storms.
Sealing the Roof with Foam Closure Strips
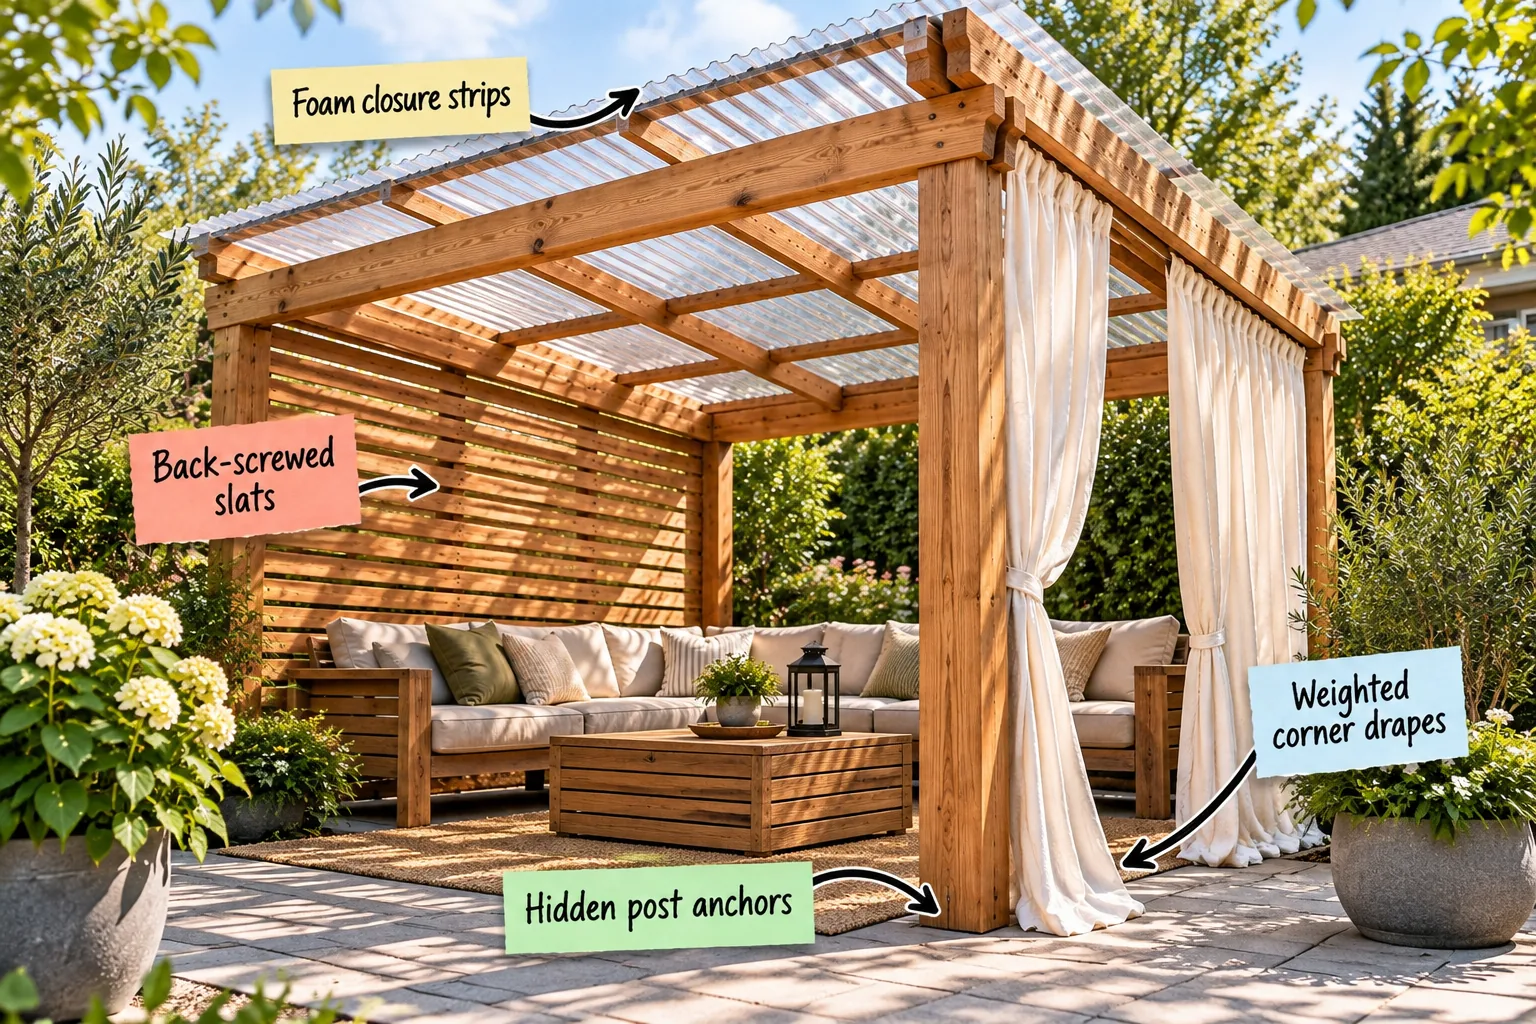
Corrugated clear polycarbonate panels keep rain out, but to effectively block howling wind and tiny insects, you must insert matching foam closure strips directly beneath the panels along the wooden purlins. This crucial step completely seals the outdoor room.
- Wipe down the wooden roof purlins with a dry cloth to remove any leftover sawdust or rough debris that might prevent a perfectly tight, waterproof seal.
- Slide the precision-cut foam strips firmly into the wavy gaps underneath each clear polycarbonate panel, ensuring they sit flush against the timber framing.
- Drive specialized roofing screws equipped with flexible rubber washers every 12 inches along the supports to lock the panels and foam down securely.
Trimming the Roof Overhang
Leaving a generous two-inch overhang along the front and side edges of the clear canopy directs heavy rainwater completely away from the wooden privacy wall. This crucial drip edge prevents standing water from slowly rotting the horizontal cedar slats over time.
Building a Clean Slatted Privacy Wall
Driving exterior screws from the back of the vertical supports directly into the horizontal slats keeps the visible front face completely flawless and hardware-free. This meticulous installation technique elevates the entire structure from a basic DIY build to professional-grade architecture.
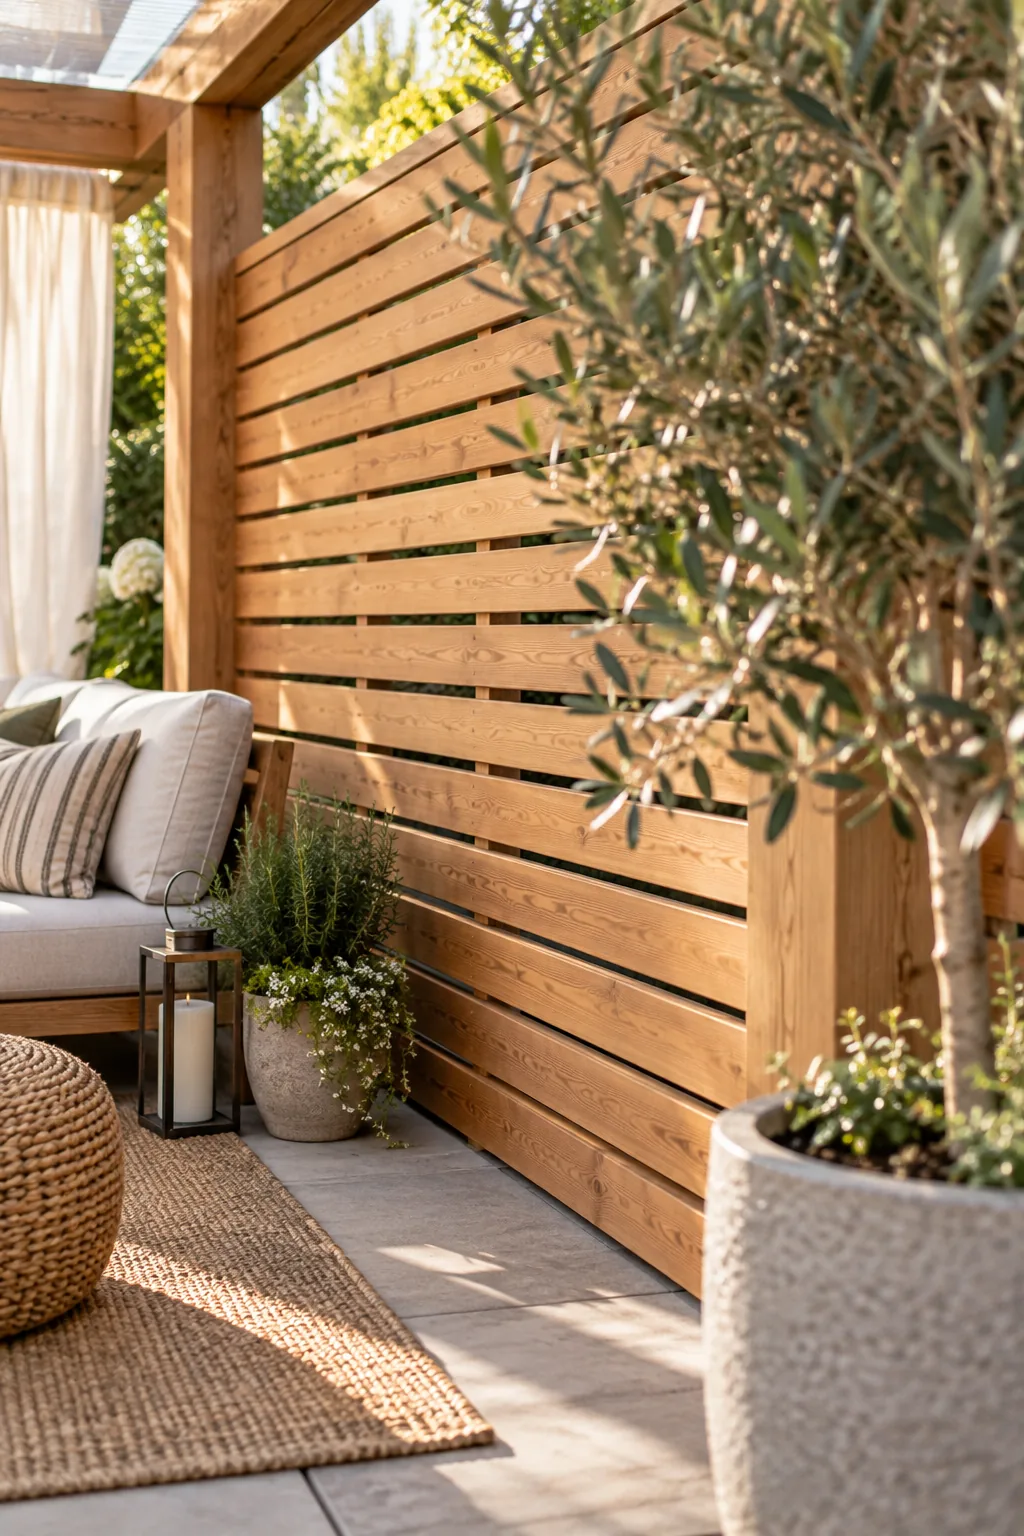
Achieving that high-end architectural look relies entirely on uniform spacing, a frustrating lesson I learned the hard way on my first wonky garden trellis. Creating a physical wooden template speeds up the repetitive installation dramatically while eliminating math errors.
Spacing the Timber Slats Properly
Maintaining exactly one inch of negative space between each horizontal cedar slat strikes the perfect balance between blocking harsh afternoon sunlight and allowing cooling cross-breezes to flow through the shelter. This specific ratio transforms the wall into a highly effective windbreak during blustery transitional seasons.
Choosing Outdoor-Grade Fabrics
Selecting solution-dyed acrylic or high-performance olefin fabrics ensures your decorative textiles will resist fading under intense UV exposure while actively repelling stubborn mildew growth during damp spring weather. These specialized materials maintain their crisp, vibrant appearance even when left outside exposed to the elements year-round.
Hanging Weighted Corner Drapes
Softening the heavy timber architecture with outdoor-grade linen curtains makes the space feel like a true room, while sewing heavy drapery weights into the bottom hem creates elegant weighted corner drapes. When I added these to my own pergola, it stopped the fabric from blowing wildly in the Texas breeze.
Installing Hidden Post Anchors
Securing the massive 6×6 main posts requires heavy-duty foundational support, but using concealed post bases that slot entirely inside the wood avoids bulky, visible exterior metal brackets. This clever hardware choice preserves the clean, minimalist lines of your modern outdoor sanctuary.
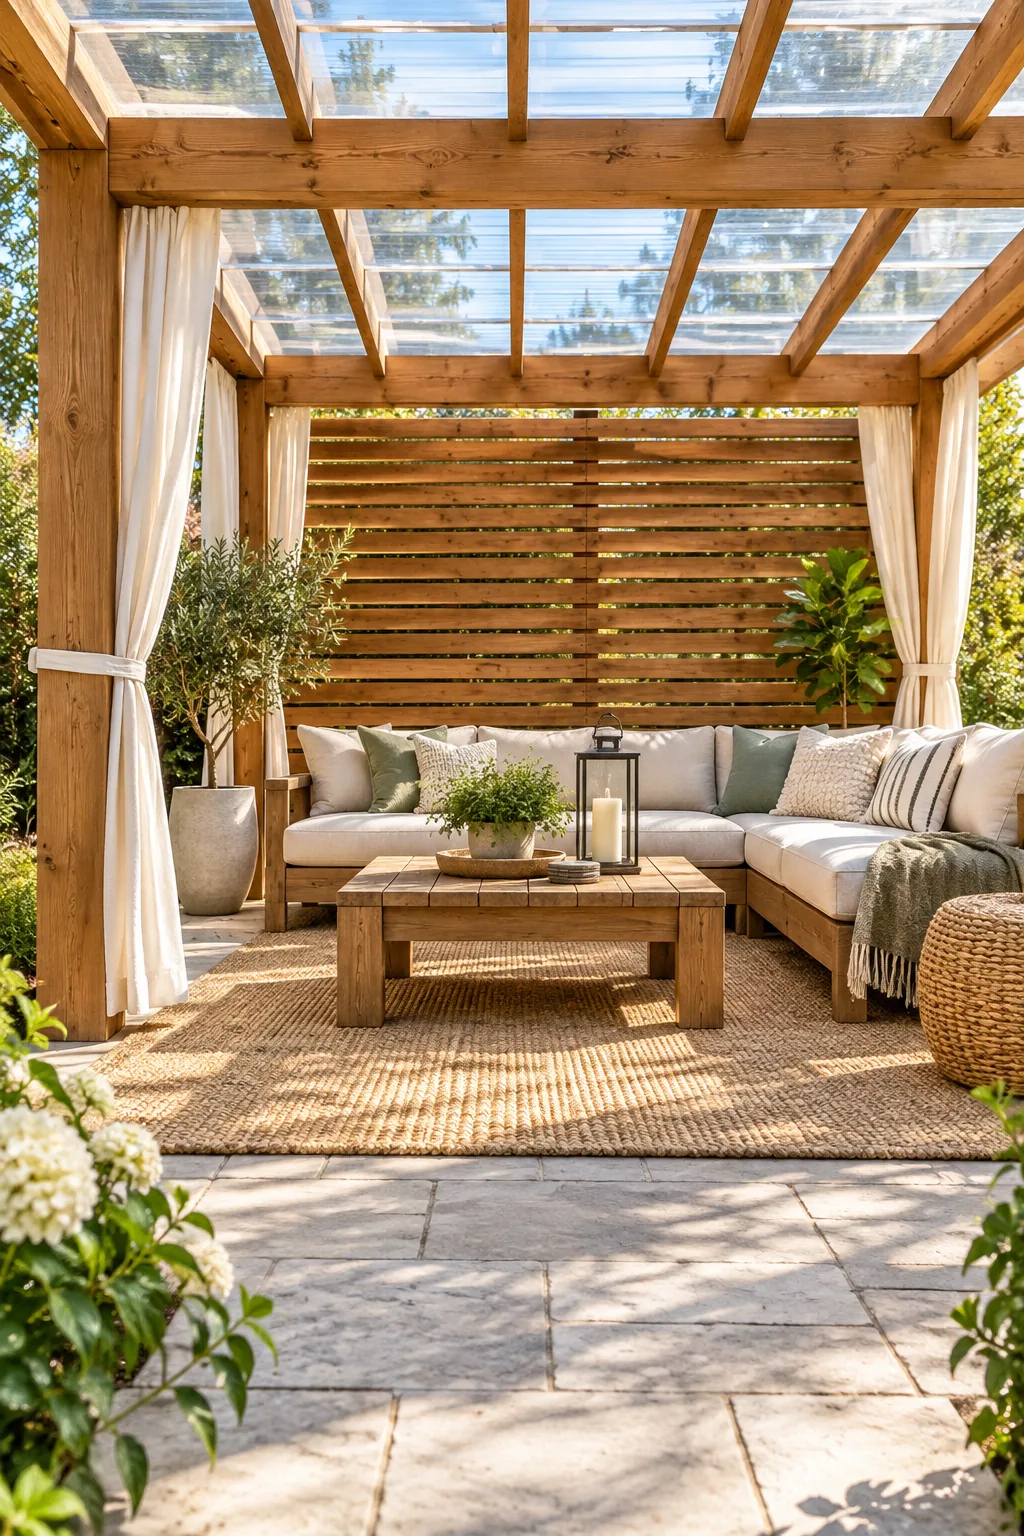
These specialized hidden post anchors bolt directly into the solid concrete patio and slide right into a thin kerf cut hidden inside the bottom of the wood. This creates a seamless floating look while providing immense structural stability against high winds.
Securing the Main Support Posts
Drilling a precise vertical slot into the center base of each wooden pillar allows the metal anchoring plate to slip entirely out of sight. Fastening them with heavy-duty structural screws guarantees the towering frame remains perfectly plumb and incredibly rigid against strong lateral winds.
Selecting All-Weather Furniture
Maintaining a generous 36-inch walkway clearance around your outdoor sectional and coffee table keeps the outdoor room feeling exceptionally spacious. This essential spacing prevents frustrating bottlenecks at the main entry points when hosting large summer gatherings.
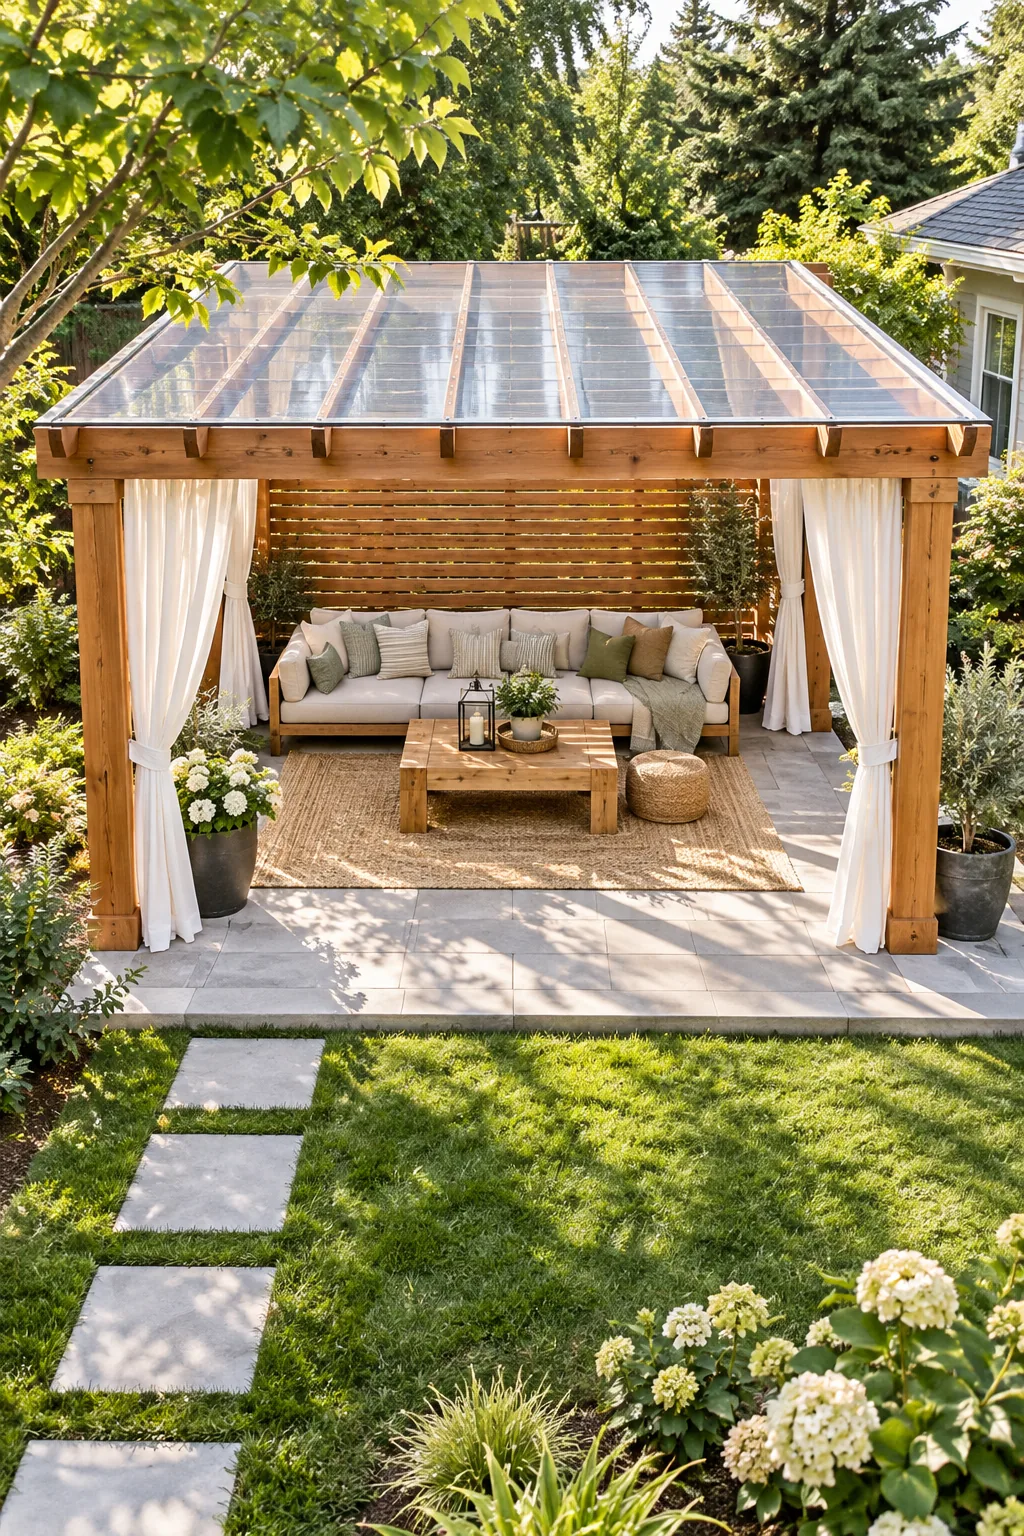
I always recommend choosing deep-seated lounge furniture equipped with specialized quick-dry foam cushions. This smart material upgrade ensures your newly protected shelter is comfortably ready to use just minutes after a heavy summer thunderstorm passes through the neighborhood.
Arranging the Outdoor Sectional
Pushing the longest edge of your modular sofa firmly against the newly built slatted privacy wall anchors the seating arrangement and creates a cozy, protected corner. This strategic placement maximizes your usable floor space while directing everyone’s view outward toward the open garden.
Adding Ambient Outdoor Lighting
Stringing commercial-grade bistro lights along the massive cedar beams instantly transforms the daytime shelter into an inviting evening retreat. Securing the heavy-duty outdoor cables with insulated metal staples keeps the wiring perfectly taut and completely hidden from view during the day.
Weatherproofing the Timber
Even with a protective clear roof overhead, outdoor wooden structures face constant daily exposure to fluctuating humidity and extreme temperature swings. Avoiding a few common construction errors will easily double the lifespan of your beautiful new backyard pergola.
Applying the Penetrating Oil Sealer
Coating the raw cedar or treated pine structure with a high-quality, UV-blocking penetrating oil sealer enriches the natural wood grain while actively repelling damaging moisture. Brushing this vital protective layer onto all the individual lumber pieces prior to assembly guarantees complete, uninterrupted coverage.
The Complete Material and Cut List
Reviewing the exact quantities of heavy lumber, clear polycarbonate panels, and structural hardware required before starting the build ensures you only make one trip to the hardware store. Gathering everything at once keeps your weekend construction project moving forward without frustrating delays.
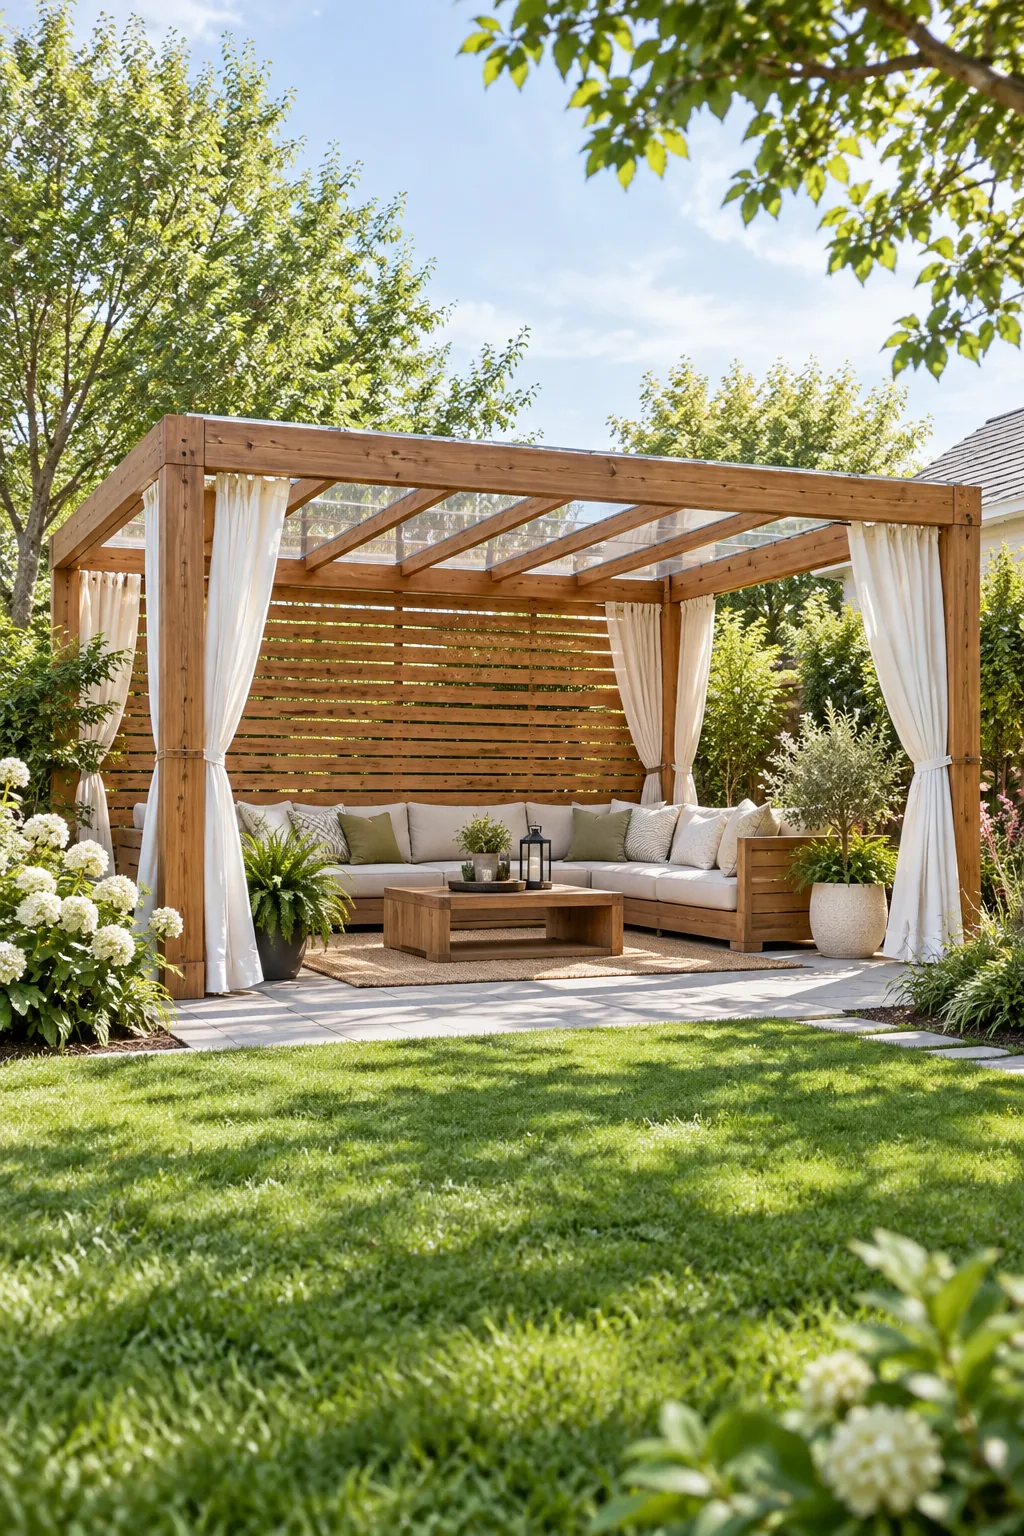
I always print out my master cut list and physically check off each individual piece as I run it through the miter saw. This simple habit keeps the whole project incredibly organized and stress-free, even when tackling a massive build.
| Material Zone | Lumber Specs | Exact Quantity | Primary Purpose |
|---|---|---|---|
| Main Support | 6×6 treated timber | 4 pieces | Vertical corner posts |
| Overhead Frame | 2×8 rough cedar | 4 pieces | Horizontal primary beams |
| Roof Grid | 2×6 rough cedar | 9 pieces | Sloped roof rafters |
| Privacy Wall | 1×3 smooth cedar | 32 pieces | Horizontal windbreak slats |
| Clear Canopy | Polycarbonate | 6 panels | Overhead rain protection |
| Structural Fixings | Exterior screws | 3 boxes | Overall frame assembly |
4 Ways to Style a Covered Pergola
Find the perfect architectural finish and color palette for your backyard retreat.
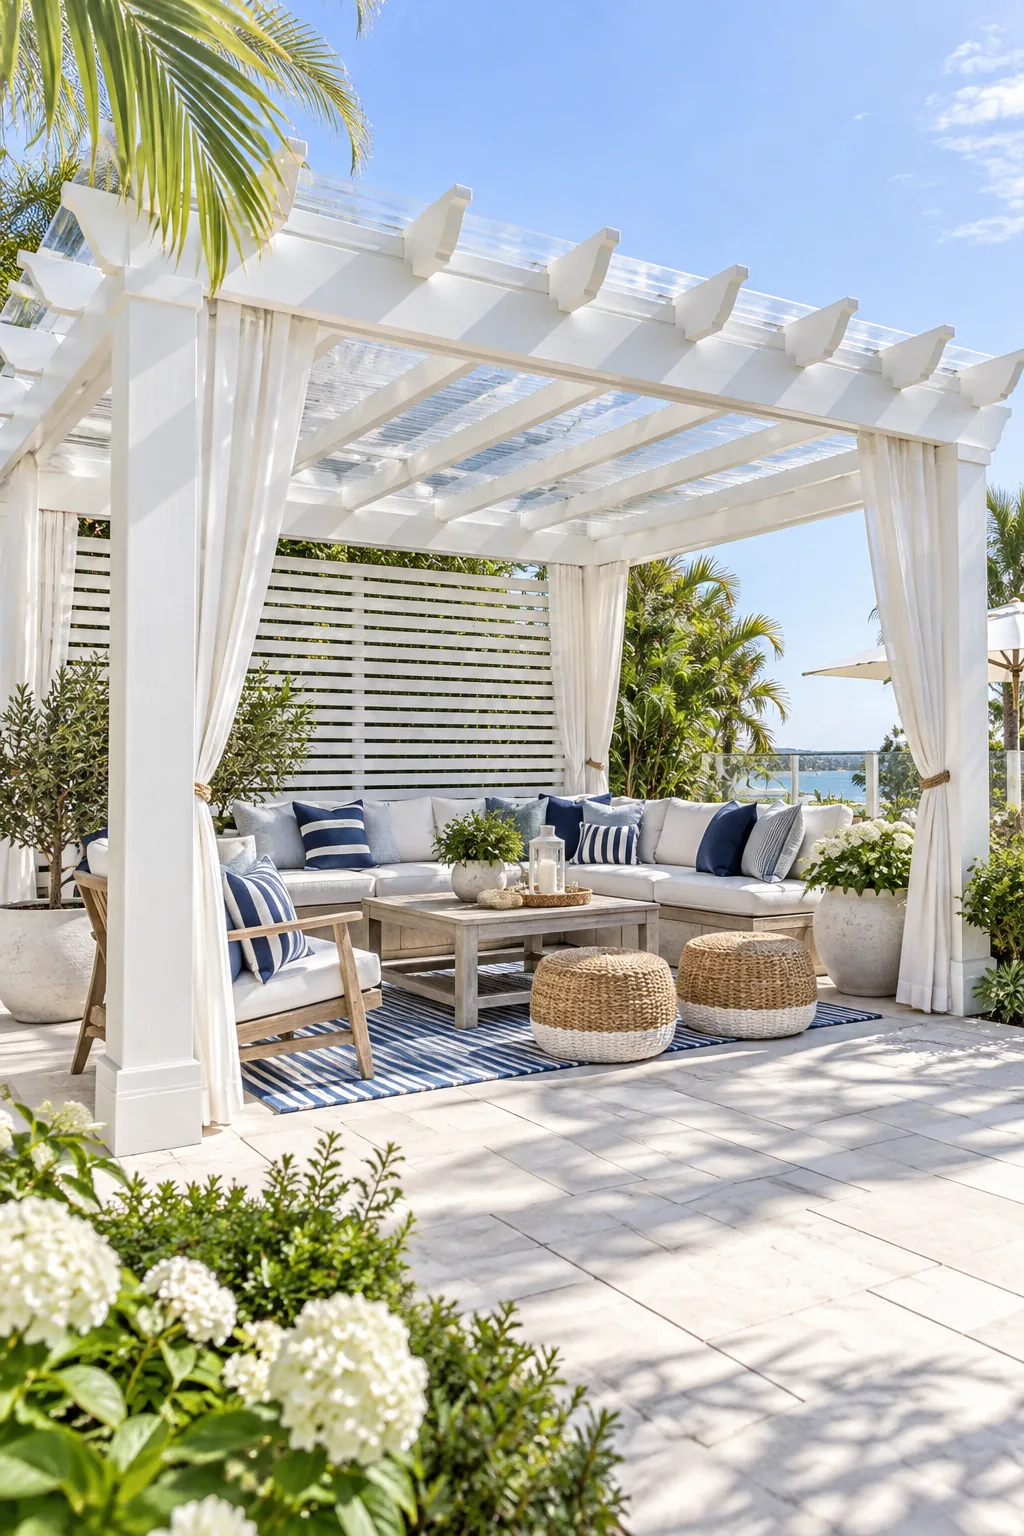
Crisp Coastal White: Brighten a shady patio by painting the entire structure crisp white and adding classic navy accents.
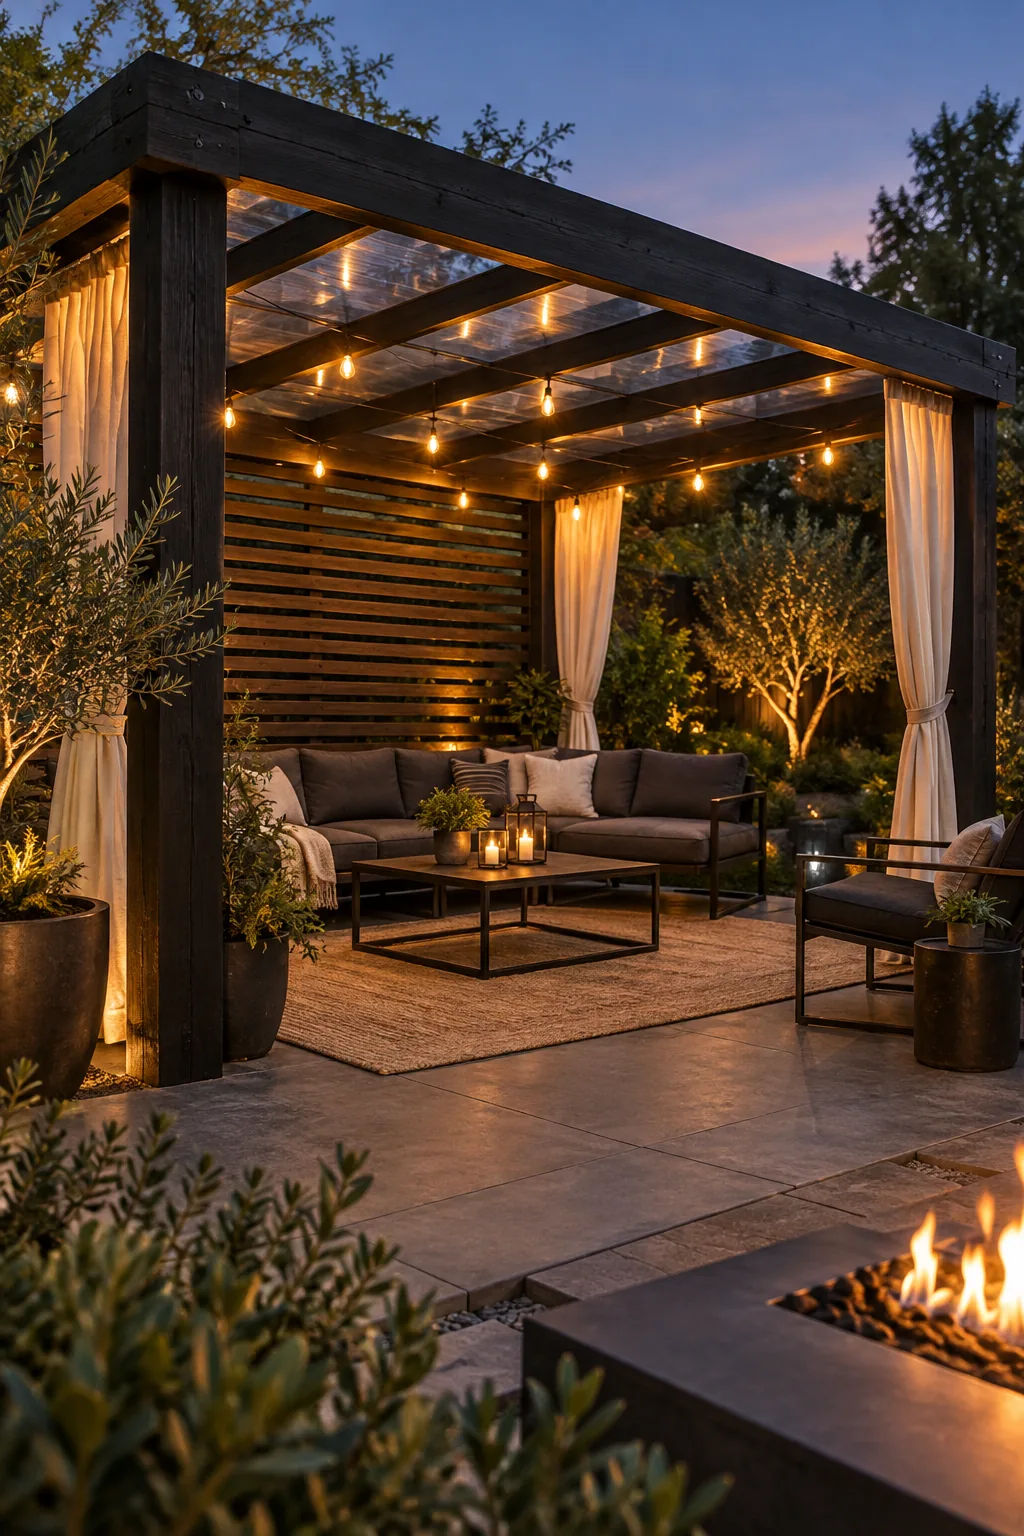
Moody Modern Black: Stain the timber matte black to create a striking architectural silhouette that pops against green landscaping.
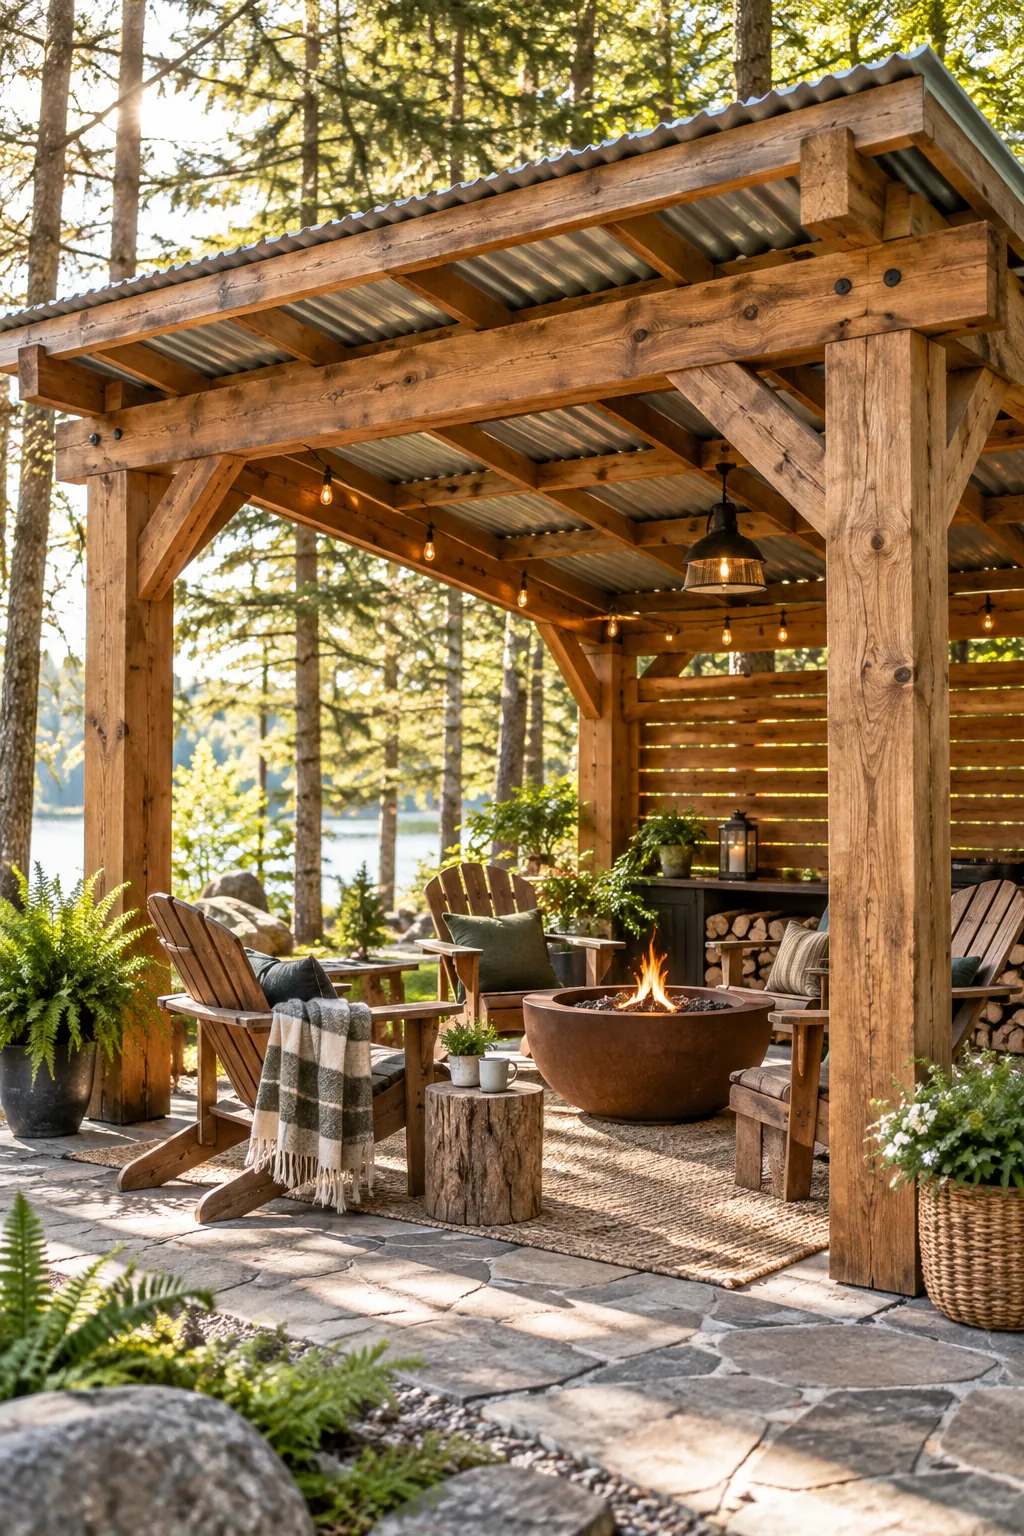
Rustic Cabin Cedar: Swap the clear panels for a corrugated metal roof to maximize shade in a woodland setting.
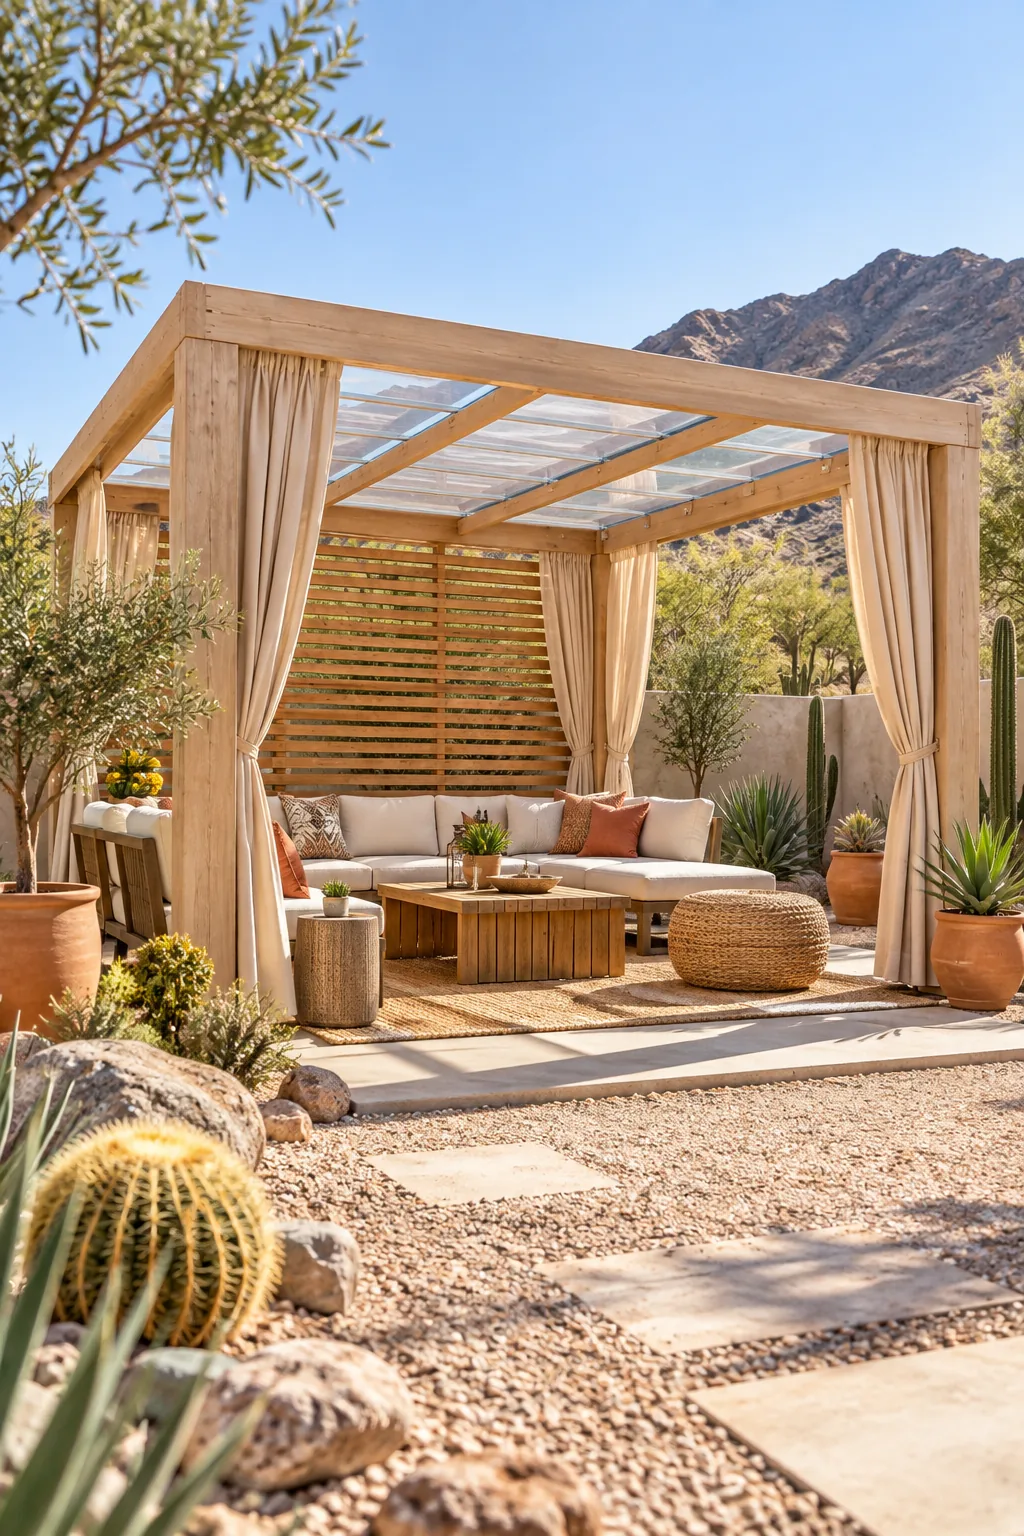
Warm Desert Oasis: Use pale ash wood and warm terracotta tones to complement a low-water gravel garden.