Renter-Friendly LED Bedroom Lighting & Printable Placement Sheet
Transforming your rental bedroom into a high-end retreat is entirely possible with the right LED placement strategy. You will be able to buy the correct strips, mount them safely, and use our Rental Bedroom LED Placement Sheet to set up all three glow zones perfectly.
Selecting the Perfect Warm Light
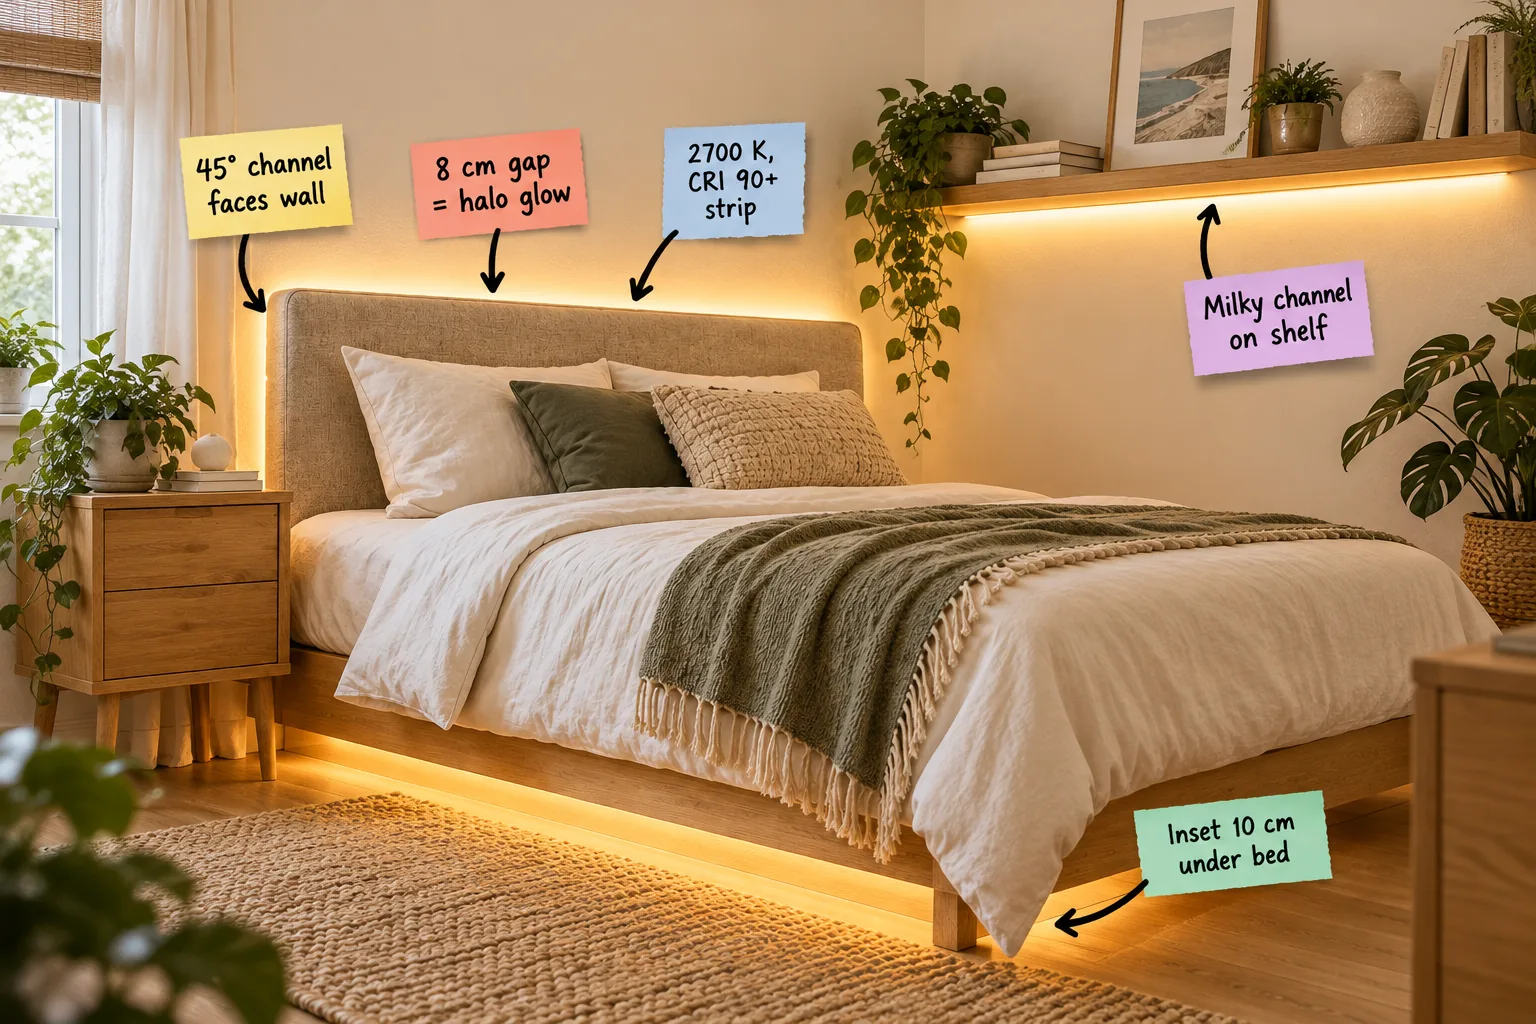
Building a cozy, hotel-like atmosphere starts with choosing a 2700 K, CRI 90+ strip to mimic traditional incandescent bulbs. This specific color temperature ensures your natural linen and oak tones look rich and true, rather than dingy or green.
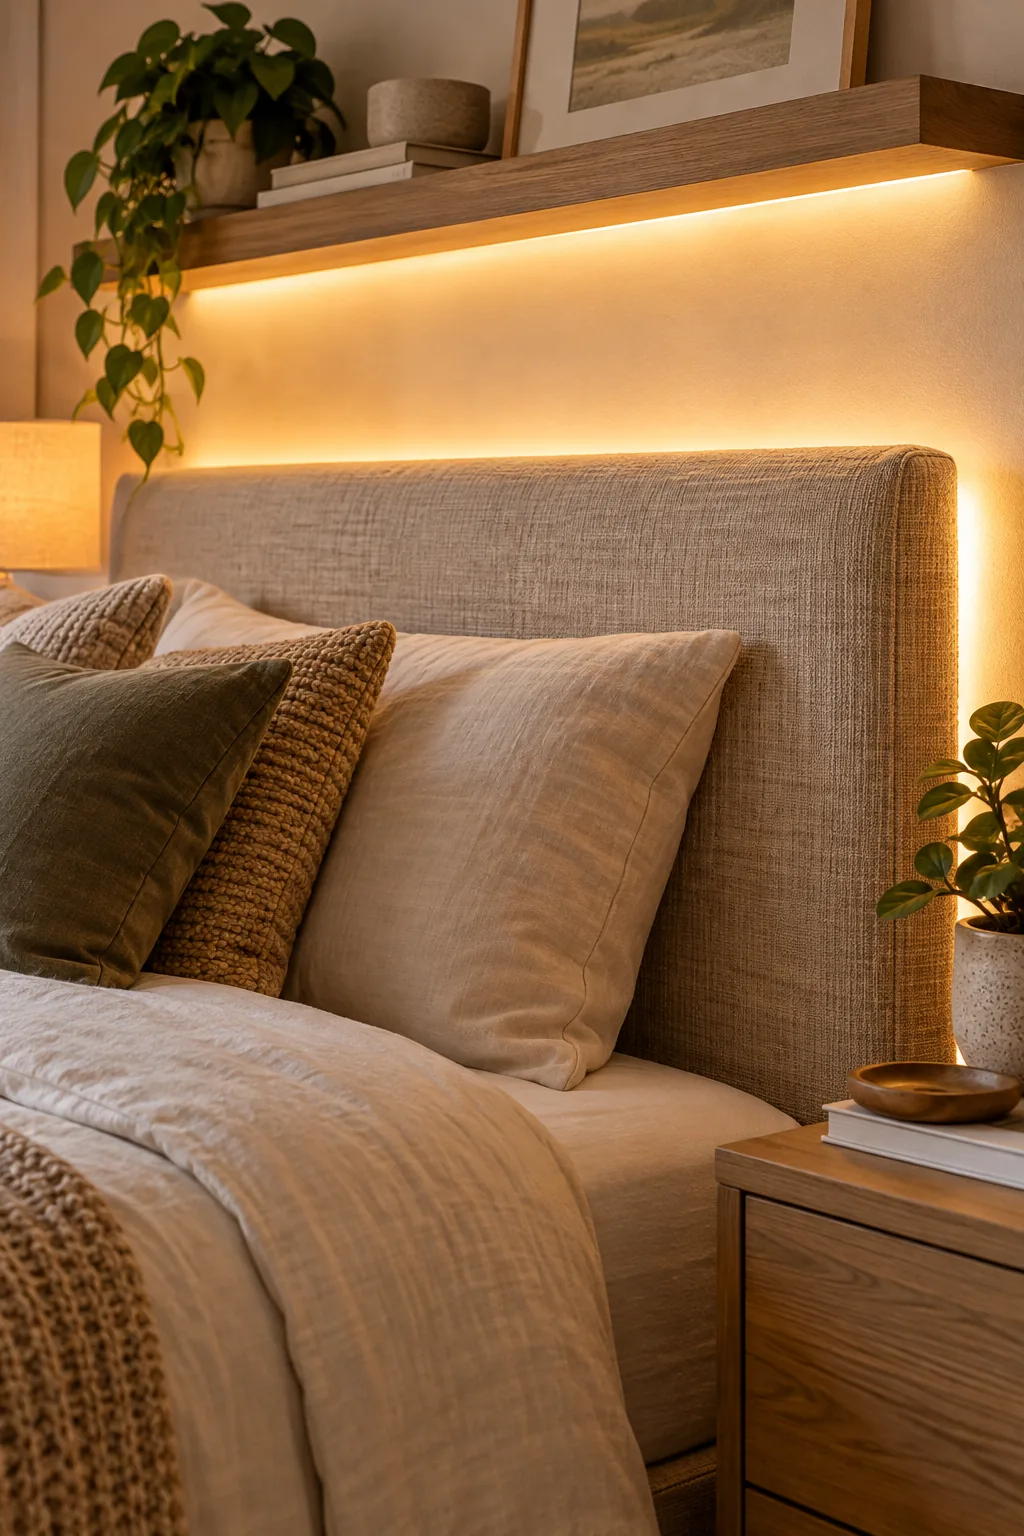
A common lighting mistake ruins the high-end hotel illusion instantly and makes a cozy bedroom feel stark.
Spacing the Headboard for a Halo Glow
Creating a soft arc of light requires exactly an 8 cm gap between the headboard’s back and your cream wall. This precise measurement allows the light to fan out into a beautiful, diffuse halo instead of creating a harsh line.
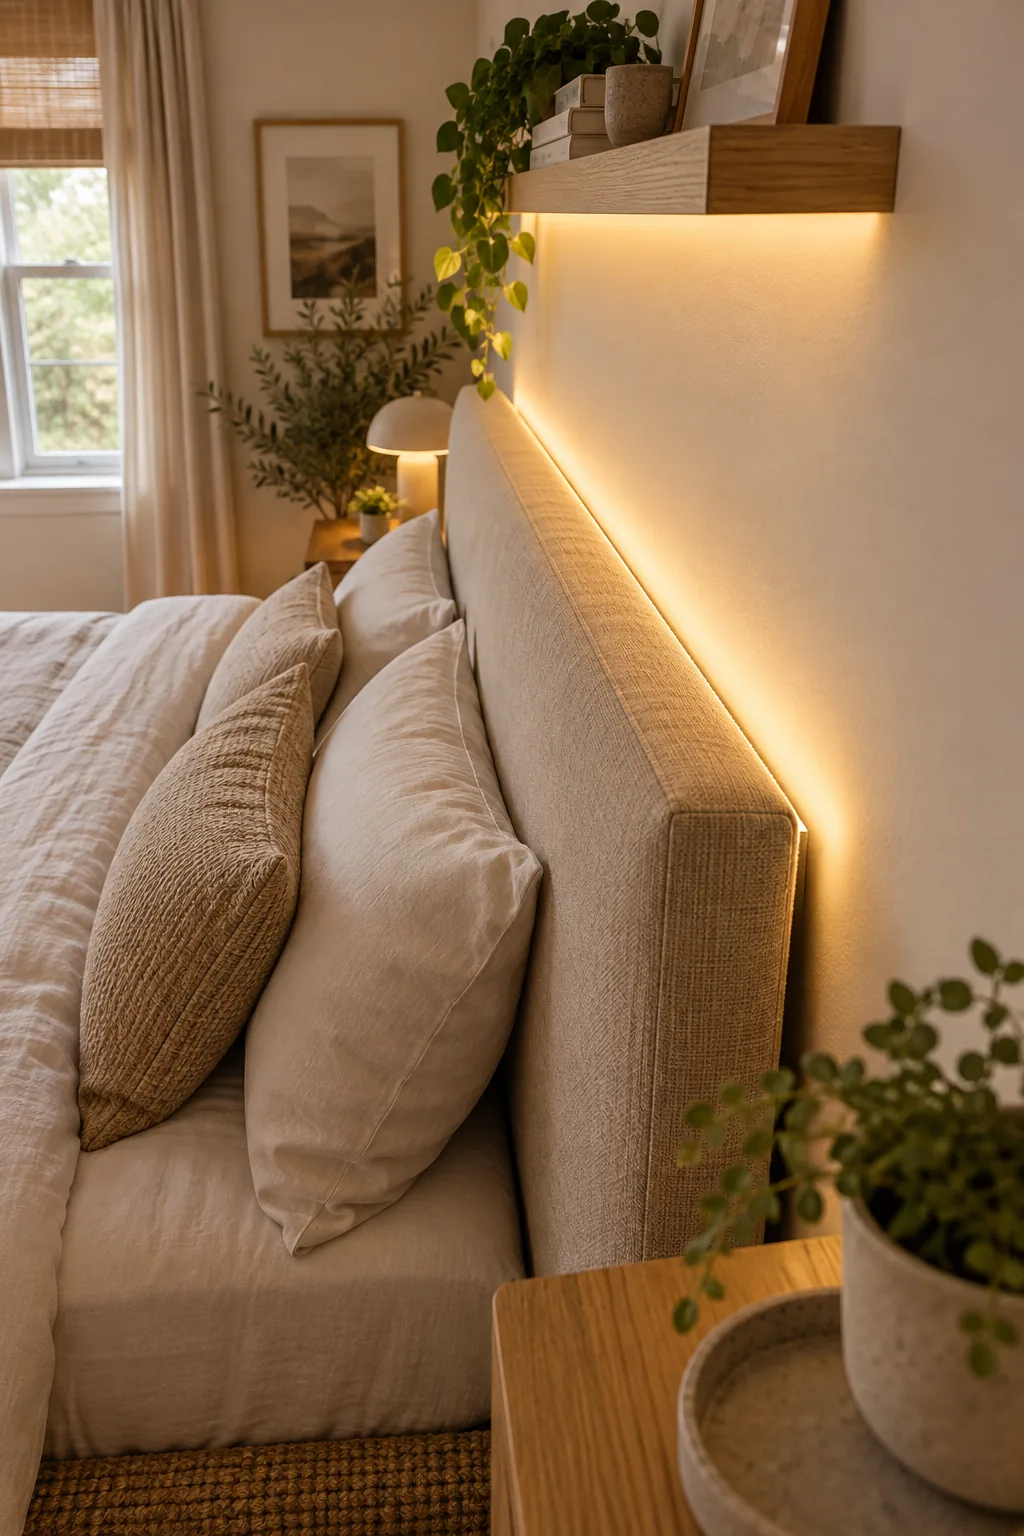
In my own Denver bedroom, I attached a small wooden spacer block behind the bed legs so I never accidentally crush that perfect gap when making the bed.
Angling the Light Toward the Wall
To achieve a sophisticated wash rather than trapping light against the fabric, ensure your 45° channel faces the wall. This slim angled aluminum corner profile clips along the hidden back edge of the headboard, directing the illumination perfectly.
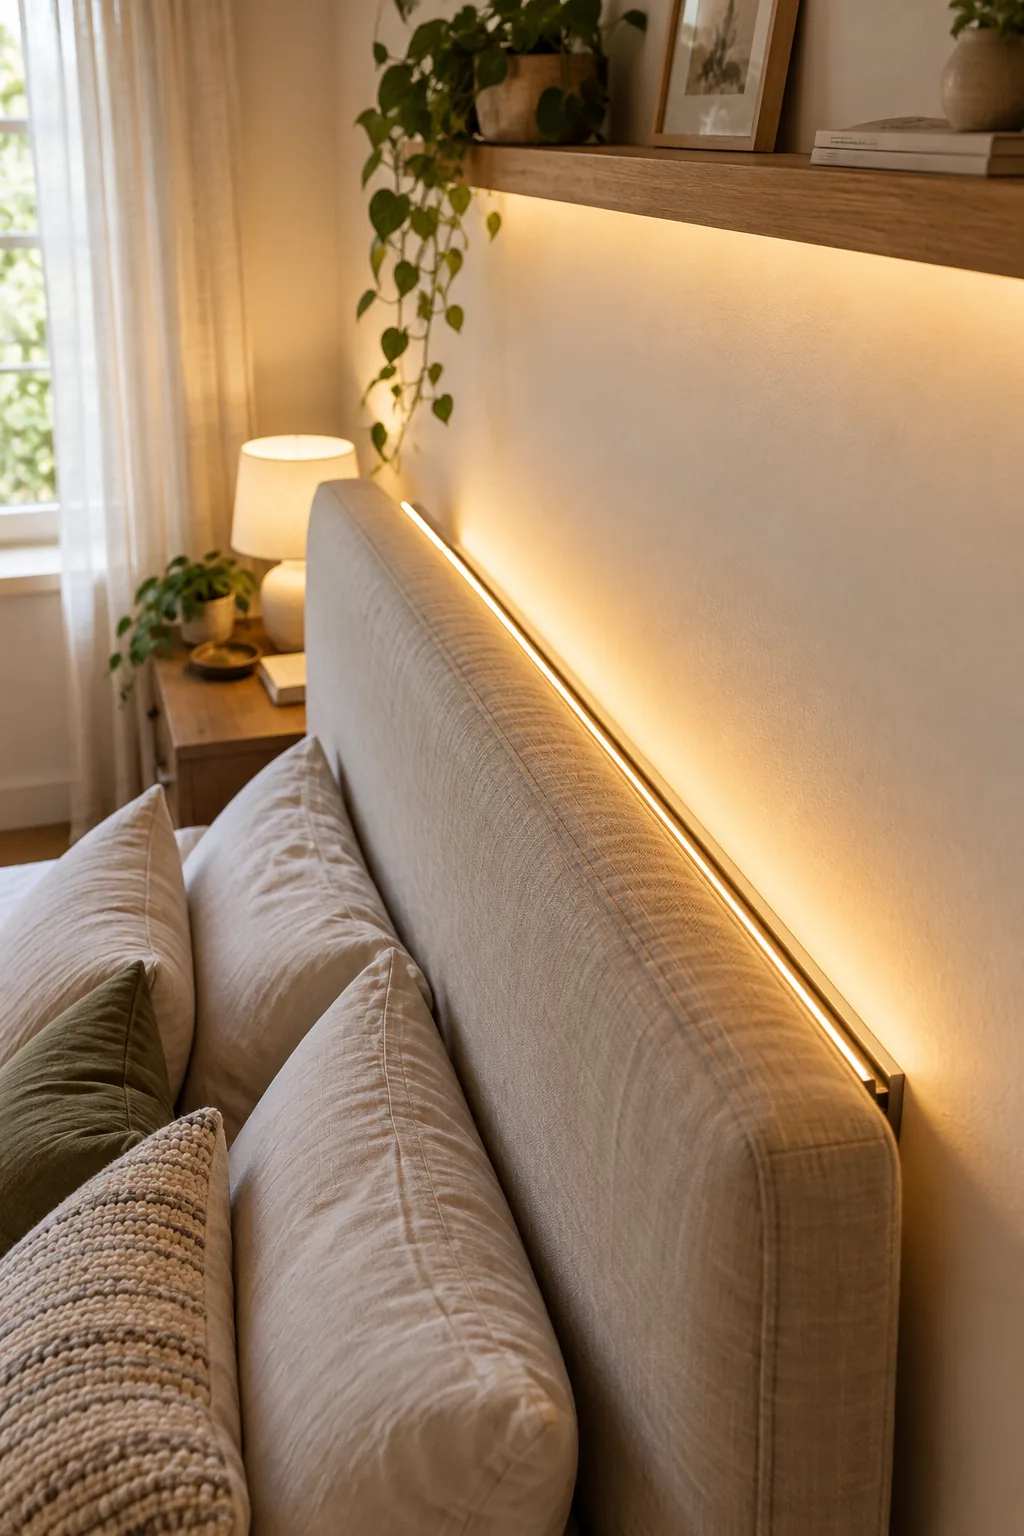
Aiming the light at this specific angle prevents it from shooting straight up at the ceiling, keeping the focus entirely on that soft ambient glow.
Diffusing the Floating Shelf
Floating shelves require a milky channel on the shelf bottom to look professionally installed. The frosted diffuser cover softens the light for your display pieces and blends the individual LED diodes into one continuous line.
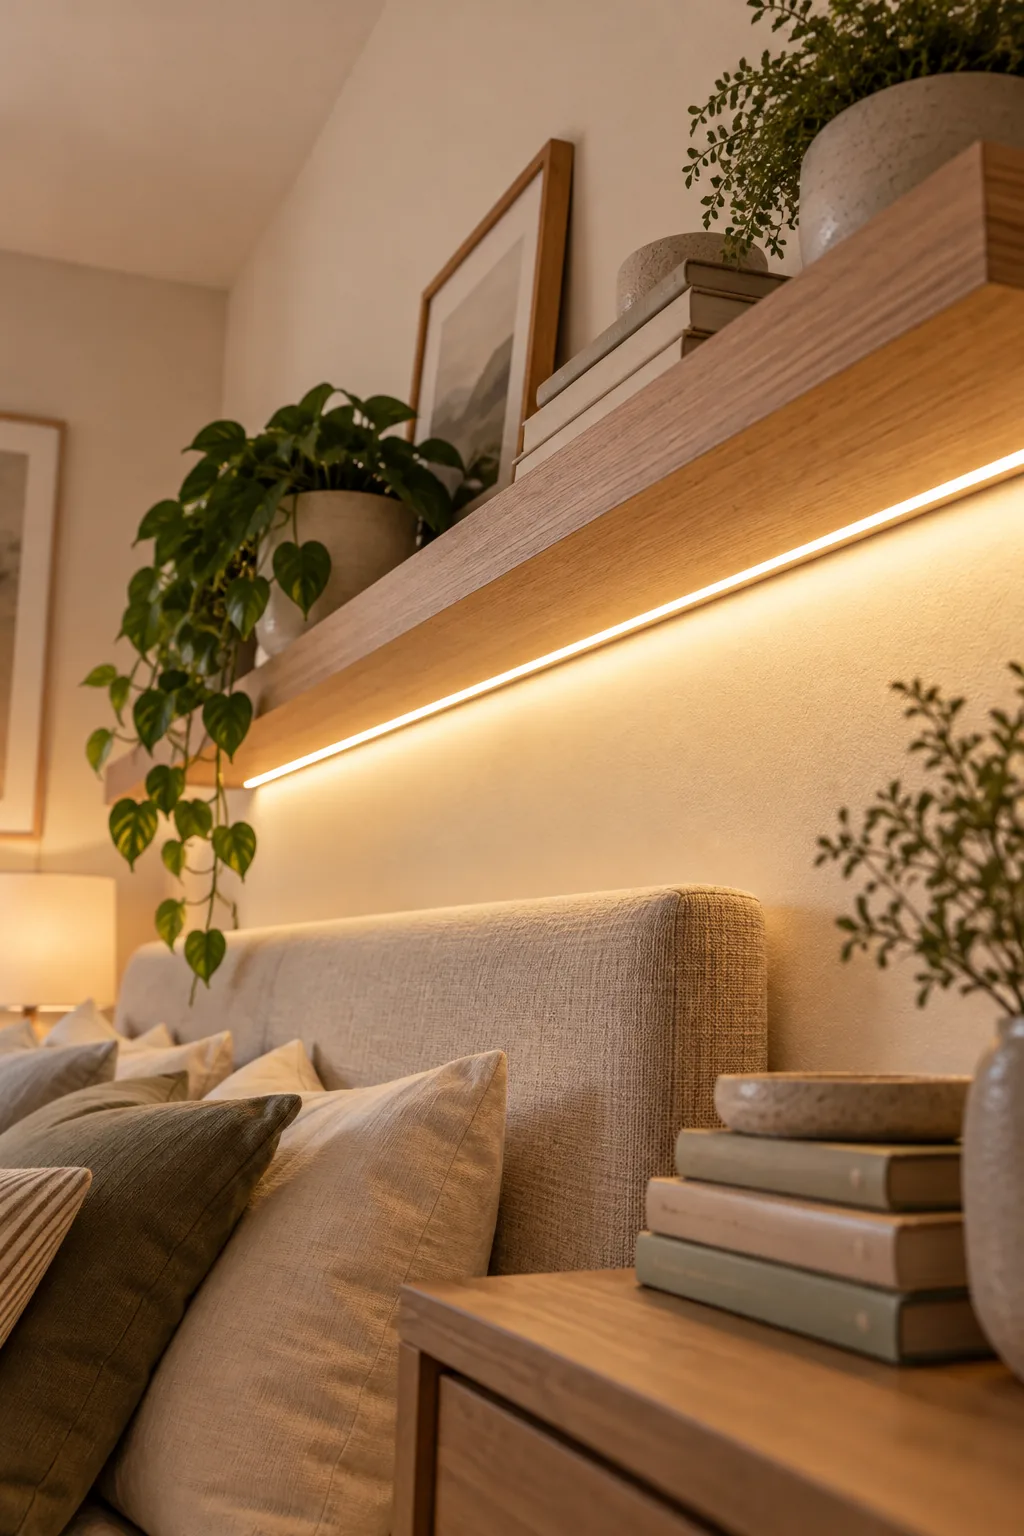
Without this frosted barrier, the raw diodes reflect off the wall and completely shatter the seamless, high-end illusion we are building.
Creating the Floating Bed Illusion
To maximize the soft pool of glow on the floor while completely hiding the hardware, you must inset 10 cm under the bed frame. Tucking the strip back at this exact depth ensures the light source remains invisible from any standing angle.
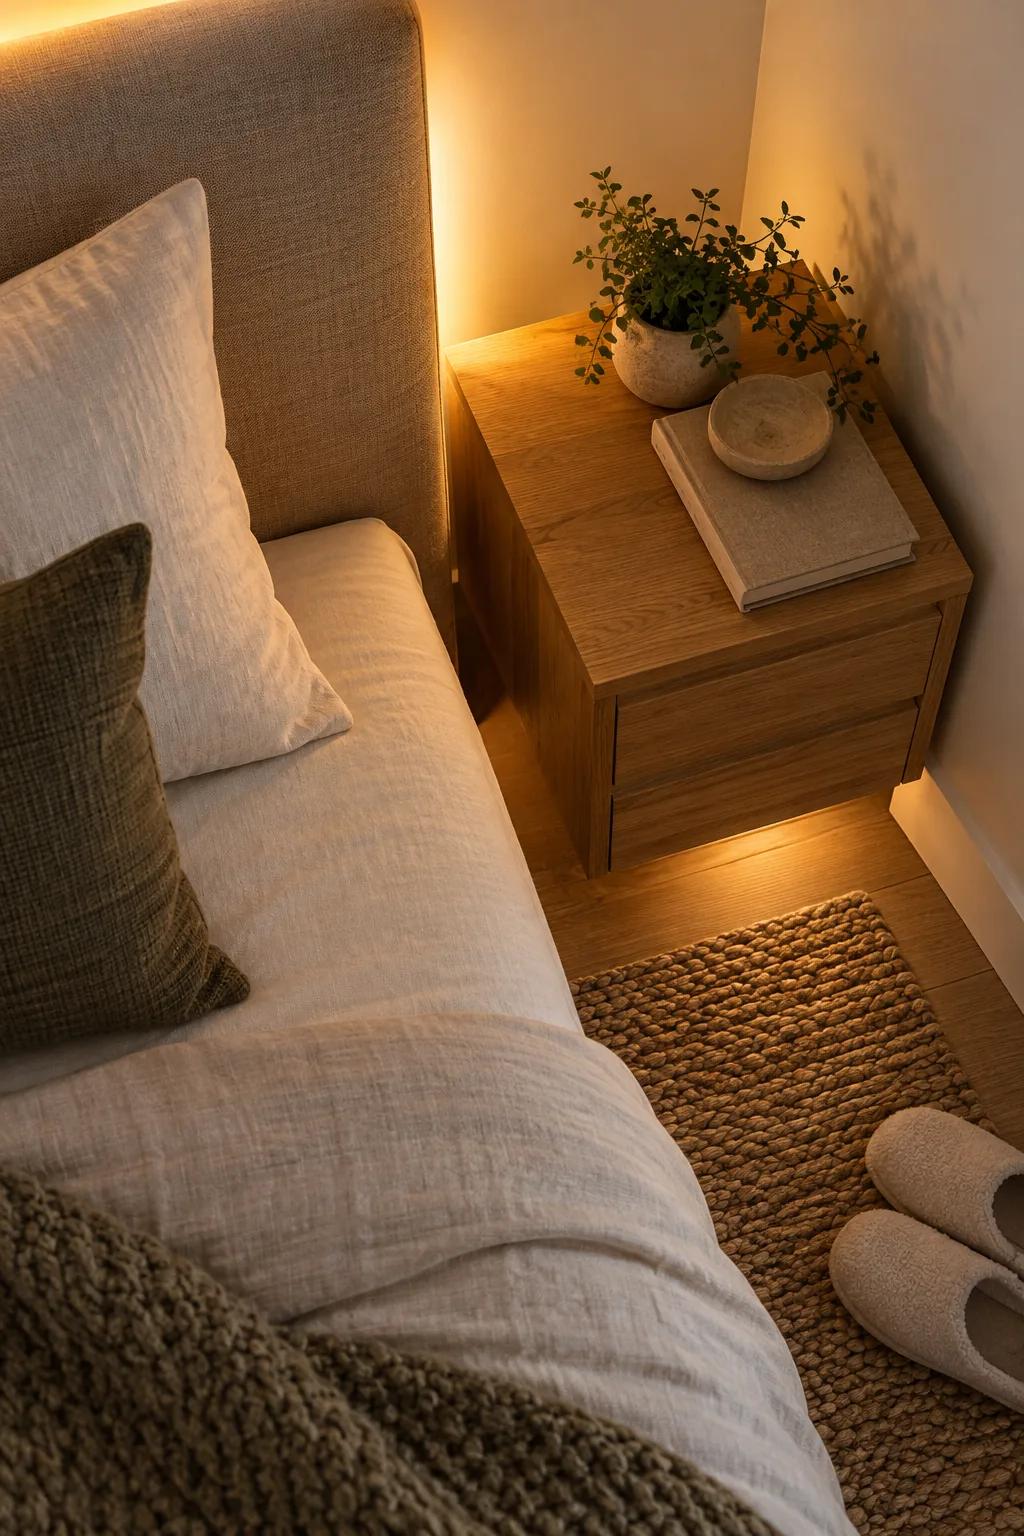
I used this exact 10 cm inset on a recent client project, and it immediately made their heavy oak bed frame look as lightweight as a cloud.
Renter-Safe Installation Tricks
To protect your lease, mount your aluminum channels directly to your furniture rather than the drywall. Using heavy-duty removable adhesive strips on the headboard and bed frame keeps your walls completely pristine.
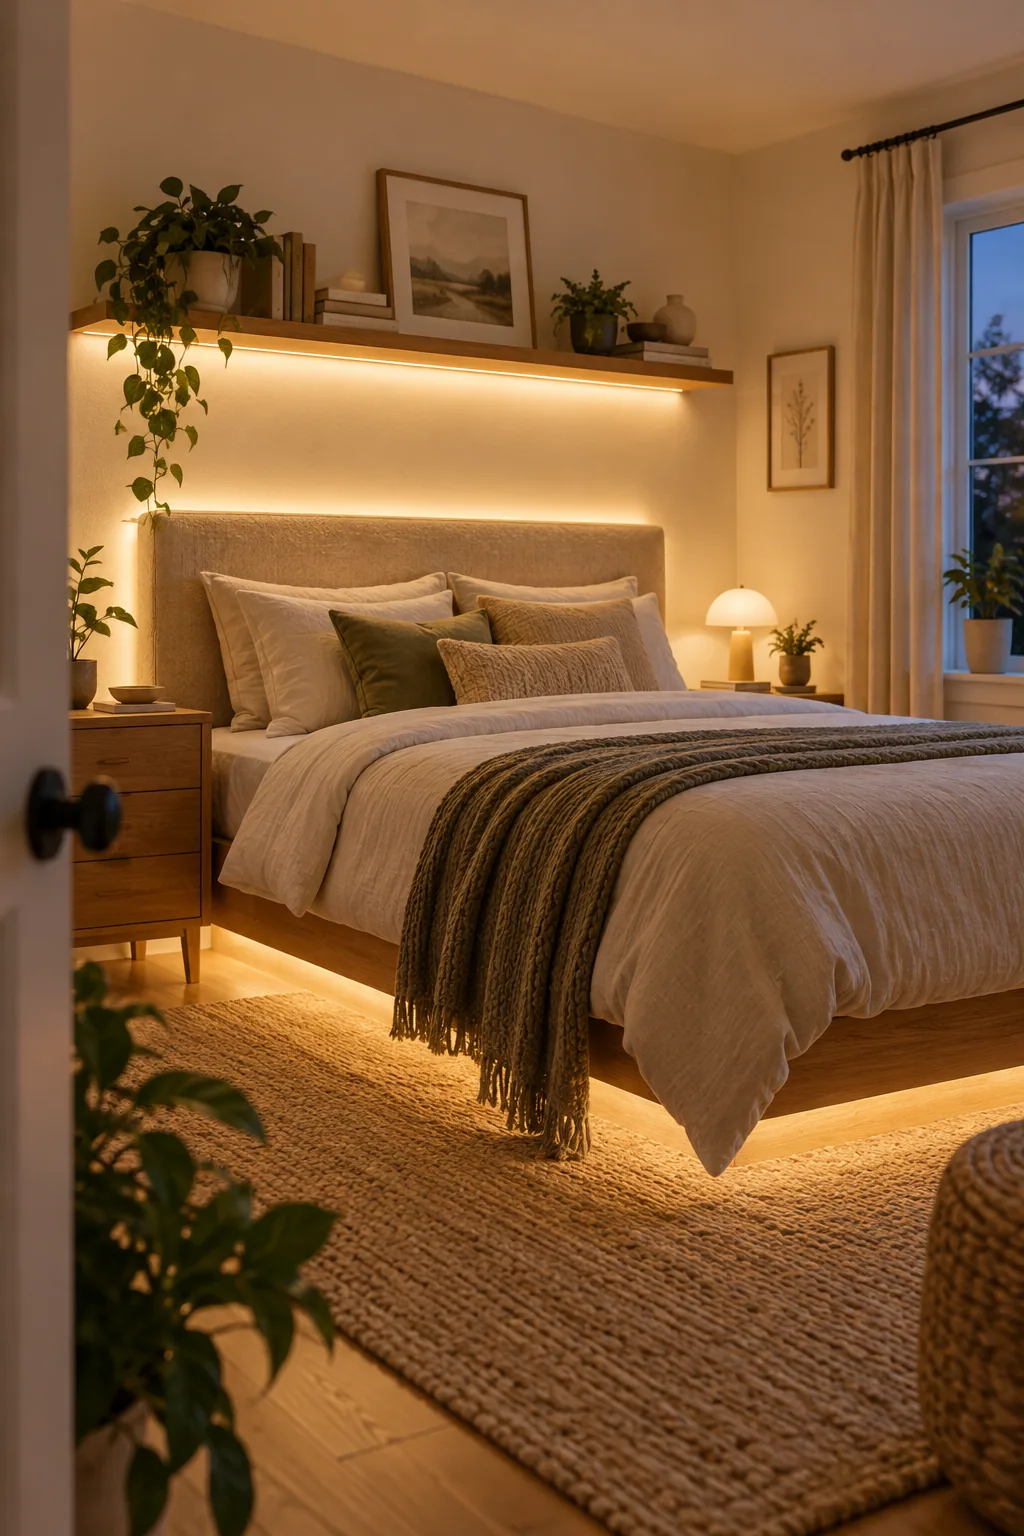
Before attaching anything to your rental walls or furniture, properly prepare the surfaces to ensure the channels never fall.
Your Printable LED Placement Sheet
Our Rental Bedroom LED Placement Sheet lists the exact strip lengths, mounting surfaces, and color settings needed to recreate all three glow zones perfectly. Simply download the one-page chart and take it with you when shopping for your renter-safe supplies.
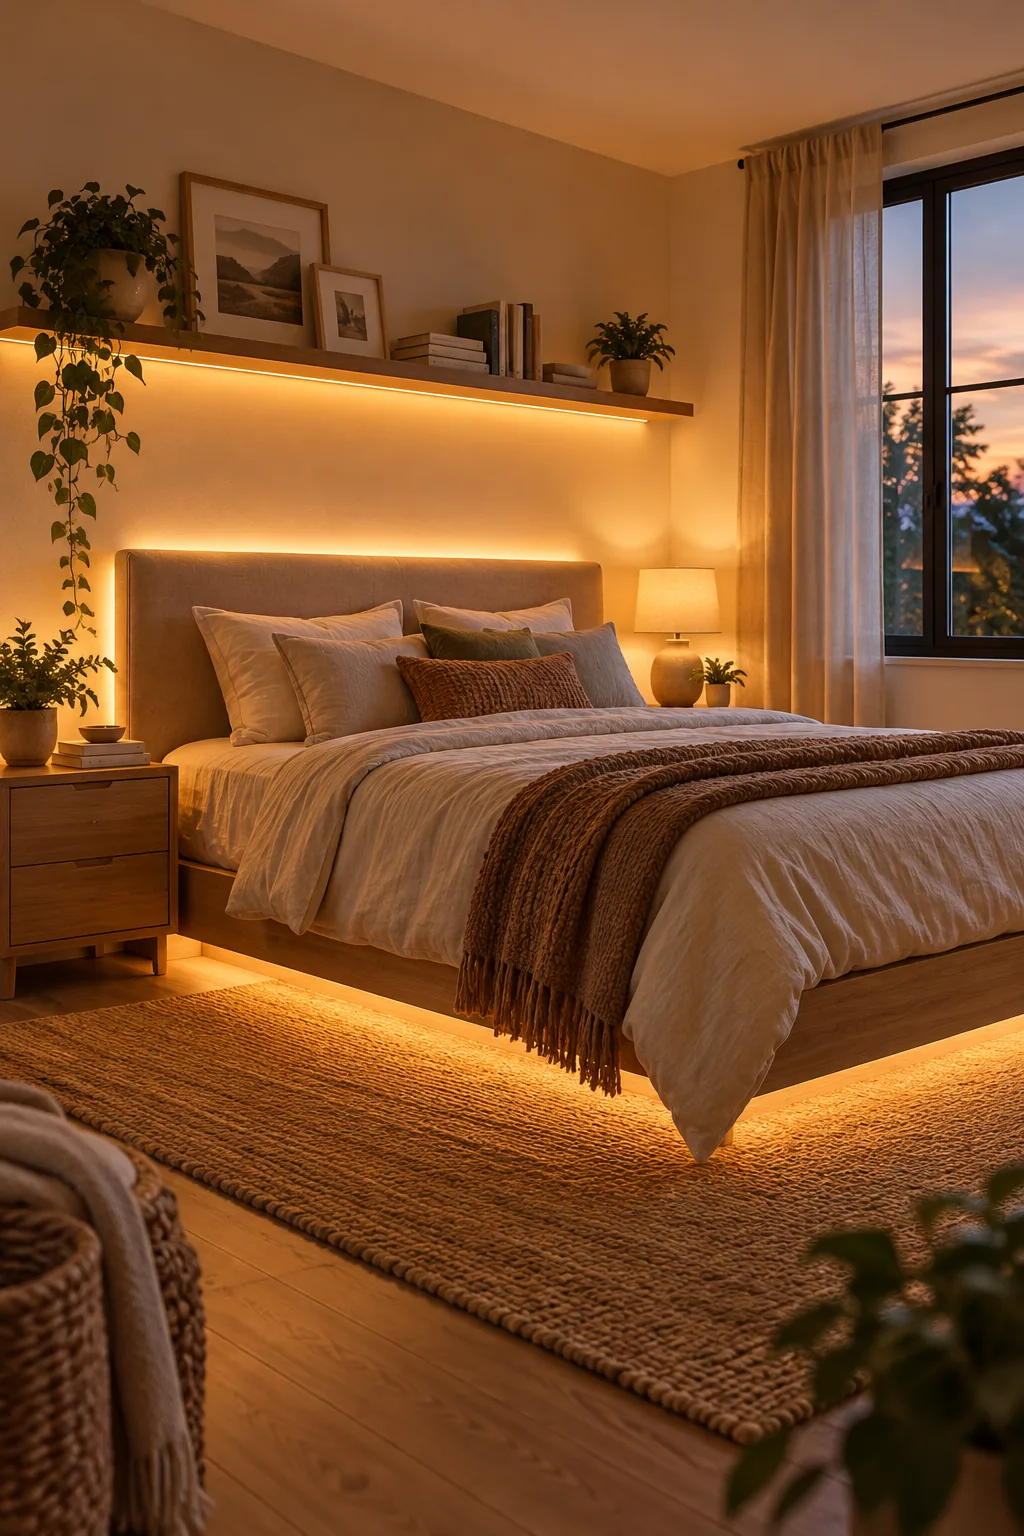
I keep a printed copy of this exact placement sheet in my own project binder because it eliminates all the guesswork from multi-zone lighting setups.
| Glow Zone | Wall Gap / Inset | Channel Type |
|---|---|---|
| Headboard | 8 cm gap | 45° angled |
| Floating Shelf | Flush mount | Milky frosted |
| Bed Frame | 10 cm inset | Standard flat |
More Ways to Style Hidden LED Lighting
See how adjusting the color temperature and placement transforms different spaces.
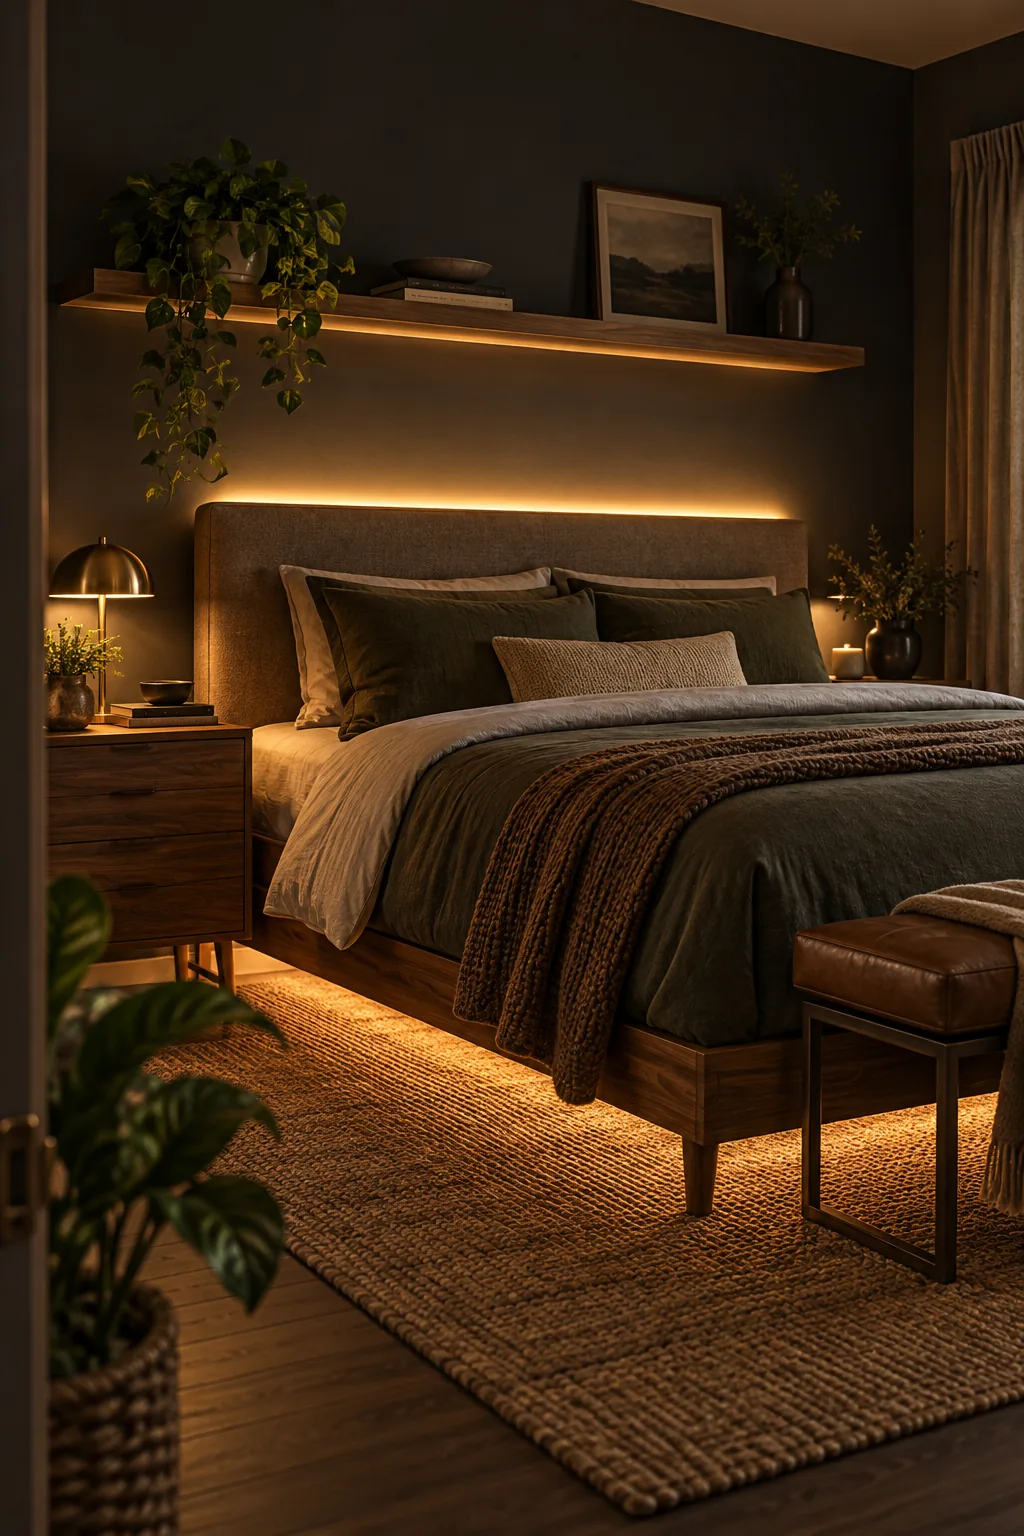
Moody Charcoal Bedroom: Deep charcoal walls absorb excess light, making the warm LED glow feel incredibly intimate. Copy this by using a dimmer switch to control the exact brightness level.
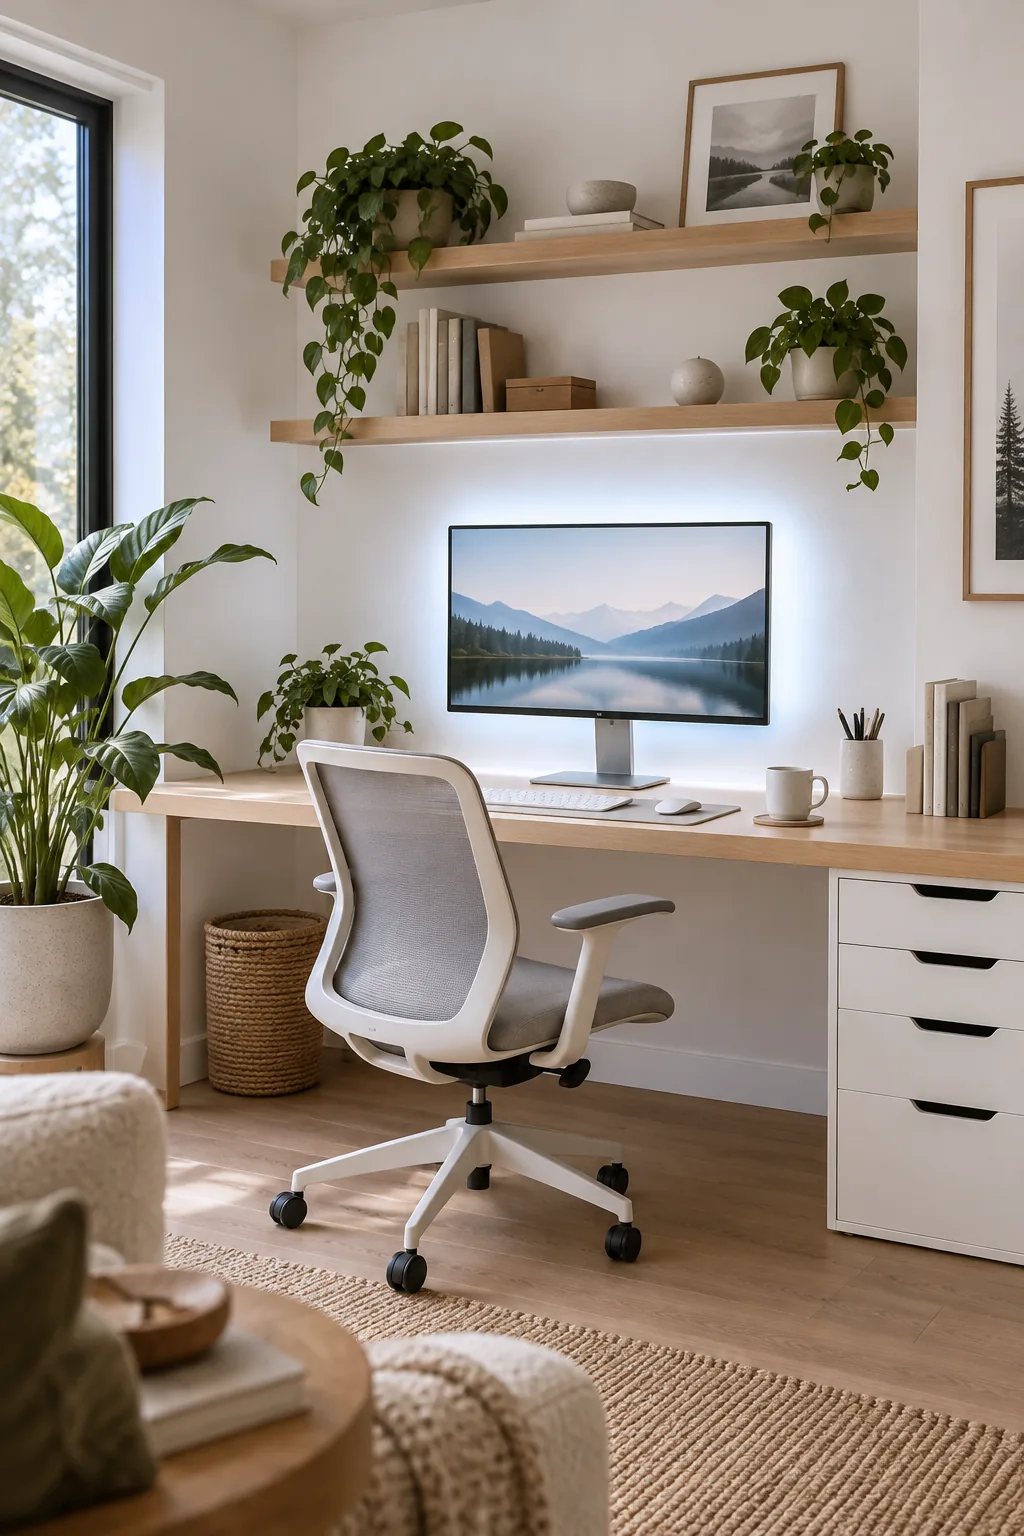
Minimalist White Home Office: Crisp white walls reflect cooler 4000K light beautifully for a focused workspace. Stick the LED channels directly to the back edge of your birch desk.
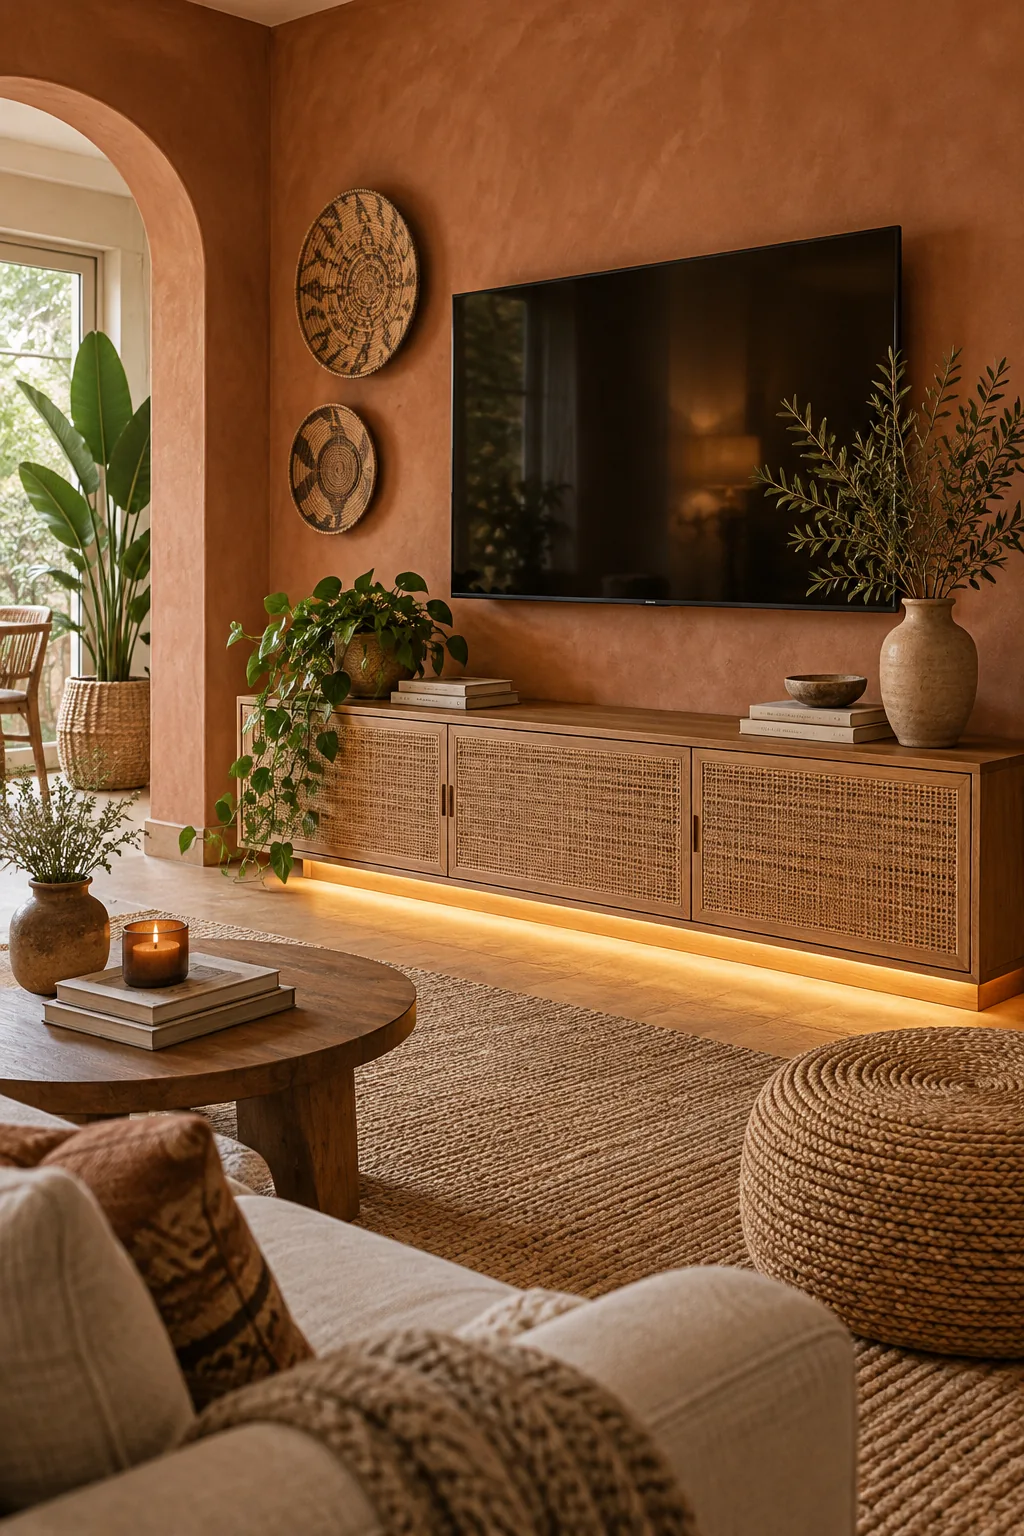
Earthy Terracotta Lounge: Textured terracotta walls scatter the light for a soft, earthy ambiance. Run the LED strip behind a rattan media console to highlight the woven natural fibers.