Garage Paint Colors: The Complete LRV & Sheen Guide
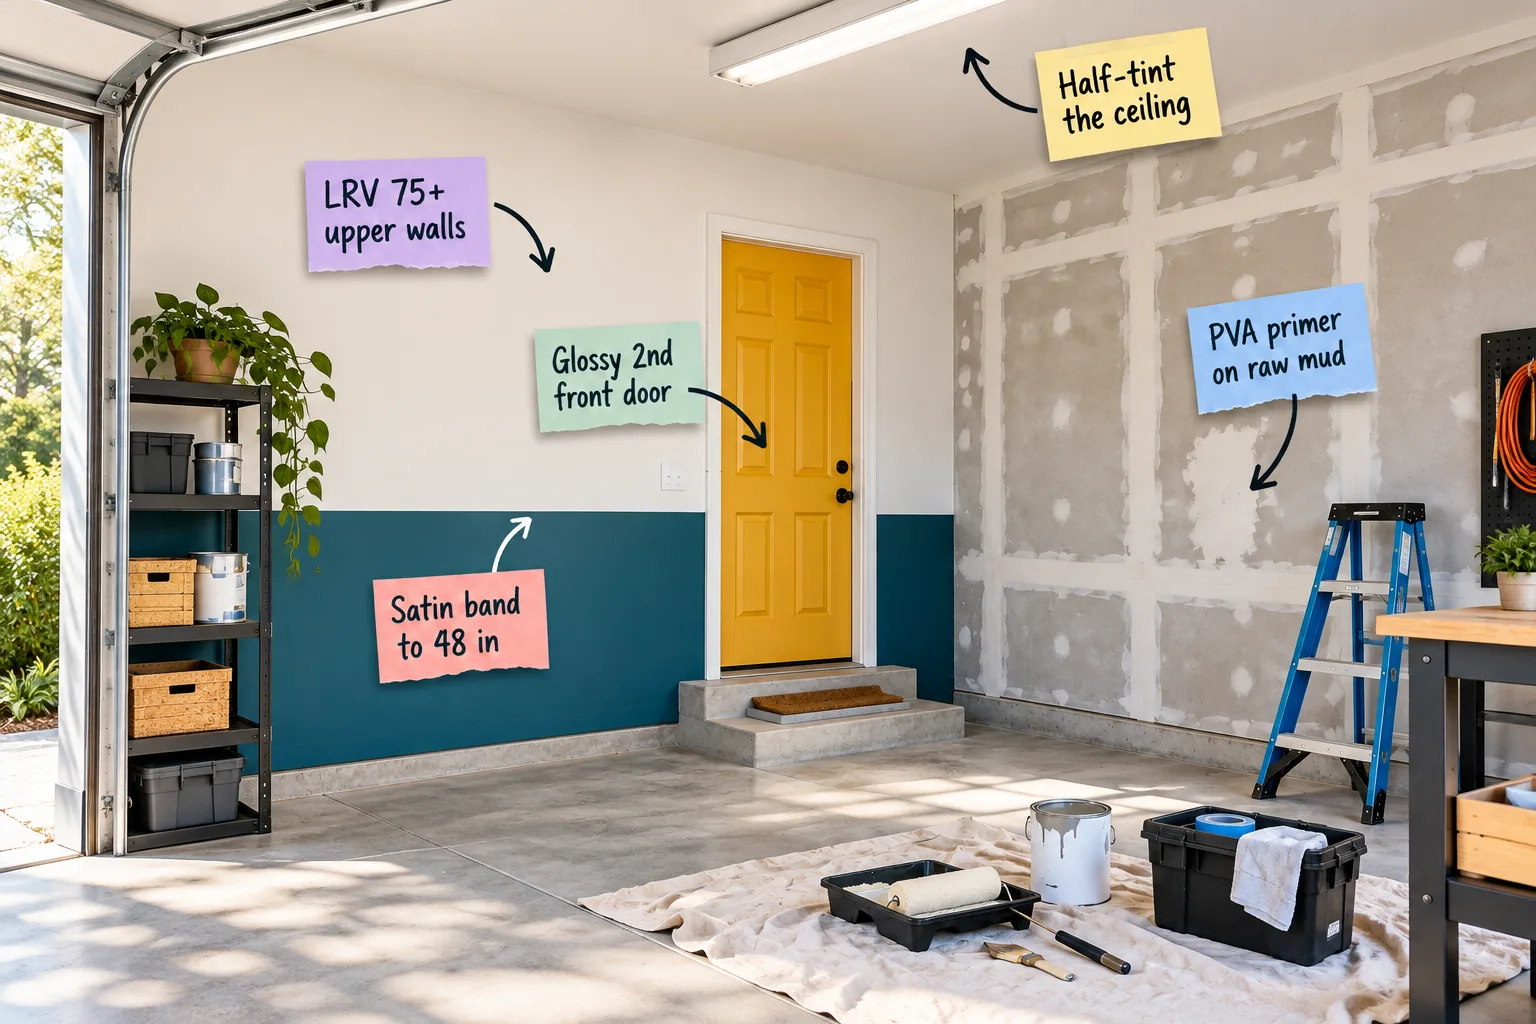
You can finally stop staring at that dingy gray shell because our printable garage paint chart gives you the exact LRV targets, sheens, and gallon counts to transform it. I designed this complete guide so you can confidently purchase the right primers and quantities for a bright, durable finish.
Assessing Your Unfinished Garage Shell
Most builder-grade garages feature raw, taped drywall that absorbs moisture and traps fine dust. Evaluating your current wall condition dictates whether you need specialized masonry primers for concrete blocks or standard drywall sealers for unfinished mud.
Removing Old Utility Shelving
Painting around heavy metal shelving units creates messy, uneven edges that look incredibly unprofessional. Unbolting your storage racks and moving them to the center of the floor gives you completely unobstructed access to the entire wall span.
Prepping the Bare Drywall Surface
Joint compound leaves a fine, chalky residue that completely prevents fresh paint from adhering properly to the wall. Wiping the entire surface down with a lightly damp microfiber cloth removes this dust without re-wetting the cured mud.
Sealing Fresh Drywall with PVA Primer
Raw joint compound acts like a sponge, so applying a dedicated PVA primer creates an impenetrable barrier over the porous material. This specific formula locks out moisture so your expensive topcoat goes on flawlessly and bonds permanently.
Skipping this crucial sealing step is the absolute most common cause of peeling and uneven garage walls down the road.
Taping Off the Concrete Slab
Paint drips permanently stain porous concrete floors, so laying down heavy-duty canvas drop cloths is absolutely mandatory. Taping the edges of your canvas directly to the concrete baseplate ensures the fabric will not slide away when you walk over it.
Measuring for Your Two-Tone Layout
Dividing your wall height prevents the space from feeling like a sterile commercial warehouse. Using a standard tape measure and a long spirit level guarantees your horizontal dividing line remains perfectly parallel to the concrete floor slab.
The 48-Inch Protective Lower Band
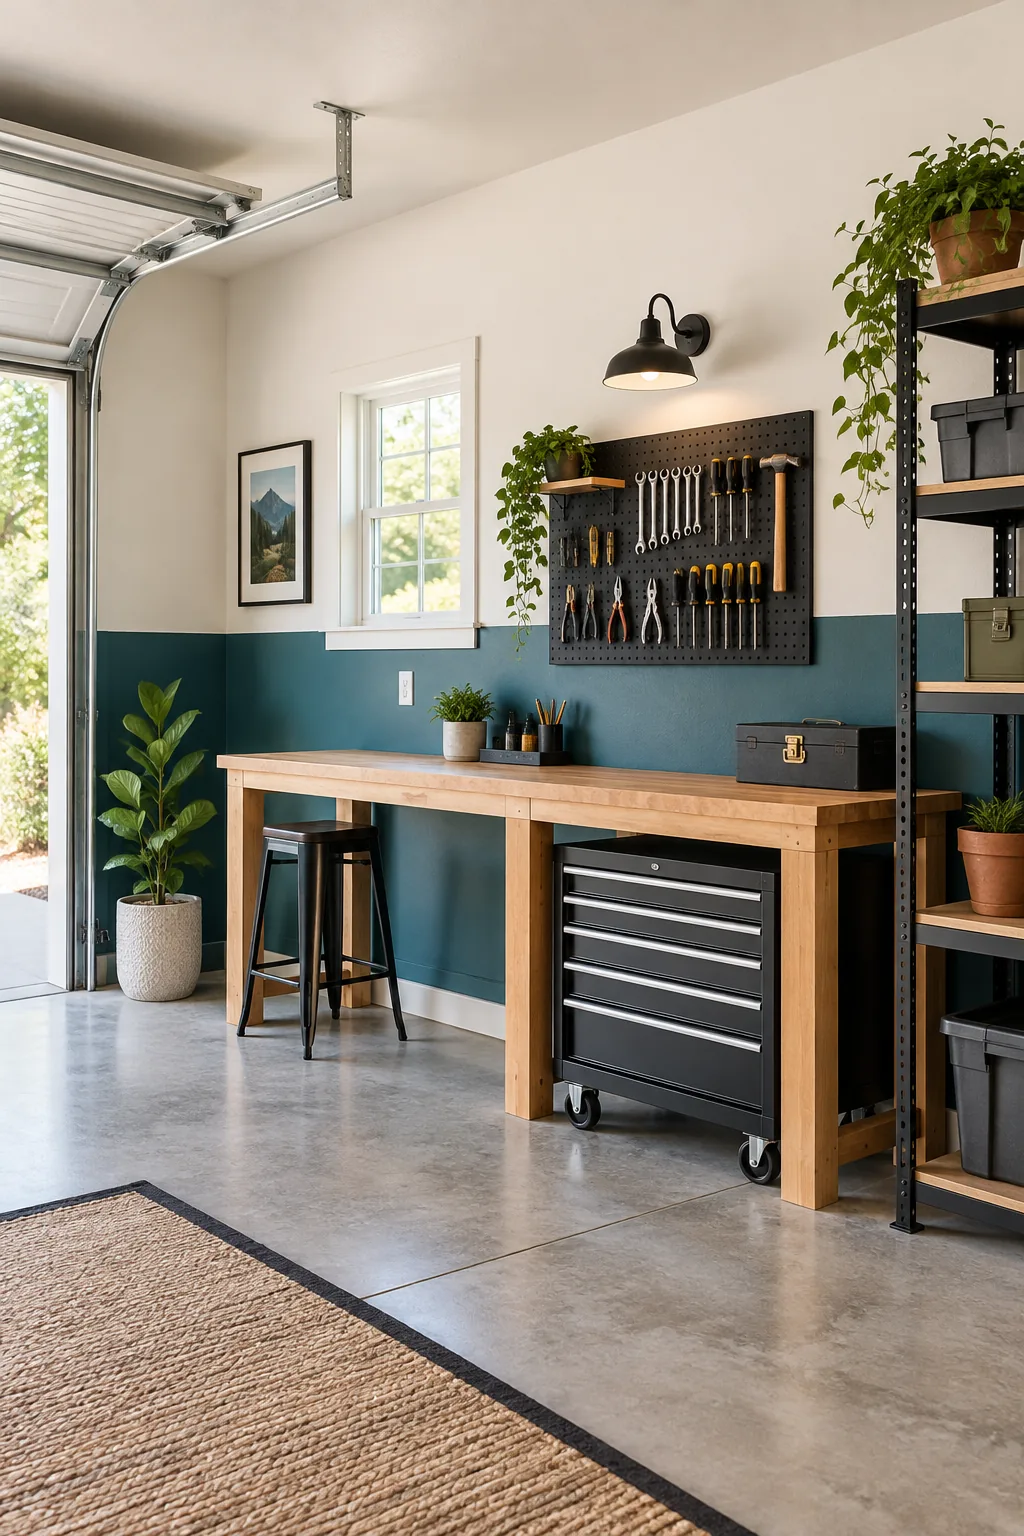
A dark lower wall band hides inevitable scuffs, and aligning this color transition with standard drywall dimensions saves significant measuring time. Standardizing at exactly 48 inches high catches the majority of impact zones while looking intentionally designed.
Choosing a deep teal or charcoal for this lower wainscoting zone anchors the room visually and easily hides dirty fingerprints.
Selecting a Durable Base Color
While black might seem like the ultimate stain-hider, it actually highlights white drywall dust and dried salt from winter roads. A rich, heavily saturated blue or deep green provides the perfect camouflage for both light and dark garage grime.
Brightening Upper Walls with High LRV
Because most garages lack natural light, your upper wall color must actively bounce your shop lighting around the room. Selecting a warm white with a Light Reflectance Value (LRV) of 75 or higher eliminates dingy shadows completely.
- LRV 50 to 74: Works well for bright interior rooms but leaves windowless garages feeling cavernous and dim.
- LRV 75 to 85: The ideal target for upper garage walls to maximize artificial shop lighting overhead.
- LRV 86 to 100: Often reads as too stark or blinding when illuminated by intense LED utility fixtures.
Managing Windowless Garage Lighting
Bright upper walls only work effectively if your overhead lighting casts a neutral, clean beam across the fresh paint. Swapping out old fluorescent tubes for 4000K LED fixtures provides a crisp, daylight-balanced glow that prevents your warm white walls from looking yellow.
Softening the Ceiling with a Half-Tint
Standard ceiling white often looks stark, but your ceiling’s LRV rating directly impacts the effectiveness of overhead garage lighting. Mixing your upper wall color at 50 percent strength creates a cohesive envelope that bridges the walls without darkening the space.
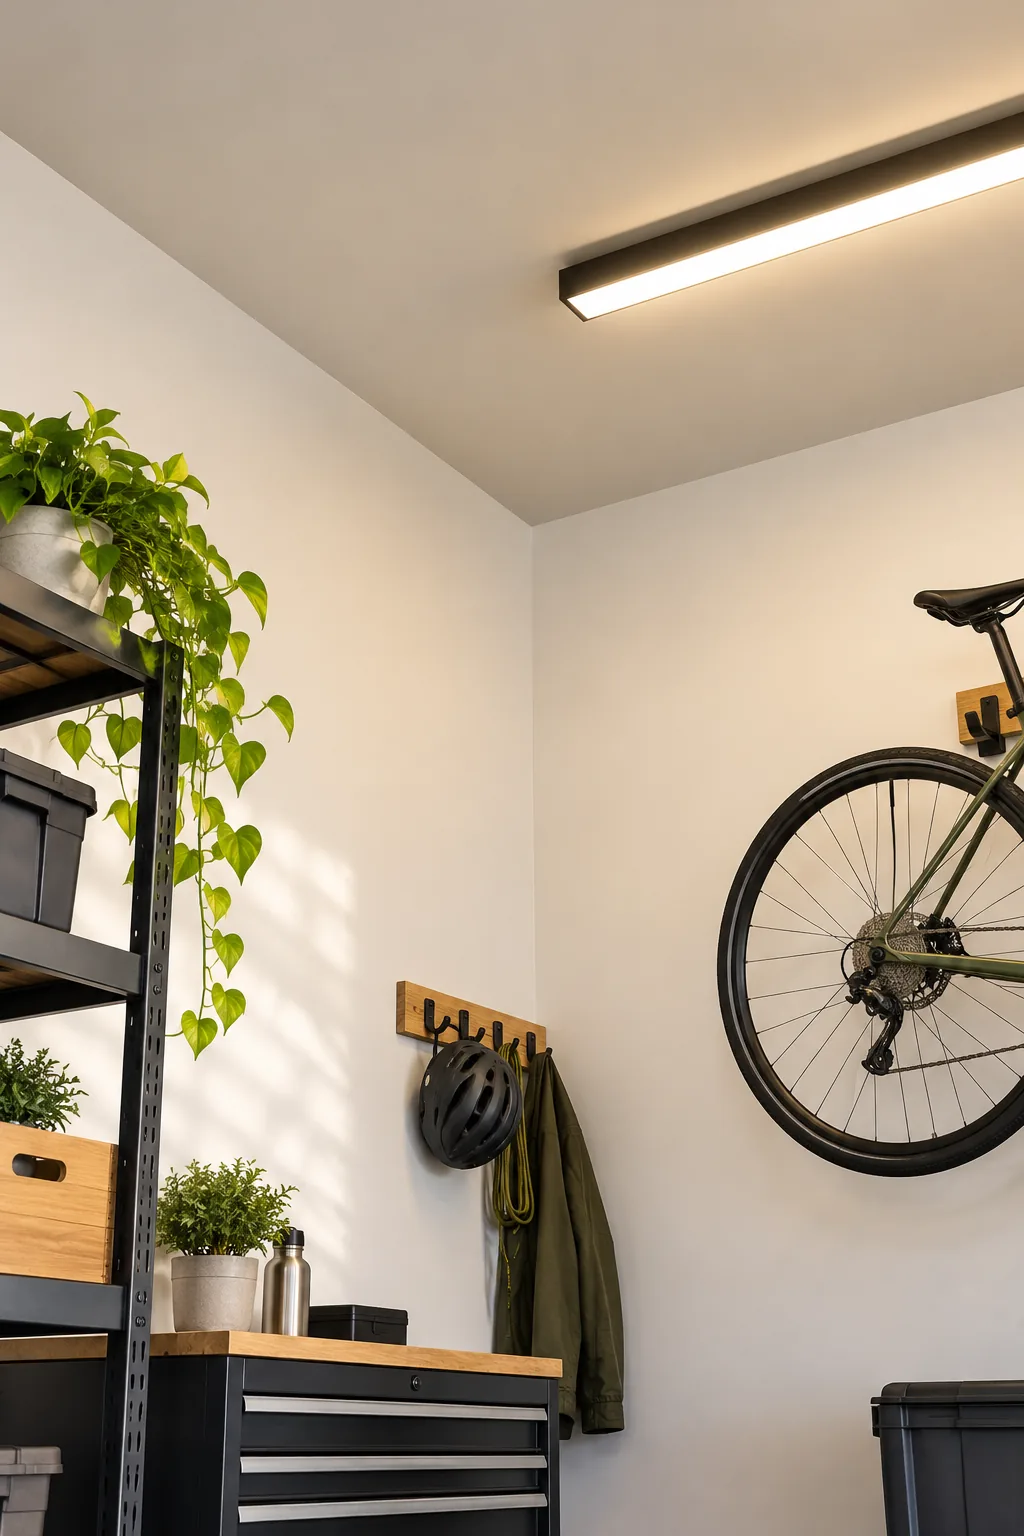
When we painted our Austin garage, I realized that stark white ceilings felt far too clinical, so this half-tint trick completely saved our design.
Selecting High-Quality Paint Rollers
Cheap roller covers shed lint directly into your fresh paint, leaving a permanently bumpy texture on your smooth walls. Investing in a 3/8-inch nap microfiber roller guarantees a flawless, lint-free finish across both your dark teal and bright white zones.
Blending the Ceiling Transition
Cutting in the ceiling line requires a steady hand, especially when working with two similar but distinct custom tints. Using a high-quality angled brush allows you to push the half-tint precisely into the corner without bleeding onto the upper walls.
Styling the Second Front Door
The visual effect of bridging your wall and ceiling colors with a 50-percent half-tint draws the eye smoothly across the space. This cohesive backdrop perfectly sets the stage for highlighting the entry leading into the house as a dedicated focal point.
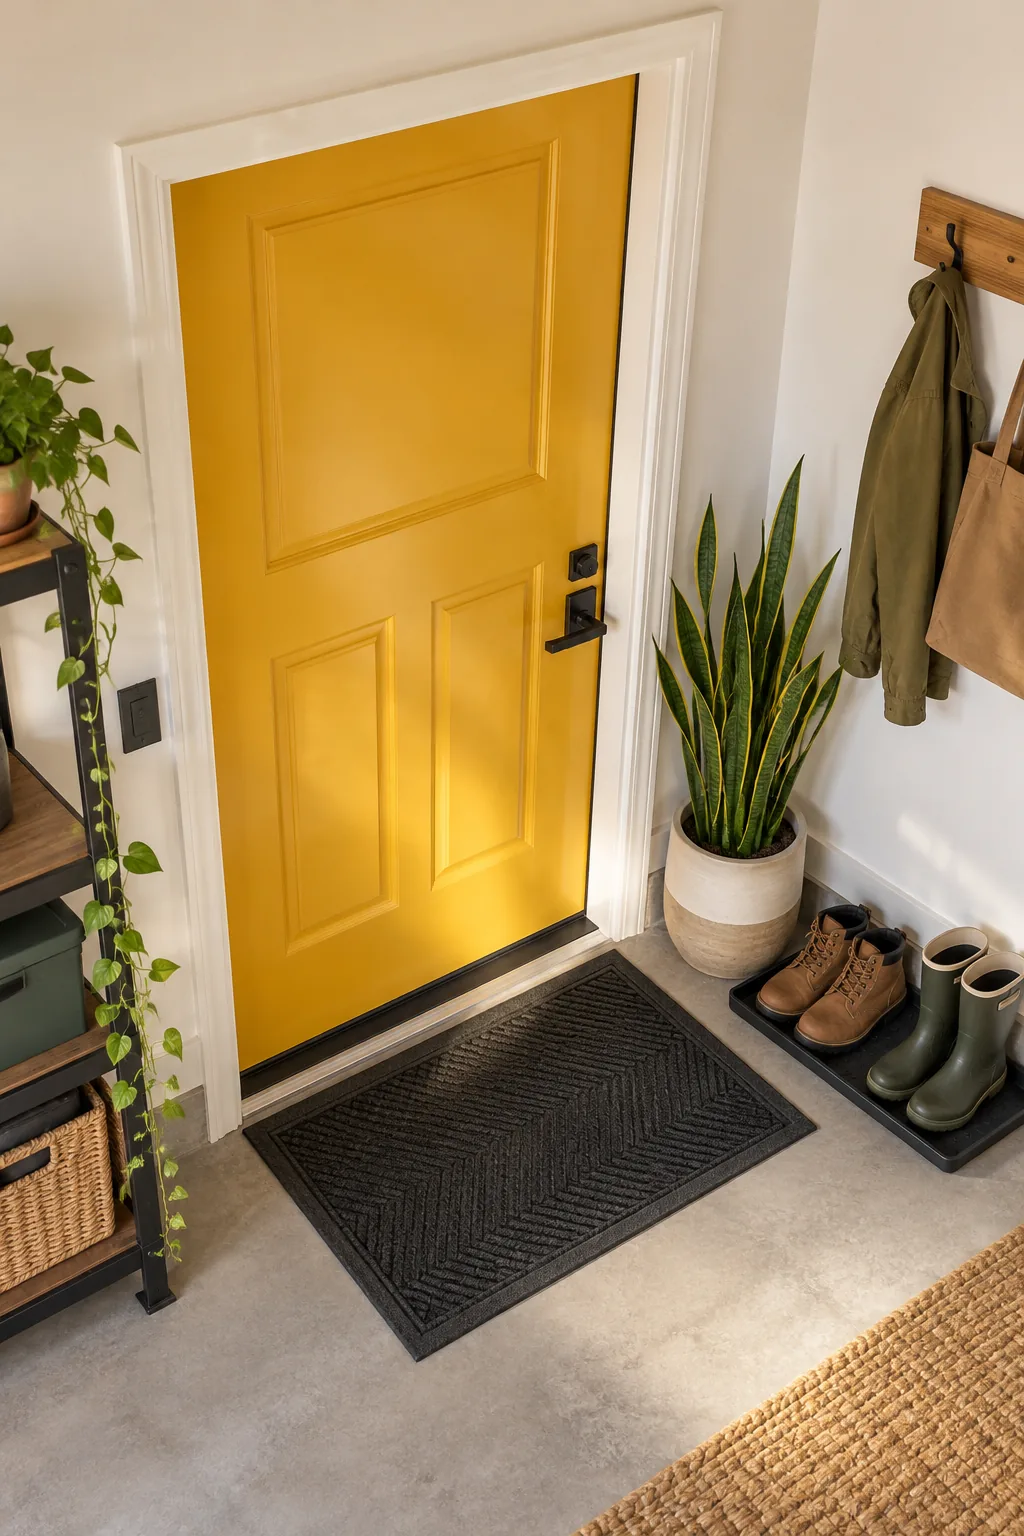
I painted our own garage entry door a bright, highly wipeable marigold, and it genuinely makes me smile every time I carry groceries inside.
Curing the High-Gloss Accent Door
High-gloss exterior paints take significantly longer to cure than standard interior wall formulas. Leaving the entry door completely ajar for at least 12 hours prevents the glossy finish from sticking to the weatherstripping and peeling off.
Matching Sheen to the Surface
Flat paint holds onto garage dust and exhaust residue, making it a terrible choice for this hard-working utility room. Specify a satin finish for the lower band and an eggshell finish for the upper walls to gently hide drywall tape lines.
| Surface | Recommended Sheen | Key Benefit |
|---|---|---|
| Lower Wall Band | Satin | Resists scuffs from car doors |
| Upper Walls | Eggshell | Hides drywall tape lines |
| Entry Door | High-Gloss | Wipes clean easily |
| Ceiling | Flat or Matte | Reduces glare from LEDs |
Calculating Total Wall Square Footage
Guessing your paint volume usually results in mismatched custom tints when you inevitably have to buy another gallon mid-project. Measure your garage length and width, multiply the total perimeter by the ceiling height, and divide by 400 square feet.
- Measure perimeter: Add all four wall lengths together.
- Multiply by height: Multiply the total perimeter by your exact ceiling height.
- Subtract openings: Deduct 60 square feet for each single-car garage door.
Estimating Gallons for Your Layout
Before calculating your exact quantities, remember the durability benefits of selecting a high-gloss finish for high-touch entryways. A high-gloss exterior formula withstands aggressive scrubbing much better than standard interior trim paint.
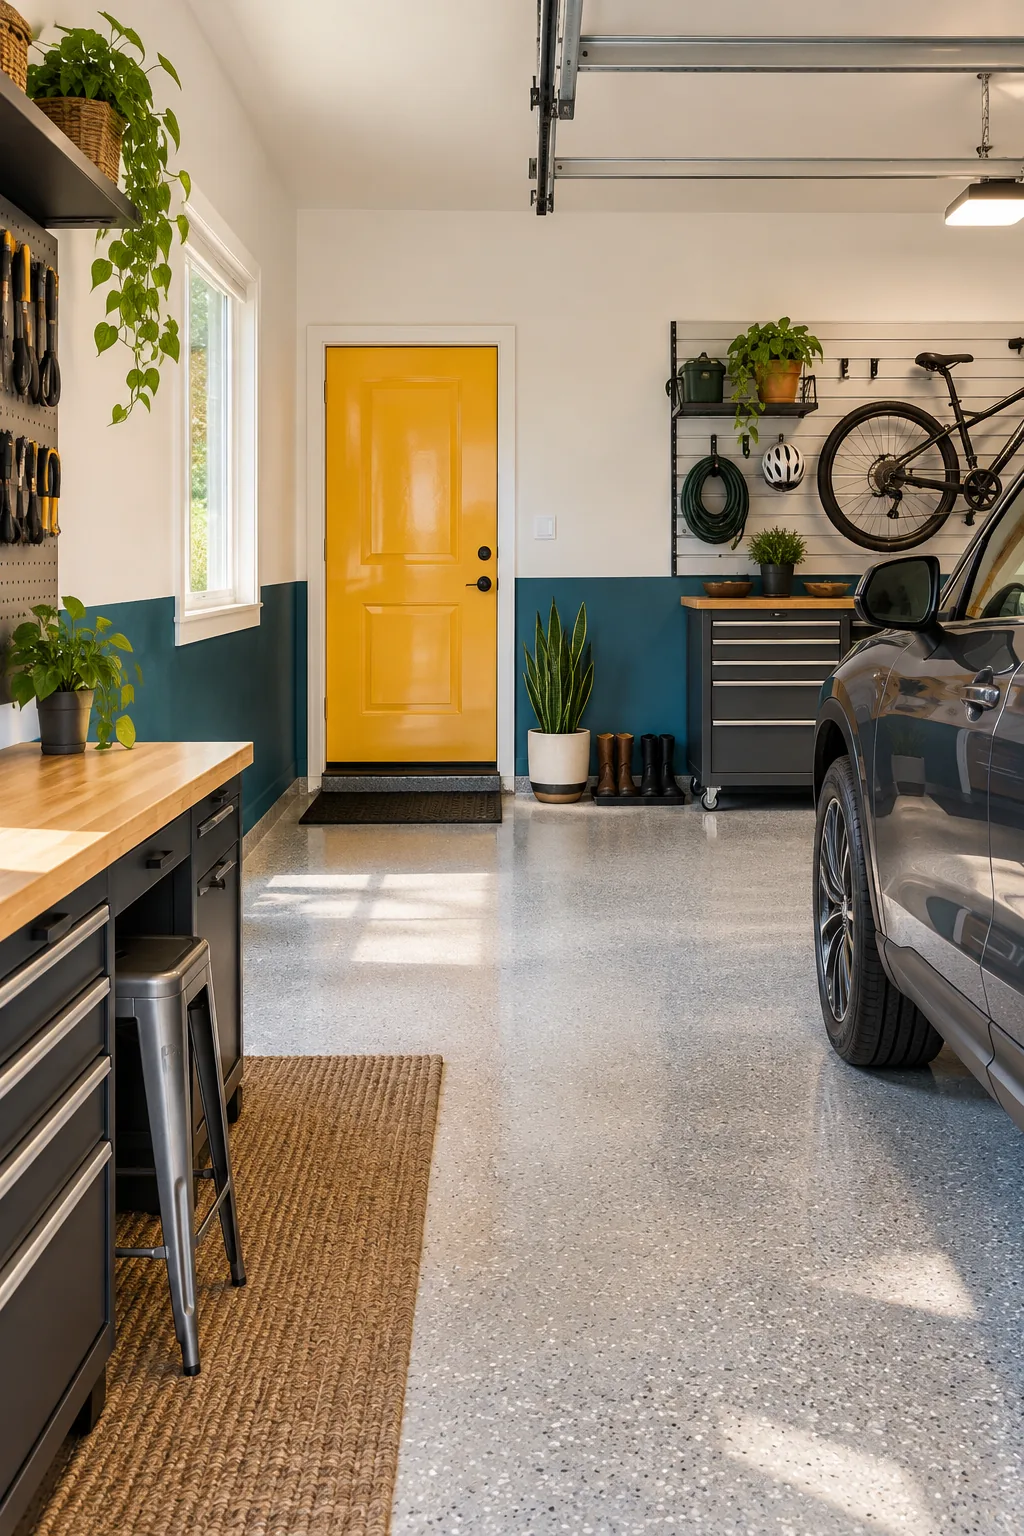
When measuring our two-car layout in Austin, I found we needed exactly three gallons for the walls and one for the ceiling.
Organizing Your Painting Workflow
Tackle the space logically by working from the ceiling down to the protective lower wainscoting band. Rolling the ceiling first, followed by the upper white walls, prevents you from accidentally dripping light paint onto your freshly finished dark teal.
The Complete Garage Paint Chart
Standardizing your paint plan prevents frustrating mid-project hardware store runs when you inevitably run out of primer. Keep your printable reference handy at the paint mixing counter so you can hand the exact LRV and sheen targets to the clerk.
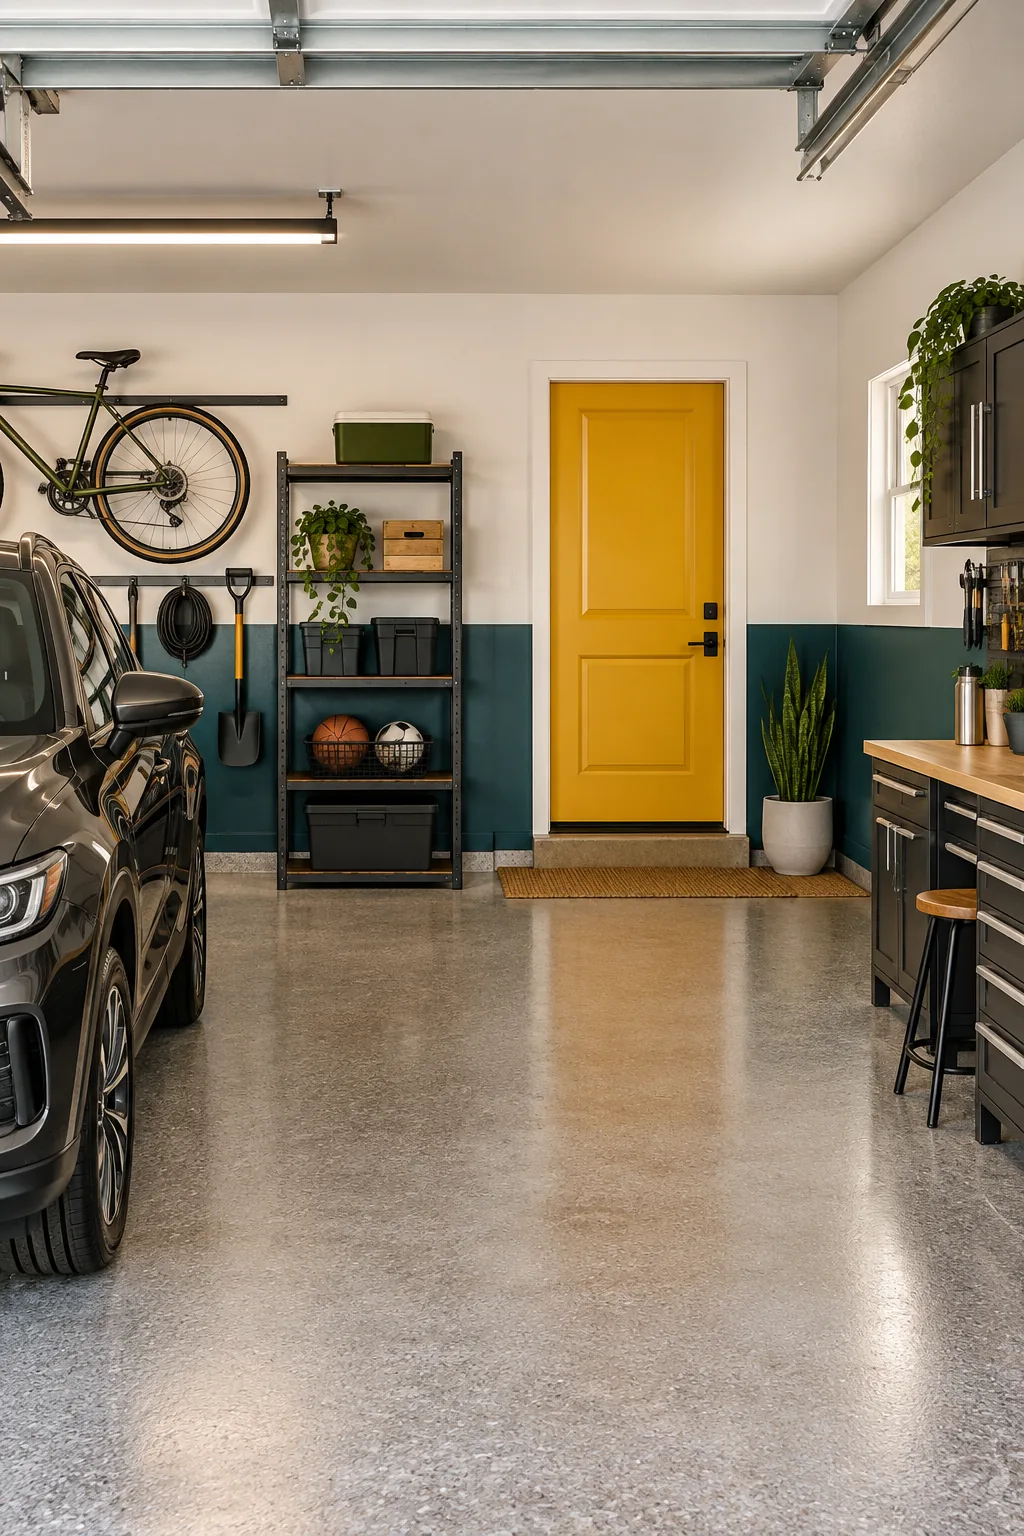
I keep this exact chart pinned to my own workshop board so I never forget my custom color formulas.
Garage Paint Color Combinations
Find the perfect palette to match your home's exterior and your workshop style.
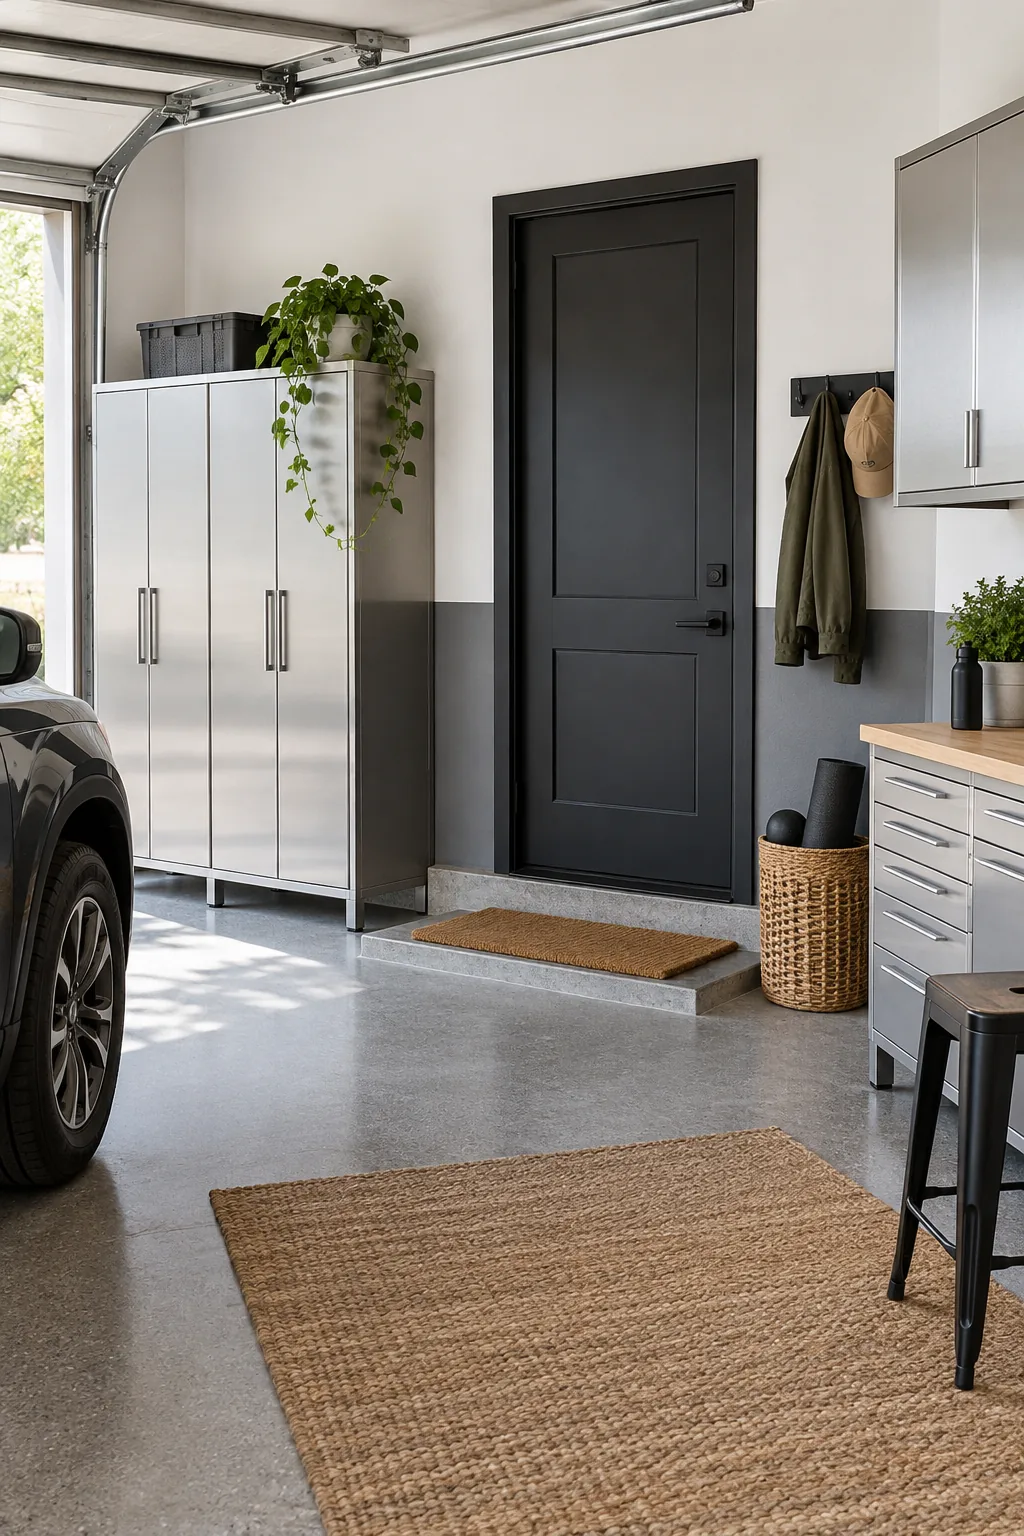
Minimalist Slate and Crisp White: This high-contrast modern look pairs a slate gray protective band with stark white upper walls to highlight sleek aluminum storage.
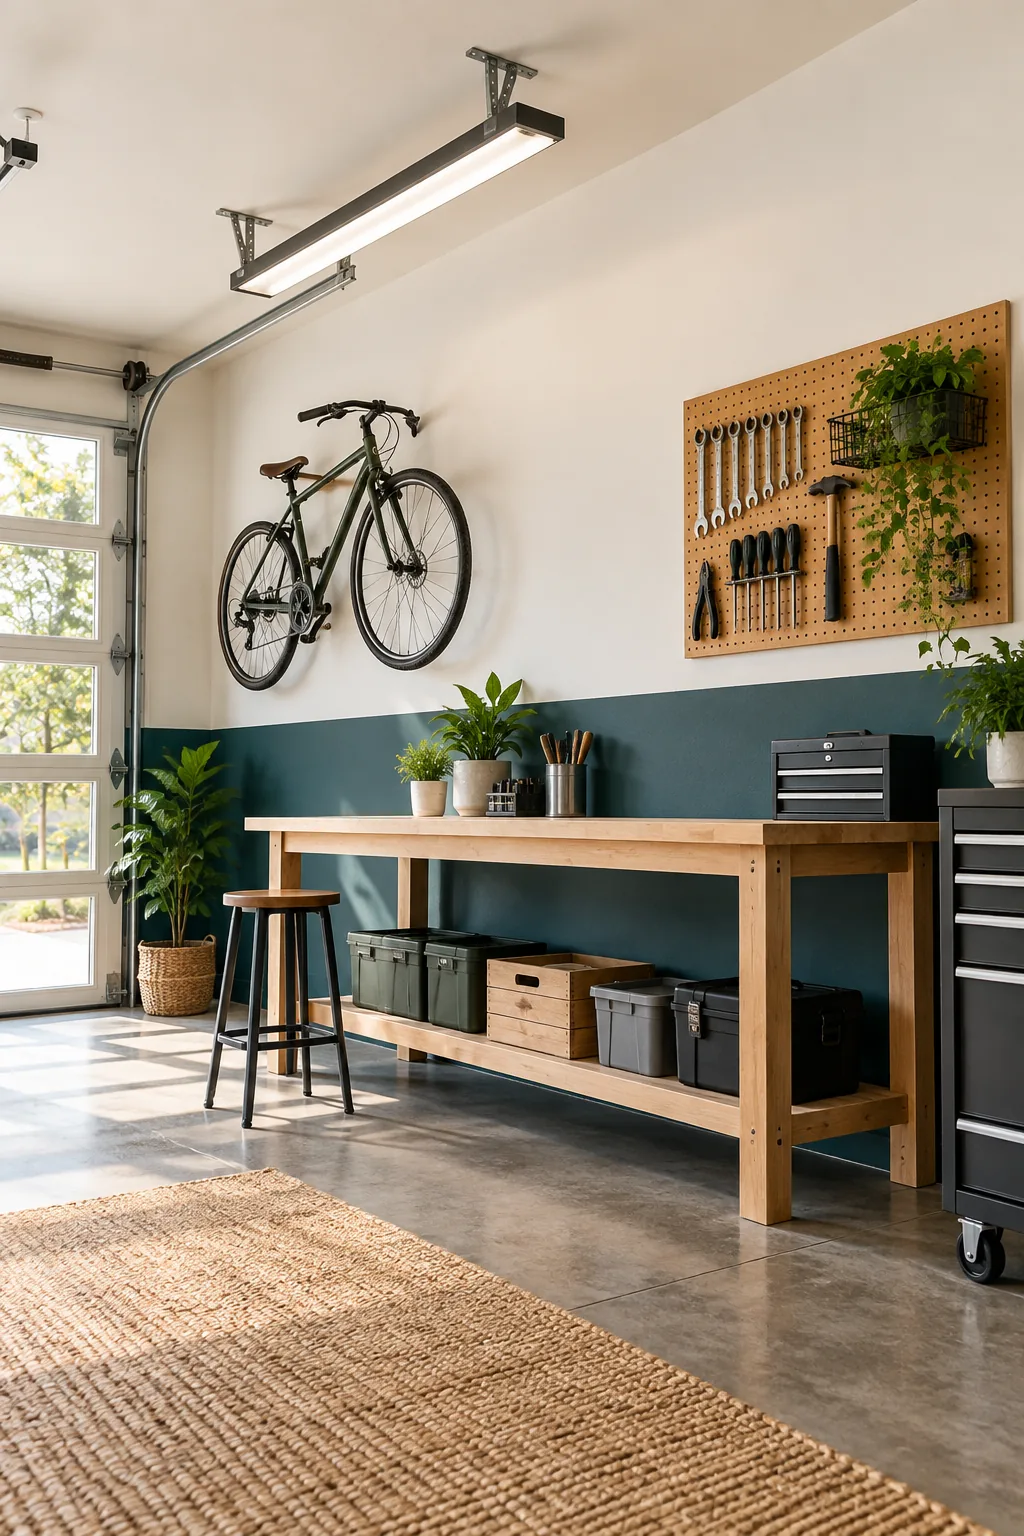
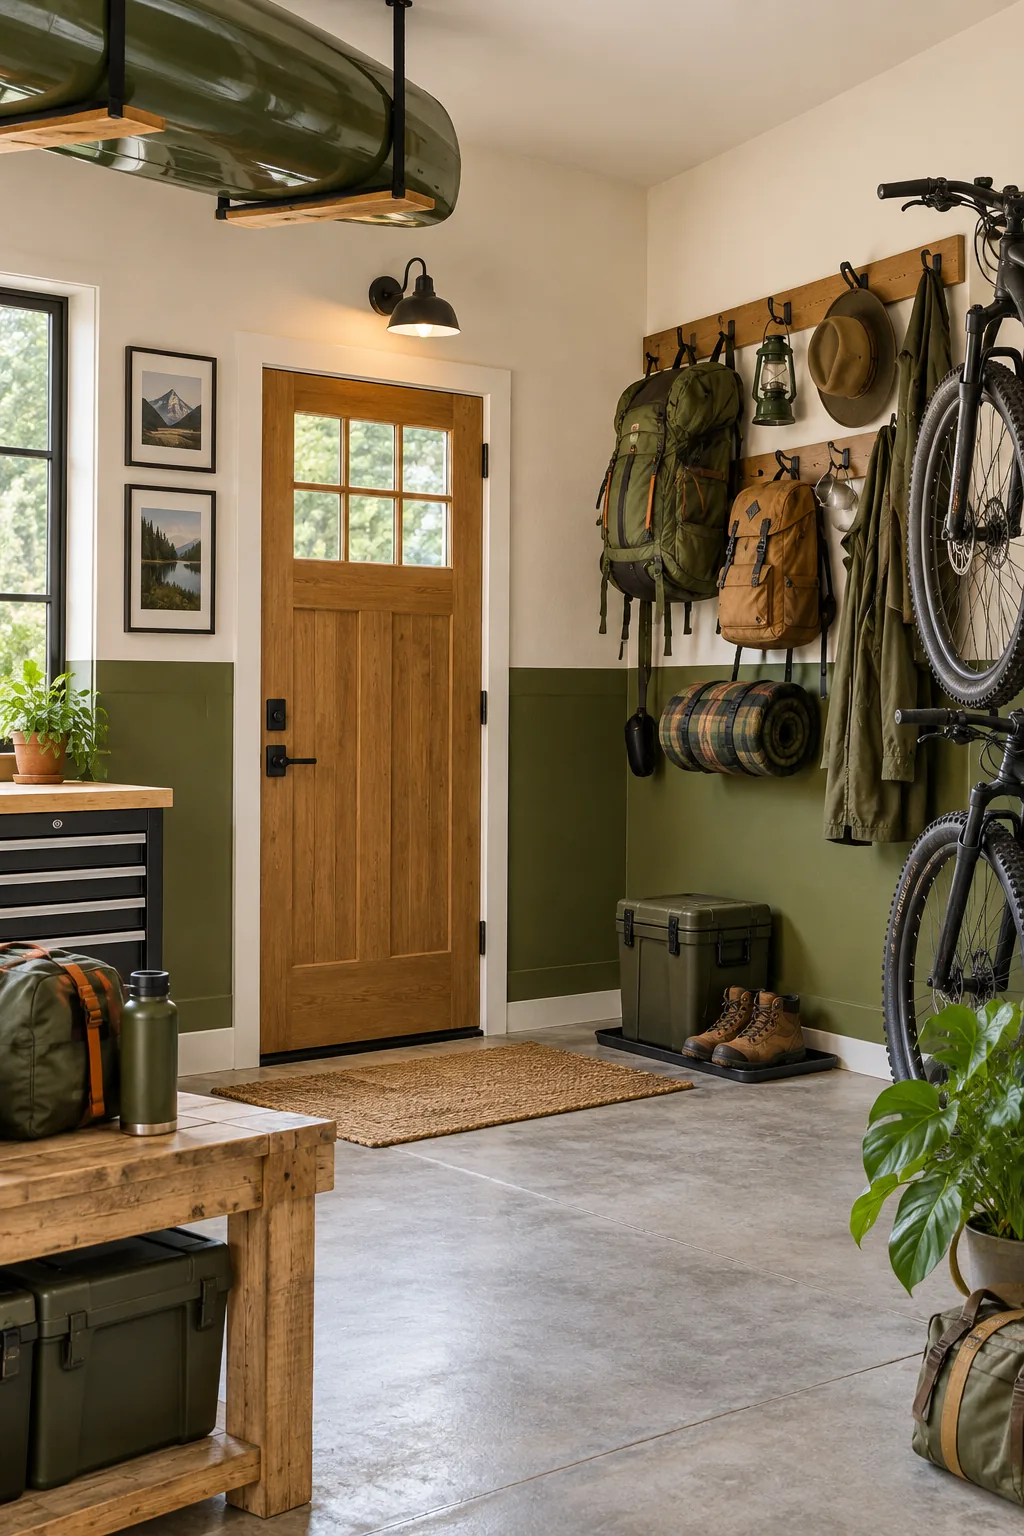
Earthy Olive and Warm Cream: Perfect for outdoor enthusiasts, this earthy palette uses an olive green base to ground walls hung with camping gear and bikes.
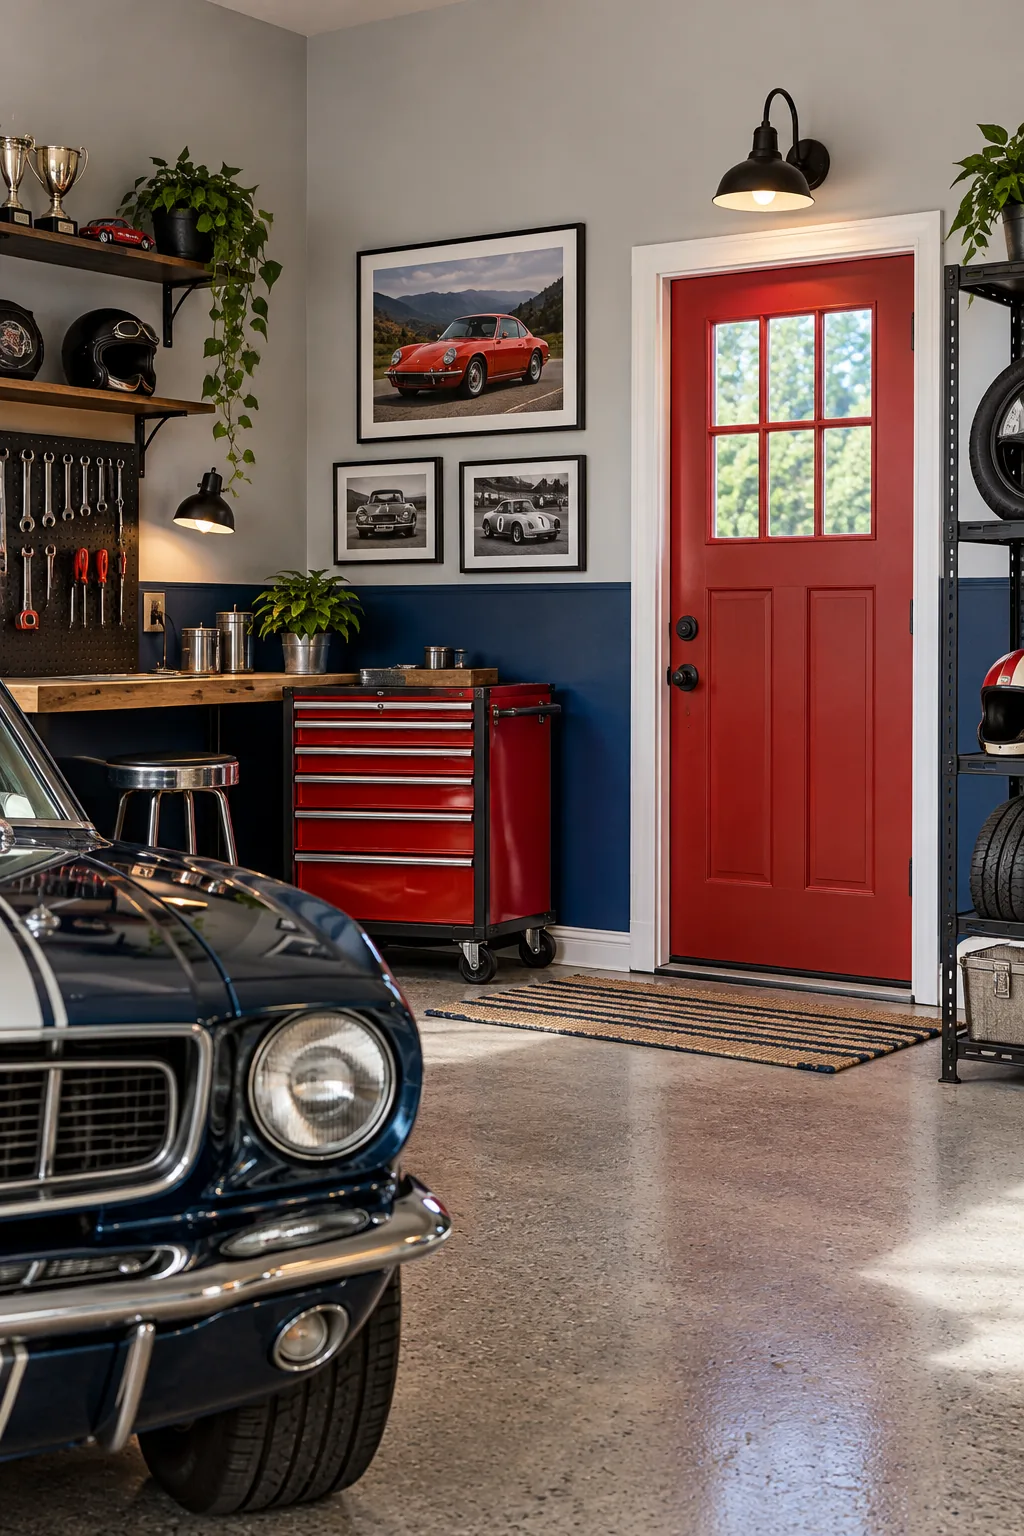
Classic Navy and Pale Gray: A nod to classic automotive shops, this timeless combination uses a navy blue base and a striking cherry red accent door.
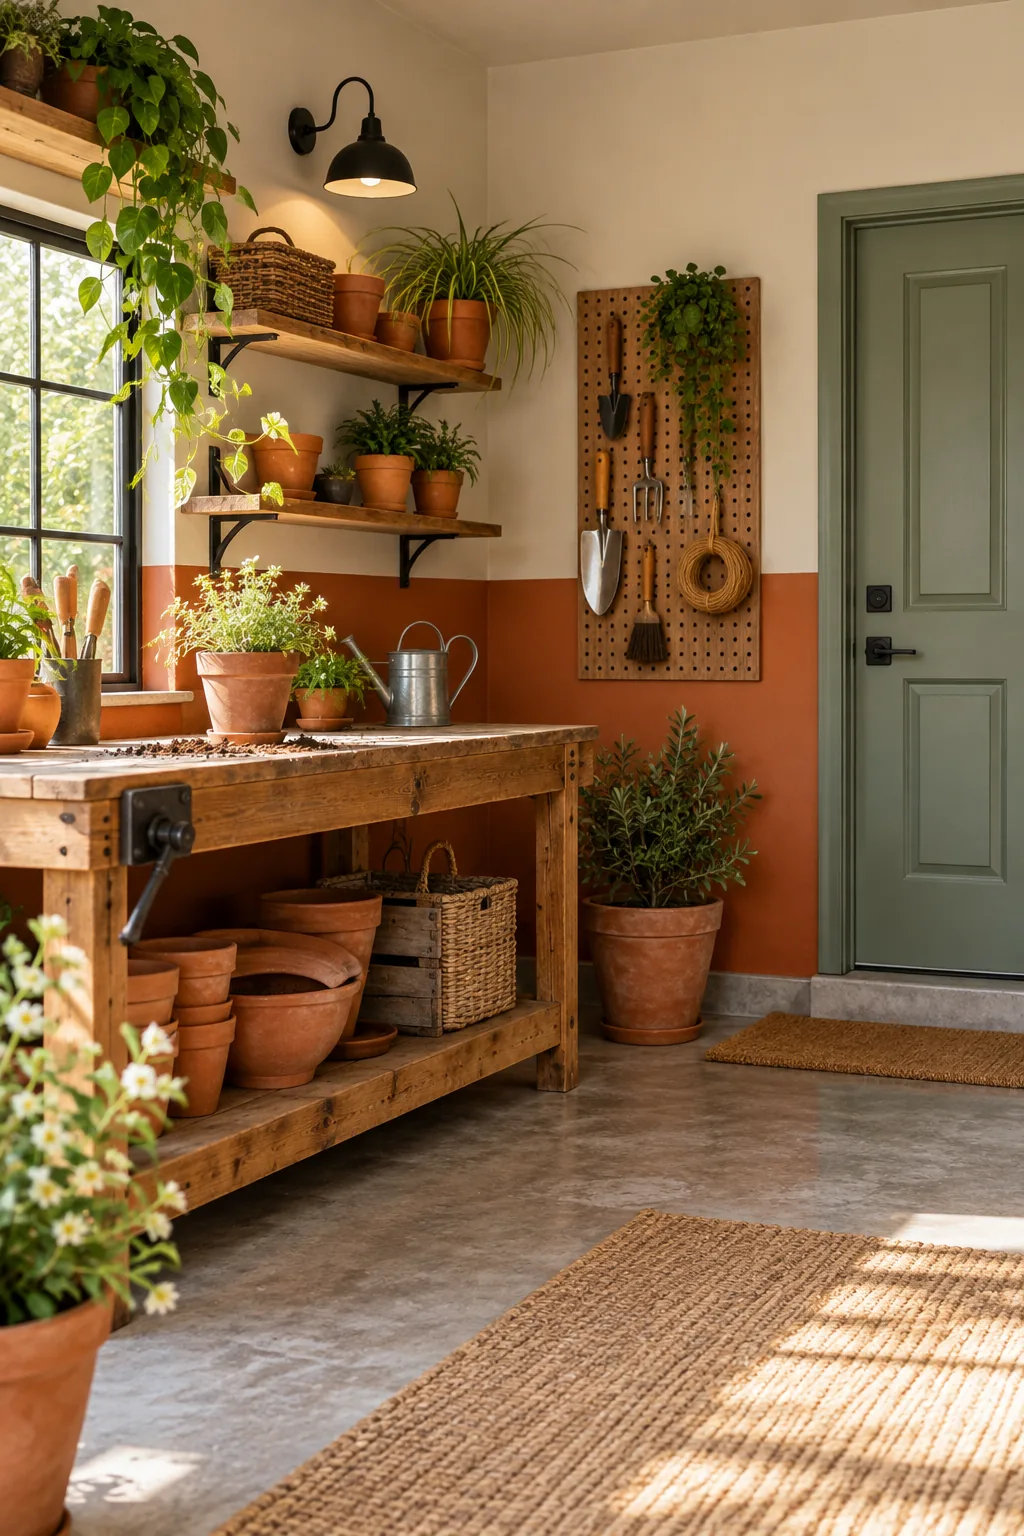
Warm Terracotta and Soft Beige: Turn your garage into a welcoming studio or garden workshop with a rich terracotta lower band and a calming sage door.