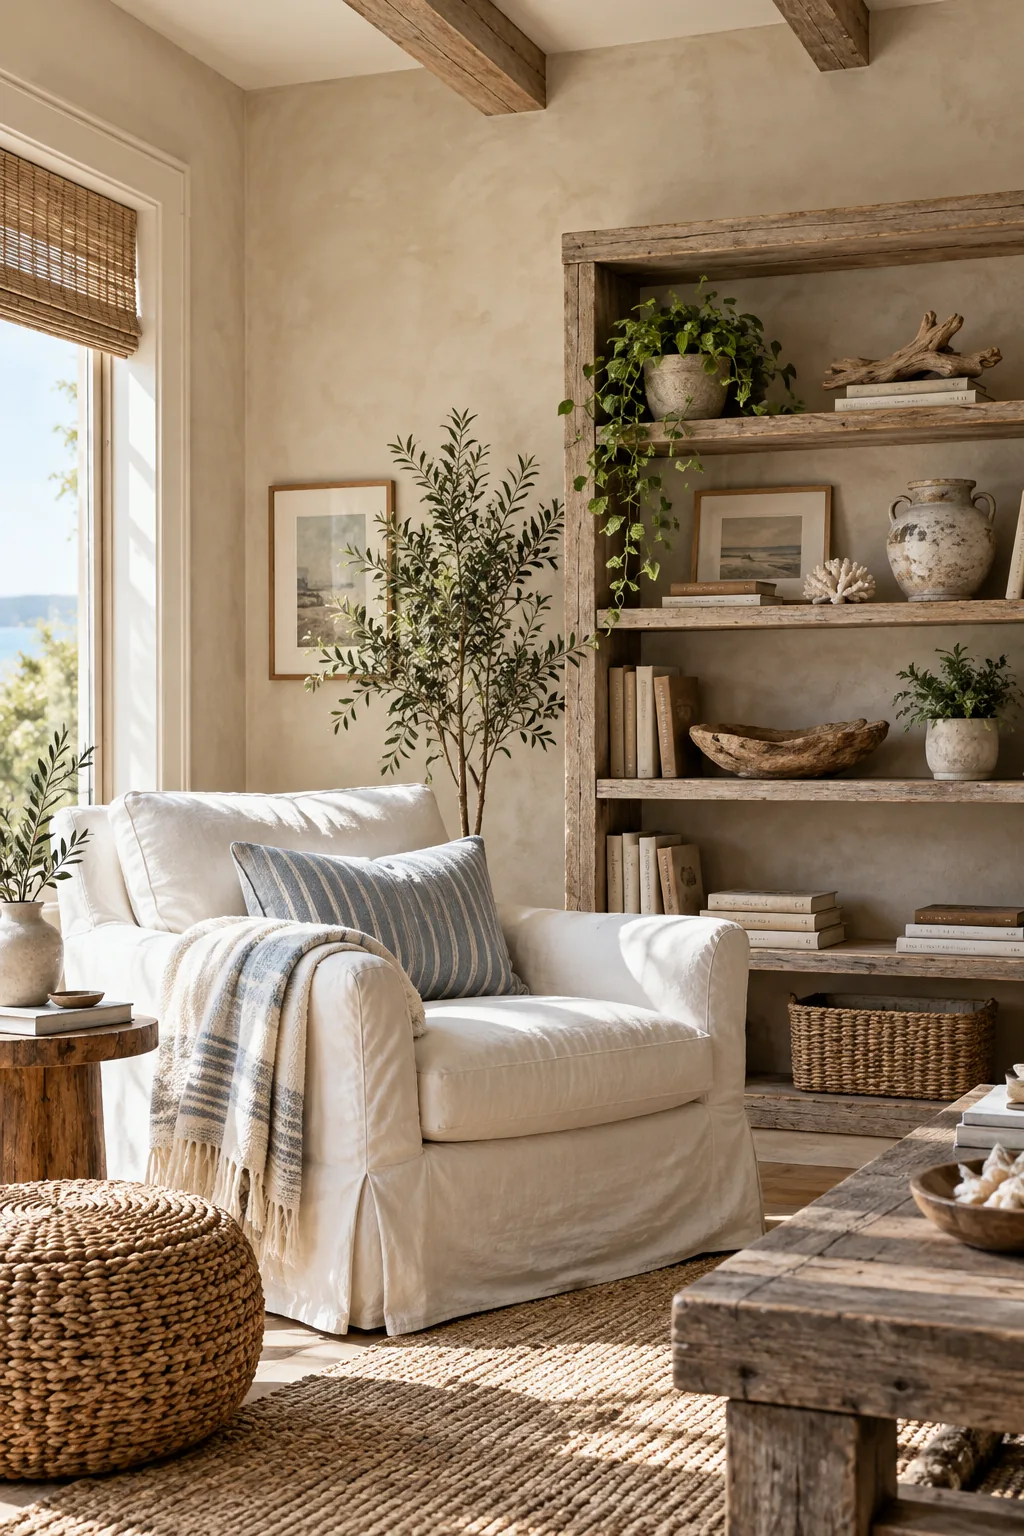
Rustic Living Room Ideas: Wood Aging & Limewash Finish Recipes
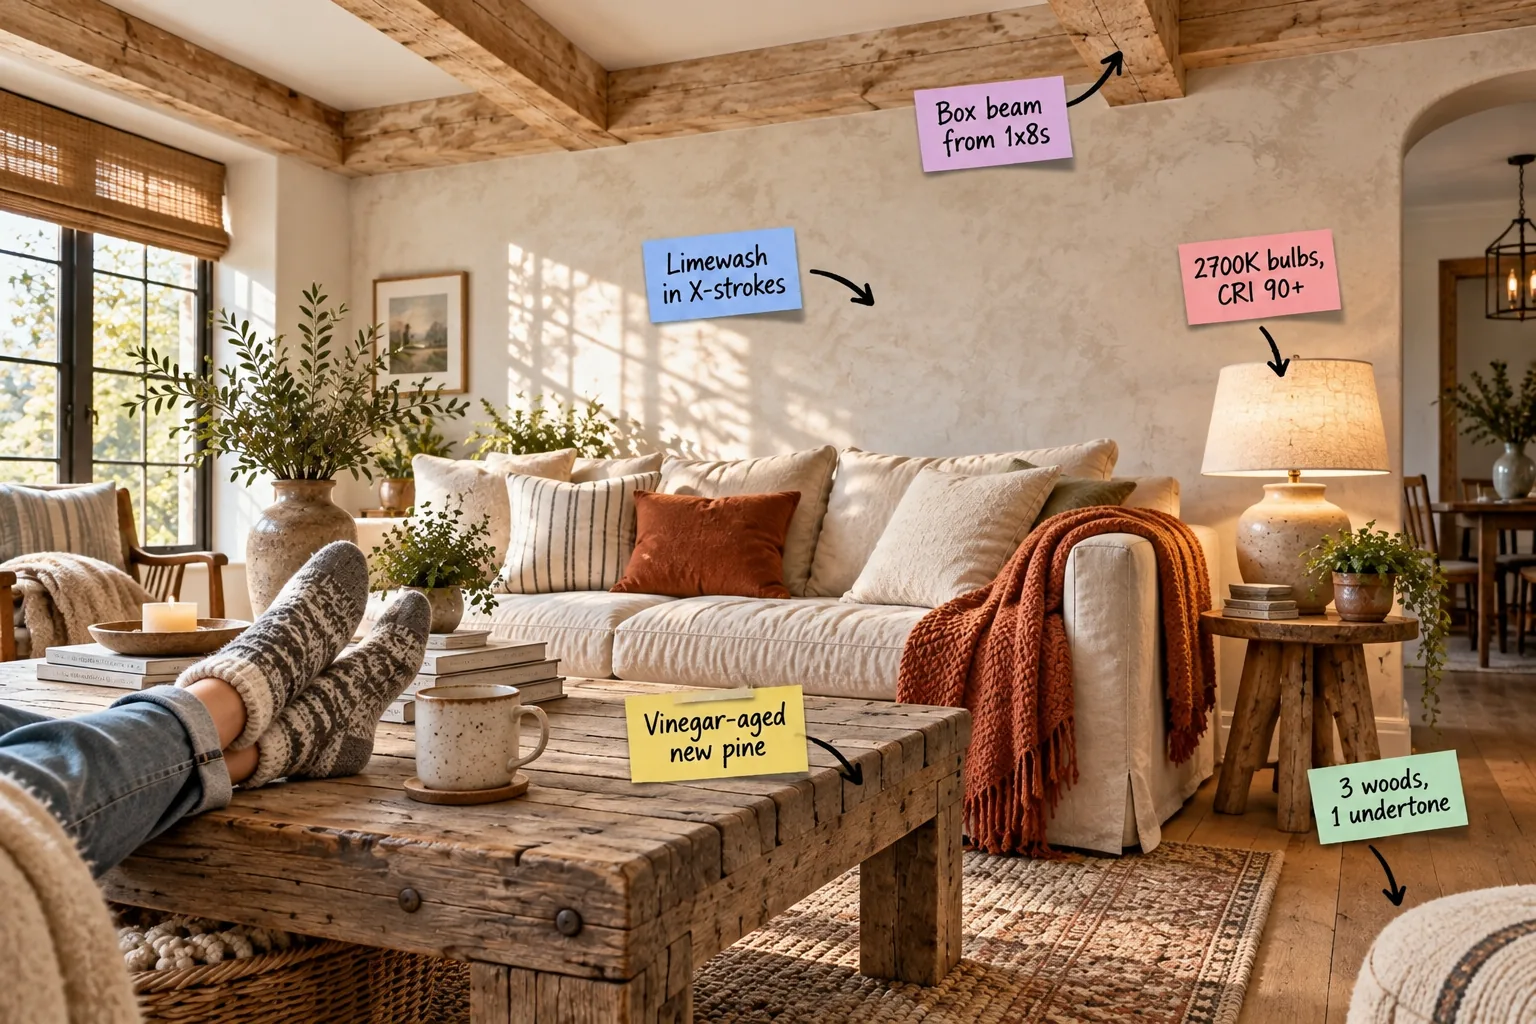
You will be able to build hollow box beams, apply a textured limewash wall, and age new pine furniture using our printable step-by-step recipe sheet. Grab the exact vinegar-aging ratios, limewash steps, and box-beam cut lists to recreate this scuff-friendly rustic living room.
Framing the Ceiling with 1×8 Box Beams
Mitered and glued standard 1×8 pine boards create lightweight, hollow box beams that look exactly like solid timber. This clever approach saves massive weight and cost while adding deep architectural character to a plain room.
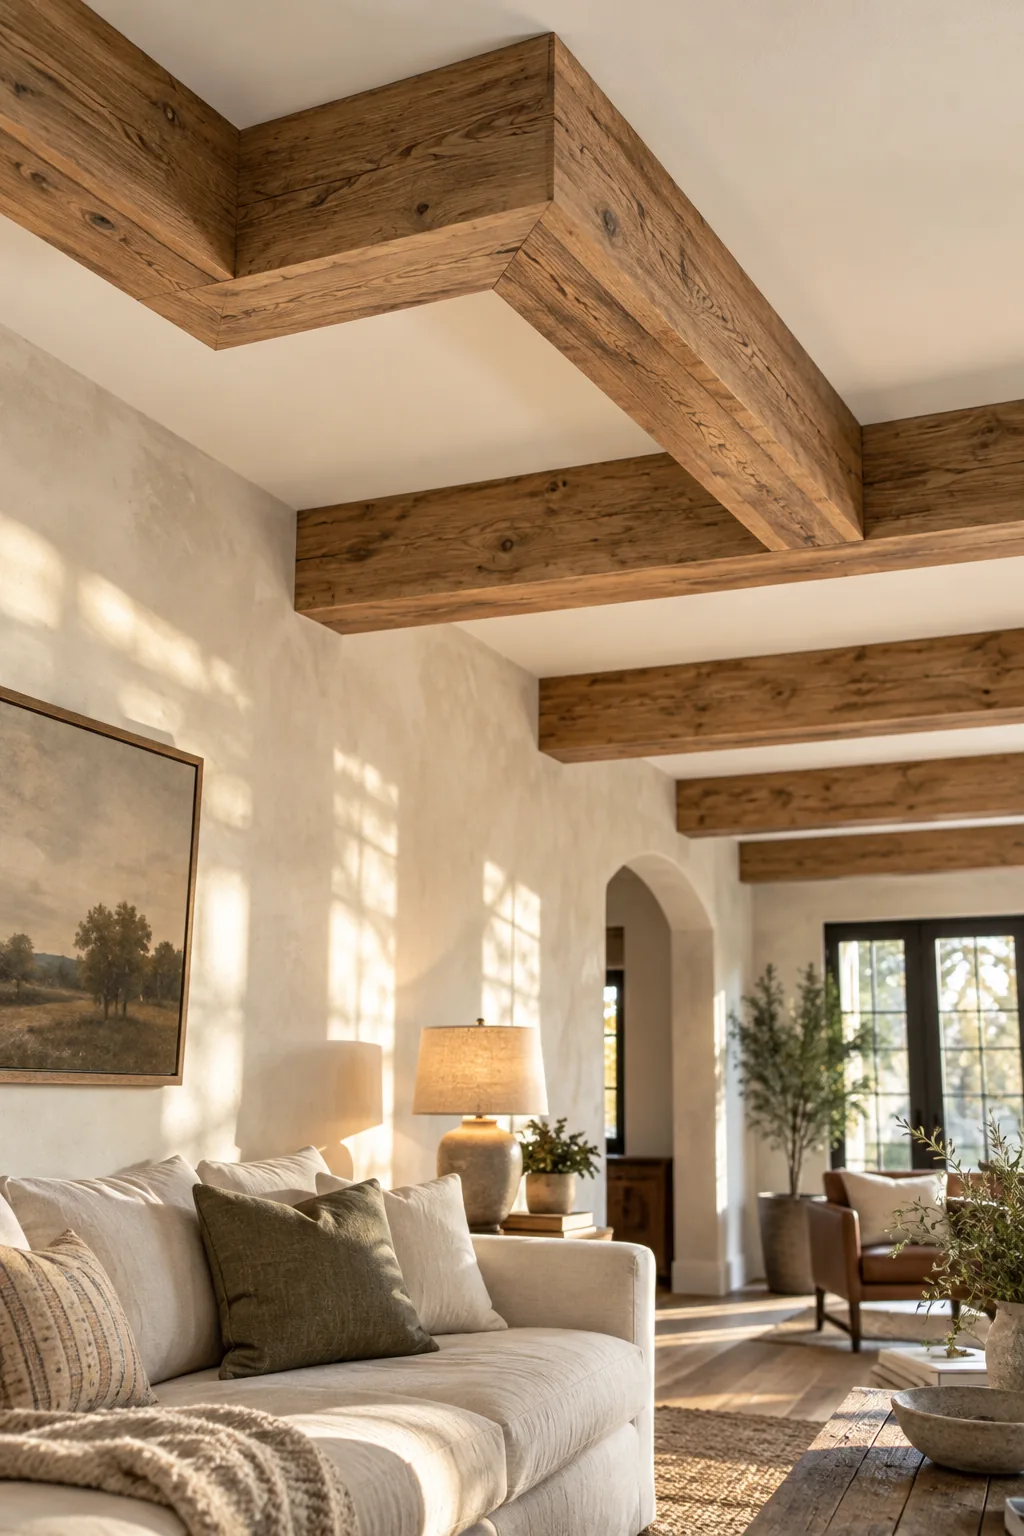
You can find the complete box-beam cut list in the printable guide to ensure your joints line up perfectly. Securing these hollow shells to simple ceiling cleats makes installation a breeze for two people.
Brushing Limewash in Overlapping X-Strokes
Applying limewash with a wide block brush in continuous X-strokes creates that gorgeous, cloudy texture. When I first limewashed my own living room, I learned quickly that keeping a wet edge is the secret to avoiding harsh vertical lines.
Because limewash cures differently than standard latex paint, a few simple adjustments to your painting habits will save you from uneven patches.
Warming the Room with 2700K Lighting
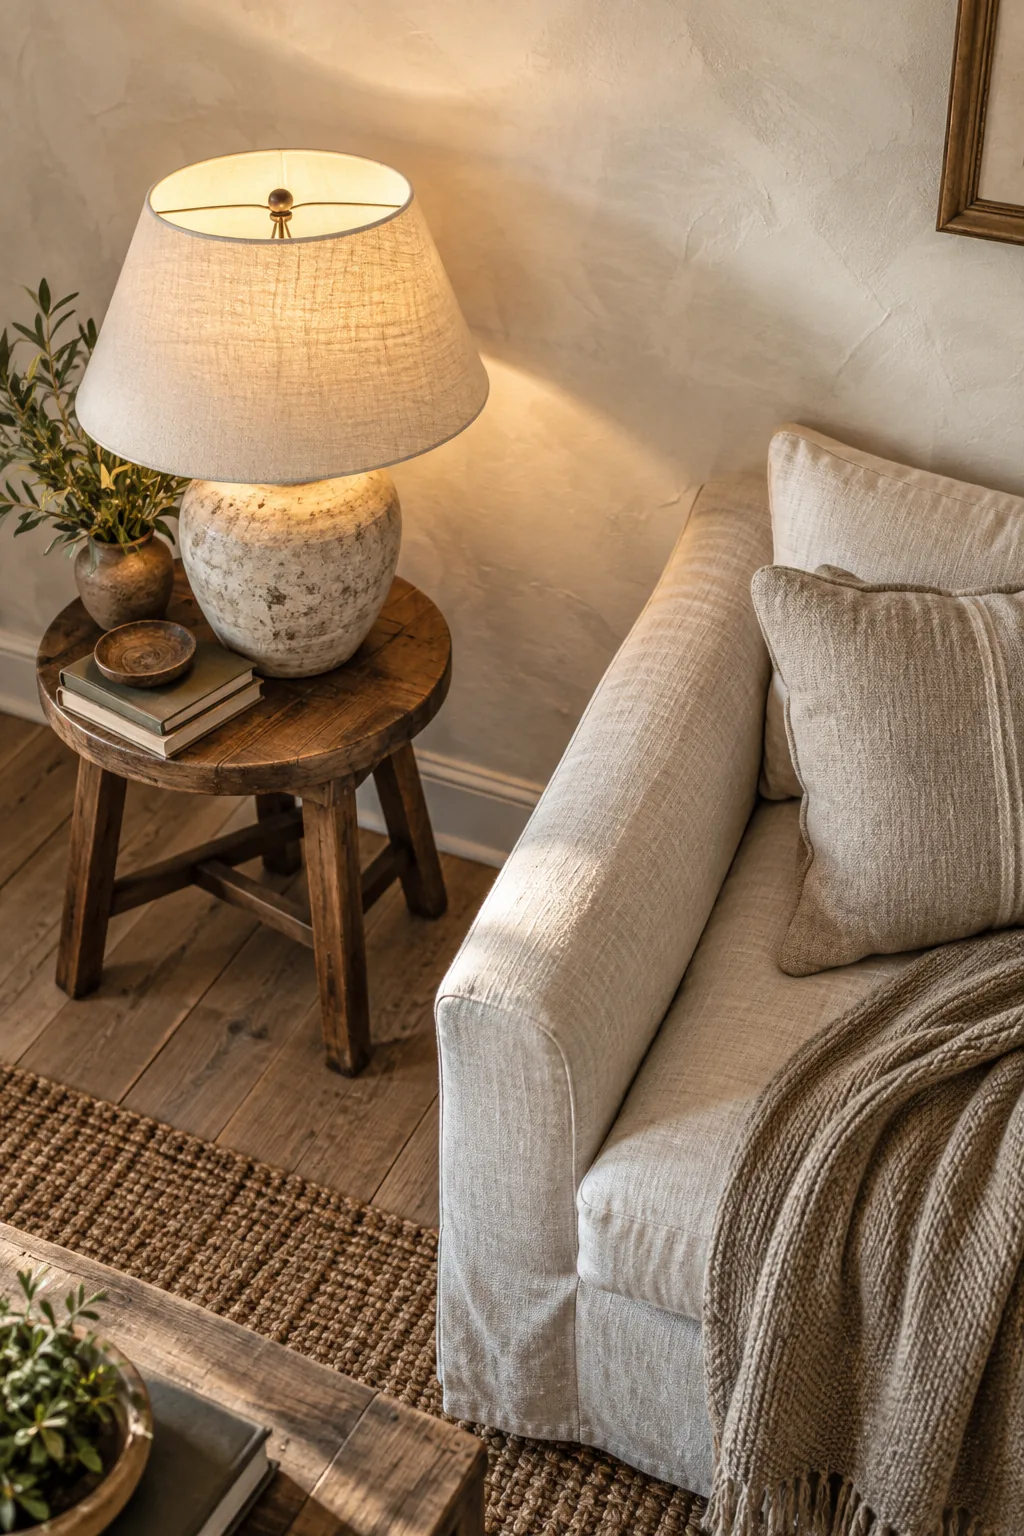
Choosing 2700K bulbs with a CRI of 90+ is crucial for bringing out the warm, silvery-brown tones of your aged wood. I swapped out my old standard bulbs for these warmer LEDs, and the chalky depth of the limewash instantly came alive.
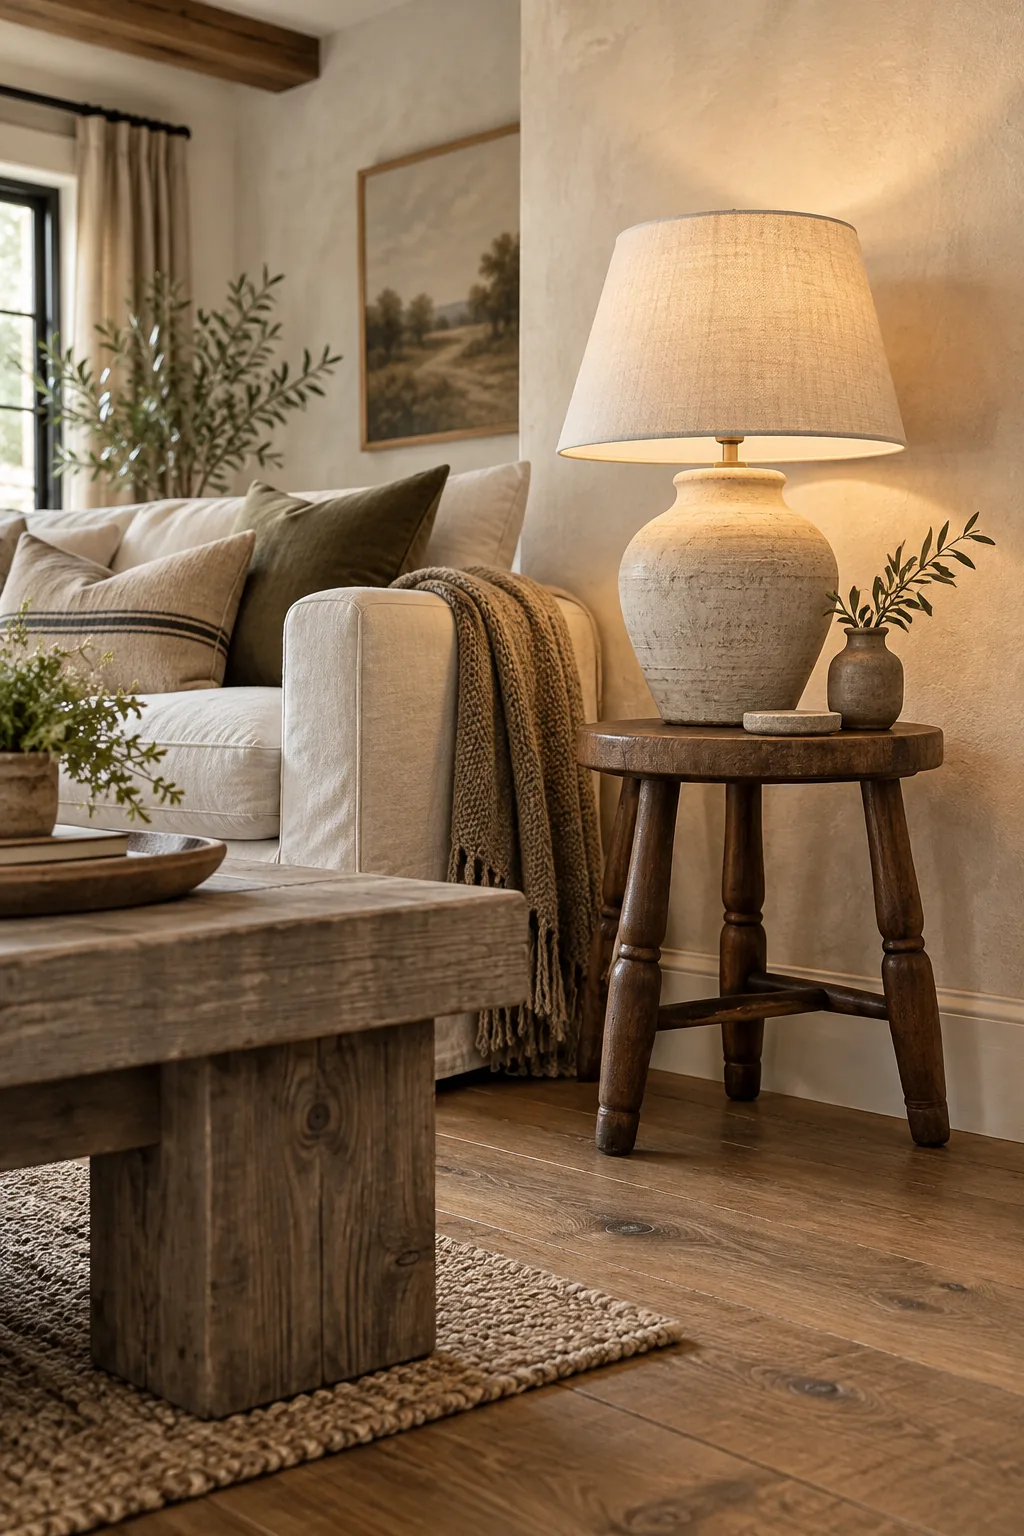
This specific lighting spec completely prevents the harsh yellow glare or sterile blue tint that ruins rustic atmospheres. It guarantees your layered textures look natural and inviting after the sun goes down.
Balancing 3 Woods with 1 Undertone
The golden rule of mixing wood species is keeping the underlying color temperature consistent across the room. I love pairing my oak floors with walnut and pine by ensuring they all share the same warm, silvery-brown undertone.
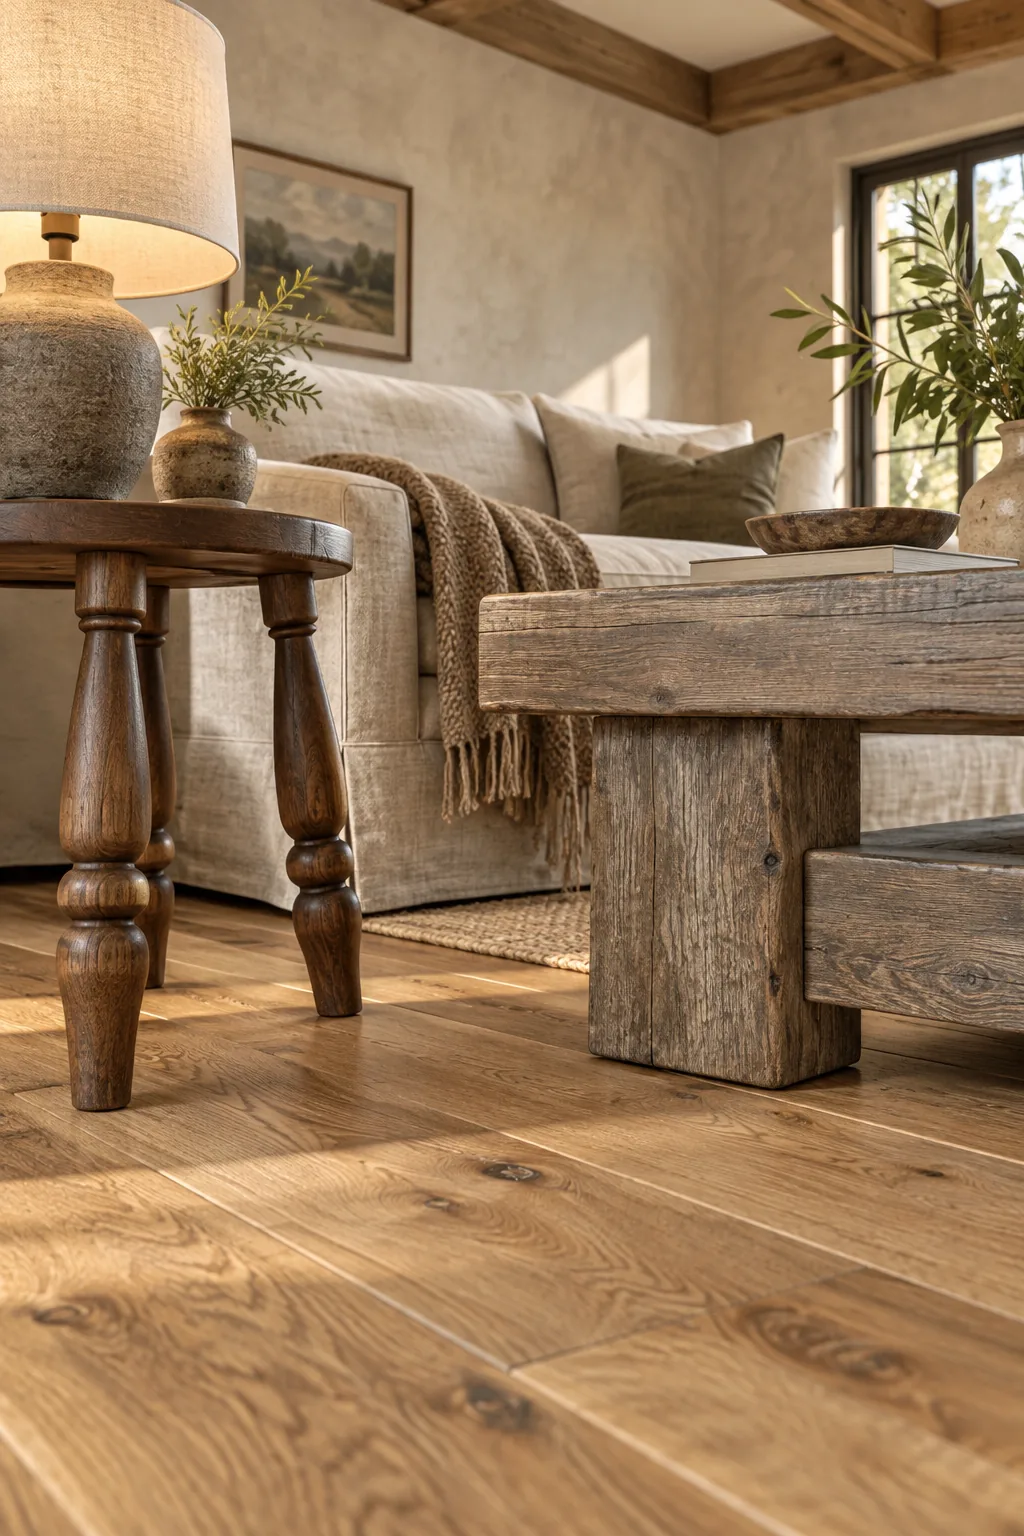
Grouping different grain patterns works beautifully when their base warmth matches perfectly.
| Wood Element | Species | Undertone |
|---|---|---|
| Floorboards | White Oak | Warm silver-brown |
| Side Stool | Walnut | Warm silver-brown |
| Coffee Table | Aged Pine | Warm silver-brown |
Sourcing and Prepping New Pine
Building a chunky coffee table starts with selecting standard dimensional pine from your local hardware store. Lightly distressing the sharp edges with a sander before applying any finish is absolutely essential.
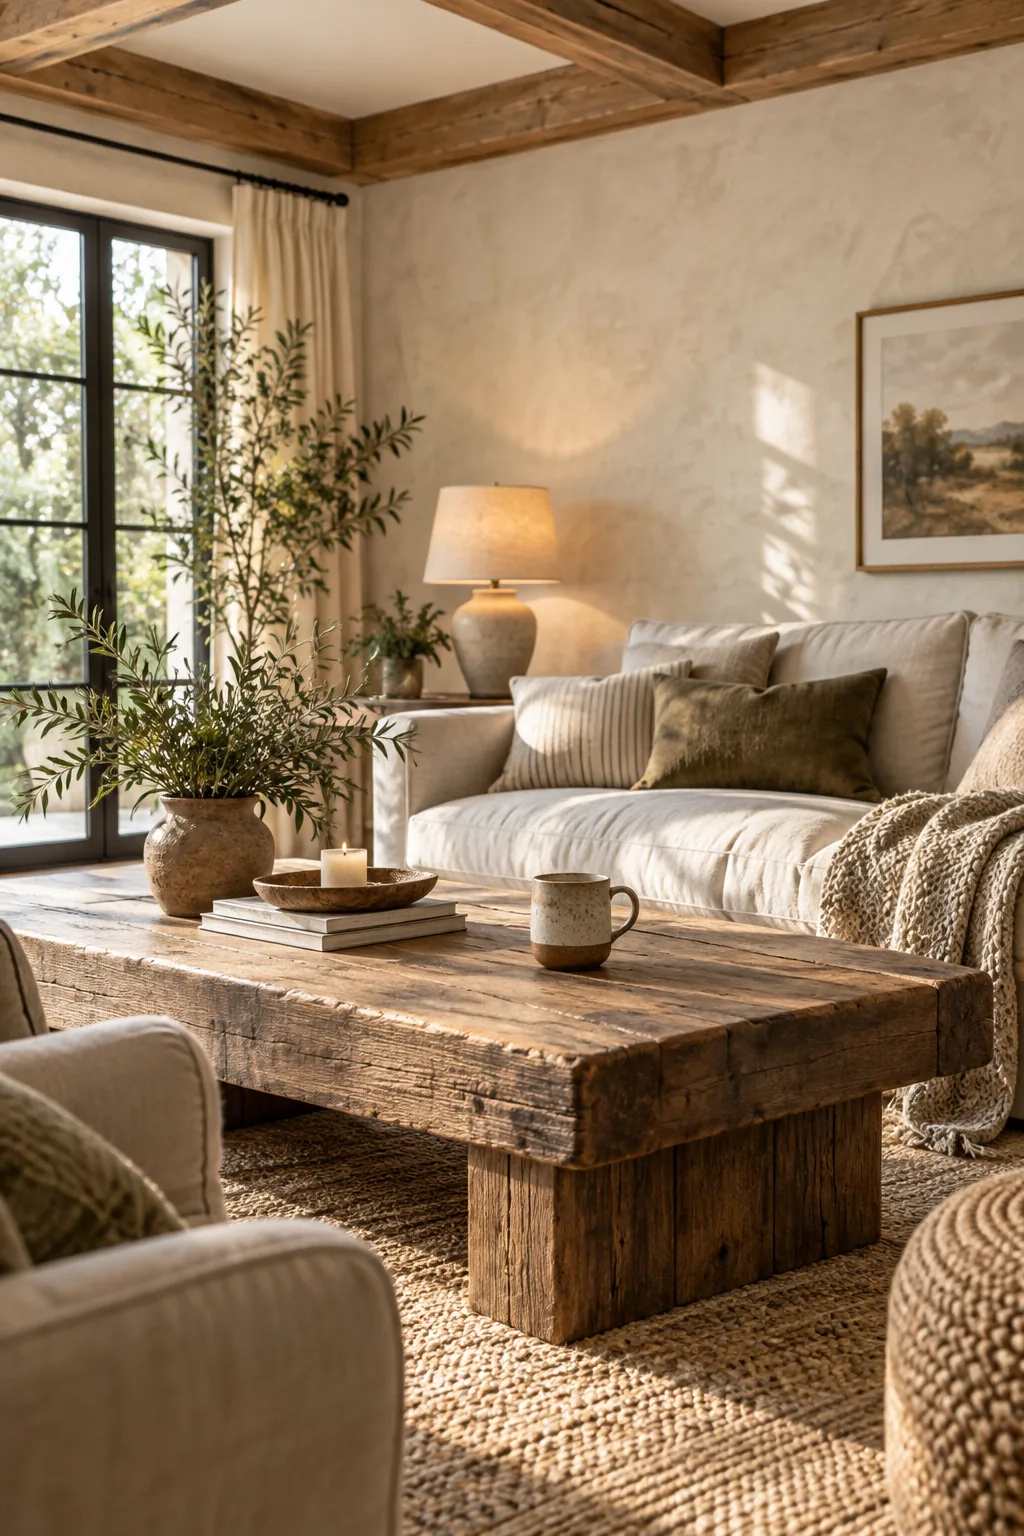
Knocking down those factory-cut corners ensures the final piece looks genuinely worn and loved. It provides the perfect organic canvas for the chemical aging process to follow.
Aging the Wood with Steel Wool and Vinegar
Steeping steel wool in white vinegar overnight creates a powerful oxidizing stain that reacts directly with wood tannins. Brushing this solution onto your prepped pine instantly turns bright yellow boards into a silvery-brown patina.
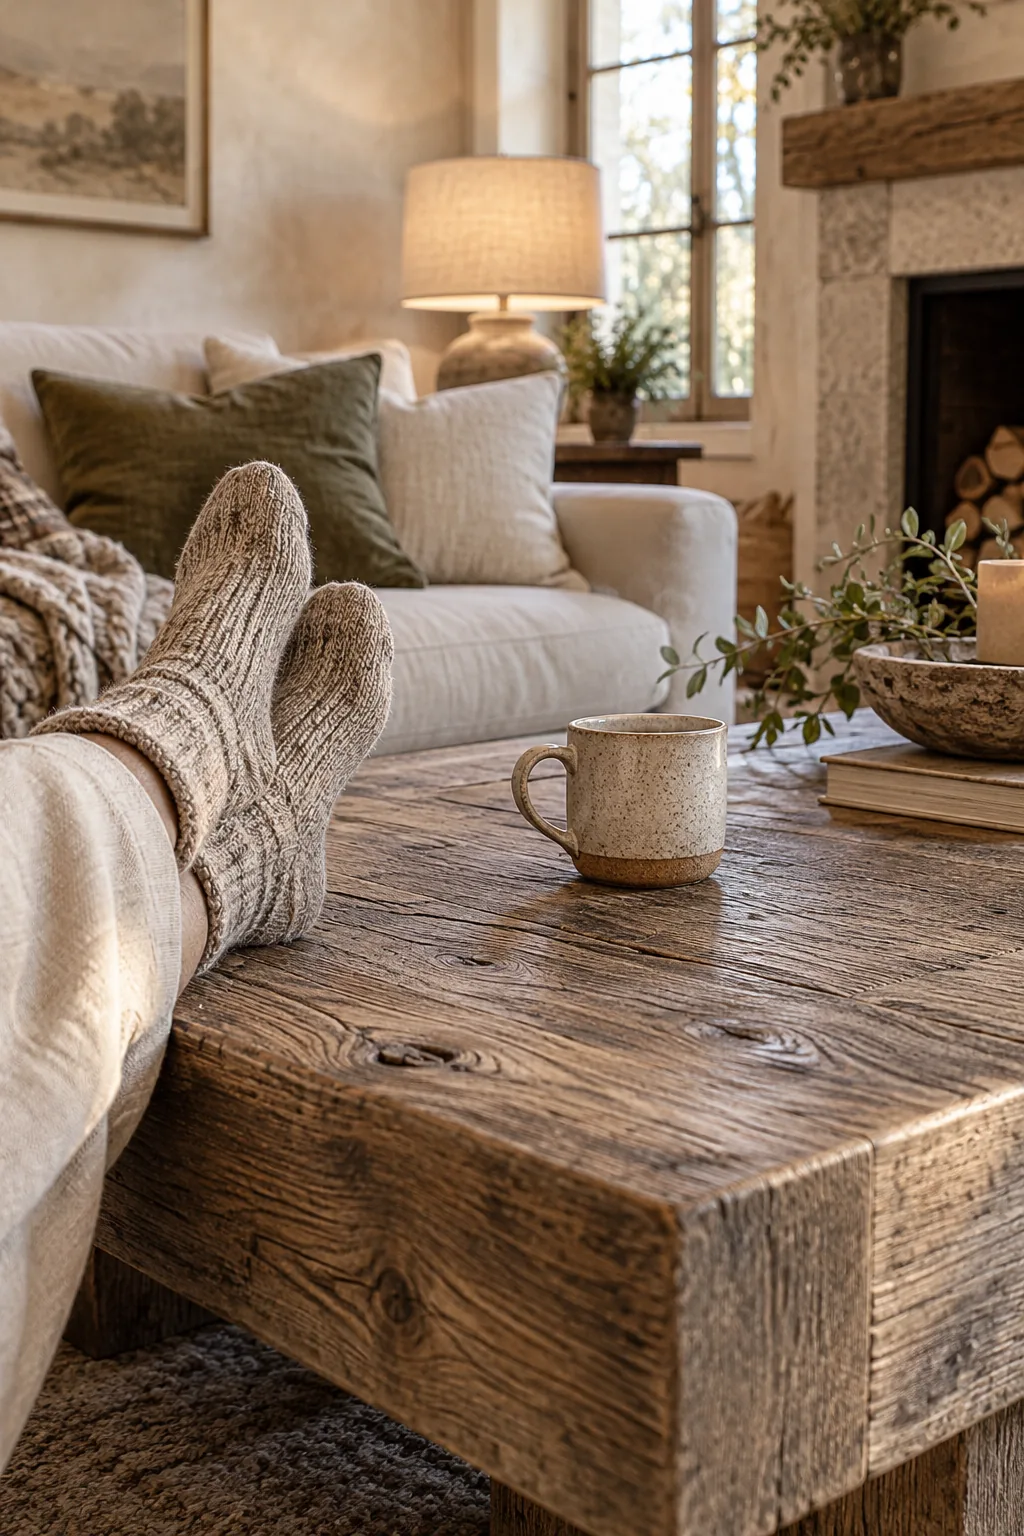
The oxidizing solution is simple to make, but preparing the ingredients correctly ensures a potent, even reaction on your wood.
Protecting the Patina with Hardwax Oil
Sealing your newly aged pine with a matte hardwax-oil topcoat sequence locks in that gorgeous color. I use this exact finish on my own coffee table because it easily repels water rings from my daily mugs.
- Apply the first coat thinly using a lint-free cotton cloth.
- Wait exactly 15 minutes for the oil to penetrate the grain.
- Buff off all excess residue to prevent a sticky surface.
- Allow 24 hours of curing time before applying the second coat.
This robust sealing method keeps the wood feeling raw and matte while remaining highly scuff-friendly for everyday living.
Download the Rustic Finishes Recipe Sheet
You can start your living room transformation today by grabbing our printable 2-page guide. It contains the exact steel-wool-and-vinegar steeping ratio, overnight timing, and hardwax sequence.
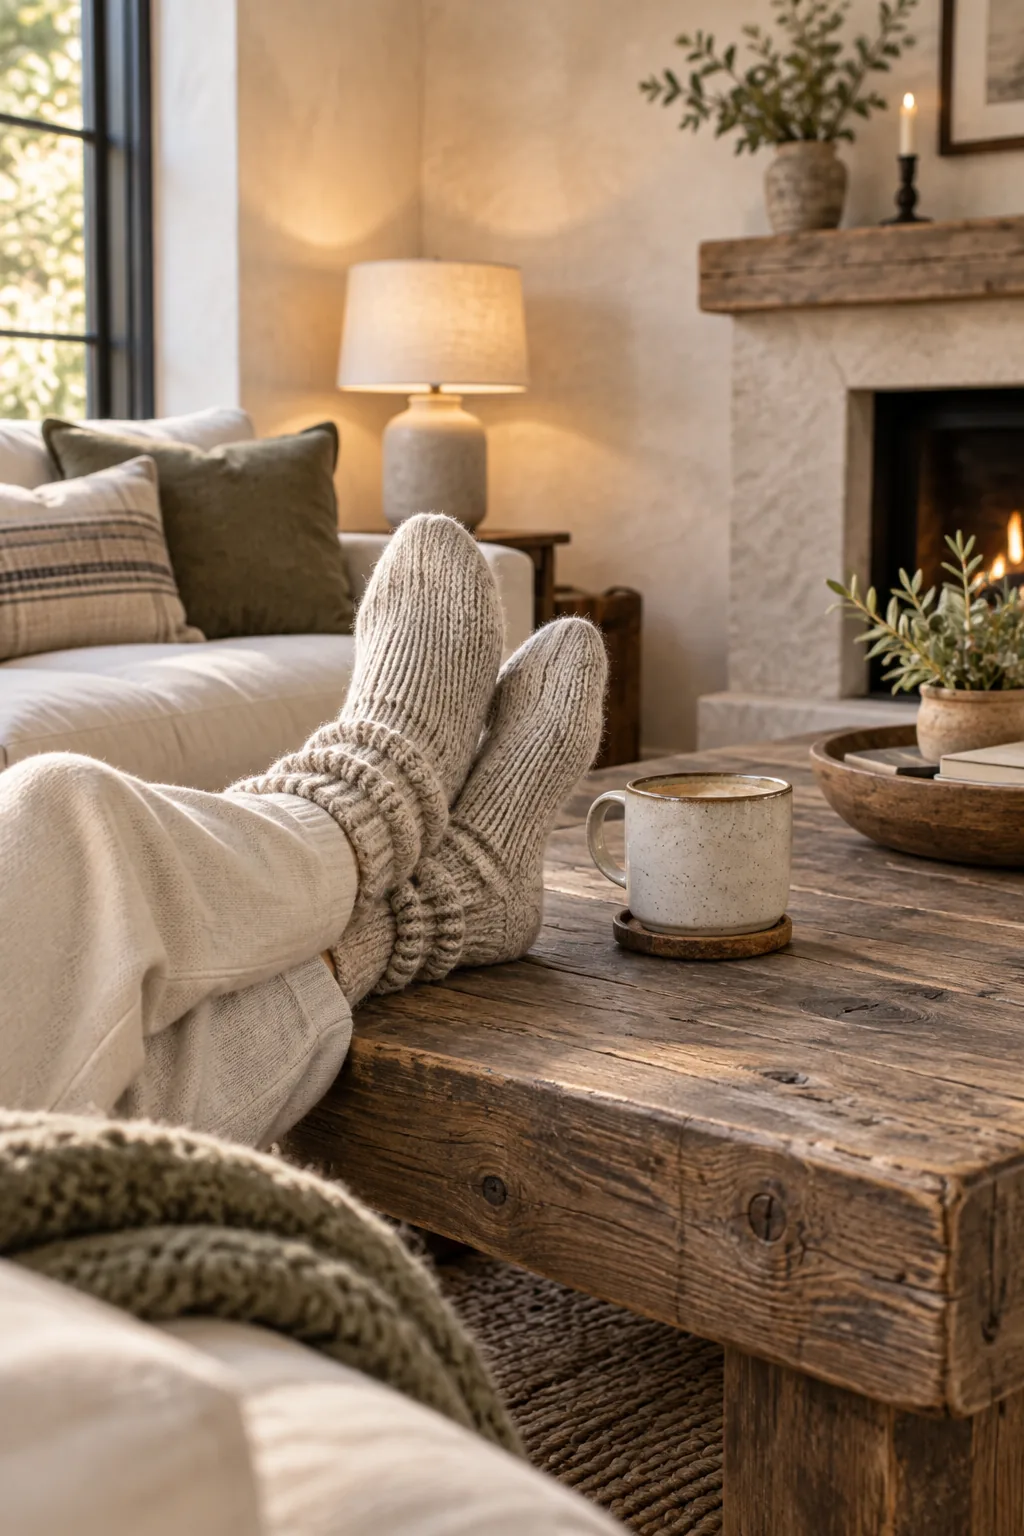
The download also includes the step-by-step limewash instructions, the 3-wood undertone pairing chart, and the 1×8 box-beam cut list. Print it out and keep it handy as you build your scuff-friendly space.
More Ways to Style Rustic Finishes
See how these same aging and texturing techniques adapt to different room styles and color palettes.
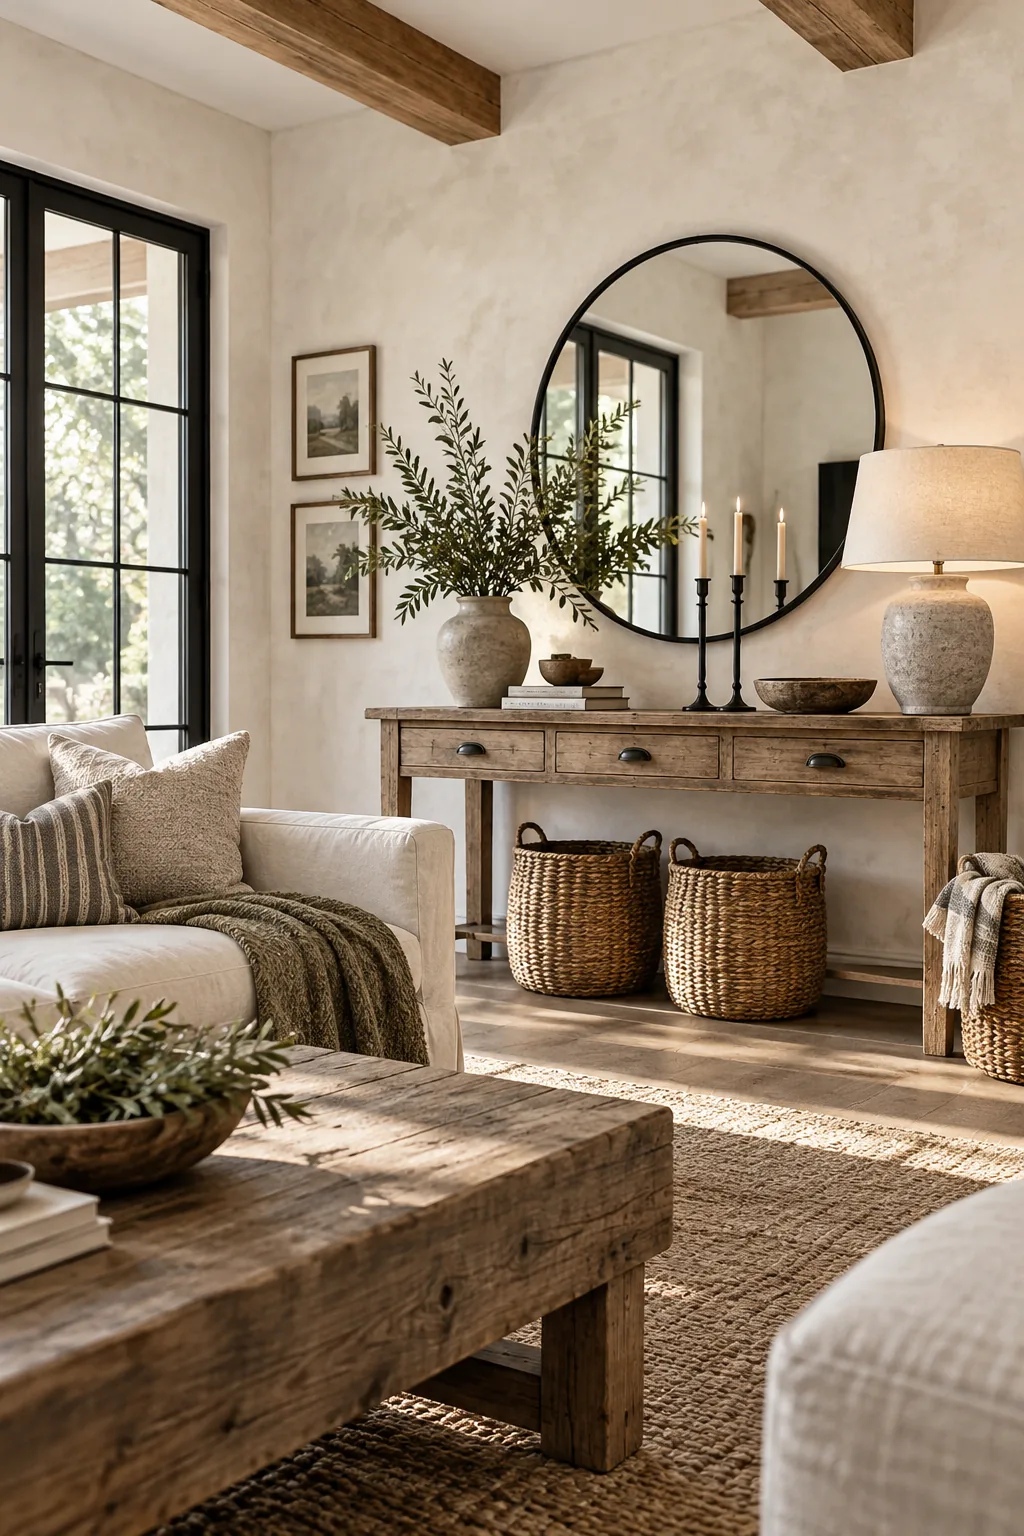
Modern Farmhouse Contrast: Pair bright white limewash with darker aged wood and matte black metals for a crisp, tailored take on rustic textures.
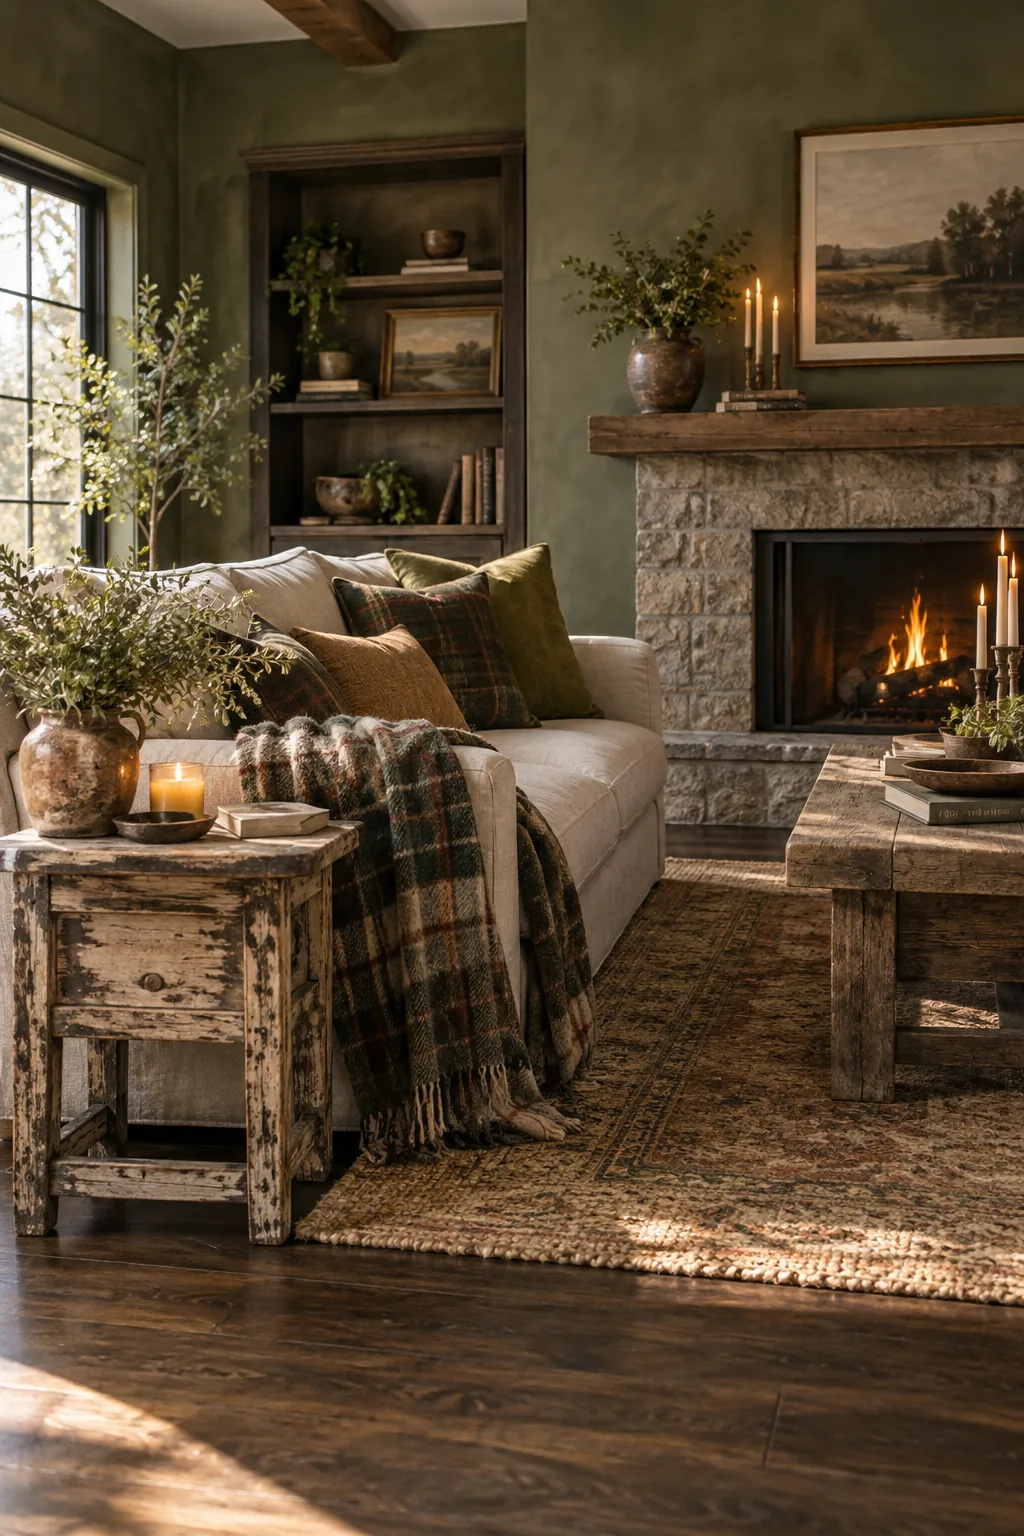
Moody Cabin Warmth: Tint your limewash to a deep olive green to create a cocooning atmosphere that highlights heavily distressed pine furniture.
Soft Coastal Rustic: Keep the vinegar aging brief for a lighter driftwood tone that pairs beautifully with sandy beige walls and crisp white linen.