Outdoor Wall Ideas to Grow a Tiny Patio: Spacing & Hanging
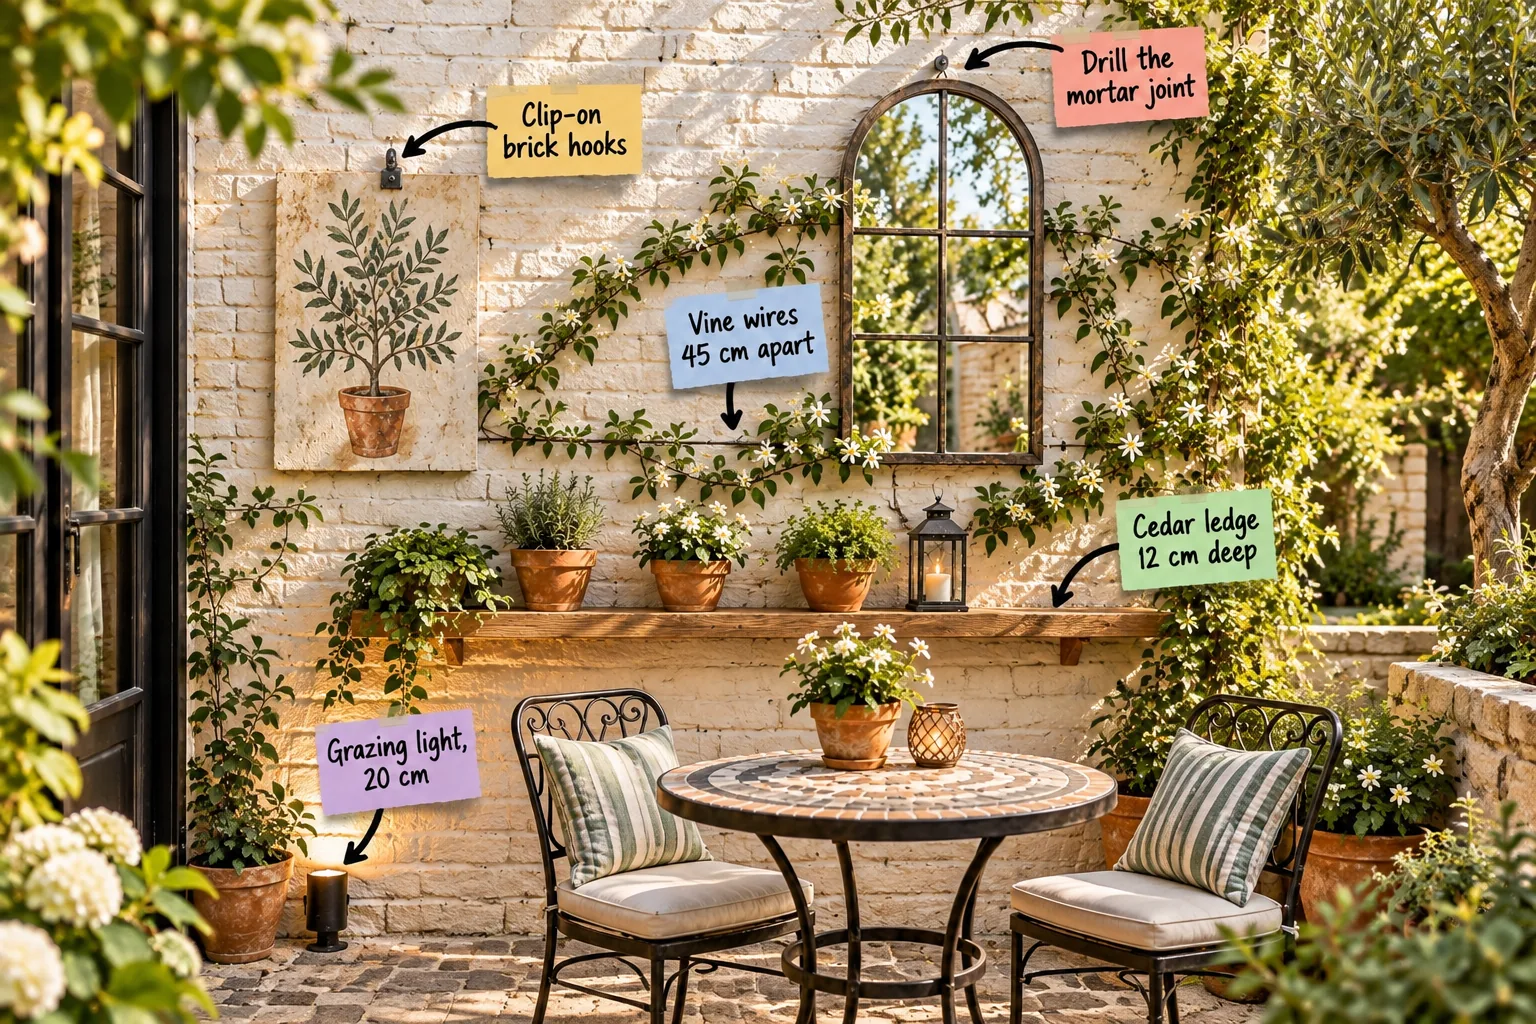
You will be able to confidently drill, clip, and space every element on your brick wall using our exact hardware and measurement guide. Grab the printable Small-Patio Brick Wall Hanging & Spacing Sheet to get the precise dimensions needed to recreate this layered look.
Anchoring Heavy Mirrors in Mortar
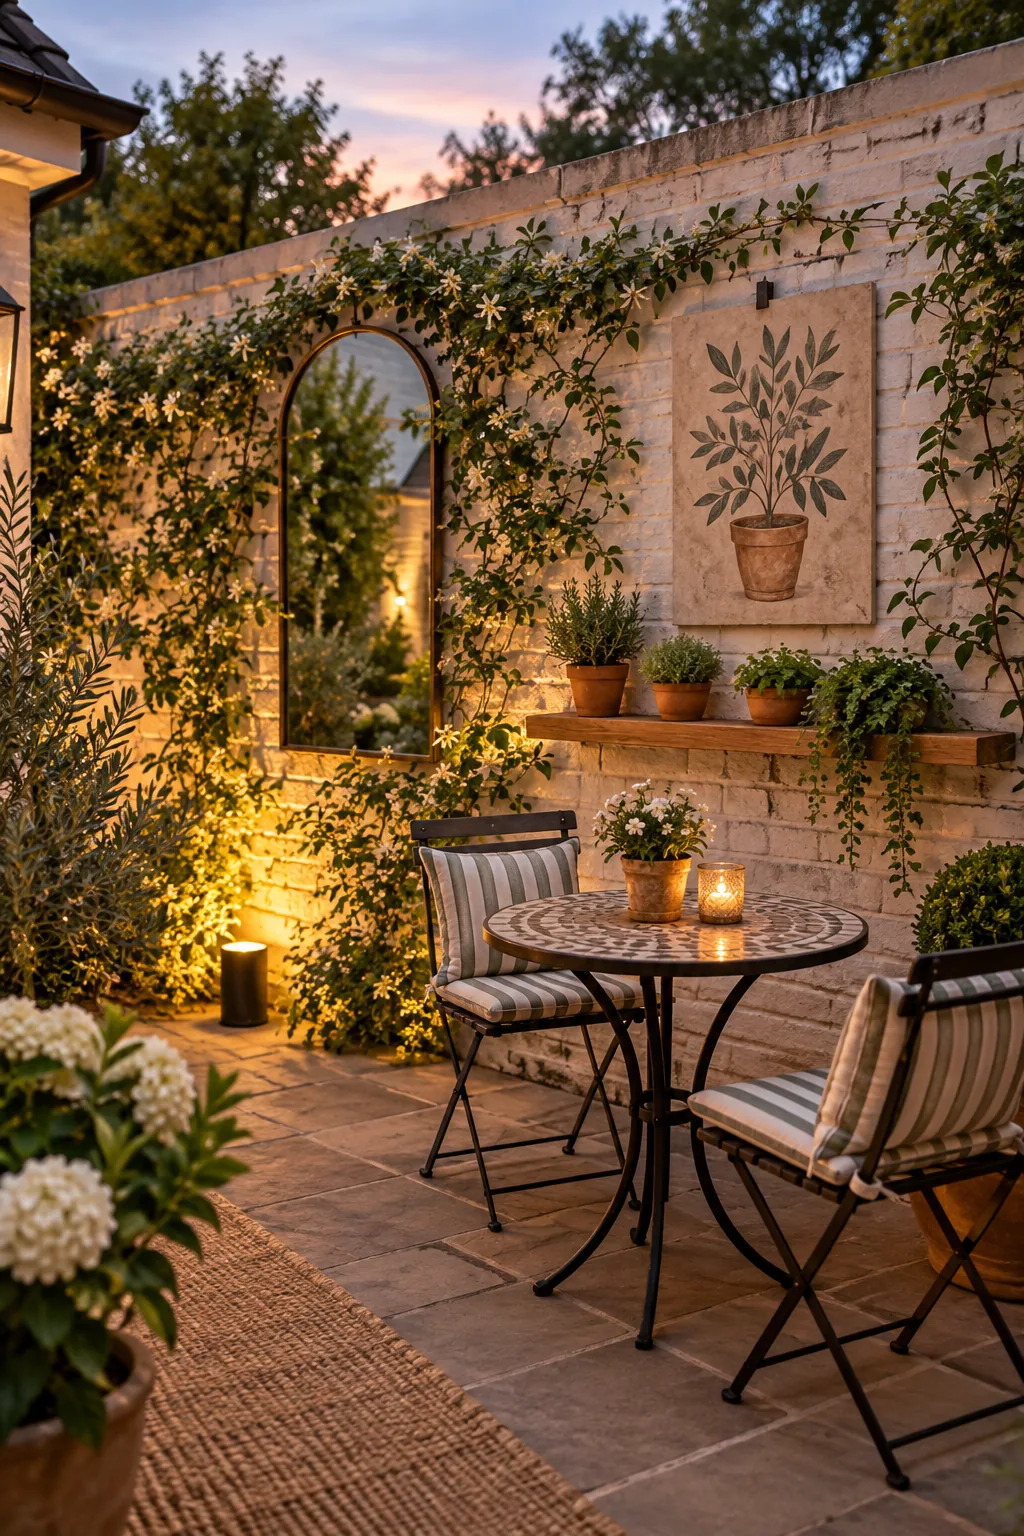
Heavy items like an arched outdoor mirror require secure fastening, so you must always drill the mortar joint rather than the brick face to prevent cracking the masonry. Using a standard masonry anchor and a 6 mm masonry bit ensures a snug fit in standard mortar lines.
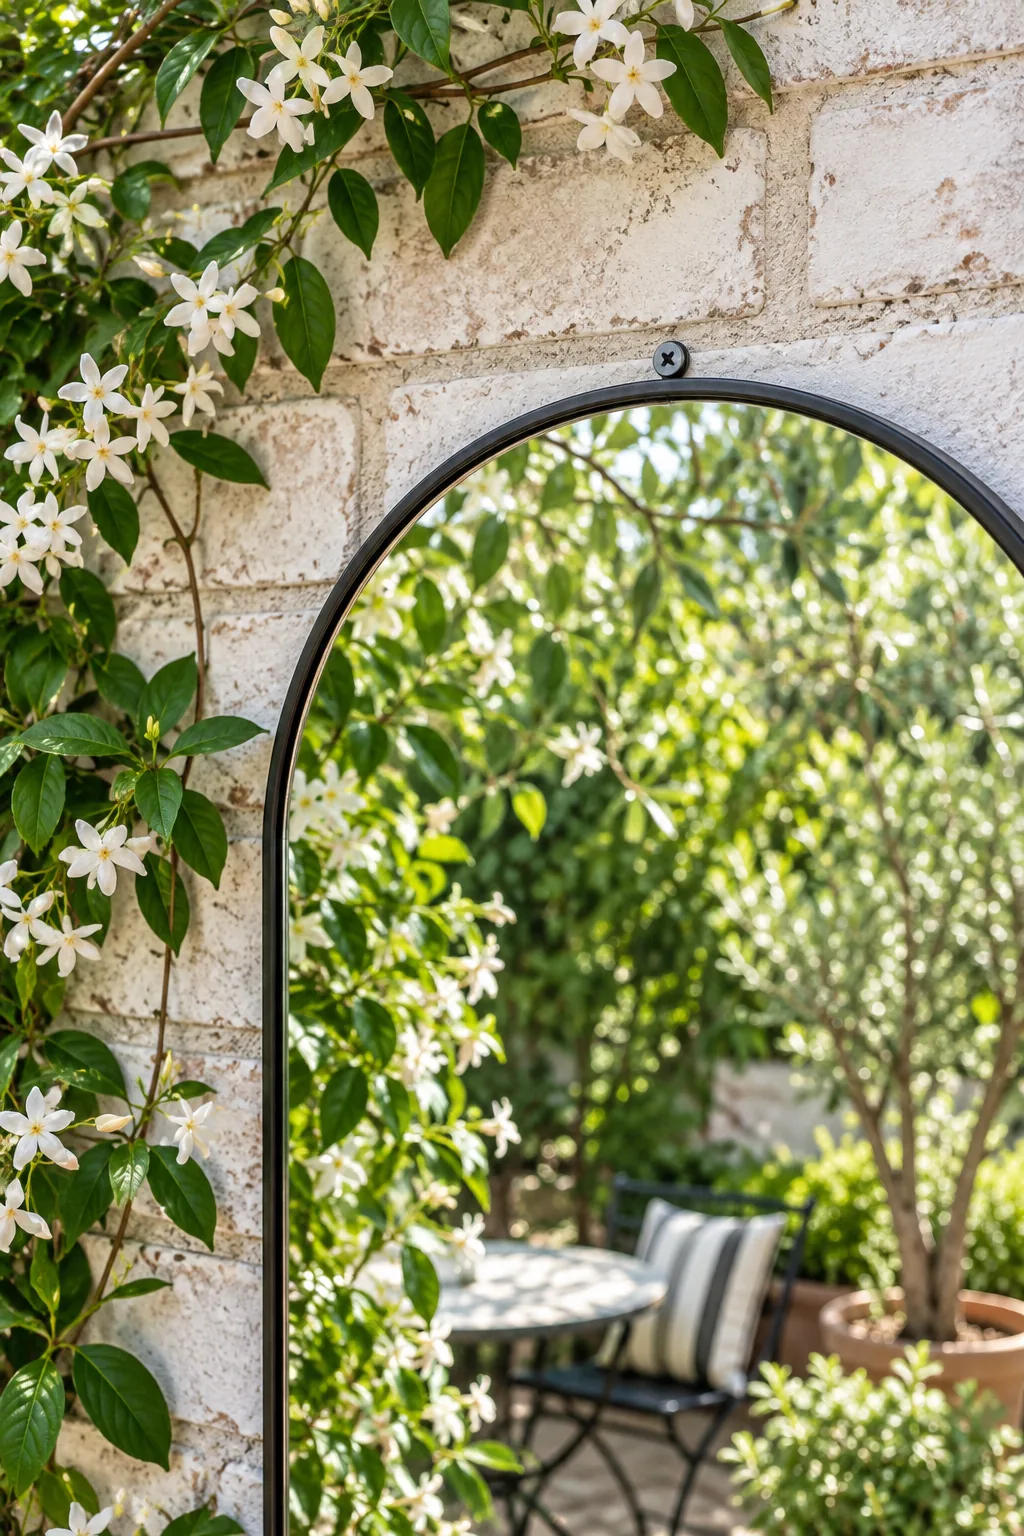
Before you reach for the drill, it is crucial to understand how older masonry behaves under pressure to avoid crumbling your wall.
Understanding Mortar Joint Types
Older patios often feature softer lime-based mortar that requires a gentler drilling approach to avoid blowout. Always start with a smaller pilot hole before expanding to your final anchor size to keep the surrounding brick edges perfectly intact.
Selecting the Right Masonry Anchor
Not all wall plugs are created equal when dealing with exterior brickwork. You need an expanding nylon sleeve that grips the rough interior of the mortar joint tightly as the screw drives in.
| Anchor Type | Best For | Weather Rating |
|---|---|---|
| Expanding Nylon | Solid mortar joints | Excellent (Freeze-resistant) |
| Standard Plastic | Indoor drywall | Poor (Brittle in cold) |
| Metal Shield | Heavy structural loads | Good (Rust risk over time) |
A high-quality flanged anchor prevents the plug from slipping too deeply into the void behind older bricks, ensuring your mirror bracket sits perfectly flush.
Spacing Vine Wires for Climbers
Creating a support grid for climbing plants like star jasmine requires a precise layout to balance growth and aesthetics. Setting your horizontal vine wires 45 cm apart provides enough support for the tendrils to weave naturally without looking cluttered while the plant is young.
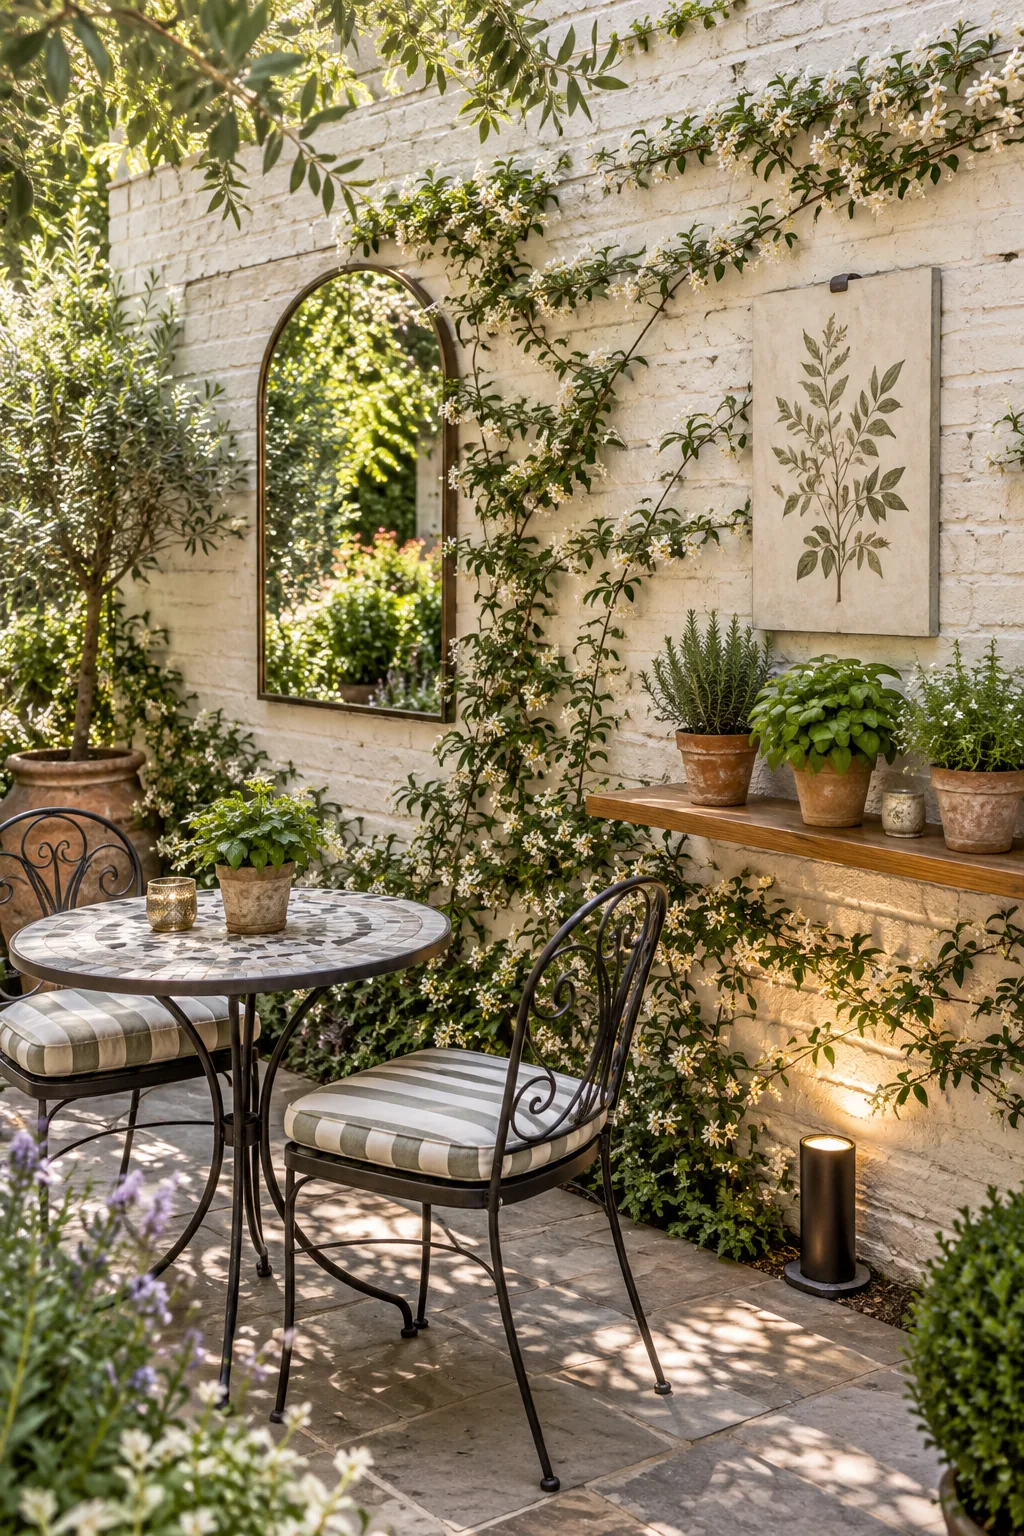
Maintaining this exact gap allows sunlight to reach the inner leaves, which prevents the lower vines from turning brown and woody over the winter.
Selecting the Right Wire Gauge
I always recommend using 2 mm stainless steel wire for outdoor plant grids. It is thick enough to support heavy mature vines during high winds but remains visually delicate against the white painted brick.
Tensioning Your Support Grid
You must tension the stainless steel lines firmly between the vine eyes to prevent sagging as the foliage matures. Follow these quick steps to secure your grid properly before planting.
- Mark your horizontal lines with a level to keep the grid perfectly straight.
- Drive your vine eyes deep into the mortar joints at the ends of each run.
- Thread the wire through and tighten the turnbuckle until it hums when plucked.
A taut wire ensures the young jasmine tendrils have a stable structure to climb, protecting delicate new growth from whipping in the breeze.
Hanging Art with Clip-On Hooks
Adding weatherproof artwork without making permanent holes is incredibly simple when you use the right hardware. These clip-on brick hooks use spring steel to grip the top and bottom edges of a single brick, easily supporting lightweight panels.
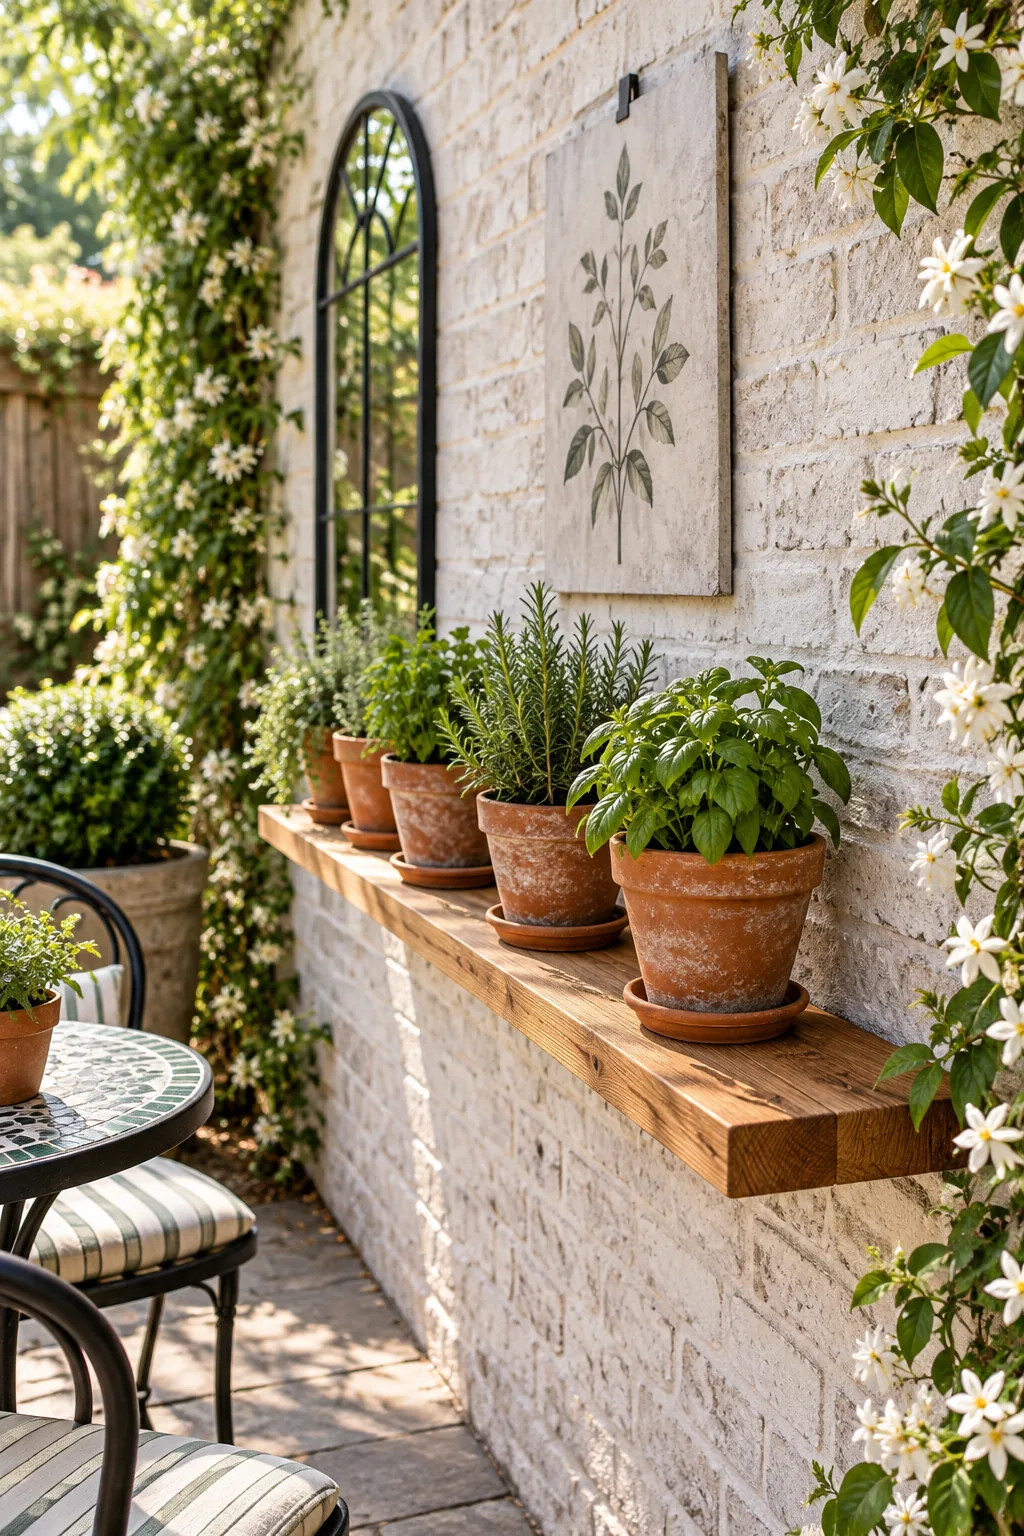
I absolutely love how these clips let me swap out my outdoor canvas prints whenever the seasons change. It takes me less than a minute to pinch the spring and reposition the art without ever touching a drill.
Choosing the Best Brick Hooks
Measure your brick height carefully because standard clips are designed for standard masonry sizing. If your patio features oversized or irregular antique bricks, you will need to source adjustable spring clips to guarantee a secure hold.
Swapping Seasonal Canvas Prints
Because you are not drilling permanent holes, your outdoor gallery can evolve throughout the year. Always ensure your chosen art panels are printed on UV-resistant canvas to prevent the harsh afternoon sun from fading the vibrant colors.
Sizing a Slim Cedar Display Ledge
Shallow shelving is vital in a tight courtyard where every inch of clearance matters for comfort. A cedar ledge 12 cm deep is exactly wide enough to hold standard small terracotta pots safely without encroaching on the seating area or causing bumped heads.
Mounting this ledge directly below your art creates a beautiful visual transition down toward the lower planters.
Measuring Bracket Clearances
When installing your shelf hardware, align the metal brackets directly over solid mortar joints for maximum stability. Using a low-profile L-bracket keeps the hardware completely hidden behind the trailing foliage.
Waterproofing Natural Wood Shelves
Unfinished cedar naturally resists rot, but applying a penetrating UV-blocking oil preserves that rich reddish-brown tone. I lightly sand and re-oil my outdoor wooden fixtures every spring to dramatically extend their lifespan.
Styling Terracotta on Shallow Shelves
Arranging objects on your new ledge brings the whole vertical display to life. Sticking to a 12 cm depth limits your pot size, which naturally prevents the shelf from looking visually heavy or overcrowded.
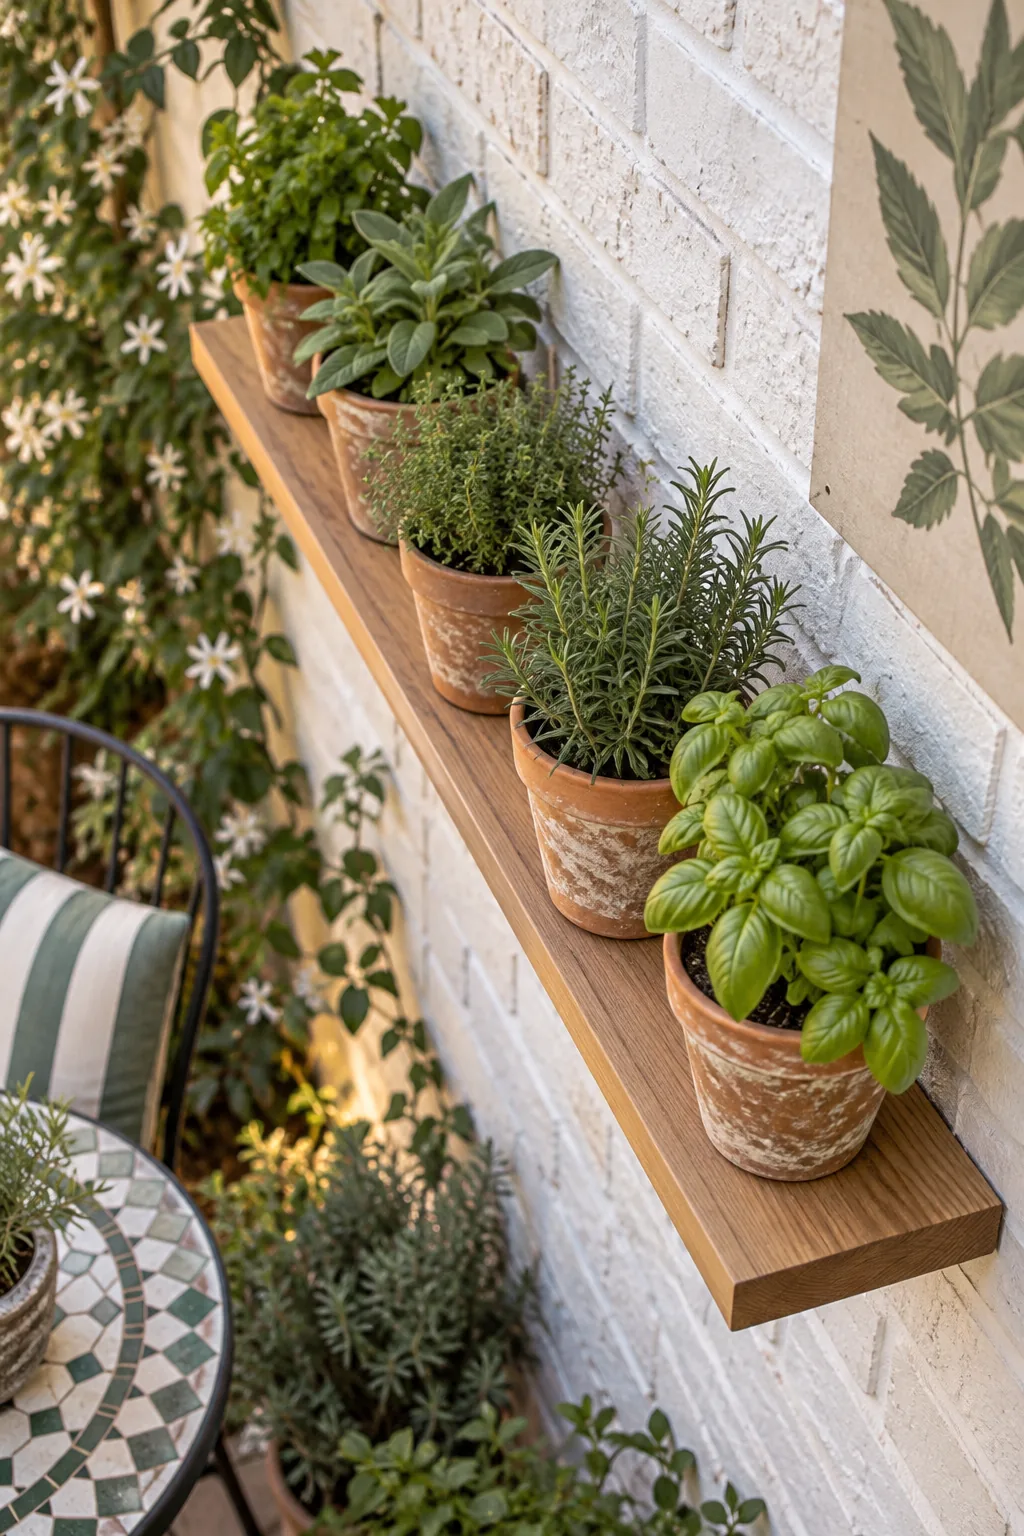
I recommend grouping the pots in odd numbers and mixing trailing plants with upright herbs like rosemary. This varied foliage softens the hard horizontal line of the wood and blends beautifully with the climbing jasmine.
Balancing Pot Weights
Wet soil is surprisingly heavy, so it is crucial to distribute your terracotta evenly across the cedar span. Placing the heaviest planters directly above the metal brackets prevents the wood from bowing over time.
Choosing Drought-Tolerant Trailing Plants
Small terracotta pots dry out incredibly fast, so selecting resilient trailing varieties like creeping thyme reduces your daily watering chores. Ensure each pot has a clear drainage hole to prevent waterlogging during heavy summer rainstorms.
Positioning the Base Grazing Light
Upward lighting highlights the rugged texture of the limewashed brick and adds instant evening drama. Placing the grazing light 20 cm from the base of the wall prevents harsh hot spots while casting a soft wash over the foliage.
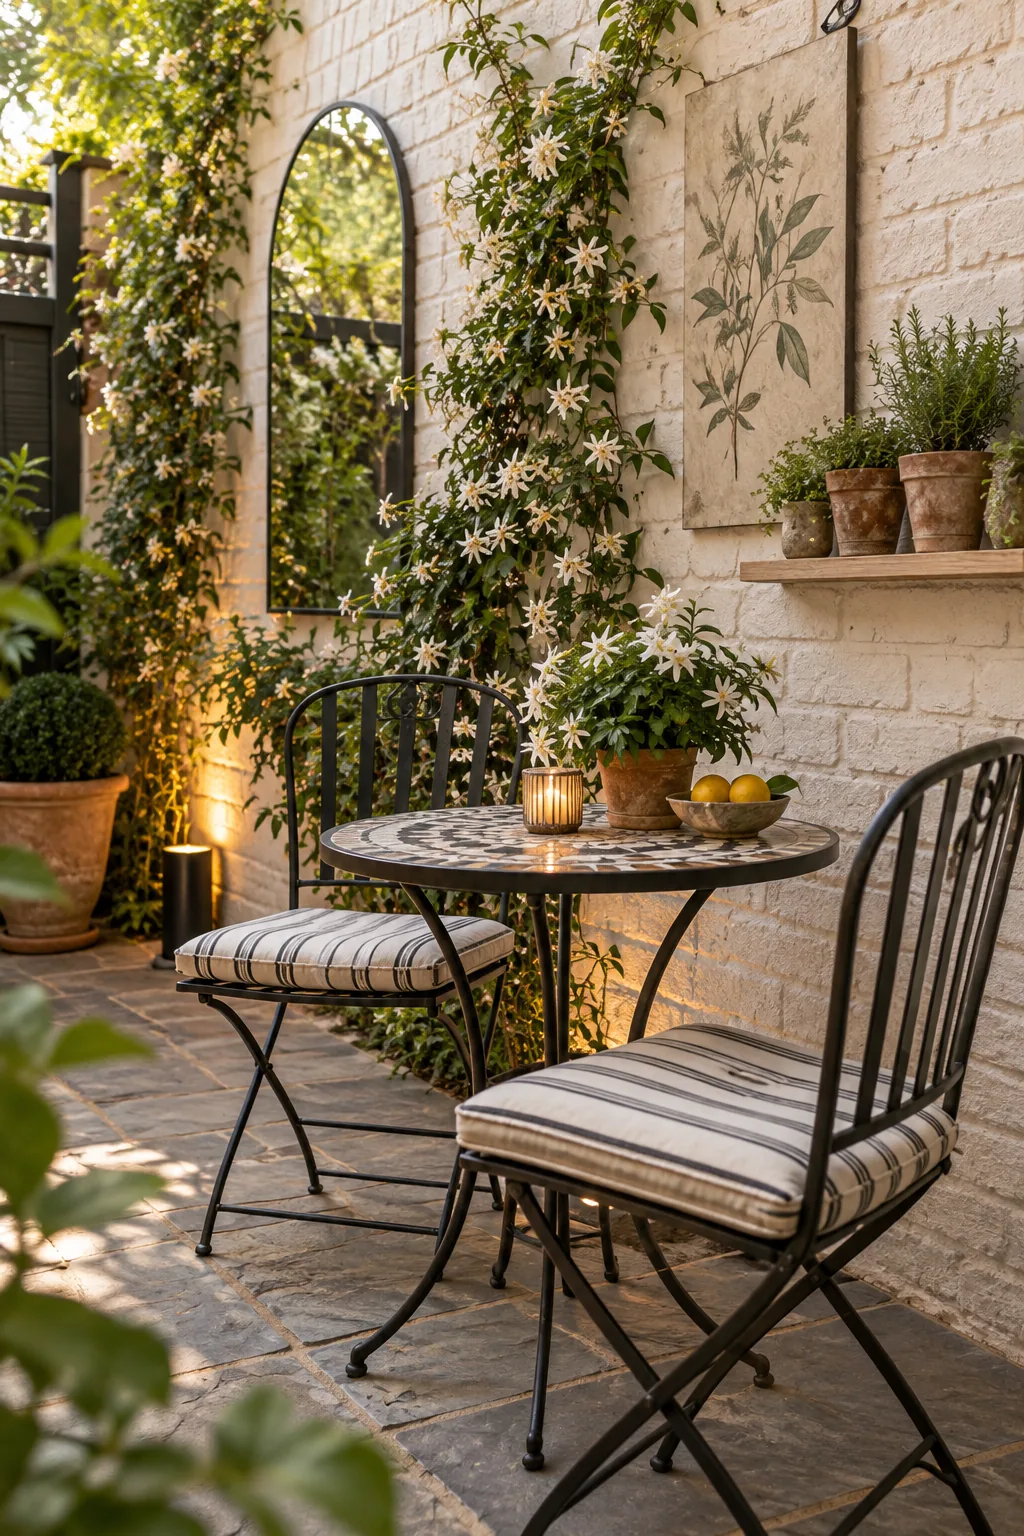
In my own backyard, I used to push the uplights flush against the brick, which just created glaring bright patches. Pulling them back that exact distance completely transformed the mood into a warm, inviting glow.
Selecting the Right LED Temperature
To achieve that cozy bistro atmosphere, always choose bulbs with a 2700K color temperature. This warm white spectrum mimics natural candlelight and makes the red tones in the terracotta pop beautifully at night.
Managing Outdoor Cable Routing
Keeping your patio looking pristine means hiding the power cords for your grazing lights. Use small masonry cable clips tapped gently into the lowest mortar joint to secure the wire and prevent tripping hazards.
Framing the Bistro Seating Zone
The structural wall elements ultimately dictate where your furniture will look and function best. Centering your two-seat bistro set directly beneath the mirror creates a cohesive focal point that anchors the entire patio layout.
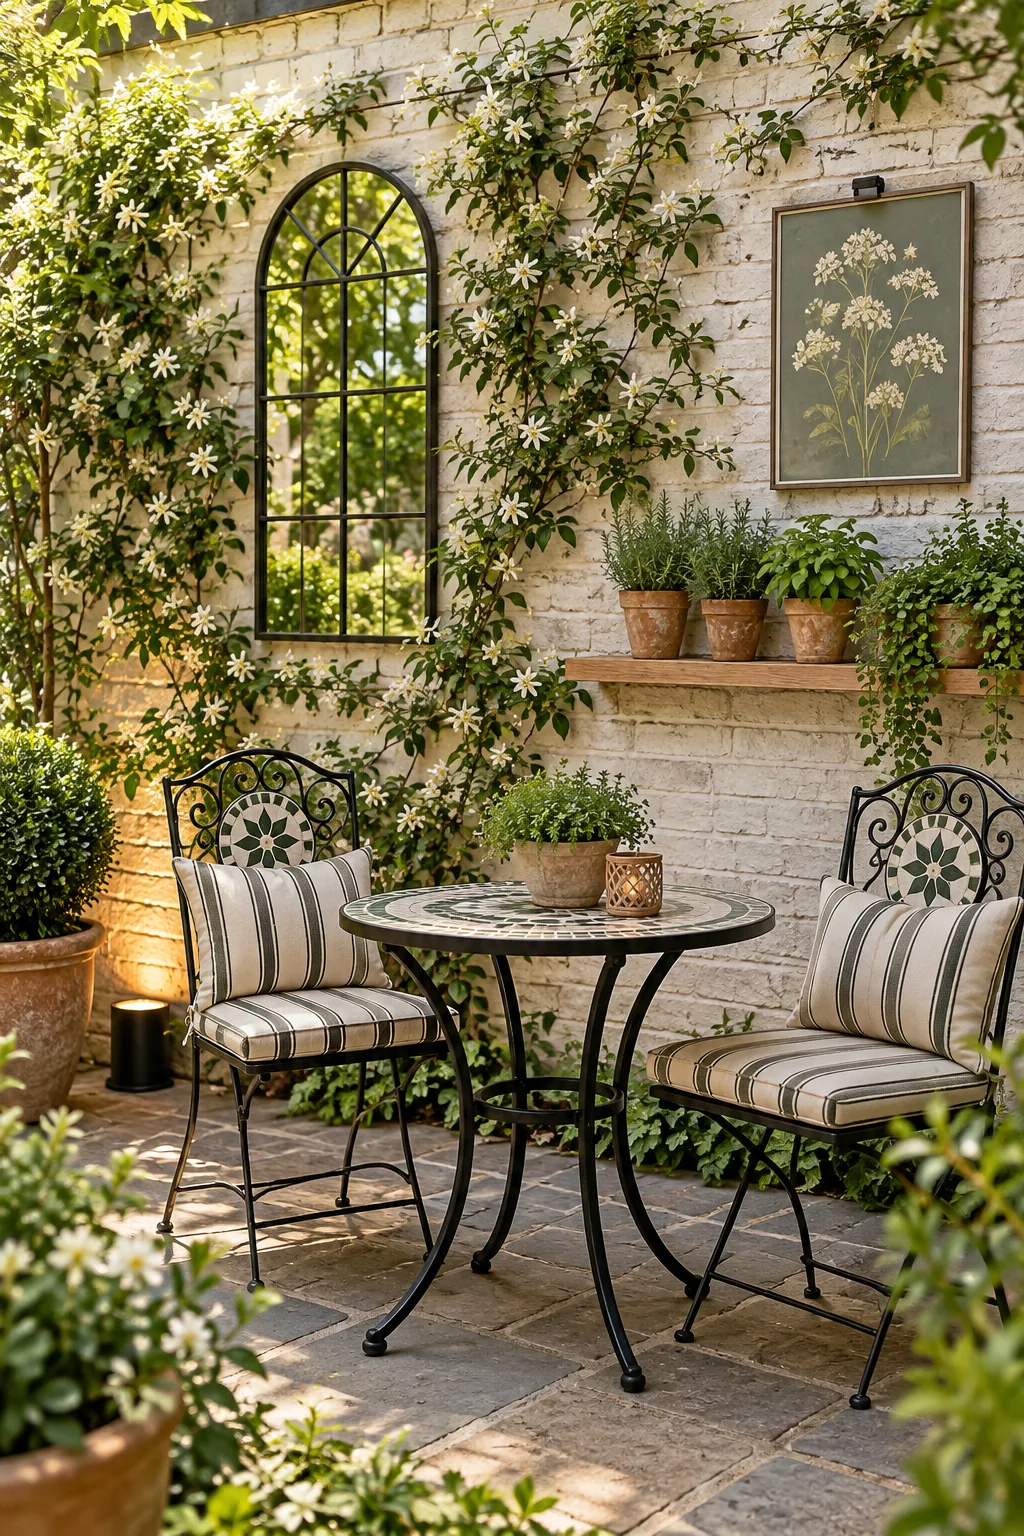
I always measure the pull-out radius of my chairs before finalizing the table spot. You need to leave enough clearance so your chairs slide out smoothly without ever bumping into the grazing light or the planters.
Measuring Chair Pull-Out Radius
A comfortable dining setup requires at least 75 cm of clearance behind each chair. Mapping this zone out with painter’s tape beforehand ensures your guests will not feel cramped against the brick wall.
Selecting Weatherproof Bistro Materials
Your seating area needs to withstand the elements, so powder-coated steel frames resist rust while offering a slim profile. I prefer open-weave tabletops because they allow rainwater to drain straight through immediately.
Your Brick Wall Hanging & Spacing Sheet
Having all your measurements mapped out beforehand guarantees a balanced, uncrowded final layout that feels professionally designed. Download the Small-Patio Brick Wall Hanging & Spacing Sheet to compile all the hardware sizes, wire gaps, and shelf dimensions discussed into one printable shopping guide.
Before you head to the hardware store with your printed sheet, run through this quick physical assessment to ensure your specific wall is ready.
More Small-Patio Wall Looks
Find the perfect material palette for your outdoor space with these three distinct wall variations.
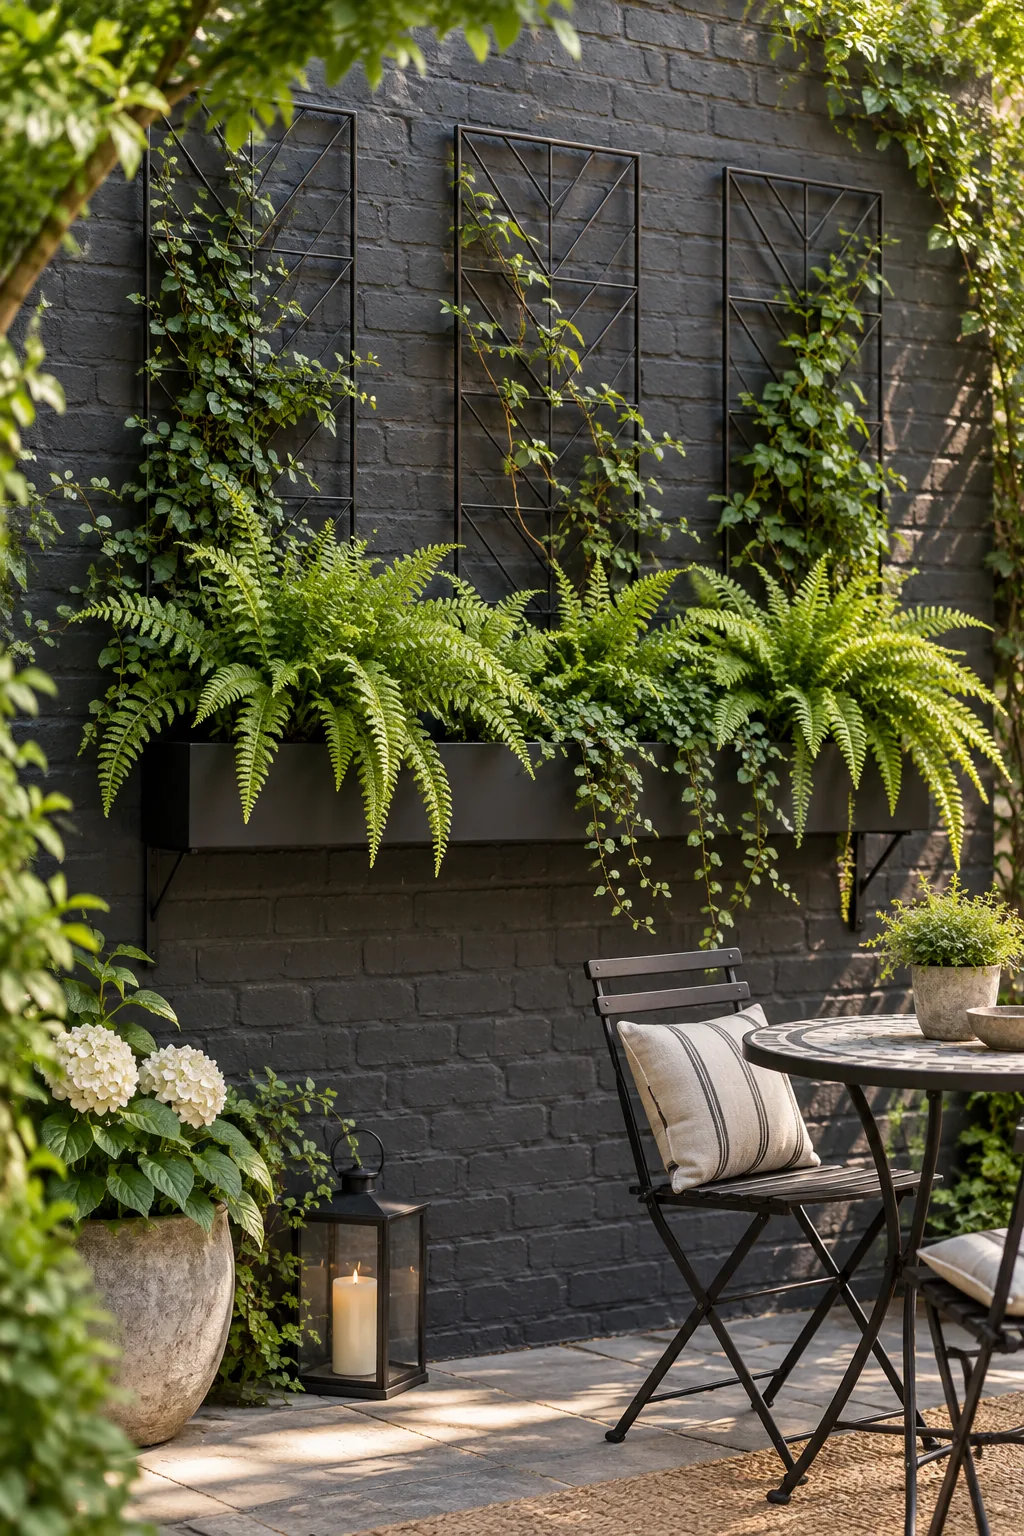
Modern Slate and Ferns: Dark painted brick creates a moody, contemporary backdrop that makes the vibrant green fronds pop brilliantly.
Warm Mediterranean Stucco Wall: Swap the brick for textured stucco and wrought iron to instantly bring a sun-drenched European villa feel to your yard.
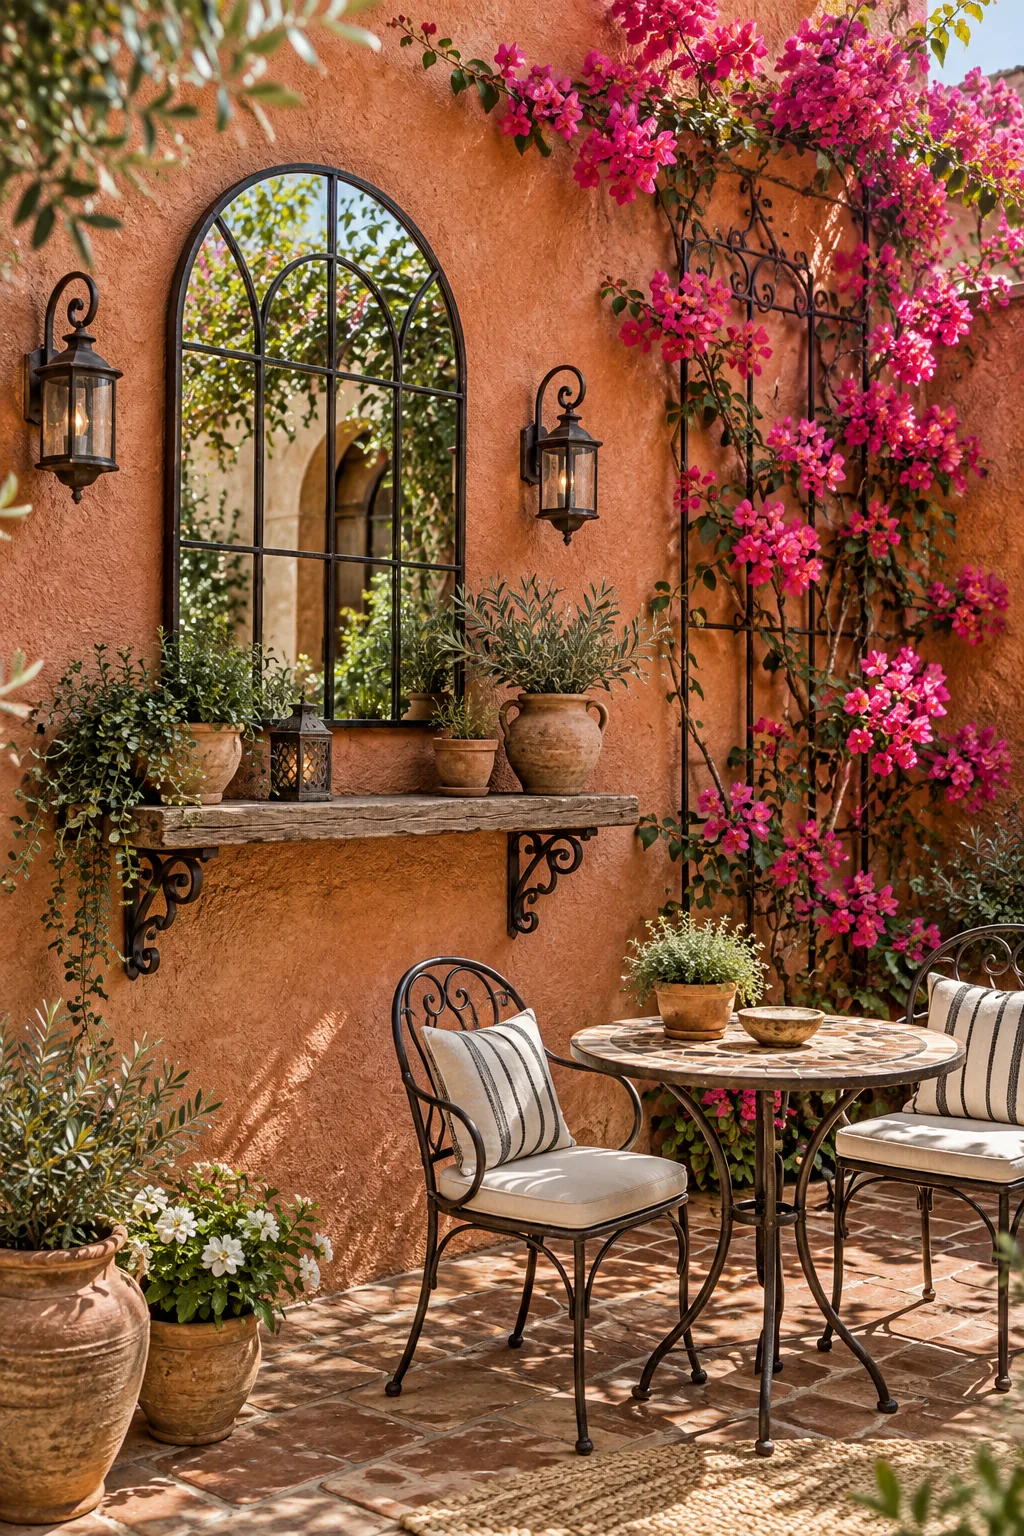
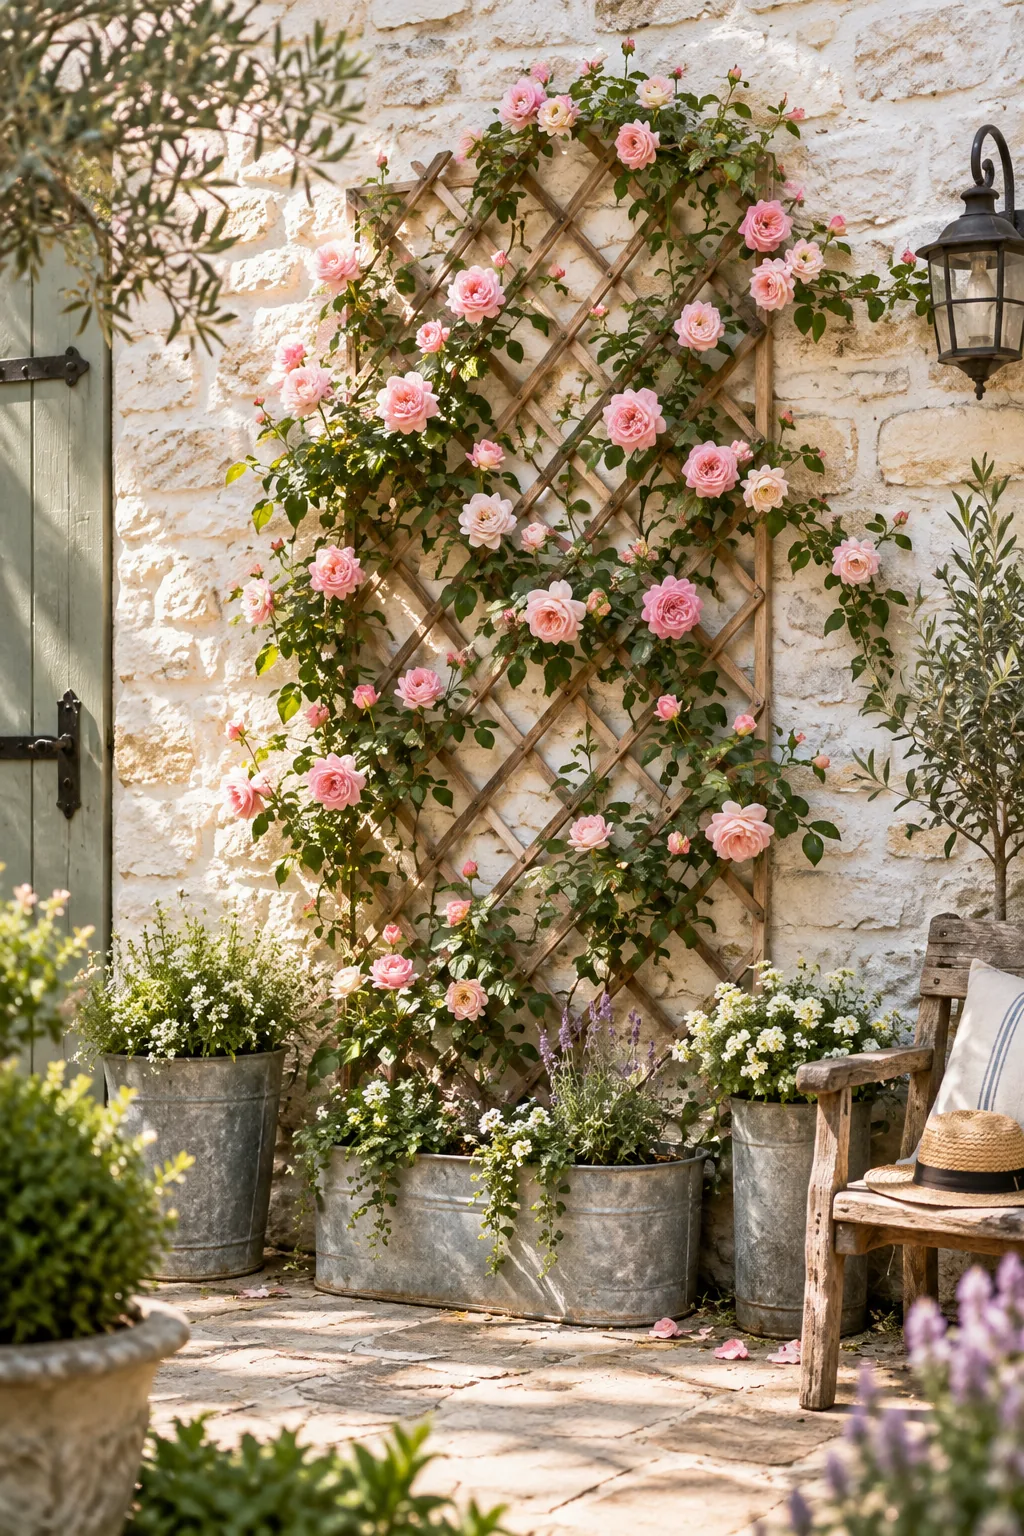
Cottage Style Rose Trellis: A traditional diamond trellis mounted over rough stone offers classic charm and heavy-duty support for mature climbing roses.