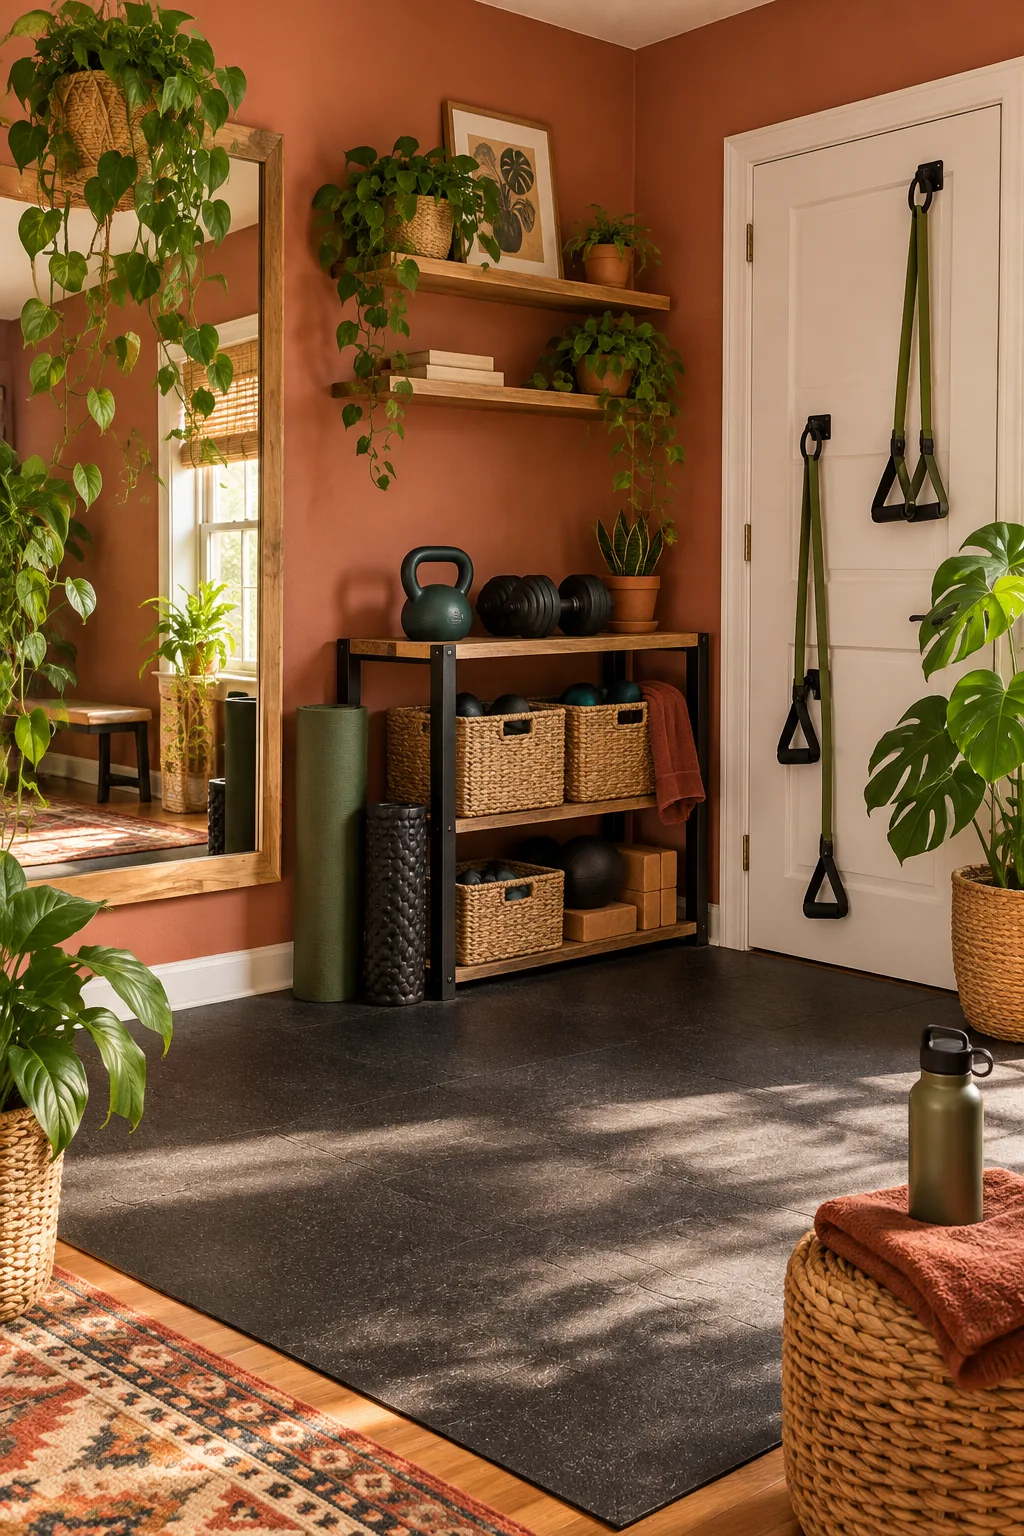
Small Home Gym Setup: The 2 × 2 Meter Corner Gym Plan
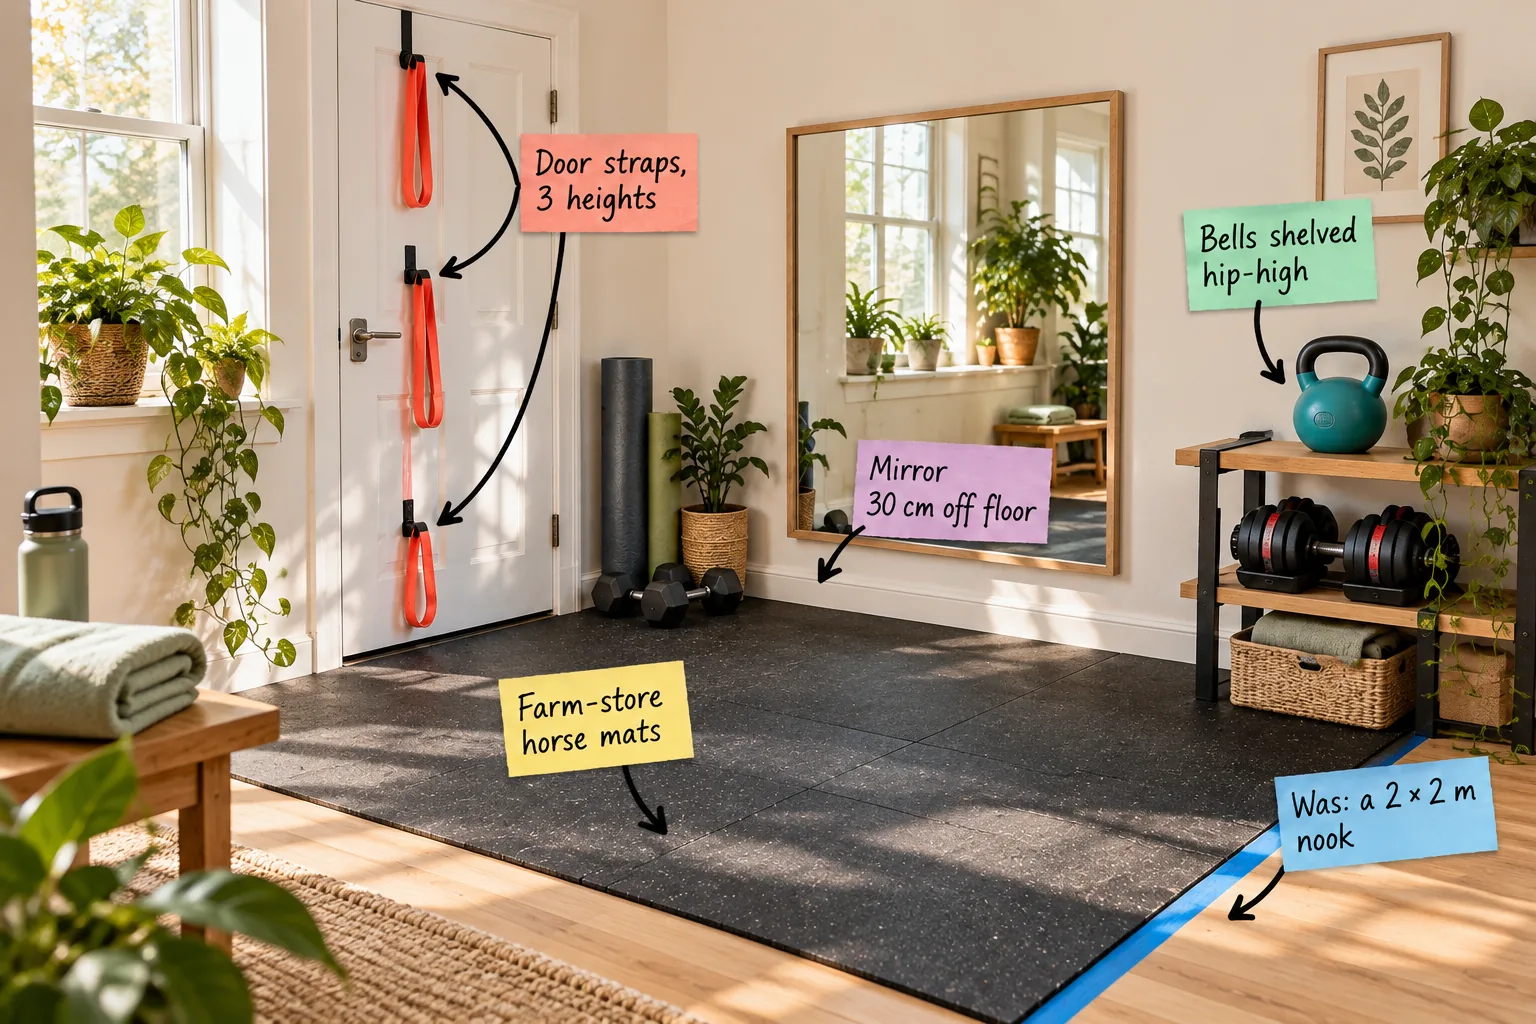
You can turn any spare apartment corner into a full-body workout space in a single weekend. Download our printable 2 × 2 meter corner gym plan with exact installation heights and a hardware shopping list to get started.
Claiming the 2 × 2 Meter Nook
Start by finding a corner with exactly 2 × 2 meters of clear floor space. Use blue painter’s tape to mark the footprint on the floor, ensuring no swinging doors or walkways cross into your active workout zone.
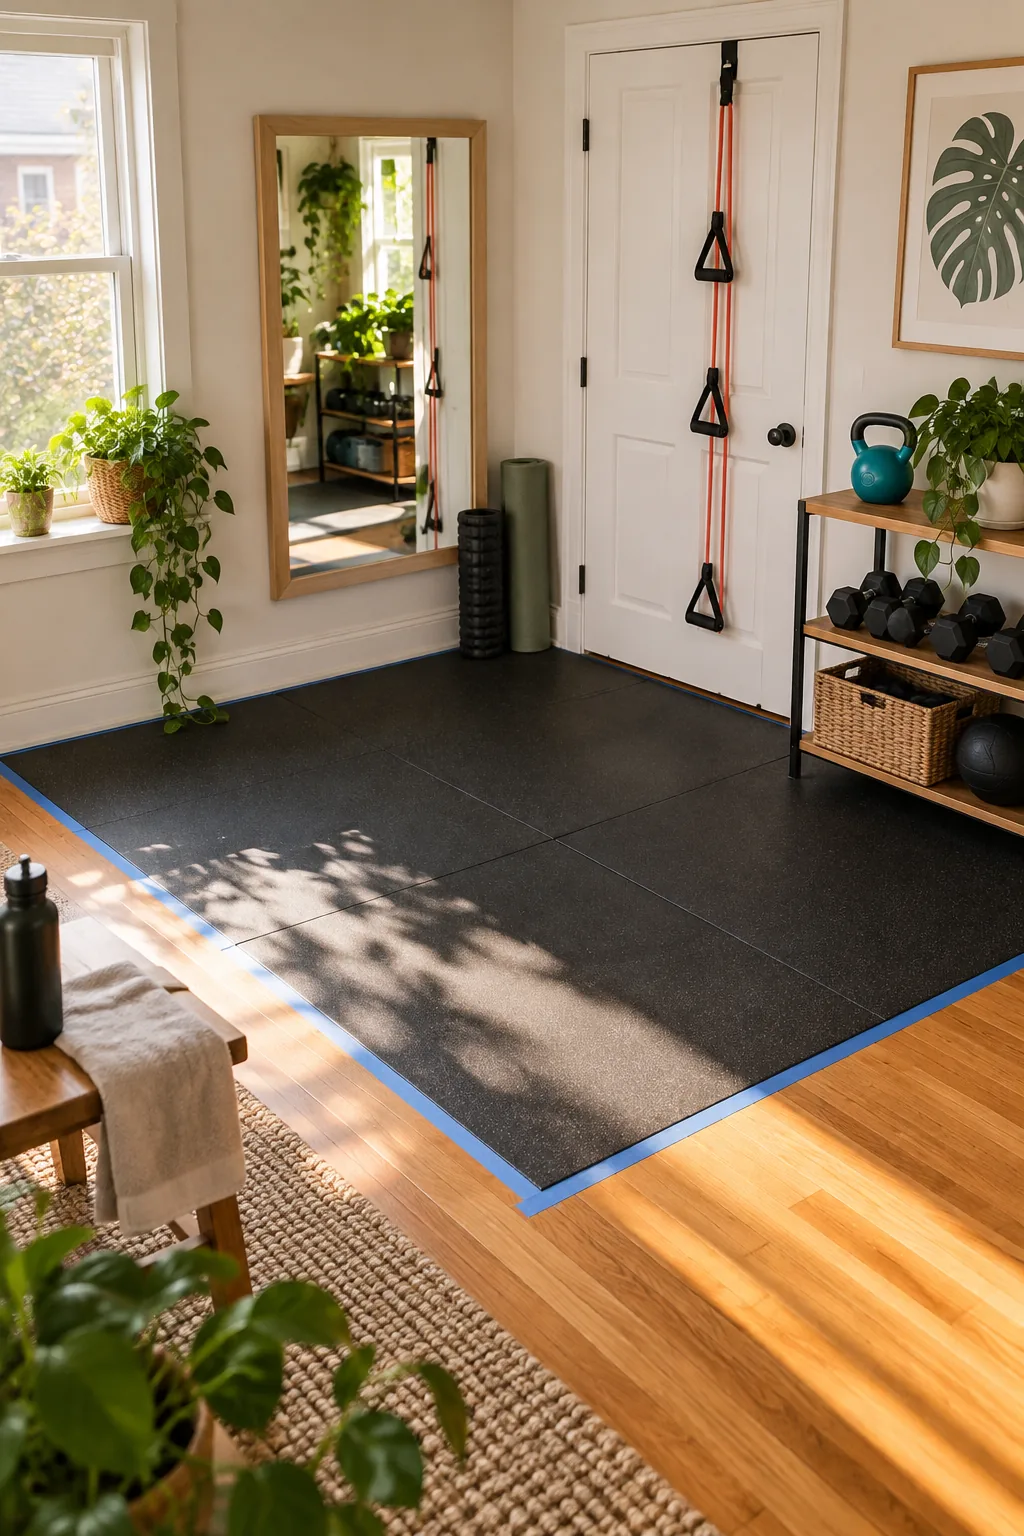
Establishing a strict physical perimeter ensures your lunges and kettlebell swings remain safely contained. Once your tape lines are set, you can confidently measure for your protective flooring.
Evaluating Your Traffic Flow
A successful home gym requires uninterrupted focus, which means keeping household traffic completely out of your marked square. Test the space by fully extending your arms to ensure you have enough clearance without bumping into a hallway entrance.
Clearing the Baseboards
Before laying heavy flooring, remove any protruding nails or electrical cords that could prevent your rubber mats from sitting flush against the wall. Map out any floor vents now, as covering them with solid rubber will severely disrupt room circulation.
The Foundation: Farm-Store Horse Mats
Secure your foundation with 19 mm thick black rubber stall mats from a farm supply store for genuine commercial-grade protection. In my own Denver loft, these heavy mats completely saved my hardwood floors from dropped kettlebells.
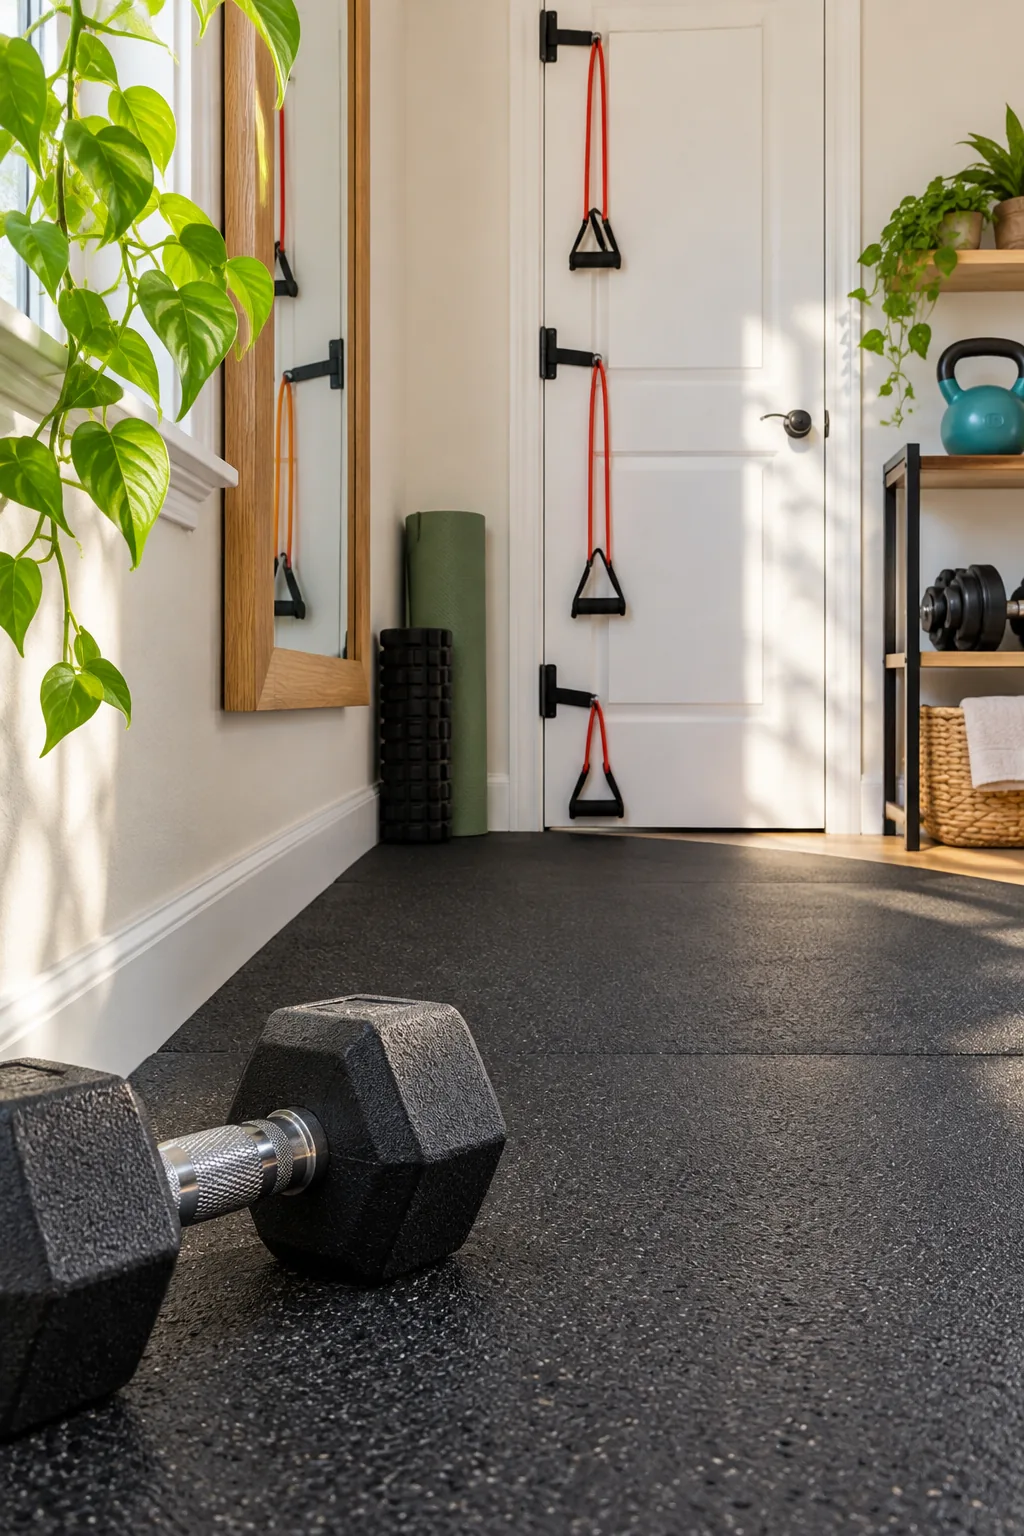
A solid foundation provides the stability needed for heavy lifting and anchor work. You can easily cut these durable mats with a utility knife to perfectly match your taped footprint.
Sizing Your Rubber Foundation
Standard agricultural mats come in massive sizes that require careful calculation before you attempt to transport them. Review these common dimensions to determine exactly how many heavy pieces you need to seamlessly cover your marked floor space.
| Mat Type | Dimensions | Thickness | Weight |
|---|---|---|---|
| Standard Stall Mat | 1.2 × 1.8 m | 19 mm | 45 kg |
| Half-Size Mat | 1.2 × 0.9 m | 19 mm | 22 kg |
| Trailer Mat | 1.2 × 2.4 m | 12 mm | 38 kg |
Cutting Rubber to Size
Trimming agricultural rubber requires a sharp blade and a scrap wood block to elevate the cut line safely. Follow these sequential steps to achieve a clean, factory-like edge without ruining your expensive new flooring or dulling your knife immediately.
- Slide a piece of scrap wood directly under your intended cut line.
- Align a heavy metal straightedge along the tape mark.
- Make three shallow, continuous scores rather than one deep slice.
- Bend the rubber downward to snap the remaining fibers clean.
Managing Rubber Odor
Scrub new farm mats thoroughly with warm water and mild dish soap to remove the strong sulfur smell. Leave the freshly washed rubber outside in the sun for at least two days to help the factory off-gassing process before bringing it indoors.
Minimizing Floor Vibrations
If you live in an upper-level apartment, your downstairs neighbors will feel every dropped weight. Slide a pair of high-density foam crash pads under your heaviest lifts to absorb the residual shock that bypasses your rubber foundation.
Anchoring Door Straps at Three Heights
Turn an adjoining door into a cable machine by installing three fabric resistance-band anchors at ankle, chest, and overhead heights. This vertical spacing allows for a complete range of pulling and pushing exercises without bulky equipment.
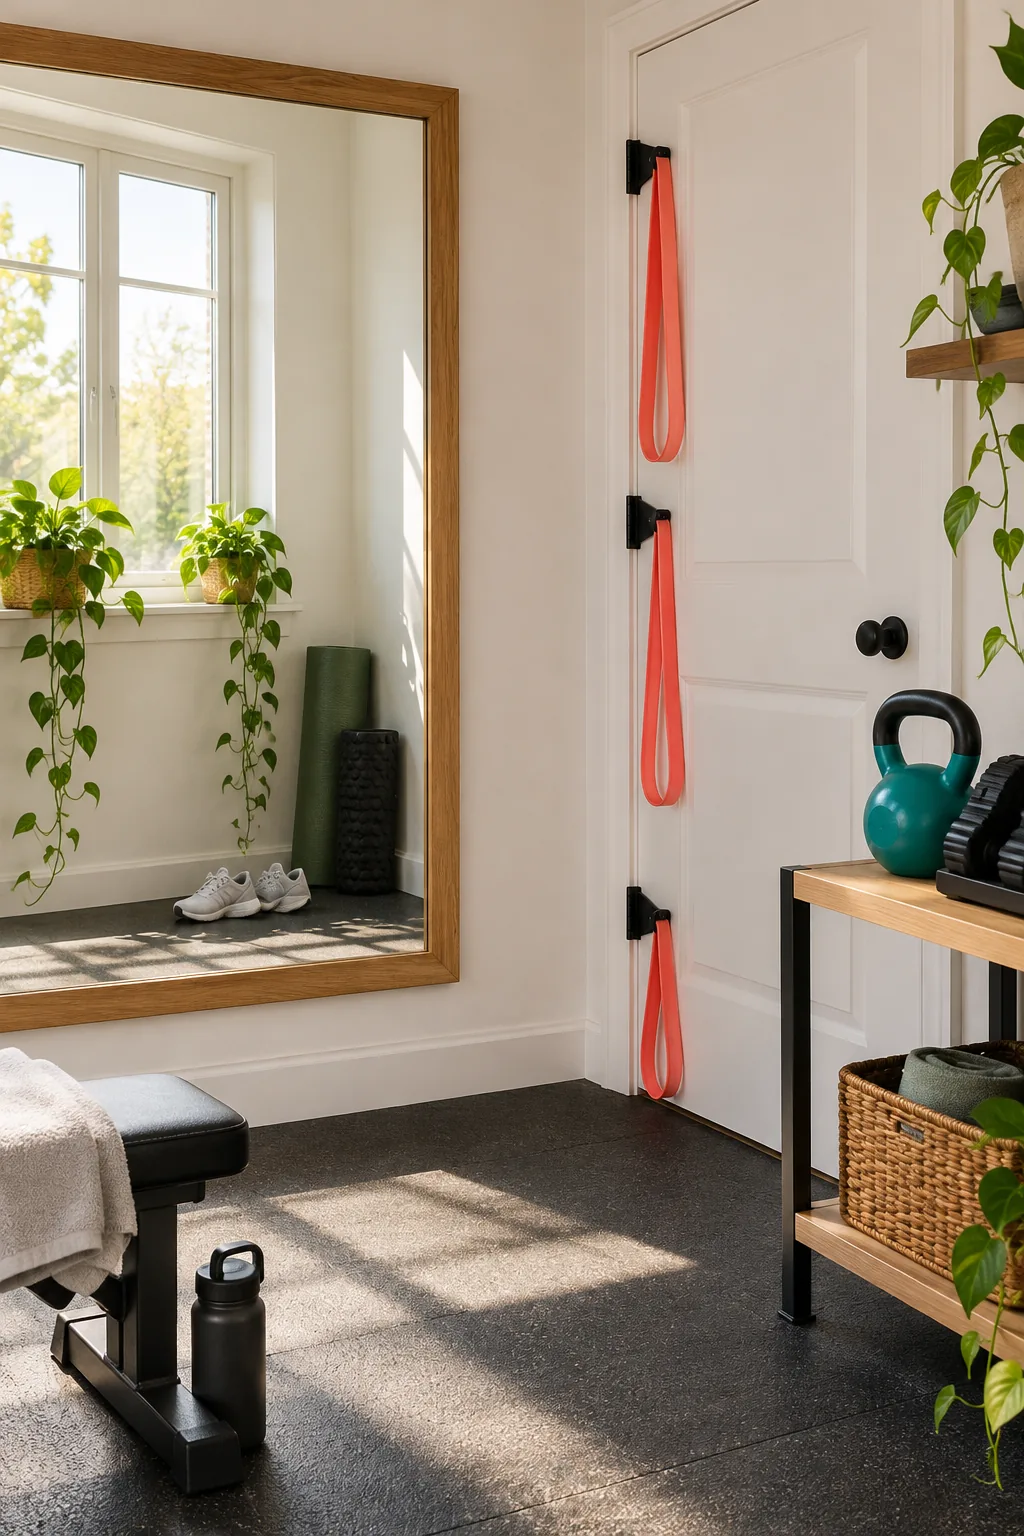
Proper placement of your resistance bands is critical to prevent damage to your doorframe and ensure a safe workout.
Selecting the Right Door
You must identify a solid-core wood door or an exterior metal door to safely handle the repetitive horizontal tension. Hollow-core interior doors can easily warp under pressure, requiring you to install dedicated wall anchors directly into your wood studs instead.
Choosing Resistance Bands
Select a set of high-quality, fabric-wrapped resistance bands, organizing them by tension level with the lightest coral bands near the top anchor. Fabric bands are far more durable than exposed latex tubes and will not snap painfully against your skin.
Managing Your Cable Tension
Resistance bands lose their elasticity if left permanently stretched across a wide gap. Always unclip your coral bands from the door anchors after your workout to prolong their lifespan and maintain consistent pulling tension for your next session.
Mounting the Mirror 30 cm Off the Floor
Hang a wide wall mirror with its bottom edge exactly 30 cm off the floor to monitor your lower body alignment. I learned this exact measurement after repeatedly bumping a floor-length mirror with my weights during client projects.
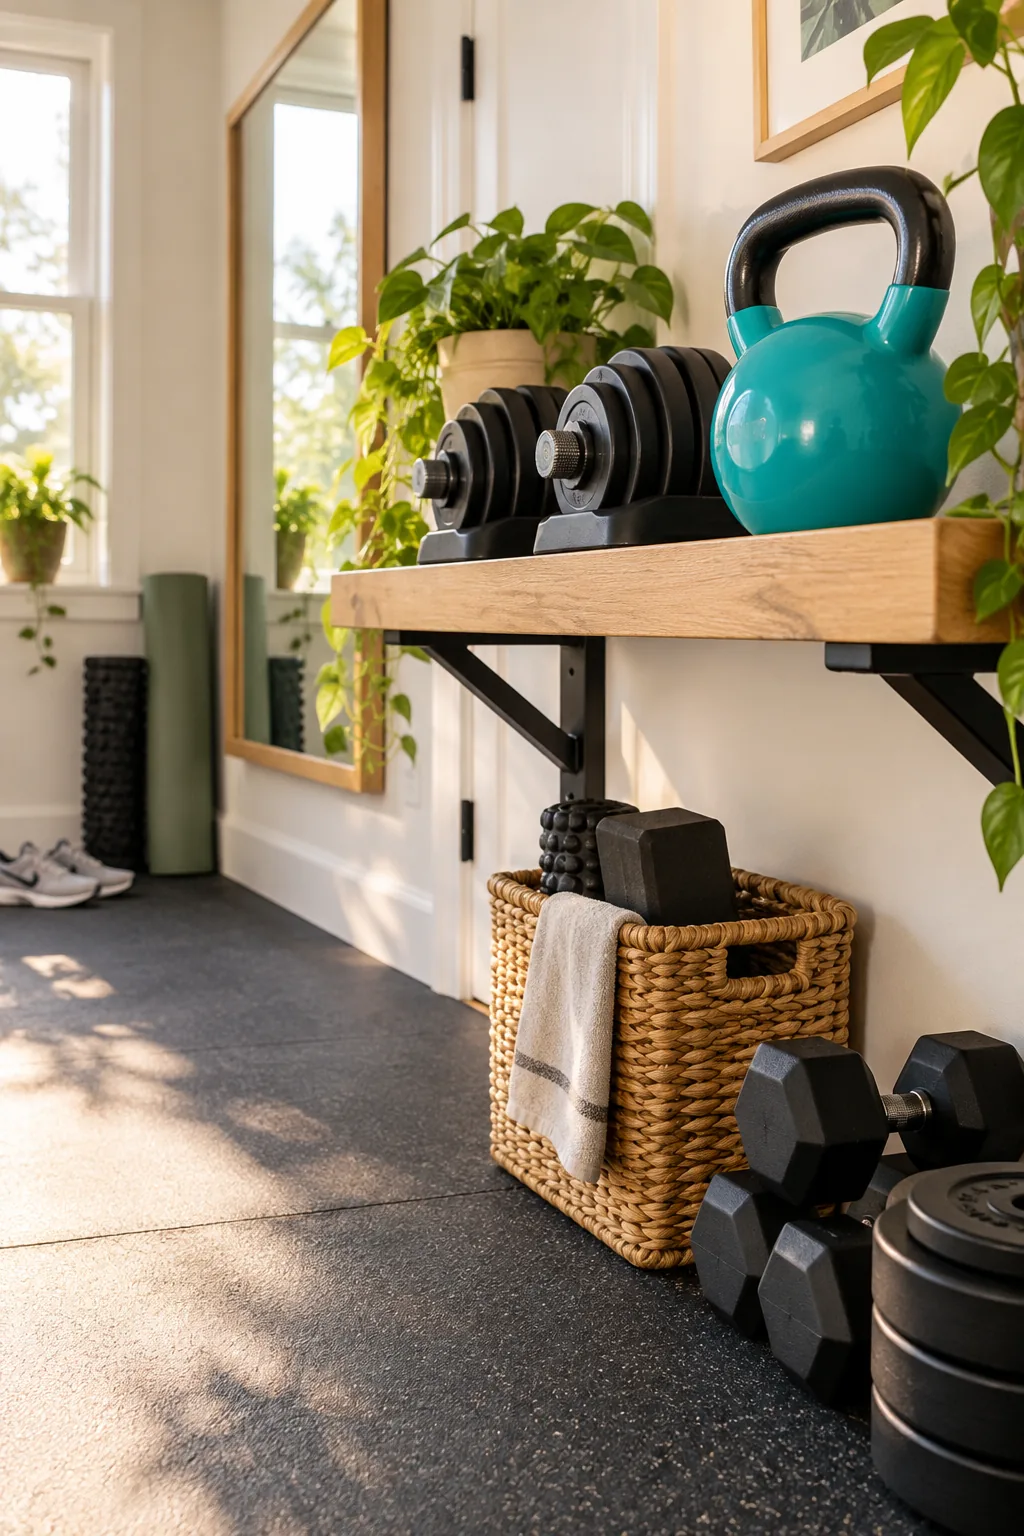
This precise height keeps the fragile glass safely above accidental kettlebell bumps while maintaining full-body visibility. With your form check established, you can safely arrange your heavy lifting gear nearby.
Securing Heavy Glass Safely
A large gym mirror is incredibly heavy, so always locate at least two wooden wall studs before drilling holes for your mirror clips. If your studs do not align with your desired placement, mount a horizontal wooden cleat across the wall first.
Lighting Your Reflection
Position a soft, diffused floor lamp to the side of your mirror to evenly light your body without casting harsh overhead shadows. Avoid pointing bare bulbs directly at the glass, as the resulting glare will strain your eyes during intense sets.
Cleaning the Glass
A pristine mirror is essential for accurate form checks, but sweat splashes will quickly blur your view. Keep a small microfiber cloth and a bottle of vinegar spray tucked behind your foam rollers for a quick wipe down after heavy sets.
Shelving Heavy Bells at Hip Height
Store your heaviest kettlebells and adjustable dumbbells on a sturdy shelf positioned at hip height, roughly 75 to 90 cm from the floor. I use a reinforced steel rack in my own space to keep my posture perfectly upright when transitioning between sets.
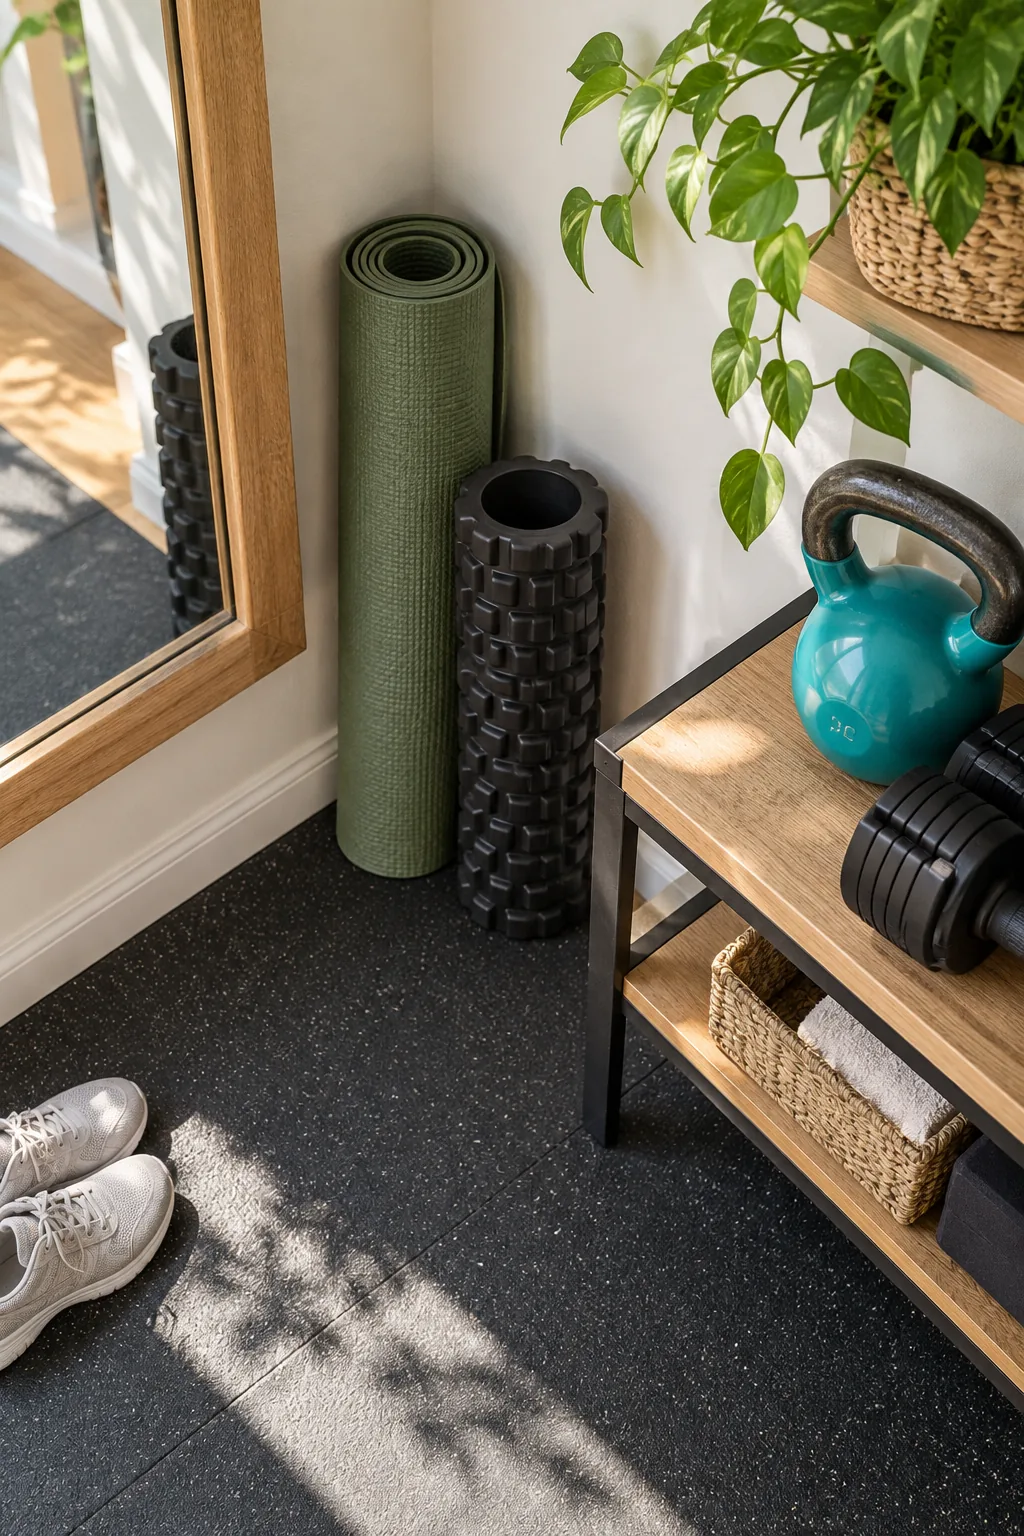
Keeping your primary weights elevated streamlines your transitions between exercises. You can then reserve the remaining wall space for lighter, bulkier accessories.
Organizing by Weight Class
Place your medium-weight dumbbells on the tier just below your hip-height shelf for easy access during seated exercises. Reserve the lowest level, or the reinforced floor directly beneath the shelf, for your absolute heaviest sandbags or bumper plates.
Reinforcing the Shelf Brackets
Upgrade to heavy-duty steel L-brackets rated for at least 50 kilograms each to ensure your weight rack remains entirely stable. Use thick lag screws to anchor these brackets directly into the center of your wall studs to prevent buckling.
Storing Foam Rollers and Tall Gear
Maximize your moving area by standing tall items like foam rollers vertically against the baseboard. I used to trip over my yoga mat constantly until I dedicated a narrow vertical sliver of wall space right beside my mirror.
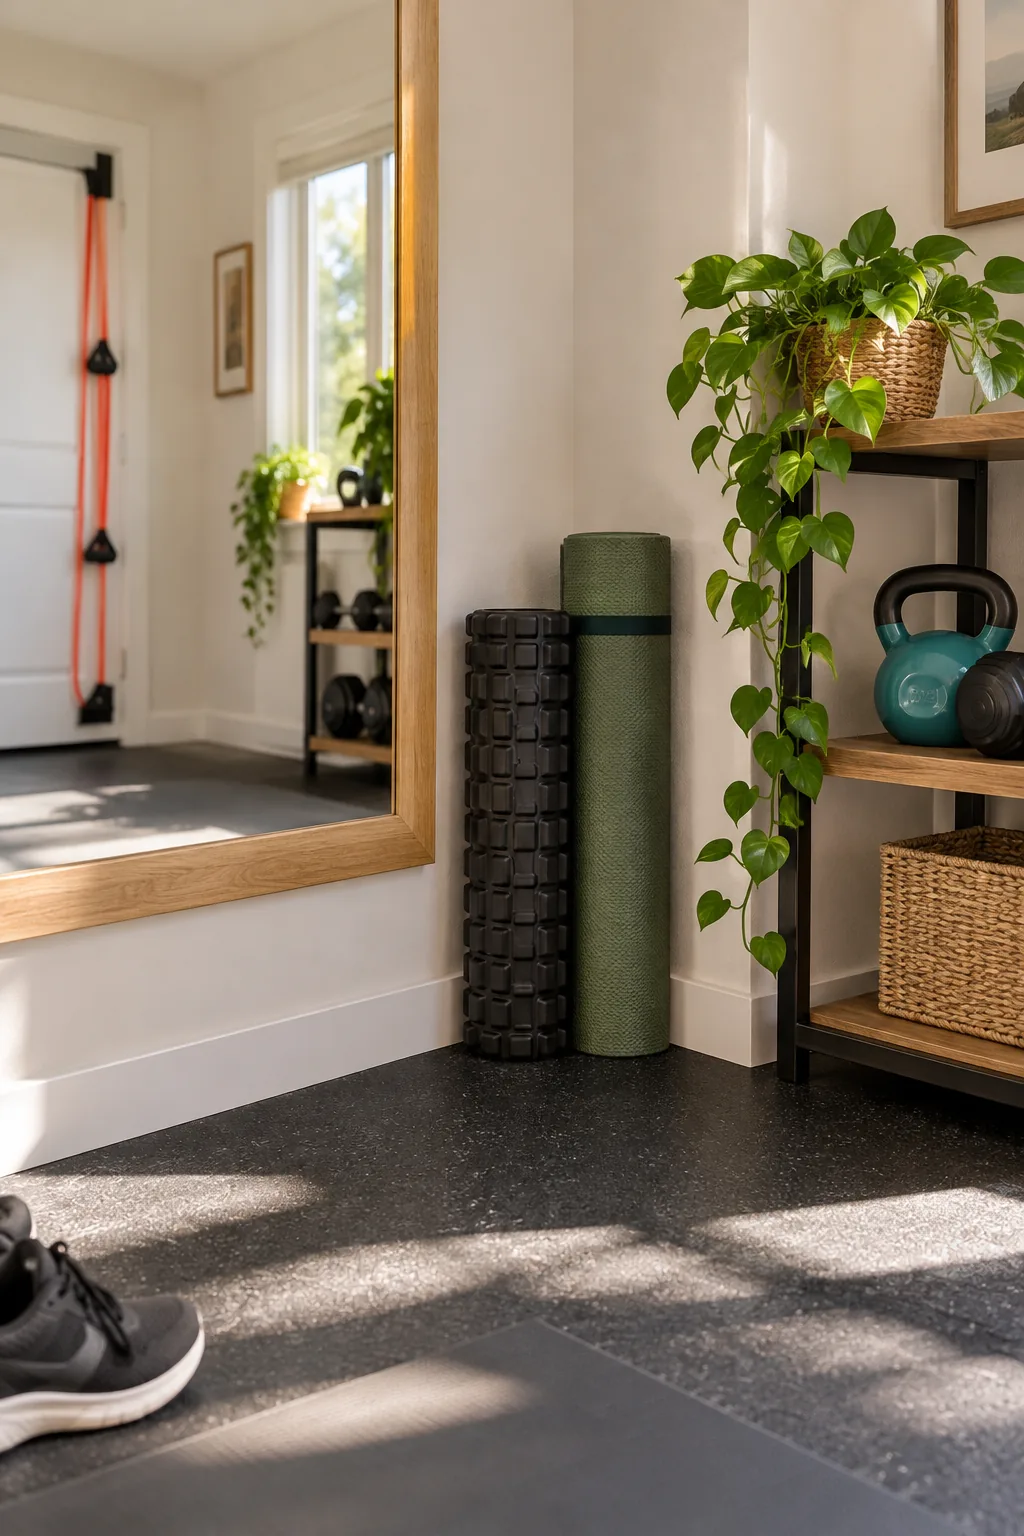
Grouping these lightweight cylinders together creates a neat, intentional storage zone. A tidy perimeter ensures your mind stays focused entirely on your movement rather than dodging clutter.
Containing the Clutter
Mount a simple U-shaped hook on the wall to gently hug your foam rollers upright and prevent them from tipping over. This keeps your recovery gear highly visible but completely out of your active lifting path during a dynamic warmup.
Tracking Your Progress
A dedicated gym space should inspire consistent growth and measurable results. Mount a small dry-erase board on the narrow wall beside your mirror to track your weekly lifts without carrying a distracting smartphone into your focused workout zone.
Adding Greenery and Natural Light
Add low-maintenance trailing plants to the upper shelves to introduce natural color and soften the heavy black rubber. This inviting atmosphere makes it much easier to stick to a daily fitness routine.
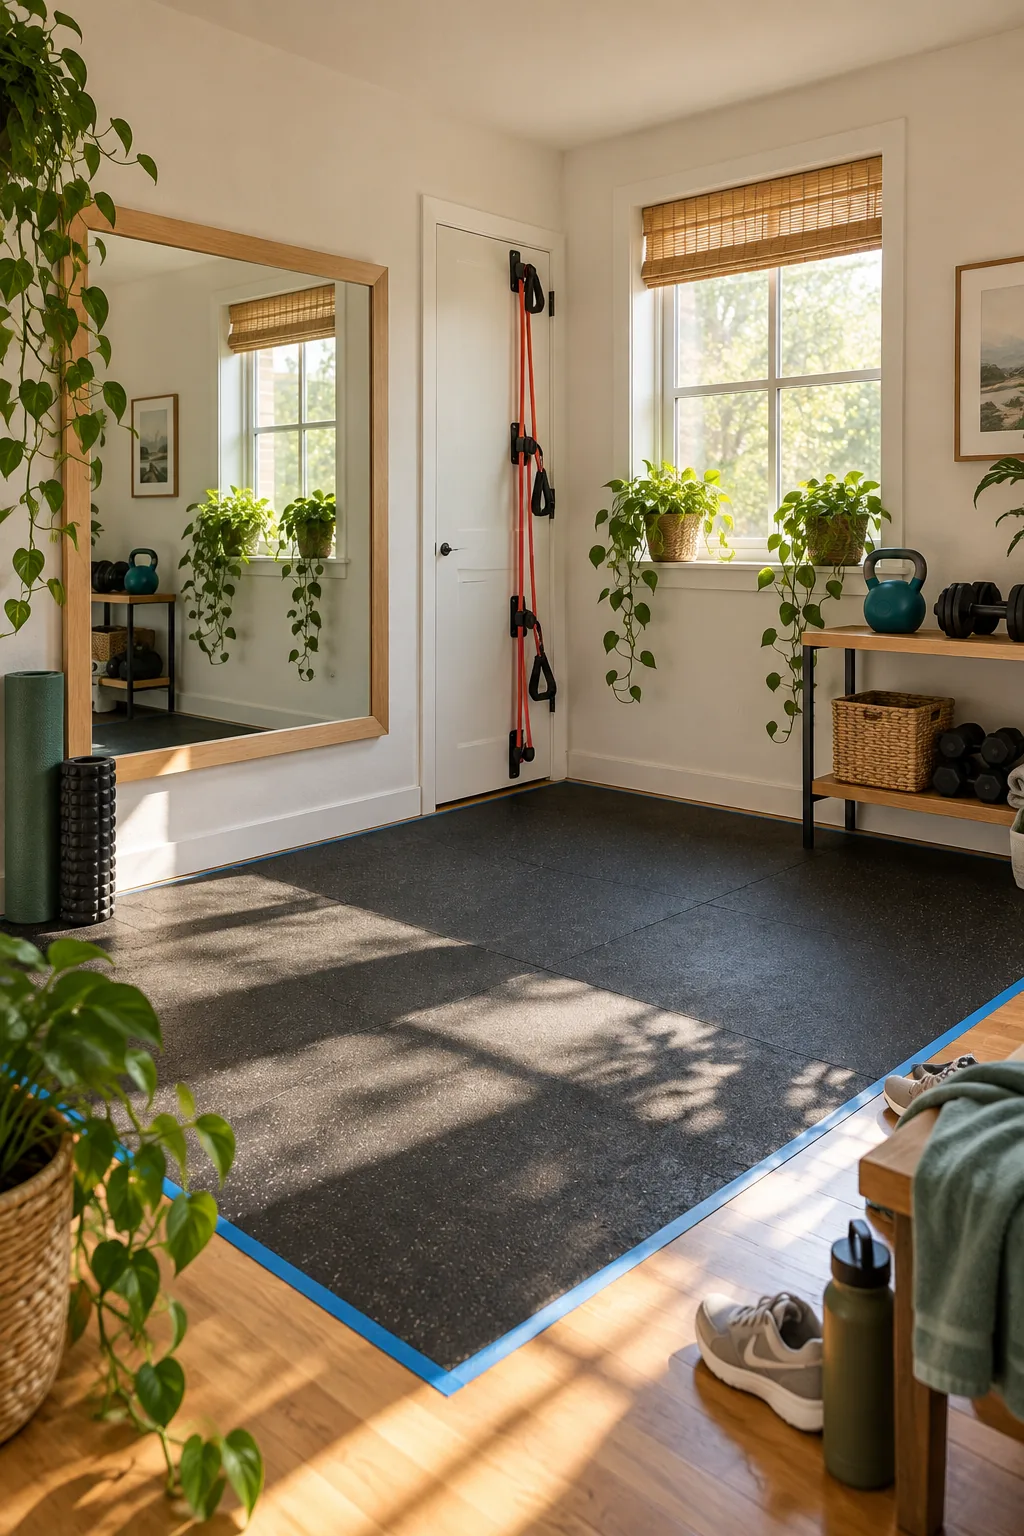
Organic textures prevent the compact zone from feeling like a sterile utility closet. Position your gym corner near a window if possible to maximize your daily sunlight exposure.
Selecting Resilient Plants
Gym corners experience fluctuating humidity and occasional bumps, so delicate houseplants rarely thrive in this high-energy environment. Stick to resilient trailing varieties that can tolerate missed waterings, lower light conditions, and the occasional blast from a circulation fan.
- Golden Pothos for rapid, forgiving growth
- Heartleaf Philodendron for low-light corners
- English Ivy for cooler, drafty spaces
Maintaining Air Quality
Plug a small, quiet oscillating fan into a nearby outlet to keep fresh air circulating across your rubber mats during intense sessions. Consistent cleaning with a mild antibacterial spray prevents sweat from degrading your flooring and keeps the small room smelling fresh.
Get the Printable 2 × 2 m Corner Gym Plan
Ready to build your own? Download the printable one-page measurement sheet featuring exact installation heights for the mirror, shelf, and door anchors, plus a complete shopping list for stall-mat sizes.
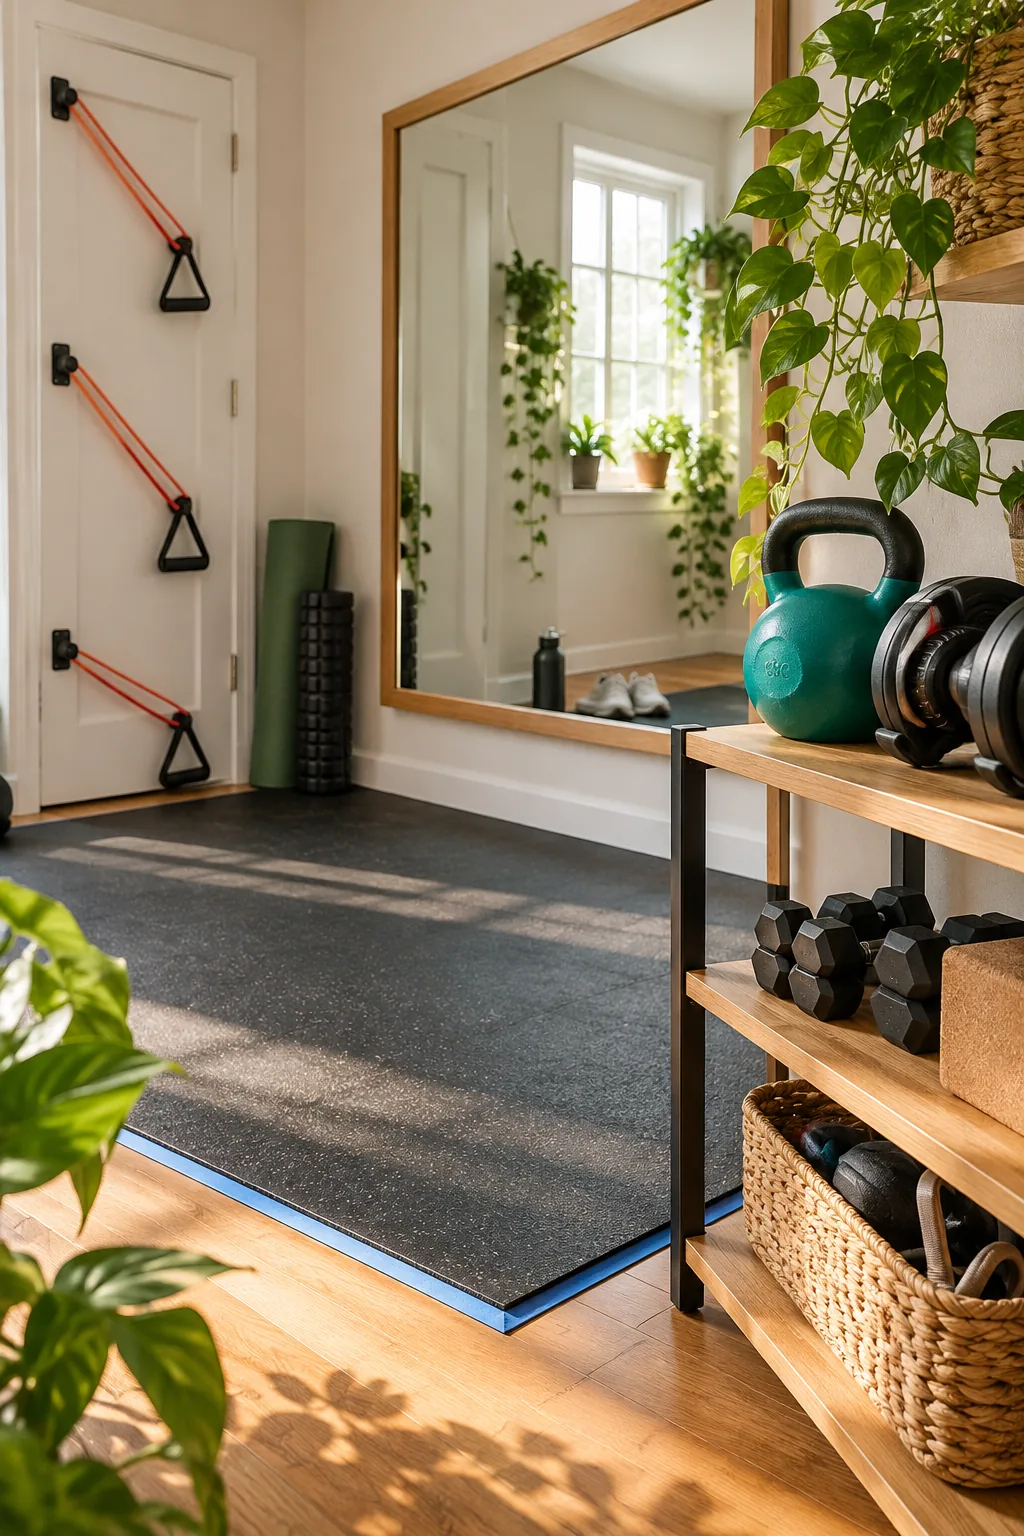
Before you print the plan and buy your materials, take five minutes to confirm your room’s layout.
3 Ways to Style Your Corner Gym
Customize your 2 × 2 meter workout corner with one of these aesthetic variations.
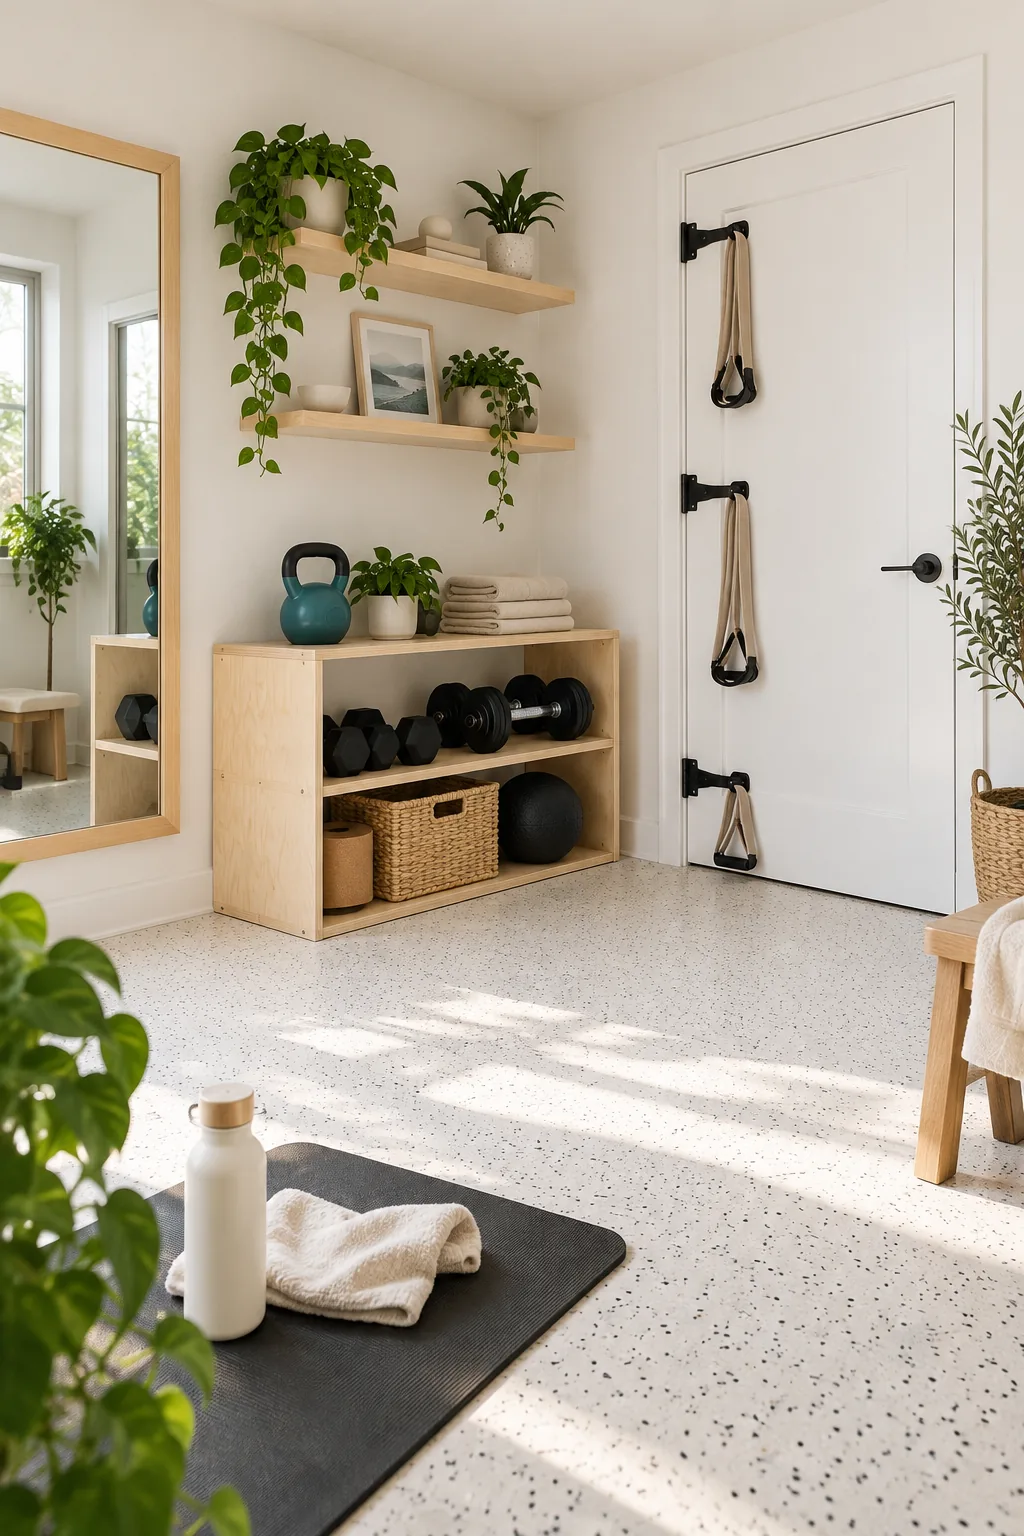
Minimalist Scandi: Blend the gym into your living space with pale birch wood and neutral beige bands.
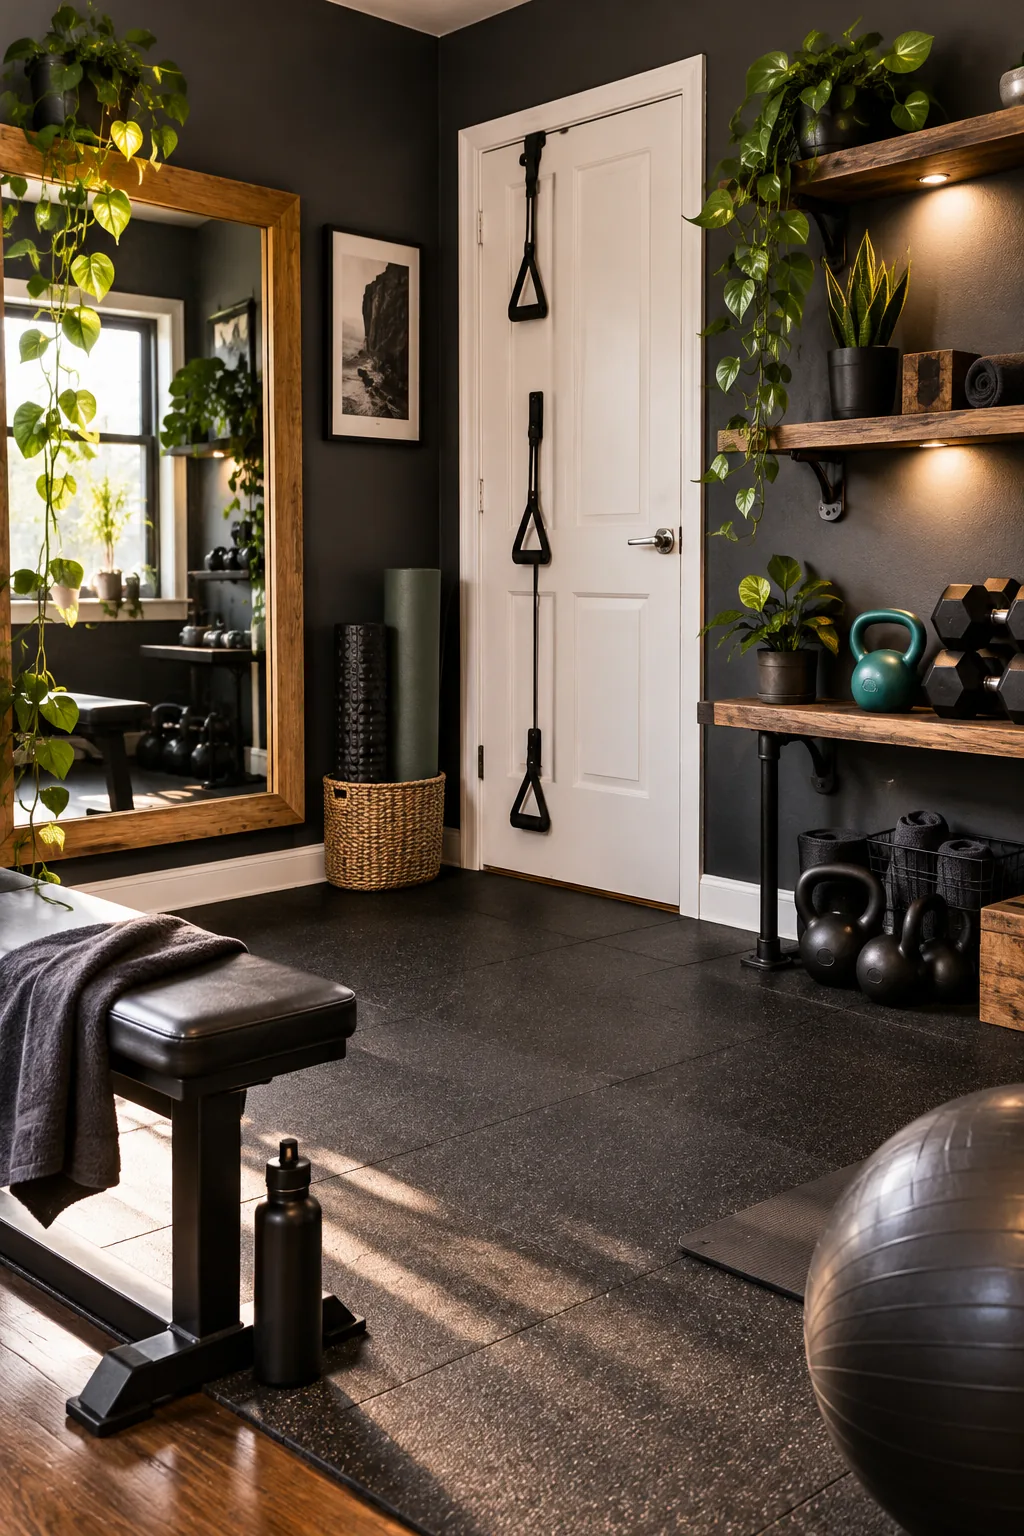
Moody Industrial: Create a focused, intense workout zone using charcoal walls and raw steel hardware.
Bright Bohemian: Warm up the space with terracotta accents, woven rattan baskets, and plenty of trailing plants.