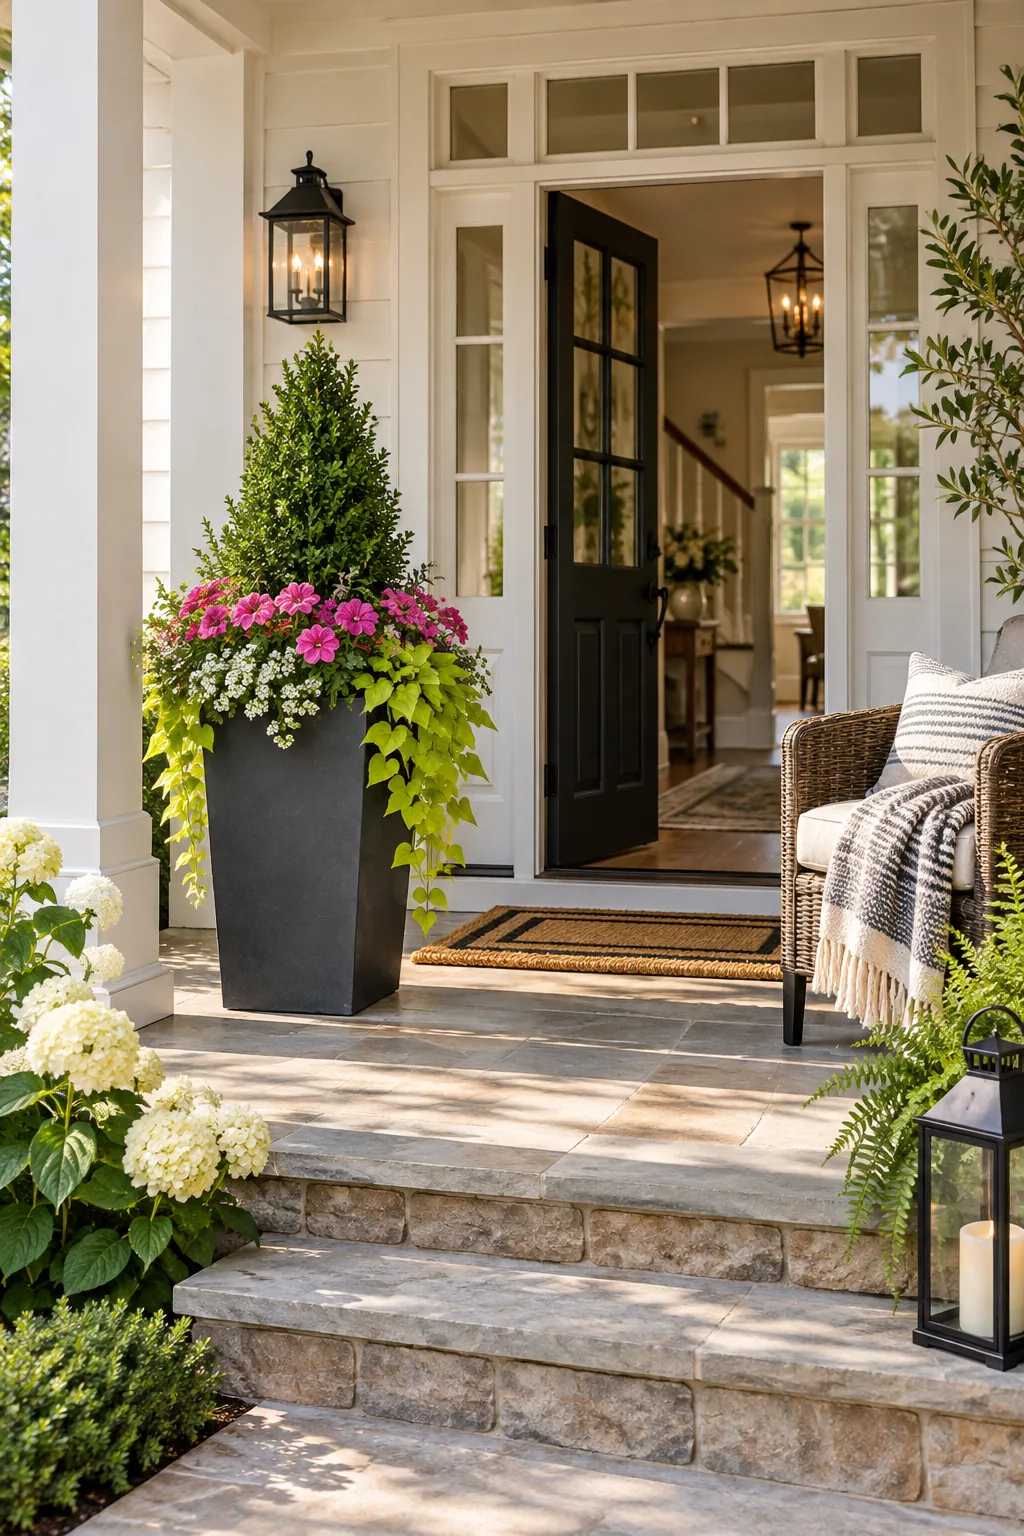
Front Door Planters: Instant Curb Appeal & 4-Season Recipes
You will be able to correctly size, assemble, and plant a stunning front porch container that transitions effortlessly through all four seasons once you download our printable 4-season planter recipes. Master these exact proportions for a welcoming entryway, and you will never struggle with undersized pots again.
Sizing Your Planter for Curb Appeal
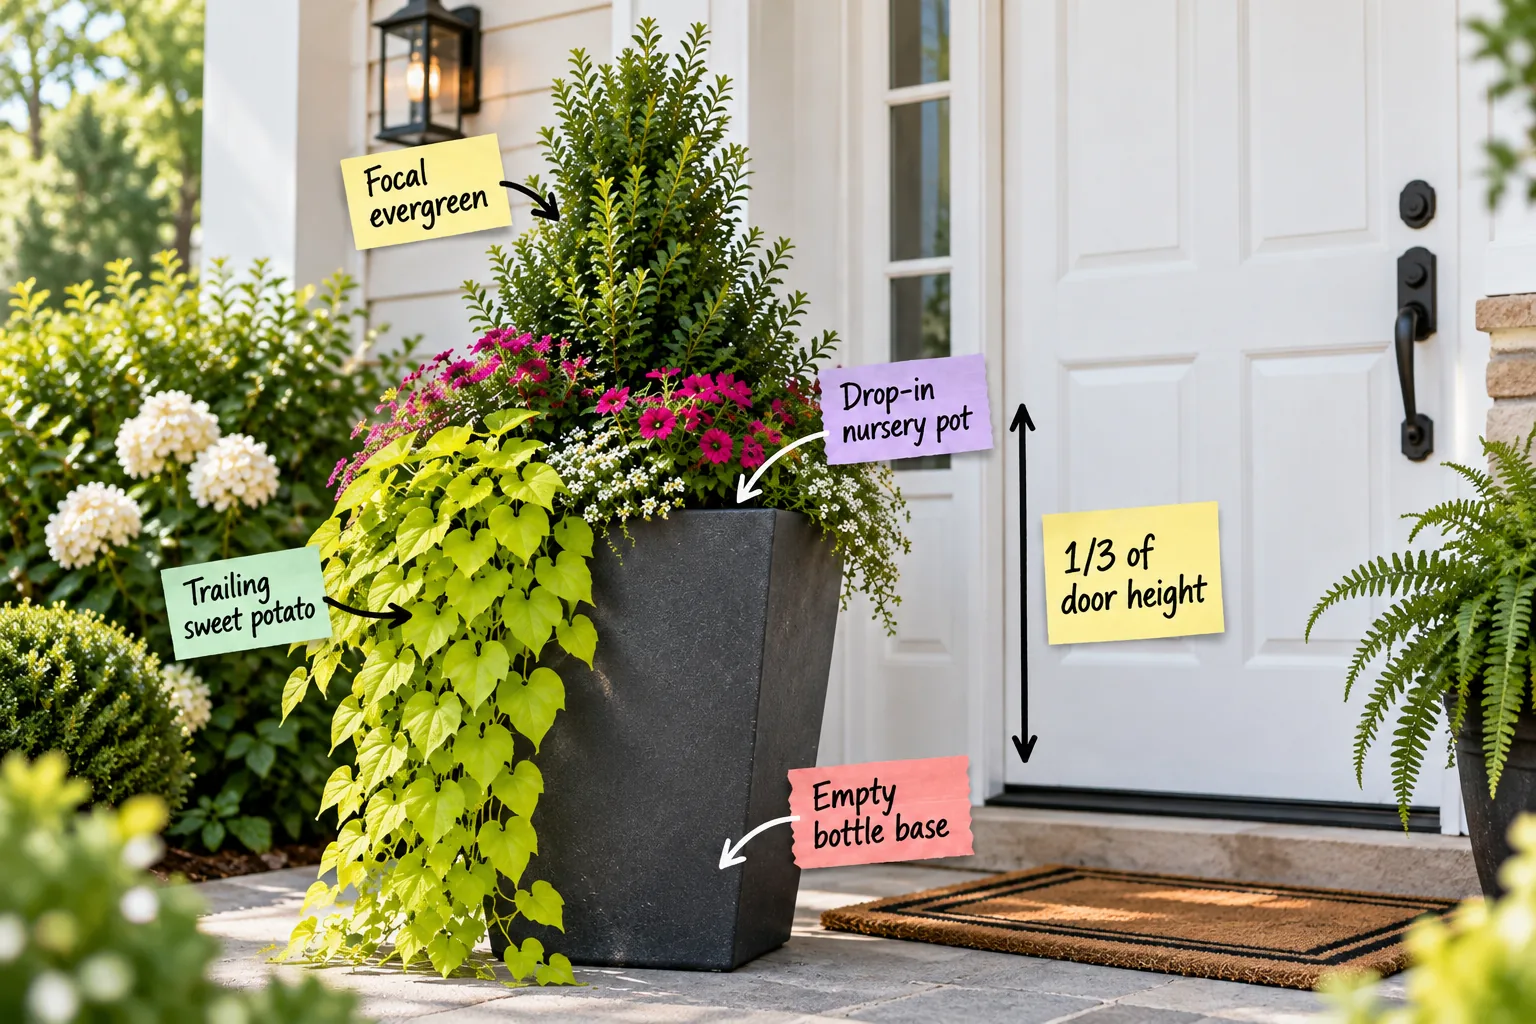
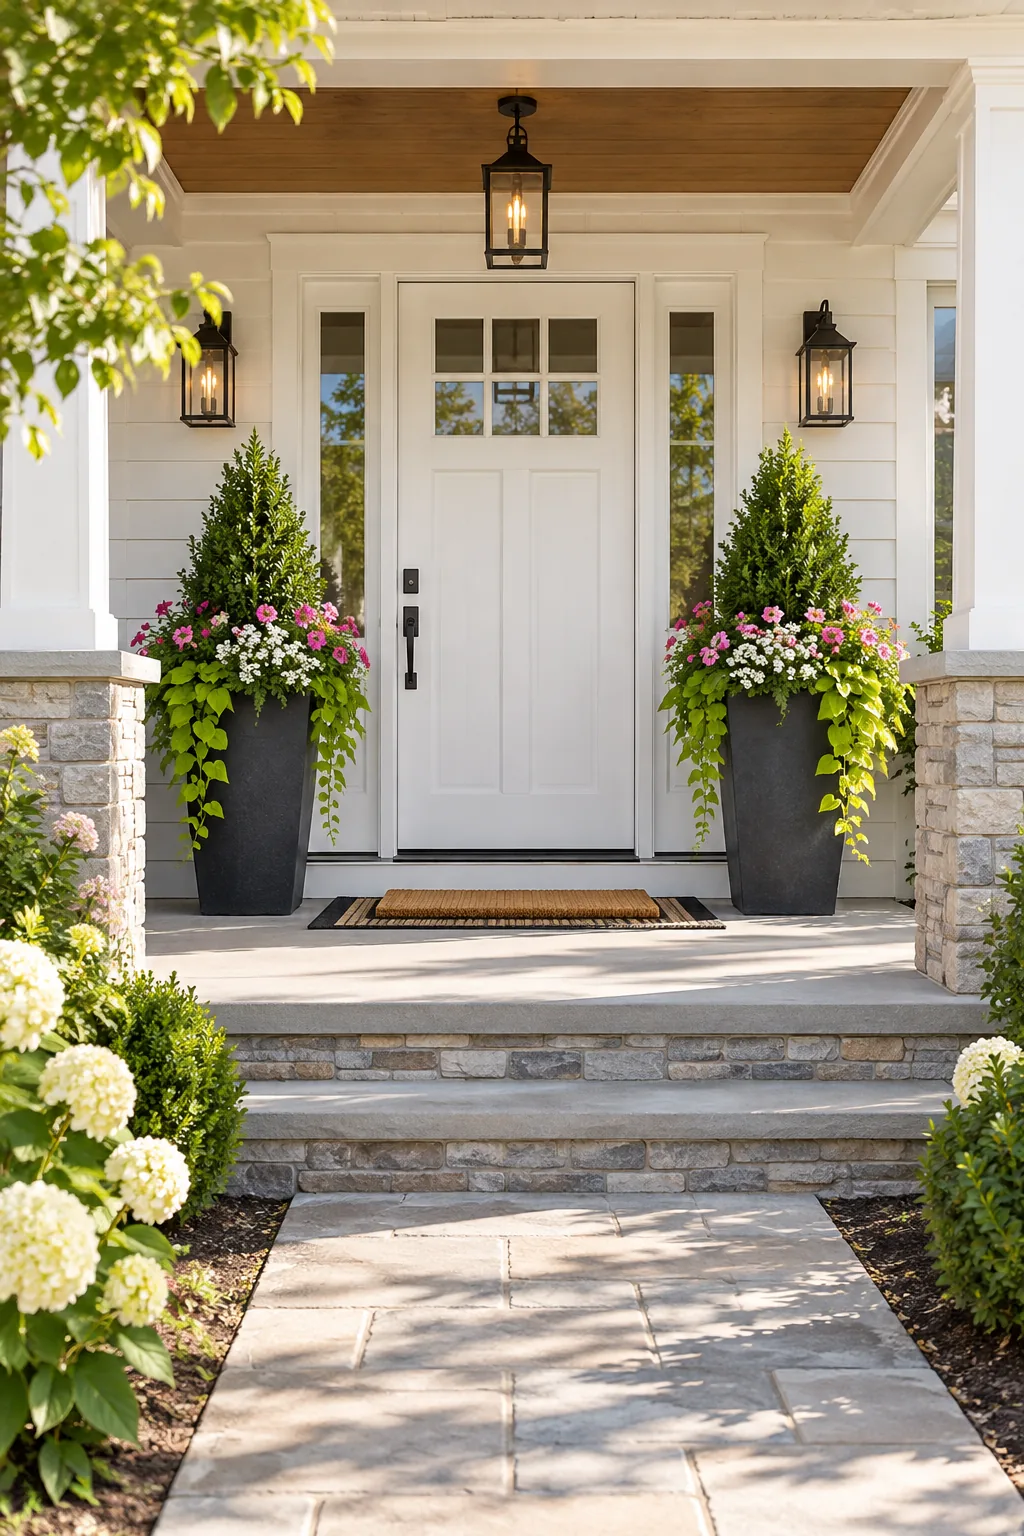
Scale is the single most important factor for entryway impact, so always follow the rule of 1/3 of the door height. To achieve this correct proportion, measure your frame and ensure the physical vessel is roughly 26 to 28 inches tall before adding any plants.
Choosing Weather-Resistant Materials
Investing in the right container material ensures your porch arrangement survives fluctuating seasonal temperatures. I always recommend prioritizing frost-resistant options because porous materials will quickly crack when trapped winter moisture inevitably freezes and expands.
| Material | Weight | Durability | Best Season |
|---|---|---|---|
| Resin | Light | High | All-Season |
| Ceramic | Heavy | Medium | Summer |
| Fiberglass | Light | Very High | All-Season |
| Concrete | Very Heavy | High | All-Season |
Reviewing these structural specifications helps you select a planter that perfectly balances easy mobility with reliable year-round integrity.
Selecting the Right Planter Shape
A tapered square or classic urn silhouette provides the best visual stability next to architectural columns. Ensure the top opening is at least 15 inches wide to comfortably accommodate dense root systems and multiple plant varieties without overcrowding.
Understanding Porch Sun Exposure
Before selecting any seasonal fillers, you must accurately track how many hours of direct sunlight your entryway receives. A deep, covered porch often creates full-shade conditions that require entirely different plant selections than a fully exposed, south-facing concrete stoop.
Lightening the Load with a False Bottom
Filling a massive container entirely with potting soil is expensive and makes the pot impossibly heavy to move. Instead, fill the lower third with an empty bottle base made from capped plastic recycling to create a lightweight, well-draining foundation.
Securing the Base Against Porch Winds
Tall containers act like sails during heavy storms and can easily tip over if the base lacks sufficient ballast. Before adding your plastic bottles, place a single heavy concrete paver or a thick layer of landscape gravel at the very bottom.
Adding a Permeable Soil Barrier
You must prevent loose soil from washing down into your false bottom and clogging the drainage pathways. Cut a piece of permeable landscape fabric to match the interior diameter and lay it completely flat across the top of your plastic bottles.
Protecting Your Porch Surfaces
Constant moisture trapped beneath a heavy pot will permanently stain concrete and accelerate wood rot on timber decks. Always elevate your main container using invisible pot feet or a heavy-duty rolling caddy to guarantee continuous airflow underneath the base.
The Mess-Free Drop-In Pot Method
The real secret to quick seasonal transitions is resting a fully planted drop-in nursery pot right on the inner rim. This clever trick allows you to lift the entire arrangement out without doing any messy digging on your porch.
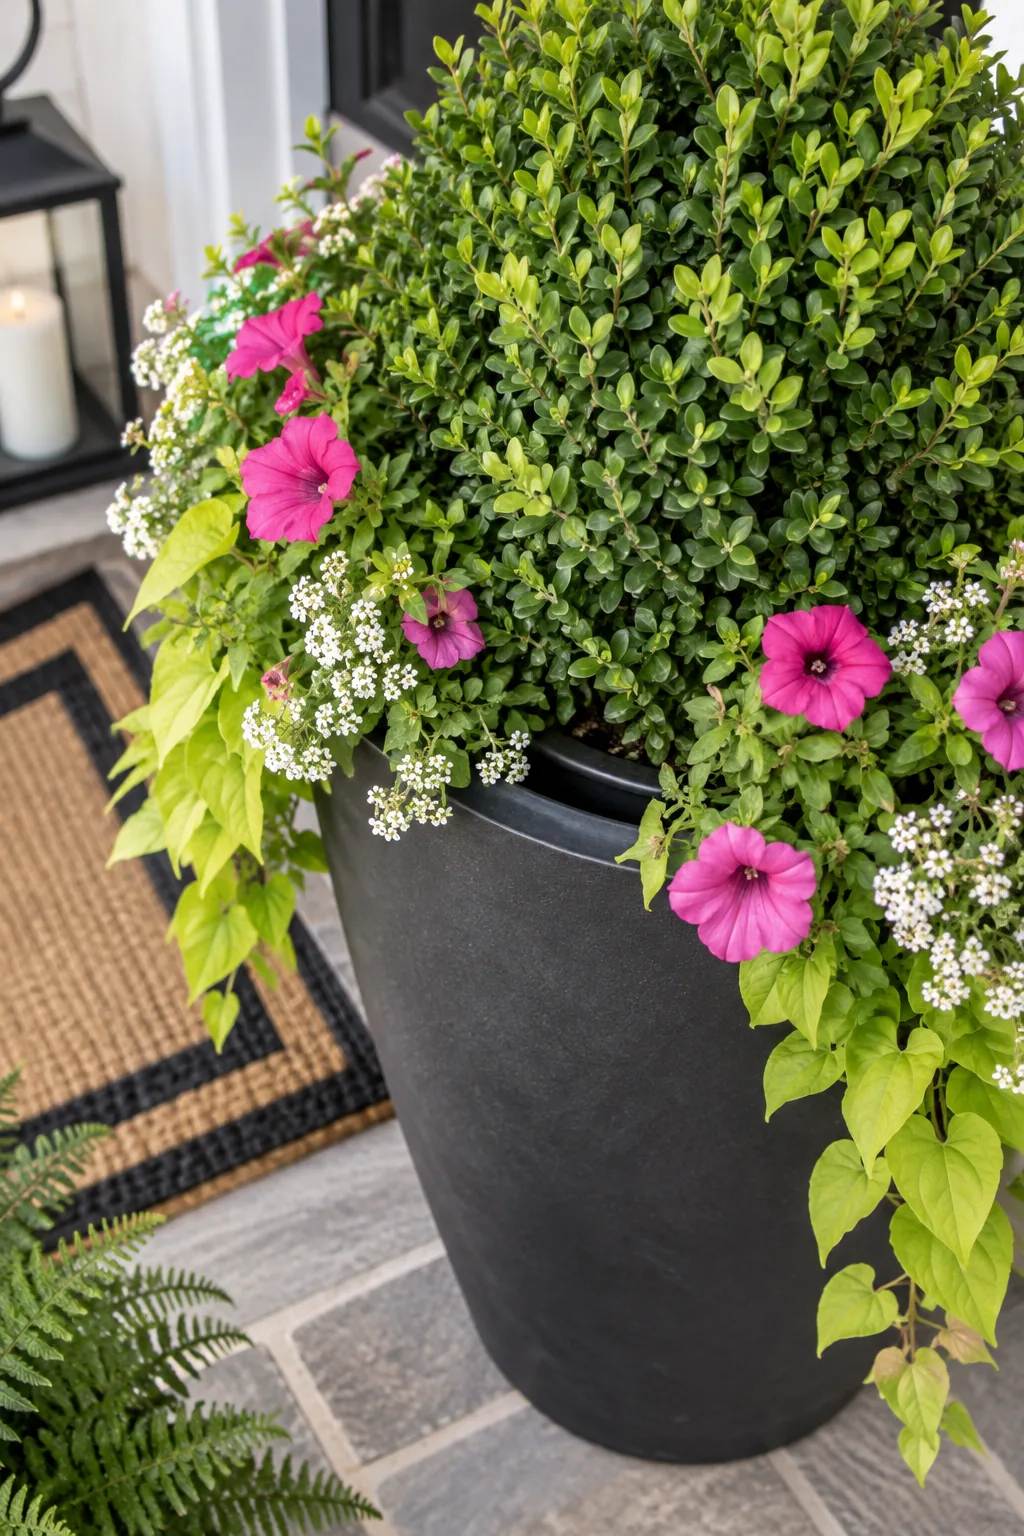
Before heading to the garden center, you need to know exactly what size insert will work for your specific container.
Measuring for the Perfect Insert Fit
Your nursery insert must feature a sturdy, flared plastic rim that overlaps the planter’s internal lip by at least half an inch. If the insert is too narrow, it will immediately crash down into the false bottom when watered.
Ensuring Proper Insert Drainage
Standard nursery pots often feature flimsy, inadequate drainage holes that easily become blocked by dense root growth. Use a drill to carefully add four extra half-inch holes around the lower perimeter of your plastic insert to guarantee rapid water flow.
Anchoring with a Focal Evergreen
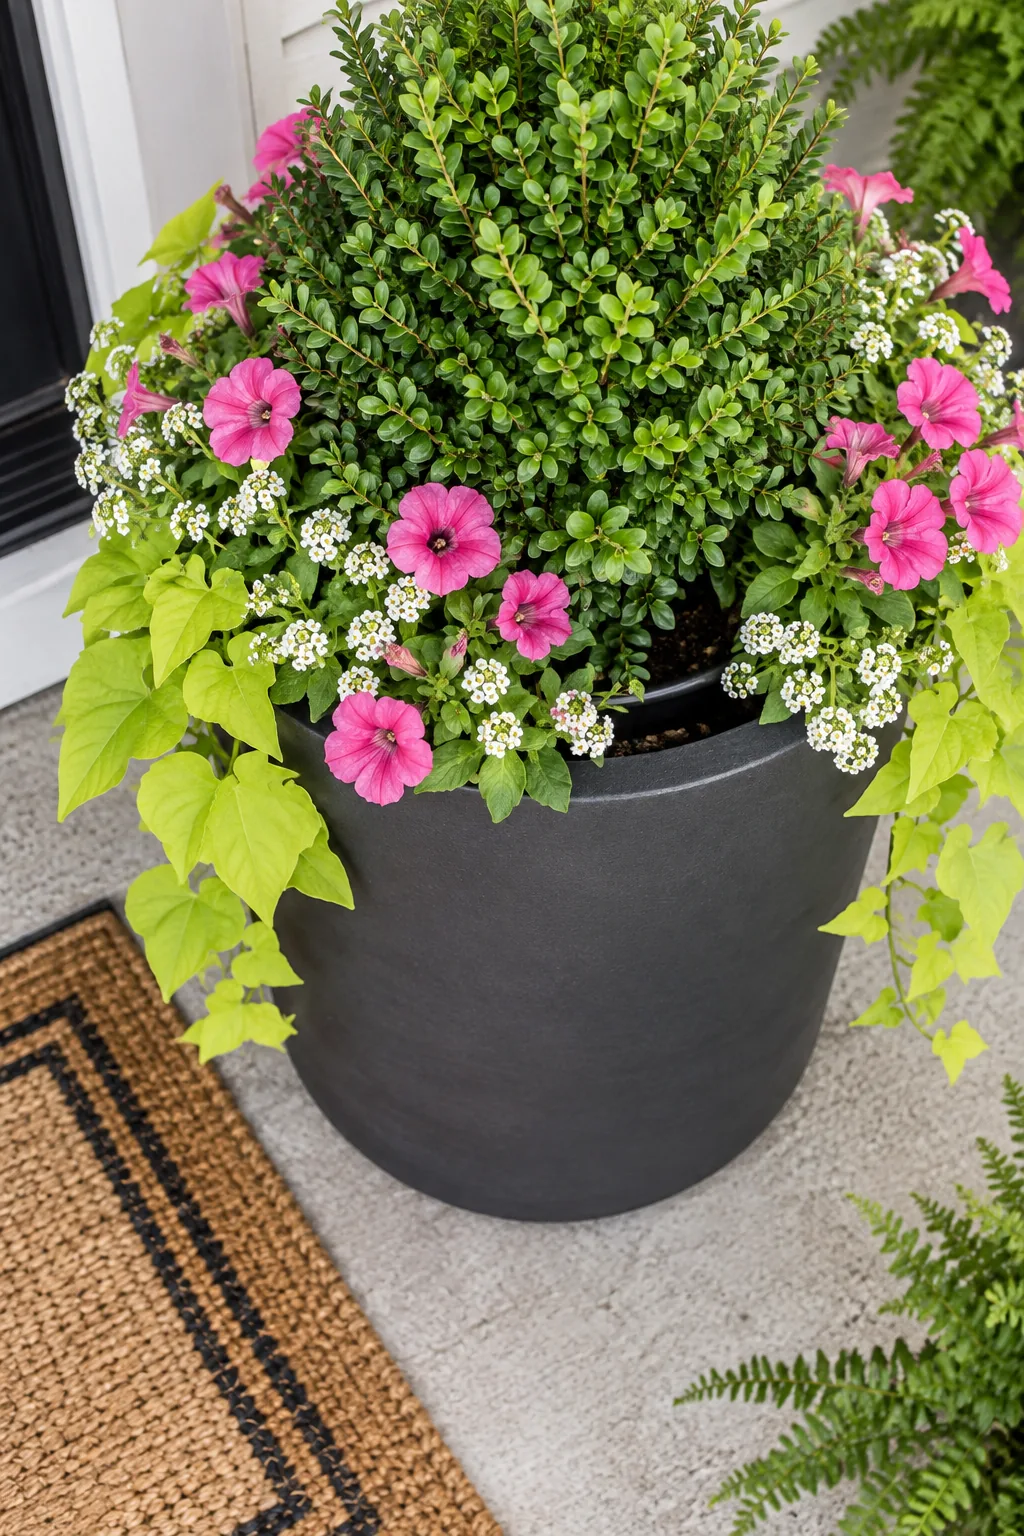
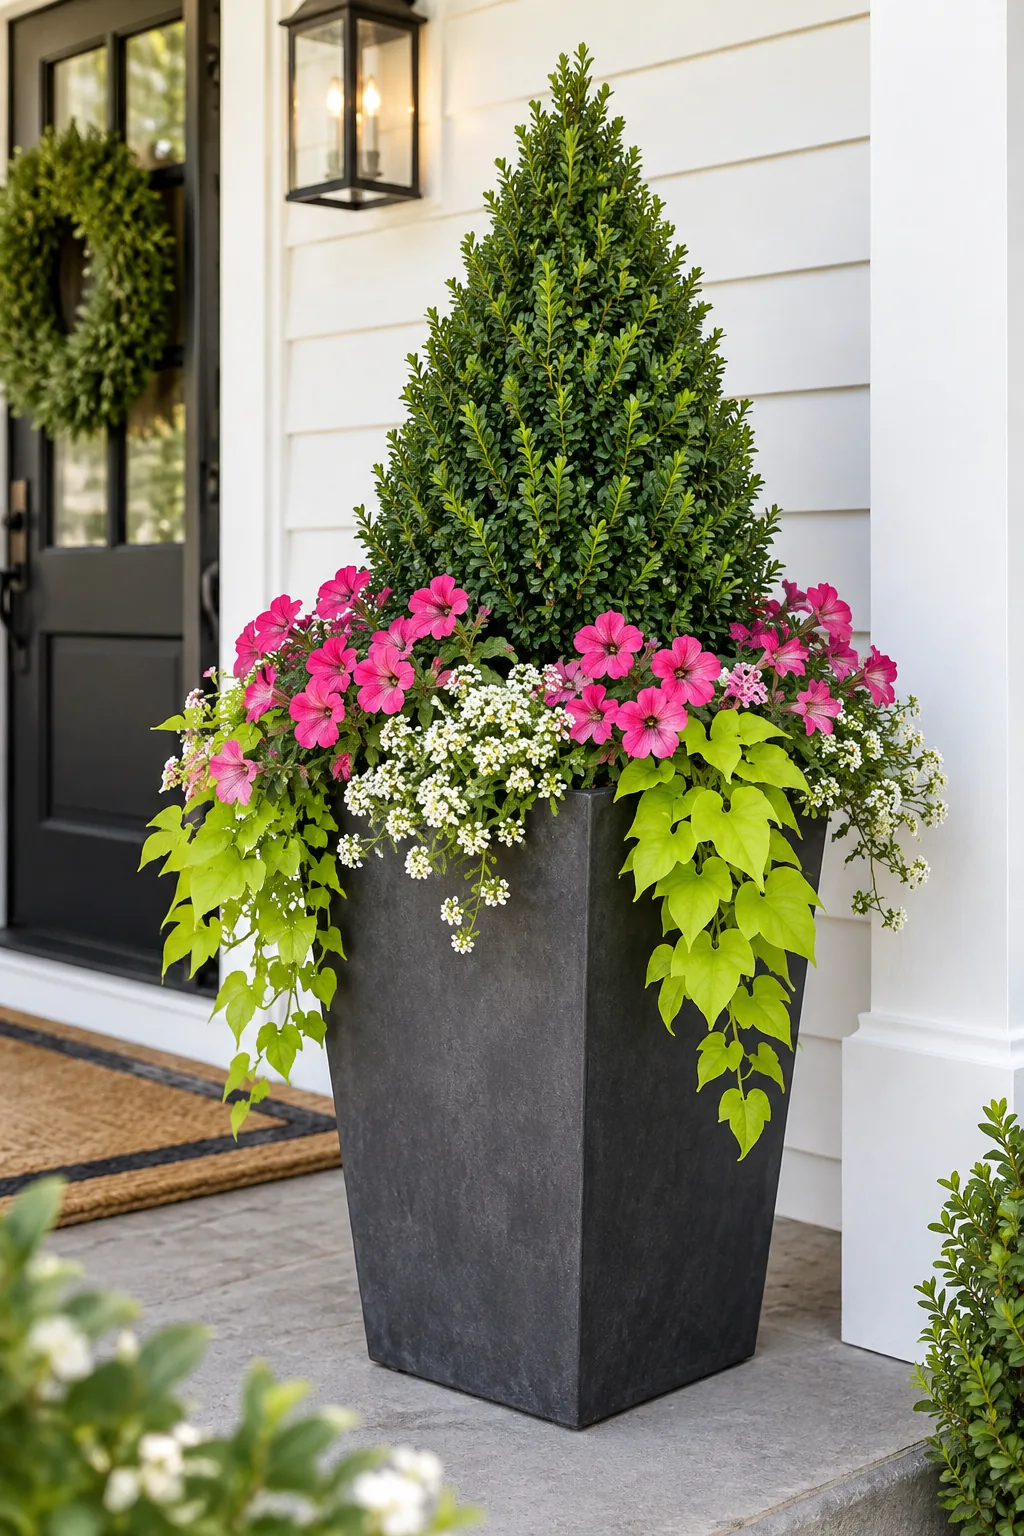
Build your arrangement starting with a strong thriller element in the absolute center of your insert. I love using a cold-hardy focal evergreen like an arborvitae or juniper because it provides structured, year-round height that easily survives extreme weather fluctuations.
Selecting Cold-Hardy Varieties
When choosing your central evergreen, select a variety rated for at least one hardiness zone colder than your local climate. Container plants lack the insulating protection of ground soil, making their exposed root systems significantly more vulnerable to sudden frosts.
Positioning the Thriller Element
Correct placement dictates the visual flow of your arrangement. If your planter sits flat against a wall, push the evergreen slightly back; if viewed from all sides, keep it dead center, orienting the most attractive foliage toward the street before packing the soil tightly.
Layering in Seasonal Color
Bridge the gap between your tall evergreen and the edge of the pot with dense, mid-height blooming fillers. Planting vibrant options like petunias or sweet alyssum adds a gorgeous pop of color while softening the transition between the thriller and the spiller.
Maximizing Bloom Density
Achieving a professional, overflowing look requires planting your floral fillers much closer together than traditional garden spacing dictates. Space your blooming annuals just three to four inches apart to instantly create a lush, continuous mound of seasonal color.
Teasing Roots for Better Establishment
Nursery plants often arrive severely root-bound, which prevents them from absorbing adequate moisture once transplanted. Always use your thumbs to gently massage and loosen the bottom half of the root ball before tucking the fillers into the surrounding soil.
Creating Drama with Trailing Vines
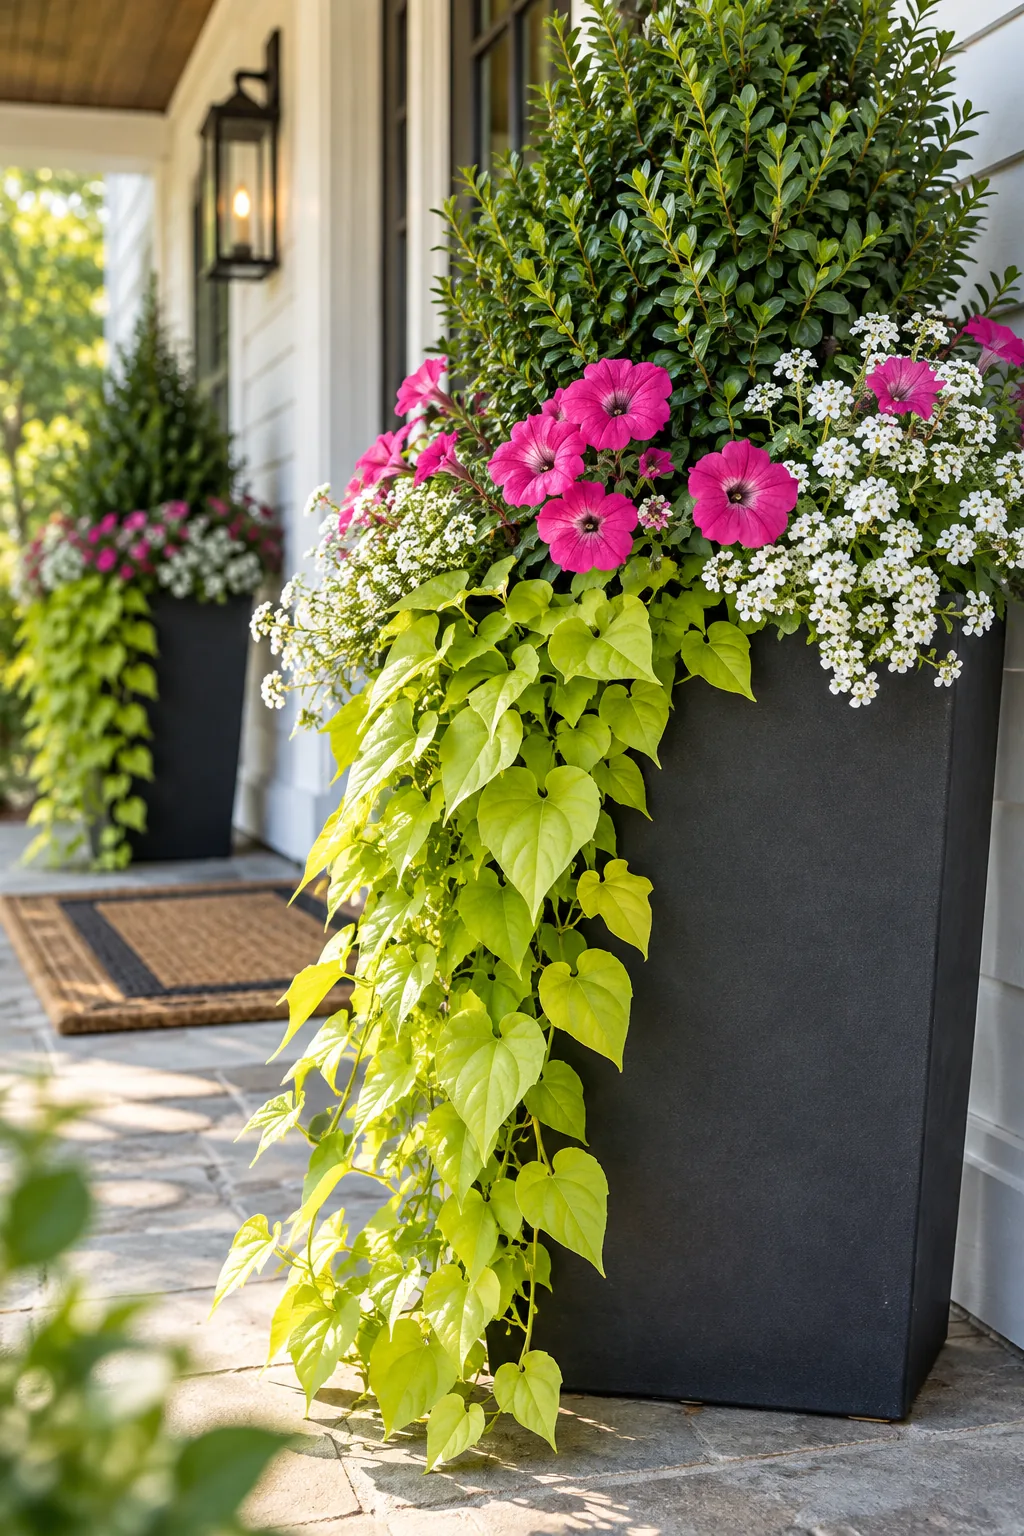
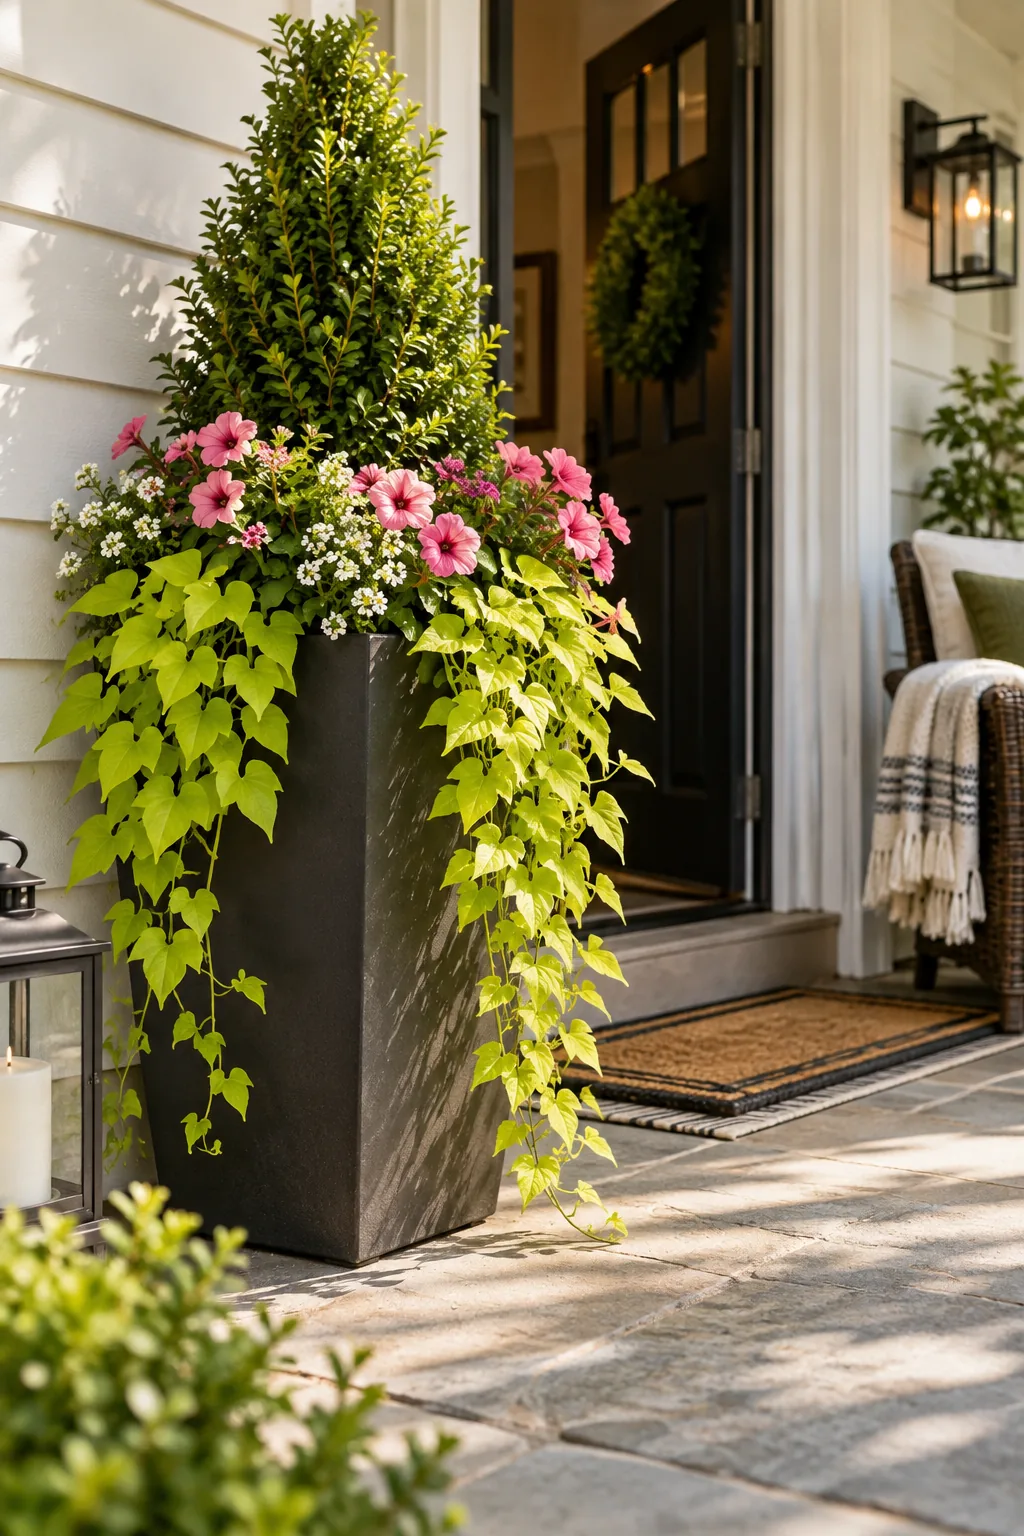
You need a spiller element to soften the hard geometric lines of a large container. I always tuck in trailing sweet potato vines to cascade beautifully down the sides, creating a lush, overflowing look that instantly elevates the whole porch.
Training Your Spiller Vines
Trailing plants naturally grow toward the sun, which often pulls them away from the front of your pot. Actively guide fresh growth by pinning wandering stems to the soil surface, and always keep the longest vines trimmed just above the porch floor.
Maintaining Your Porch Planter
Here in Austin, my porch gets scorching afternoon sun, so I quickly learned that nursery pots dry out much faster than massive soil-filled containers. Keeping your container garden looking fresh requires a consistent, simple routine to manage moisture and sunlight.
Feeding for Continuous Growth
Frequent watering rapidly flushes essential nutrients out of the confined potting mix. Apply a balanced, water-soluble liquid fertilizer every two weeks during the active growing season to keep the foliage vibrant and encourage non-stop blooming until the first frost.
Refreshing Soil Between Seasons
Even with the drop-in method, the top layer of soil inside your insert gradually compacts and loses its vital structure. Whenever you swap out your seasonal fillers, remove the top two inches of old dirt and blend in fresh, nutrient-rich compost.
Winterizing Your Container
When temperatures plummet, your focal evergreen needs extra insulation to survive the harshest freezes. Pack a thick layer of natural cedar mulch around the exposed topsoil to lock in vital moisture and protect the shallow root system from deadly wind chill.
Cleaning the Planter Exterior
Dust, pollen, and hard water stains quickly dull the finish of dark charcoal and black containers. Wipe down the exterior of your resin or fiberglass planter monthly using a soft microfiber cloth and a mild solution of warm, soapy water.
Storing Empty Planters Safely
If you choose not to maintain a winter arrangement, you must properly store your empty containers to prevent weather damage. Move the cleaned, completely dry planters into a protected garage or shed, ensuring no residual moisture remains inside the false bottom.
Planning Your Next Seasonal Swap
Successful container gardening relies on anticipating the shifting weather patterns weeks before they actually arrive. Begin sourcing your replacement fillers at local nurseries just as the current season’s blooms start to naturally fade, ensuring a seamless visual transition on your porch.
5 Planter Styles for Every Home Exterior
Find the perfect container and plant combination to match your home's unique architecture.
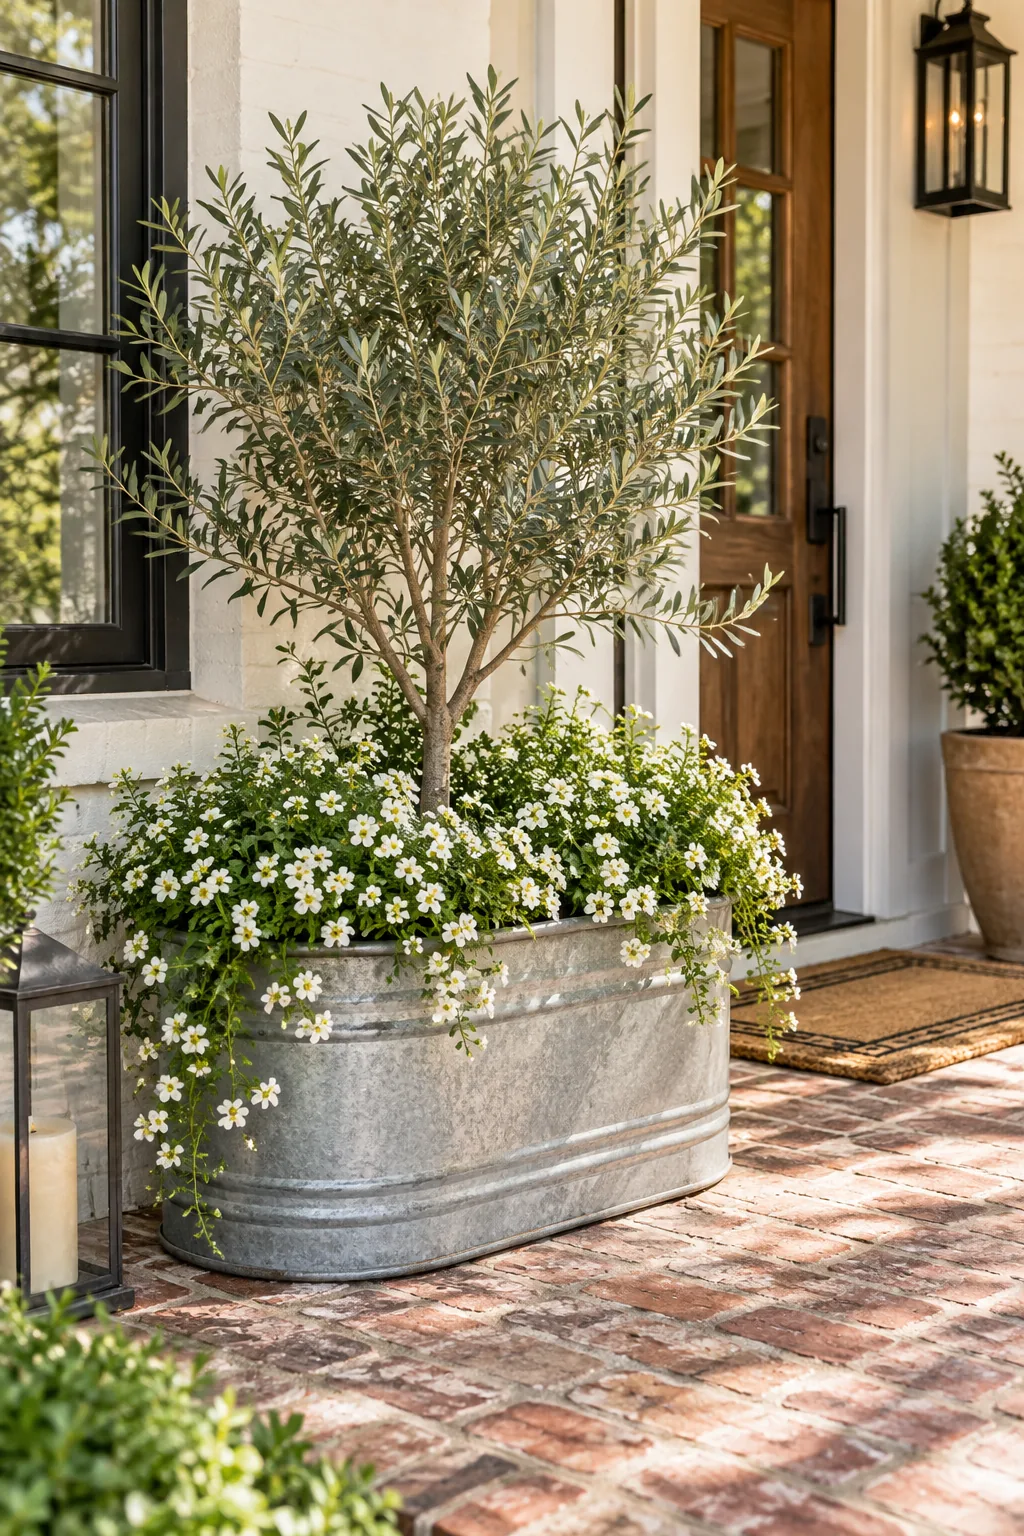
Modern Farmhouse Galvanized Tub: A galvanized steel trough filled with a silvery olive tree and white bacopa brings rustic charm to a brick-paved entryway.
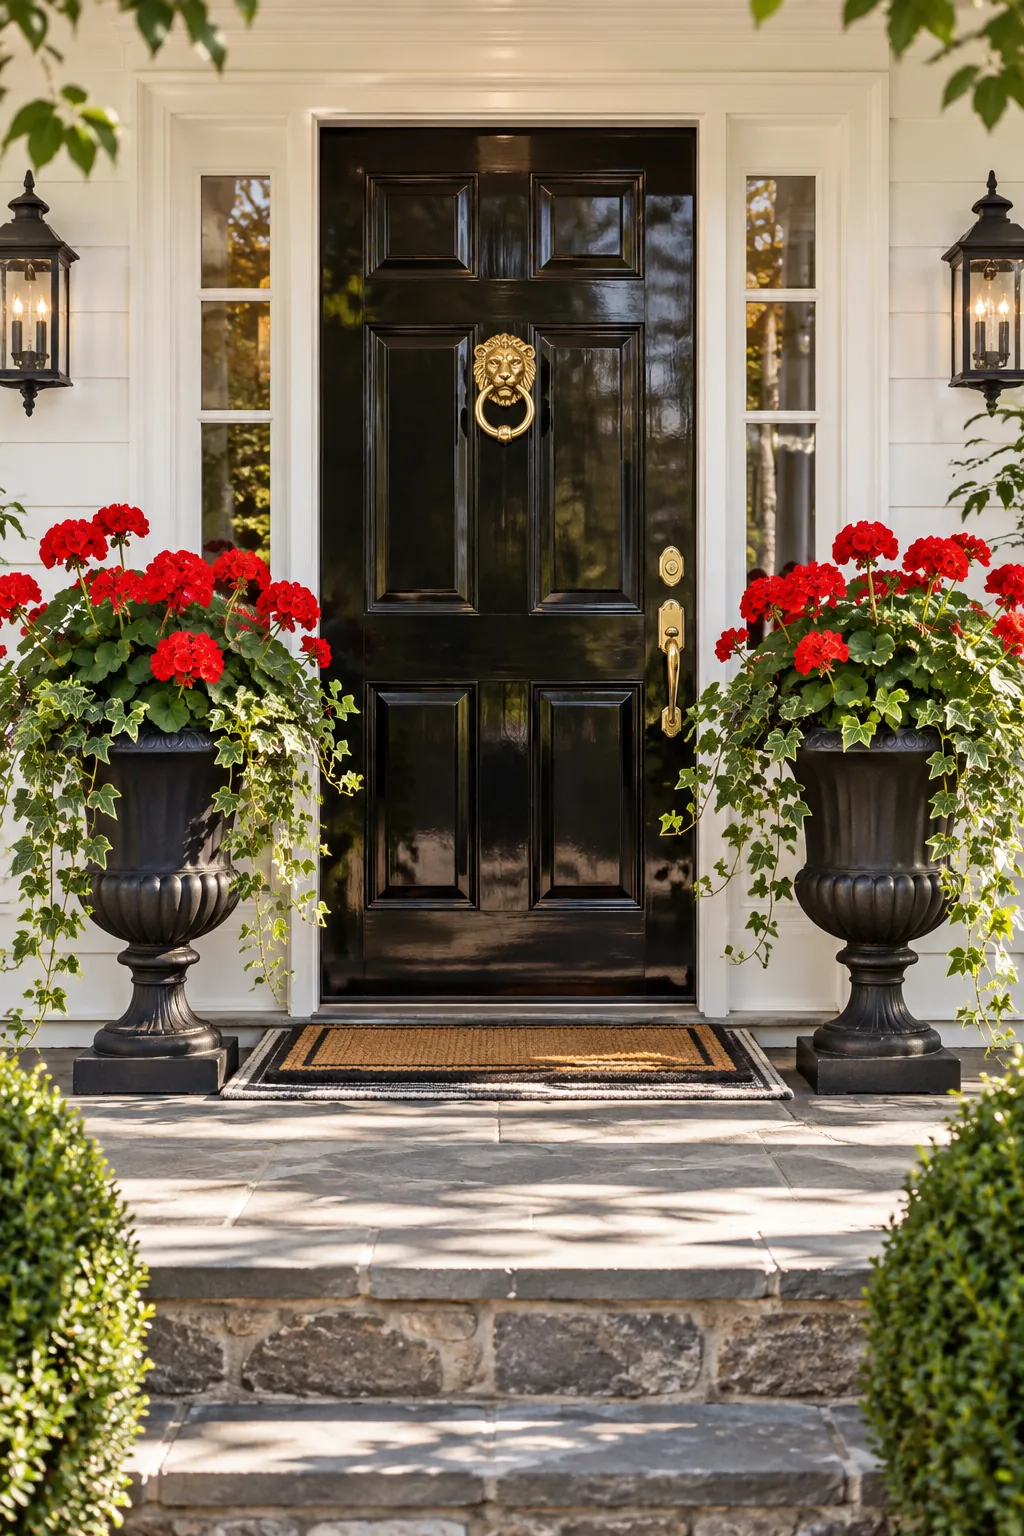
Classic Traditional Cast Iron: Formal cast iron urns planted with vibrant red geraniums and trailing English ivy create timeless elegance against a glossy black door.
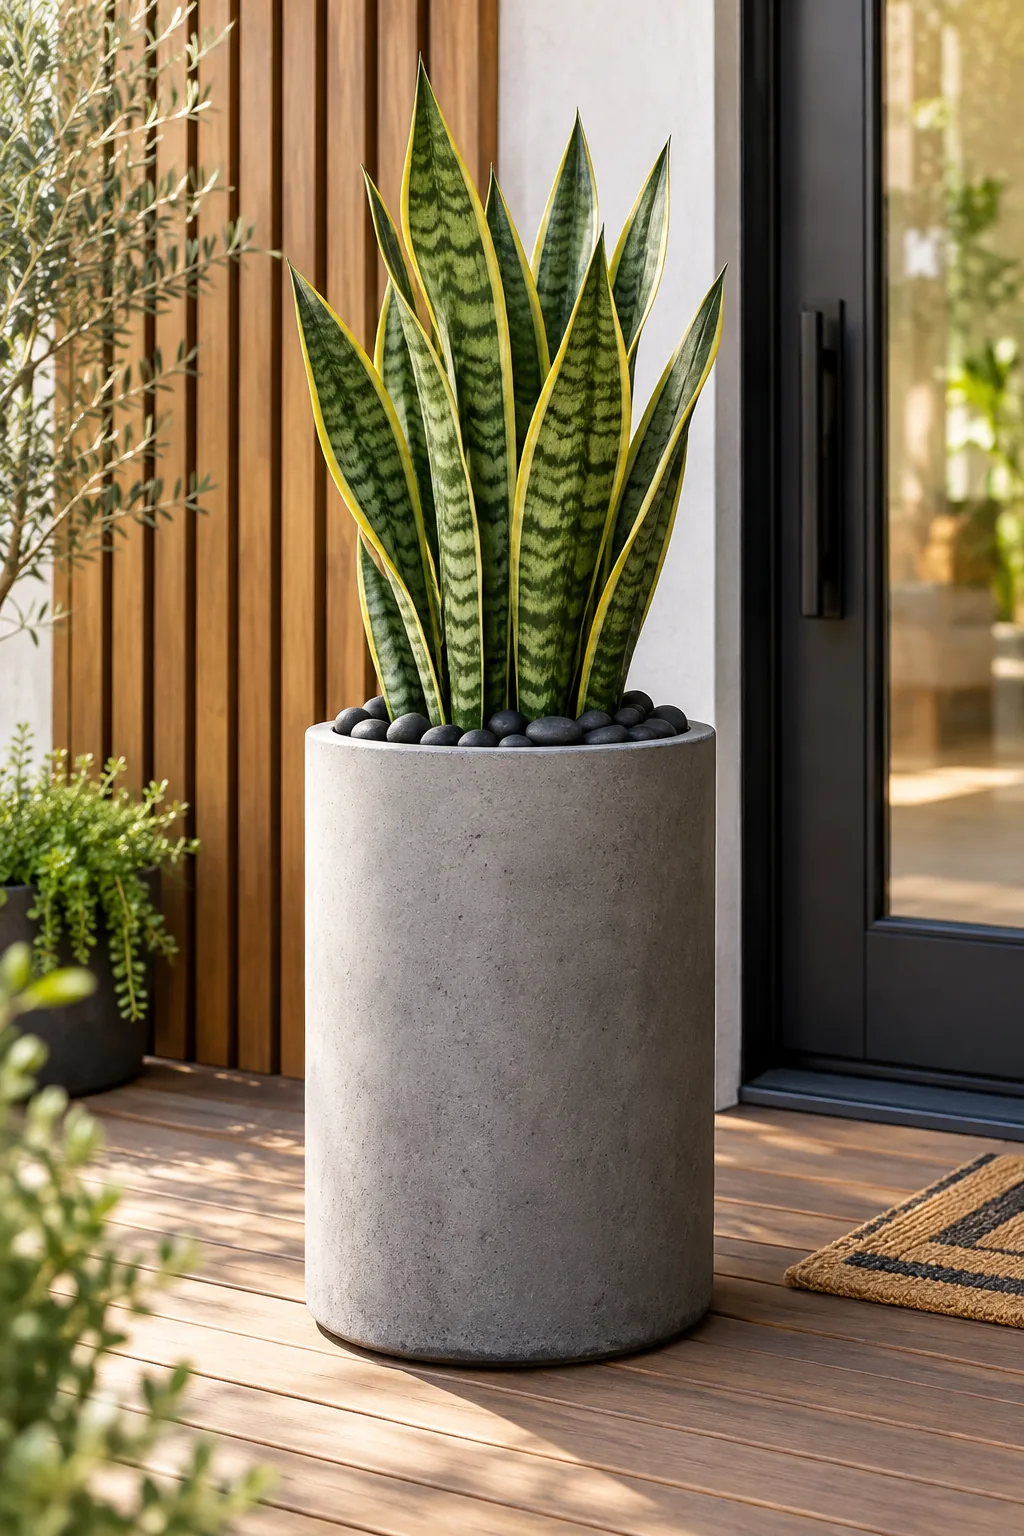
Minimalist Concrete Cylinder: A sleek concrete cylinder holding a structural snake plant and black river rocks offers a low-maintenance, architectural look for modern wood-slat porches.
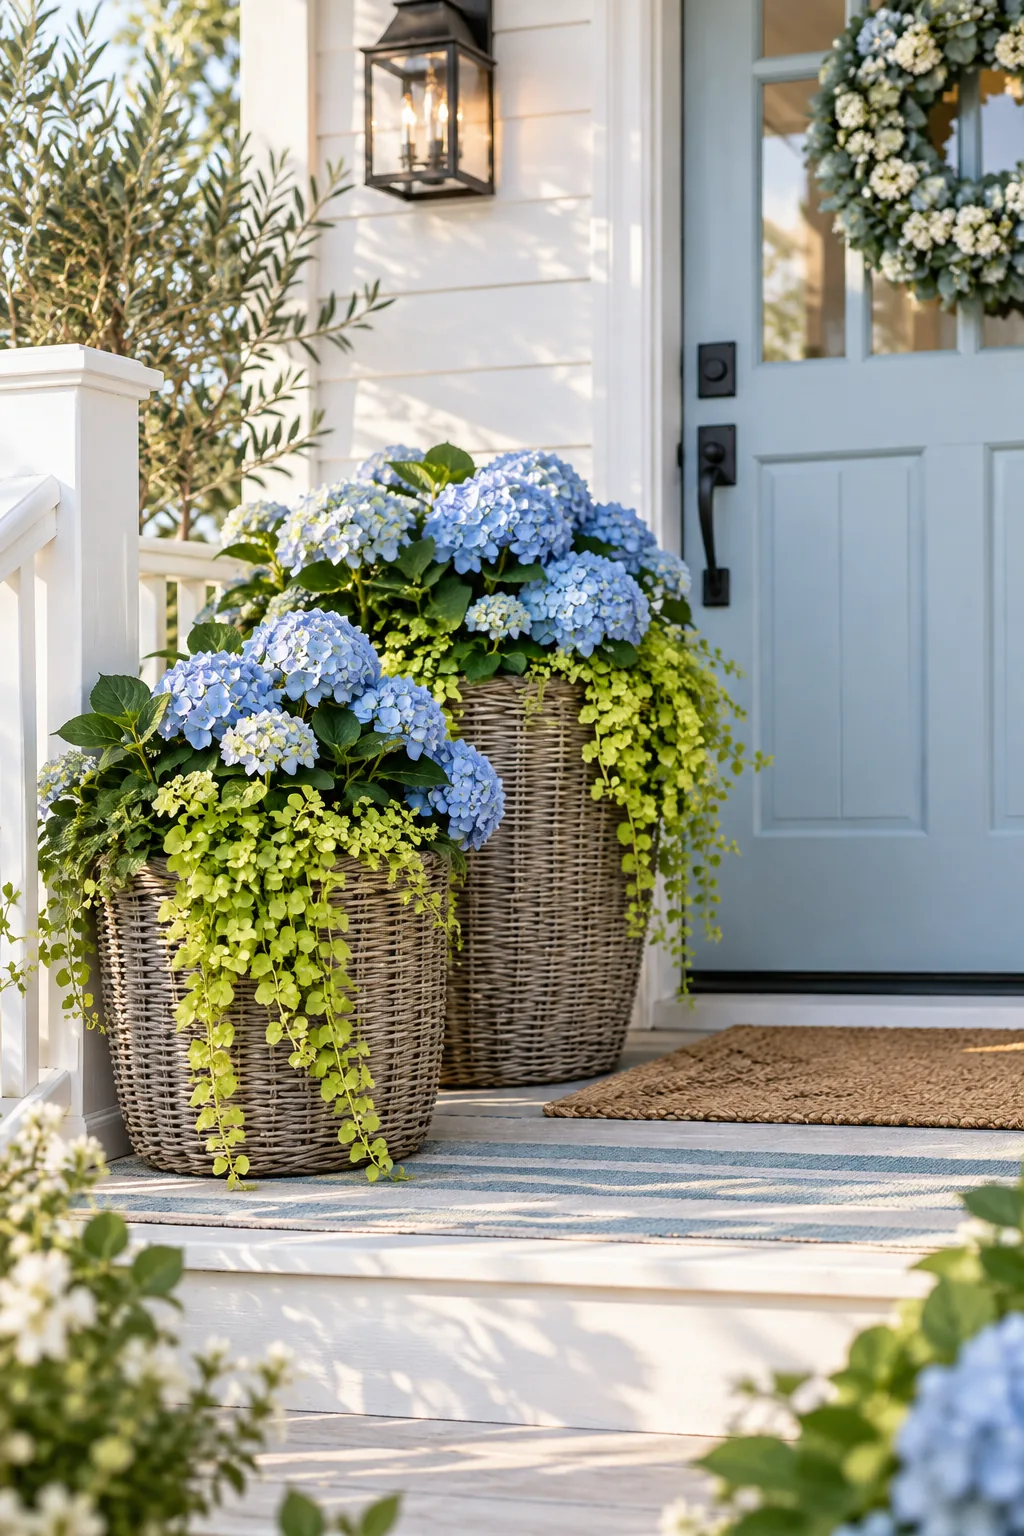
Coastal Woven Resin Basket: Weatherproof woven resin baskets overflowing with blue hydrangeas and creeping jenny perfectly complement a breezy, pastel blue coastal entryway.
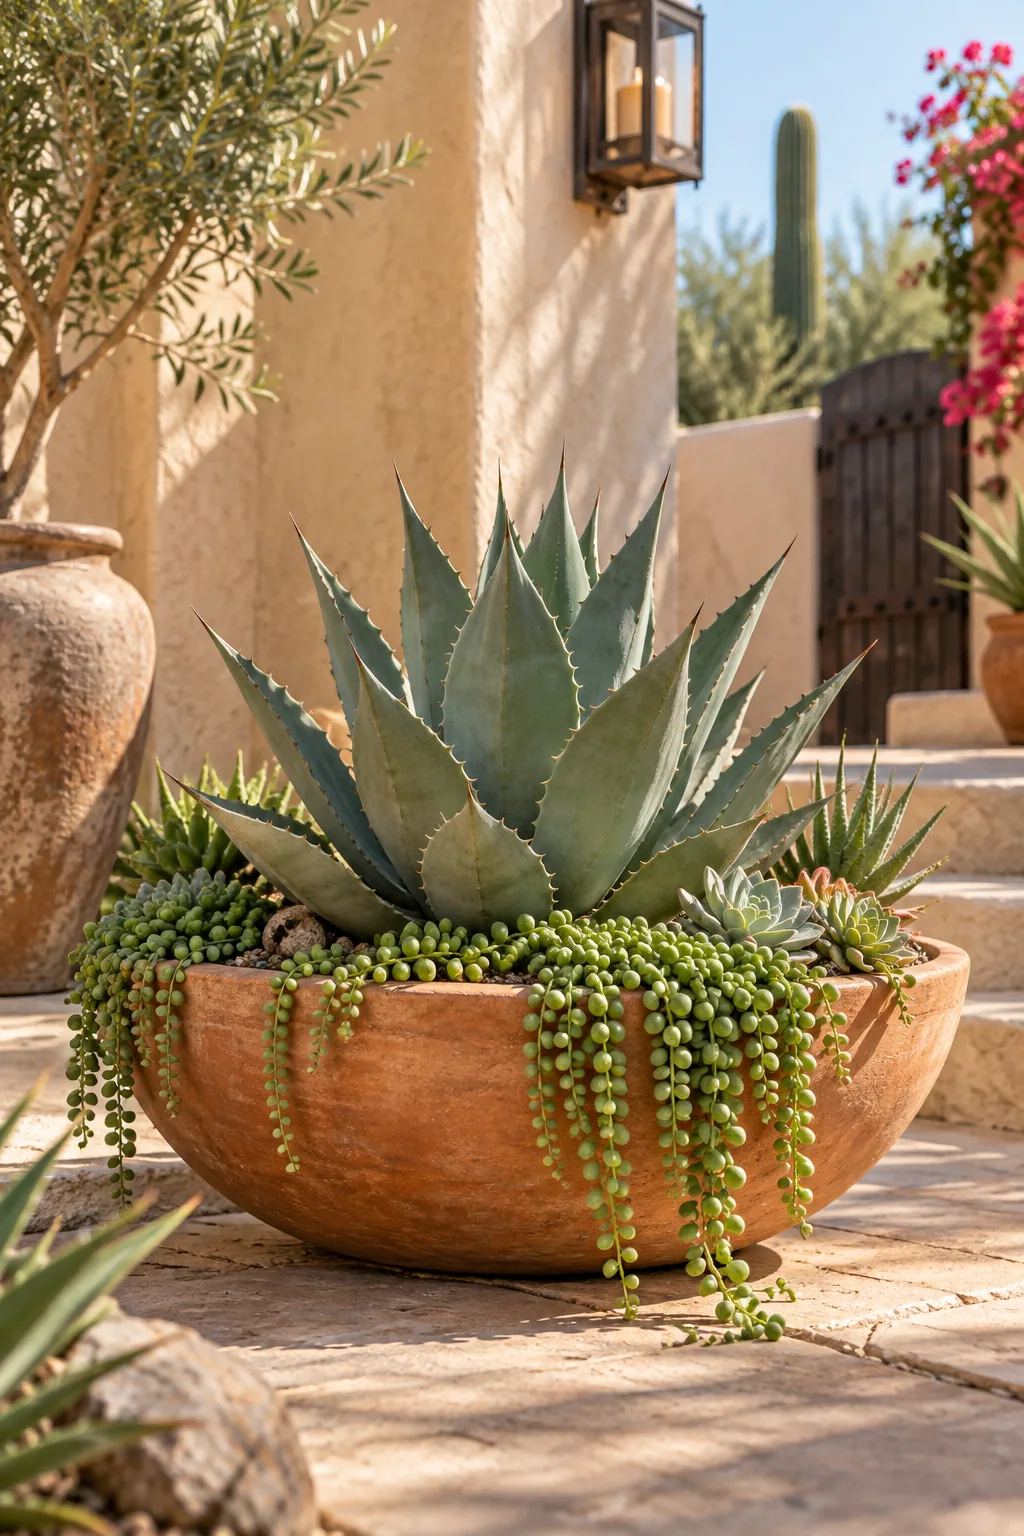
Southwest Terracotta Bowl: A wide, shallow terracotta bowl packed with structural agave and trailing string of pearls thrives in the intense heat of a sunny stucco courtyard.
Download Your 4-Season Planter Recipes
I used to stand in the garden center aisles feeling completely overwhelmed until I started planning my seasonal swaps in advance. Now you can grab my 4-season planter recipes to discover the exact plant combinations to drop into your container for spring, summer, fall, and winter.