
How to Build a Firm Gravel Pathway: Dig-Depth & Tonnage Chart
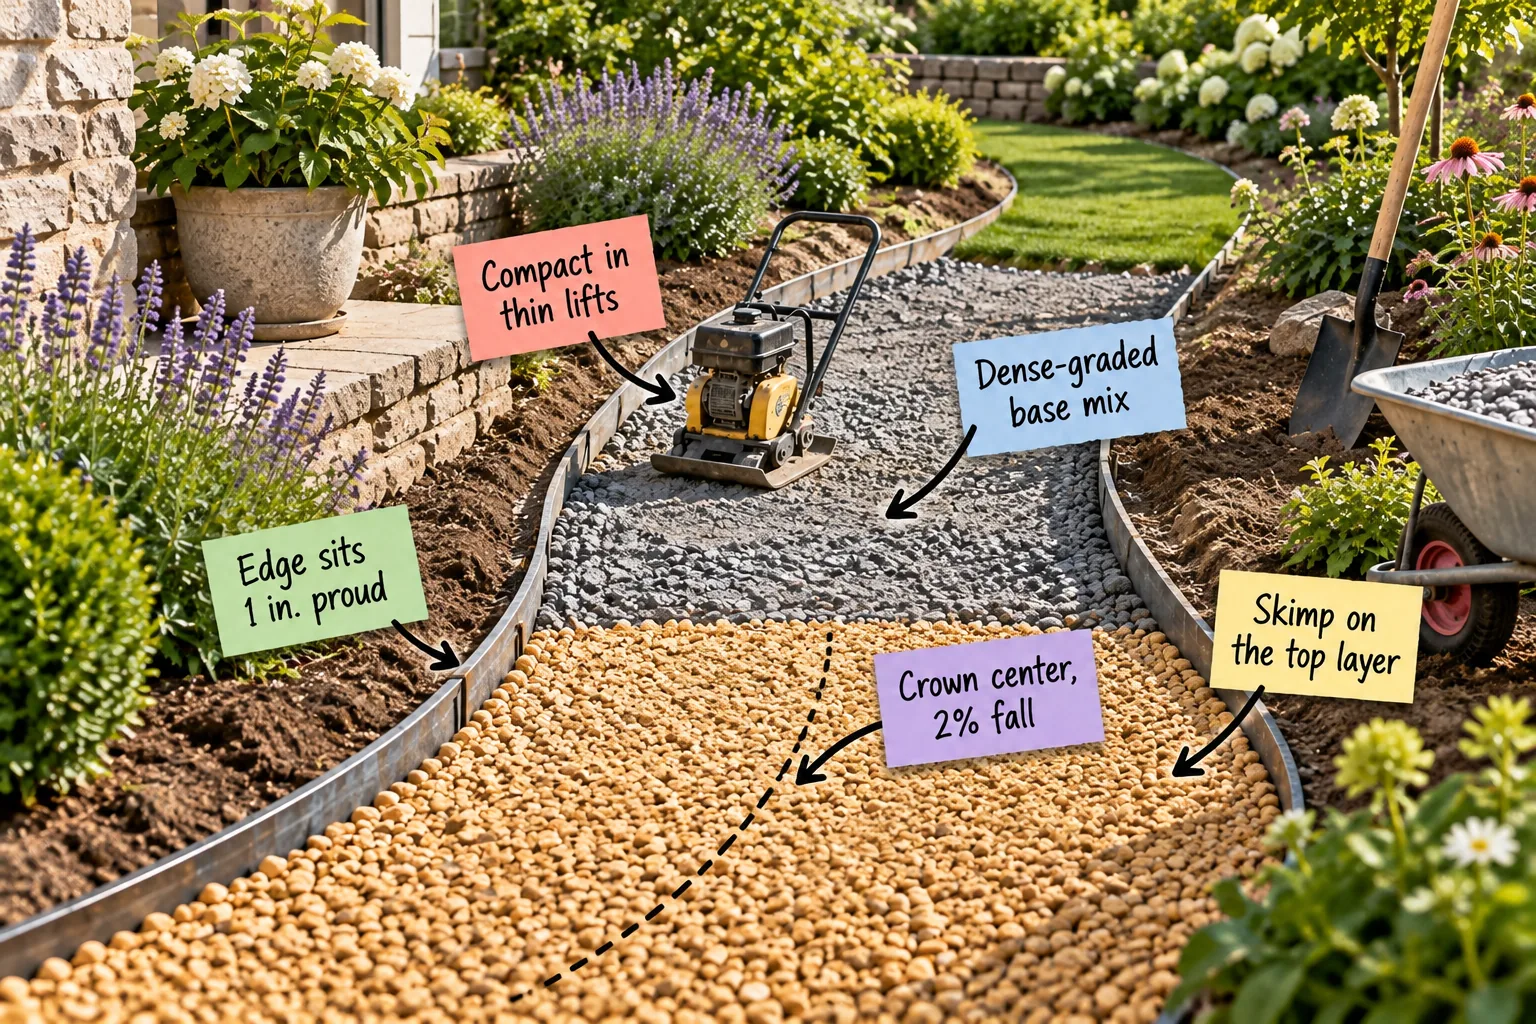
You will be able to calculate exact material tonnages and follow a precise six-step layering sequence to build a rock-solid, weed-free walkway using our printable path dig-depth and tonnage chart.
Planning the Trench and Tonnages
Establishing the exact dimensions of your excavated footprint allows for highly accurate bulk material calculations before the dump truck ever arrives. Measuring the total length and average width dictates your exact material needs to prevent costly mid-project shortages.
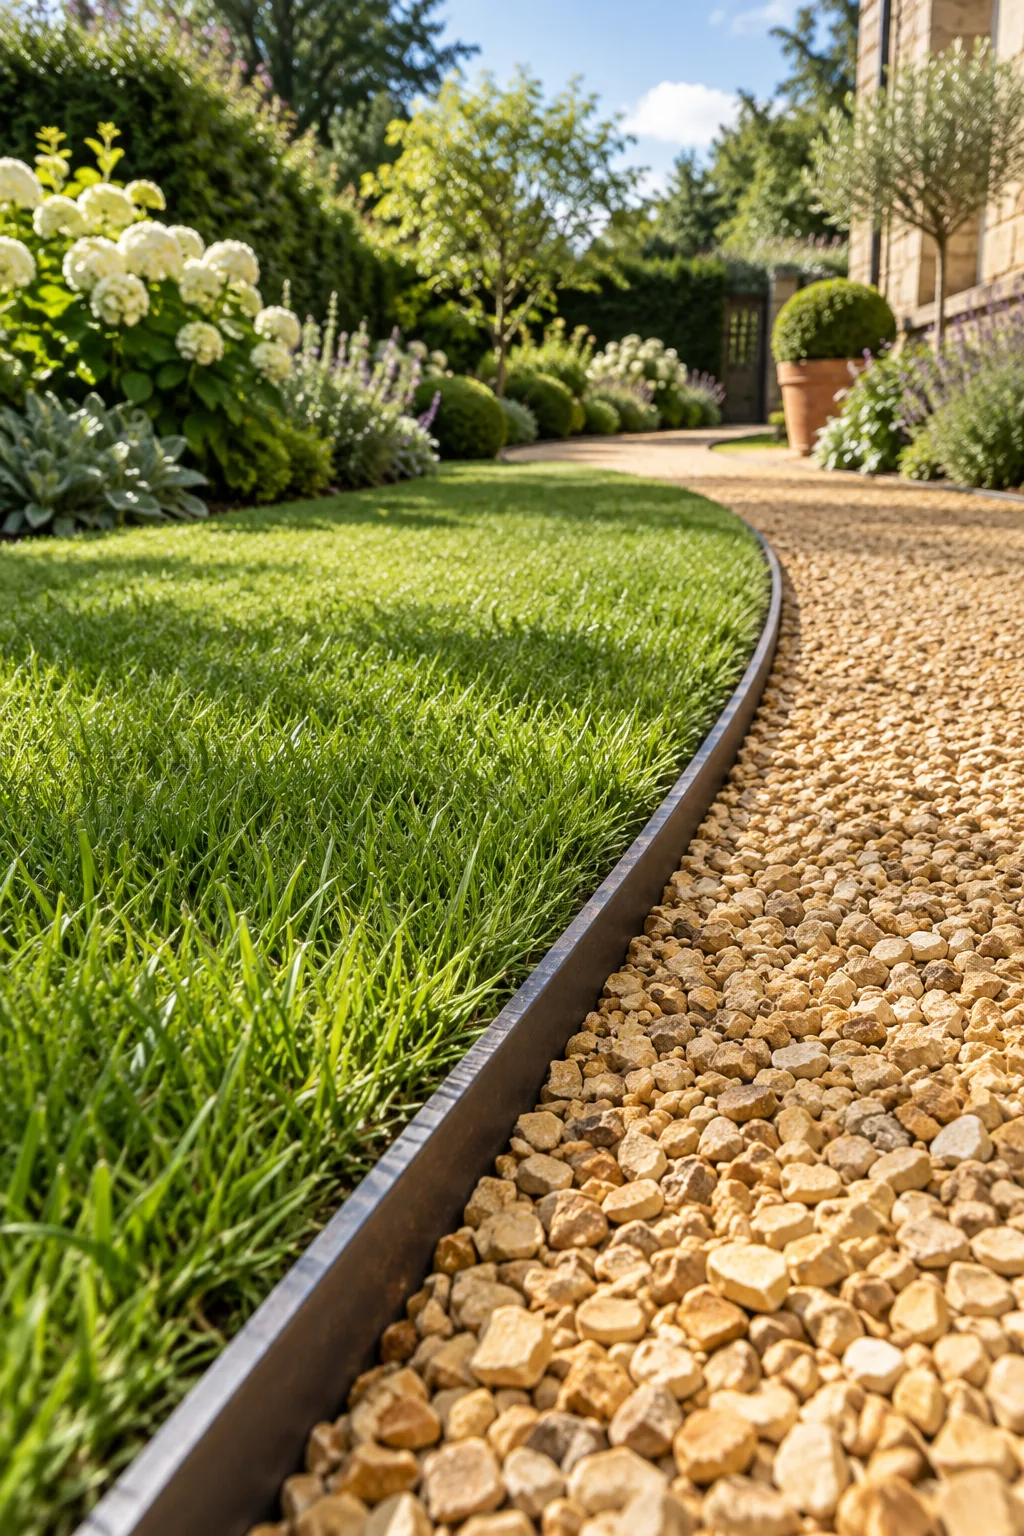
Mapping out the precise footprint of your new walkway prevents material shortages and ensures you order exactly enough base rock for a firm foundation.
Evaluating Your Native Soil Profile
Using the printable chart determines your exact excavation depth, which typically ranges from 4 to 5 inches depending heavily on your native soil conditions. A softer subgrade naturally requires a deeper trench to hold more stabilizing base rock.
| Path Width | Dig Depth | Base Tons / 10 ft | Top Tons / 10 ft |
|---|---|---|---|
| 2 feet | 4 inches | 0.4 tons | 0.1 tons |
| 2 feet | 5 inches | 0.5 tons | 0.1 tons |
| 3 feet | 4 inches | 0.6 tons | 0.15 tons |
| 3 feet | 5 inches | 0.75 tons | 0.15 tons |
| 4 feet | 4 inches | 0.8 tons | 0.2 tons |
| 4 feet | 5 inches | 1.0 tons | 0.2 tons |
This chart assumes a standard base thickness of three to four inches and a decorative top layer of exactly one inch, perfectly matching the required six-step build order.
Renting the Right Excavation Tools
Removing several inches of dense turf and topsoil by hand requires significant physical effort, so selecting the proper digging tools makes the initial phase manageable. A sharp half-moon edger cuts clean trench walls much faster than a standard rounded shovel.
Setting the Steel Edging
Install rigid steel edging along your trench borders before adding any stone, ensuring the heavy metal lengths are staked deeply into the subsoil.
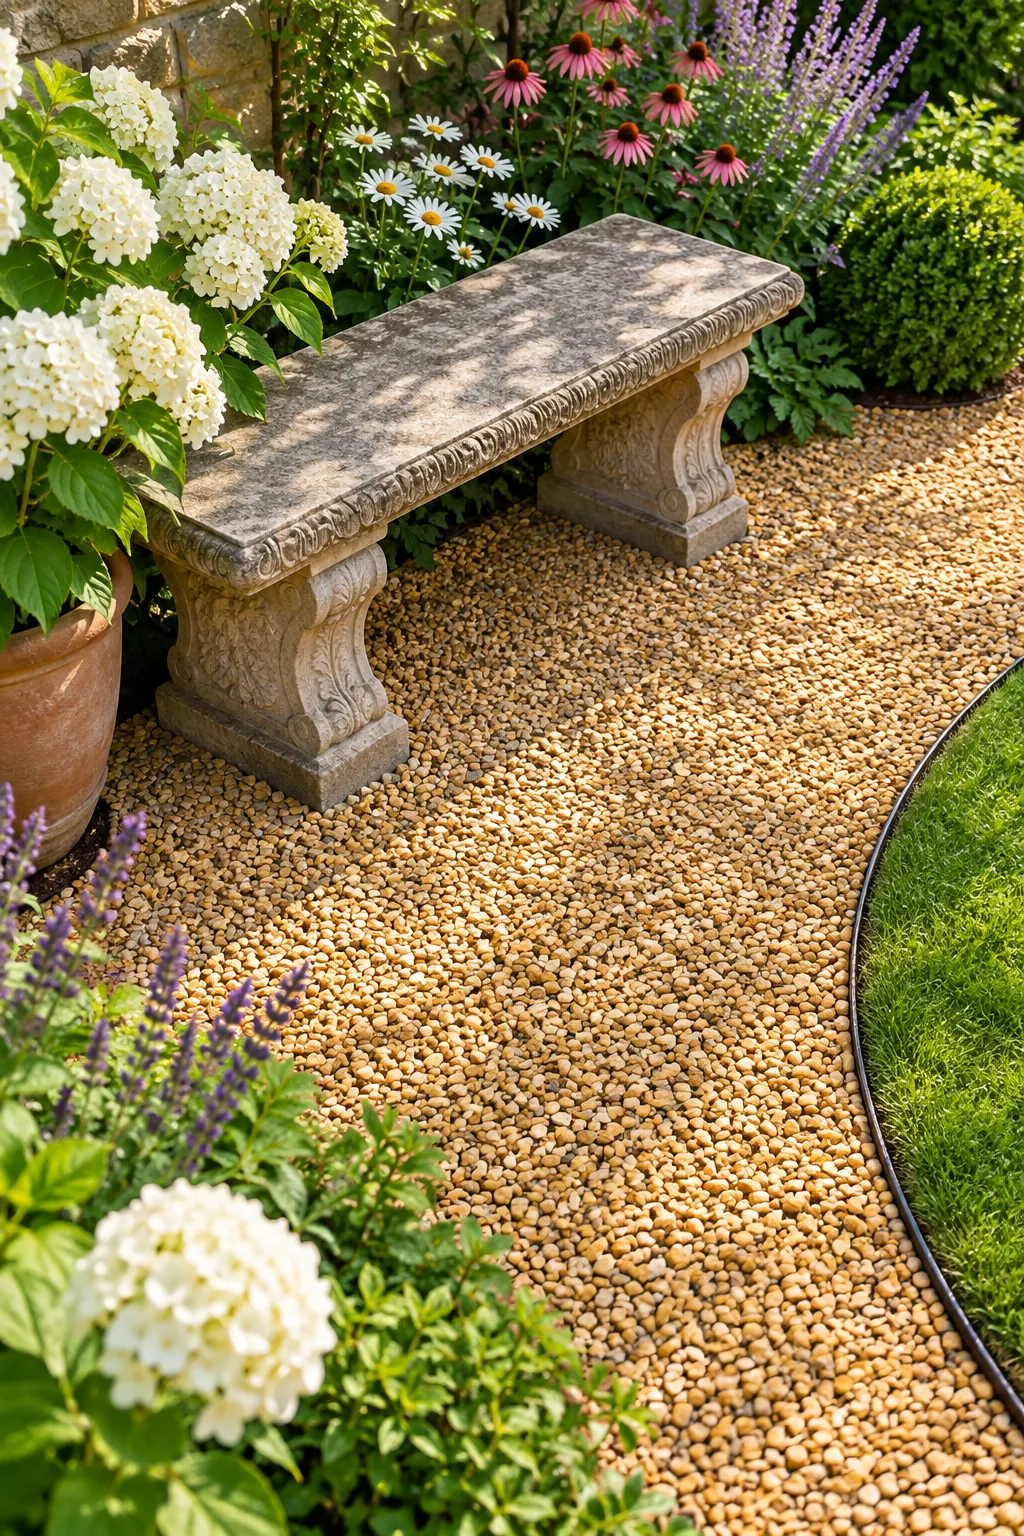
The critical role of this rigid edging is keeping the loose stone locked in place while allowing heavy rain to escape, so you must set the depth so the top lip sits exactly 1 inch proud of your planned final gravel surface.
Anchoring the Borders Permanently
Securing your metal borders properly ensures the pathway maintains its crisp curves and prevents the heavy crushed stone from pushing the sides outward during compaction.
- Drive the stakes deep: Hammer the included steel pins through the edging brackets until they sit flush with the top lip.
- Overlap the joints: Slide the ends of adjoining edging strips together to create a seamless, rigid wall.
- Backfill the exterior: Pack native soil tightly against the outside of the steel to support it against outward pressure.
- Check the curves: Step back and inspect the sweeping lines before locking the final stakes into the ground.
Taking the time to reinforce these edges guarantees your golden gravel stays on the path and never migrates into your freshly mowed lawn.
Installing a Heavy Weed Barrier
Laying a commercial-grade woven landscape fabric across the bare dirt trench prevents the native soil from mixing with your pristine crushed stone base. Pinning the fabric securely to the trench floor stops aggressive perennial weeds from pushing upward through the rocks.
Choosing a Dense-Graded Base
Fill the bottom of your trench with a dense-graded aggregate, typically a 3/4-inch minus crushed stone that includes both jagged rocks and fine stone dust.
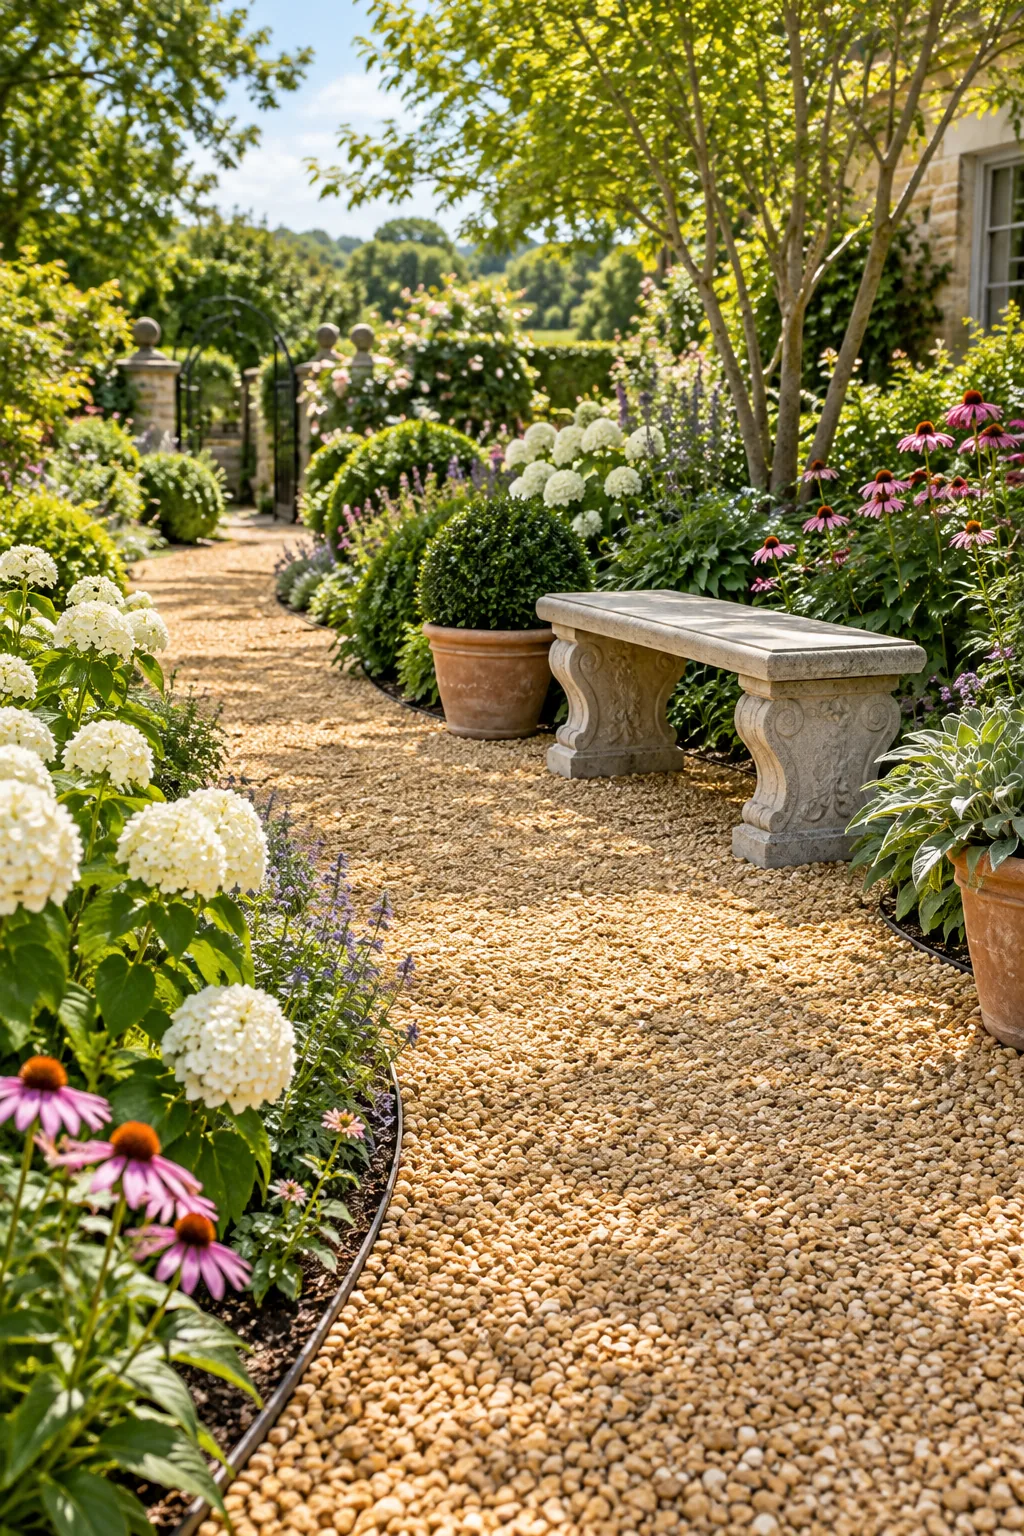
When I built my own side-yard path here in Austin, skipping the proper base initially left me with a sinking, muddy mess after the first spring storm. This specific combination of crushed stone and fine dust is absolutely necessary to create a foundation nearly as hard as concrete.
Managing Moisture During Installation
The moisture content of your dense-graded base dictates how tightly the jagged stones and fine dust will lock together under immense downward pressure. Lightly misting the base material with a garden hose as you spread it ensures the particles slide together smoothly without turning into a muddy paste.
Compacting in Thin Lifts
Never dump all the base material into the trench at once, because a thick layer simply absorbs the downward force without locking the lowest stones together.
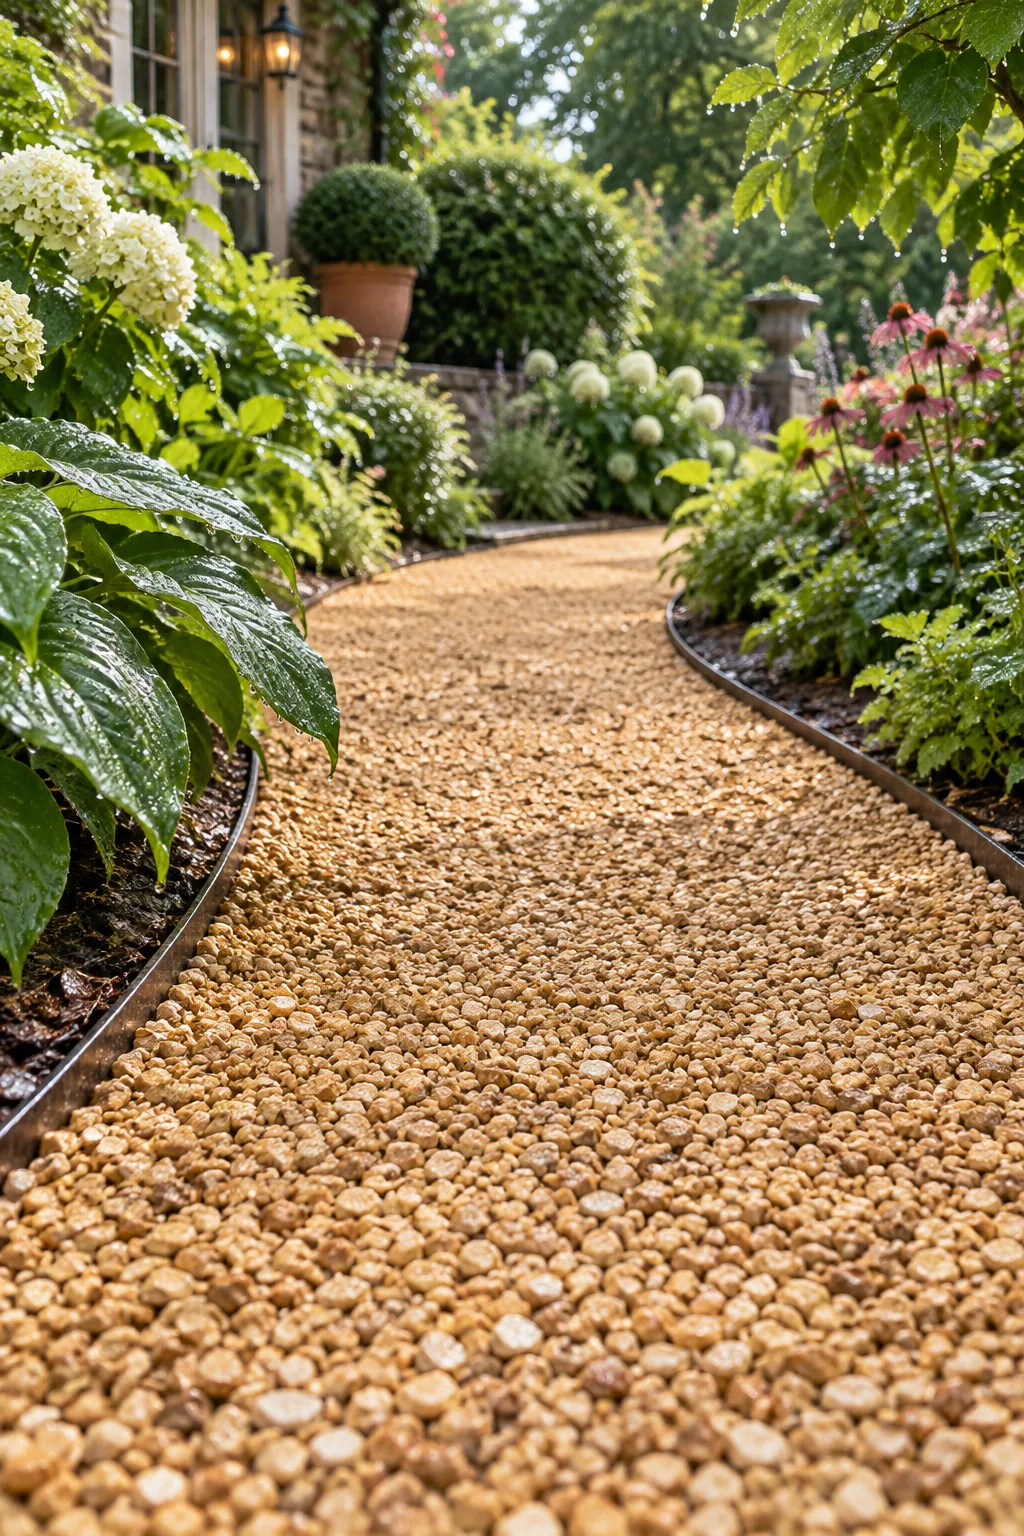
I rented a heavy vibratory plate compactor for my garden walkway, and spreading the dense-graded mix in 2-inch lifts made the foundation incredibly rock-solid. Compacting the base layers in thin increments is an absolute necessity to withstand heavy foot traffic without settling.
Operating the Plate Compactor Safely
Running heavy machinery inside a narrow garden trench requires deliberate, overlapping passes to ensure every square inch of the base receives equal downward pressure.
Taking your time with the compactor guarantees that the crushed stone foundation will support heavy garden furniture and wheelbarrows without ever shifting.
Crowning for Drainage
As you compact the final lift of the base layer, rake the material so the centerline sits slightly higher than the outer edges to shed water.
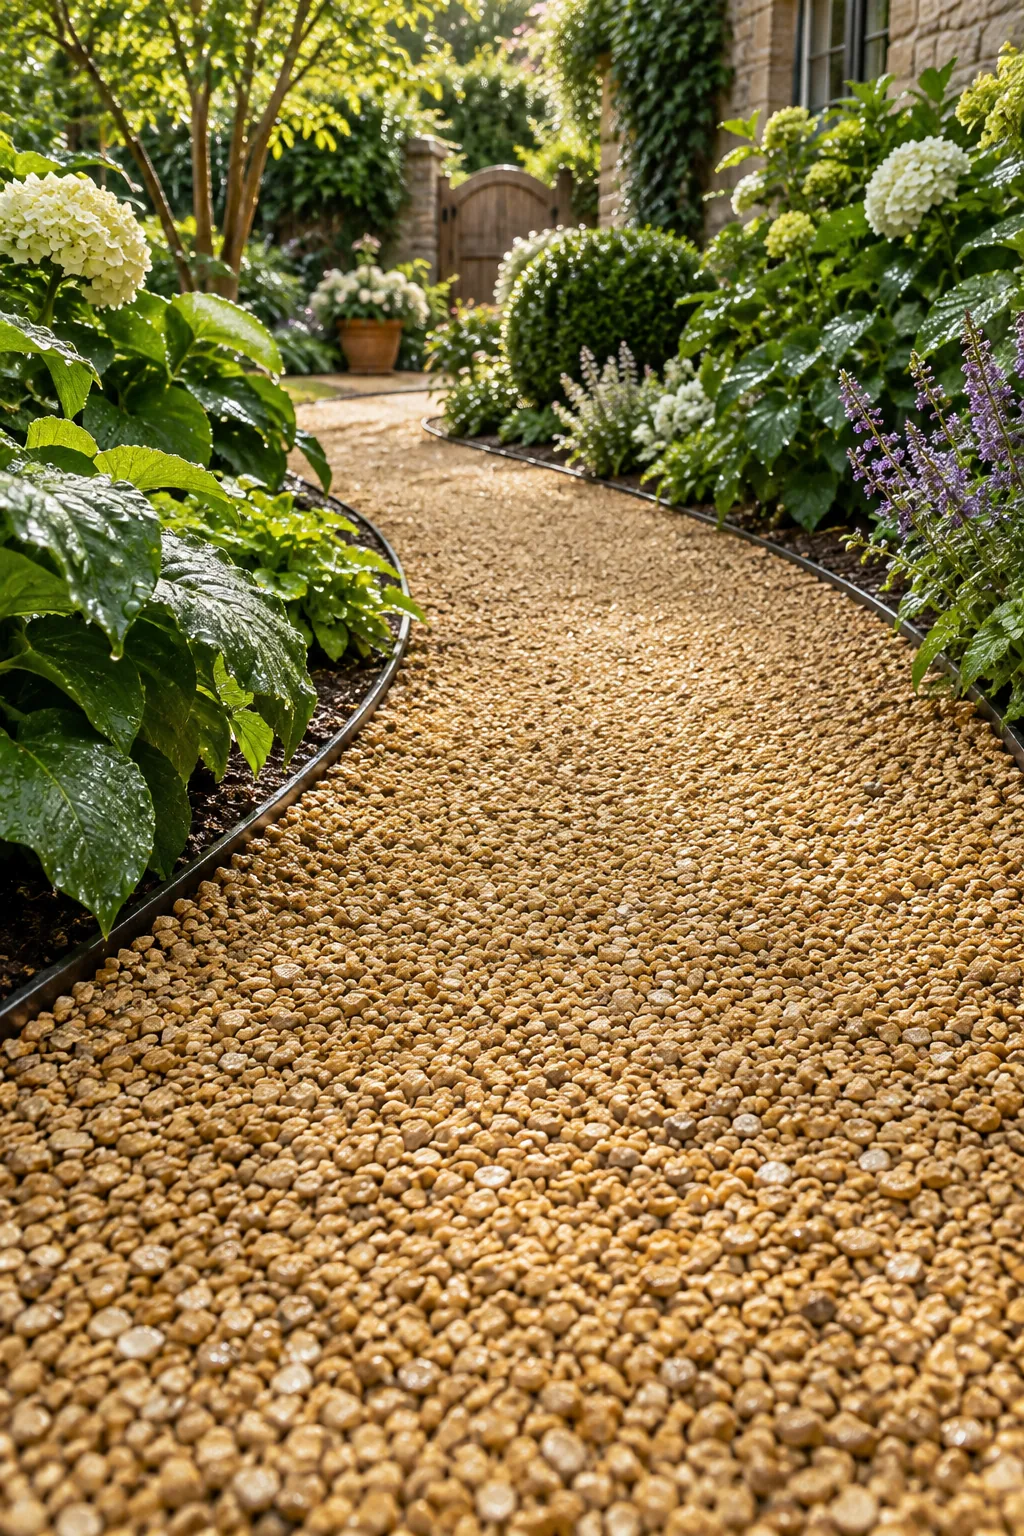
I always aim for a 2% fall from the center, which completely saved my backyard path from washing out during heavy Texas downpours. Shaping this slight fall into the base layer forces rainwater to shed sideways rather than pooling in the middle.
Verifying the Final Center Slope
Confirming your drainage angle before adding the decorative top stone ensures you will not have to dig up the finished path to fix hidden puddles later. A simple torpedo level resting on a straight piece of scrap lumber quickly reveals if your crown sheds water properly.
Skimping on the Top Layer
Apply a surprisingly thin layer of your chosen decorative angular gravel, aiming for a shallow depth of just 1 to 1.5 inches across the entire surface.
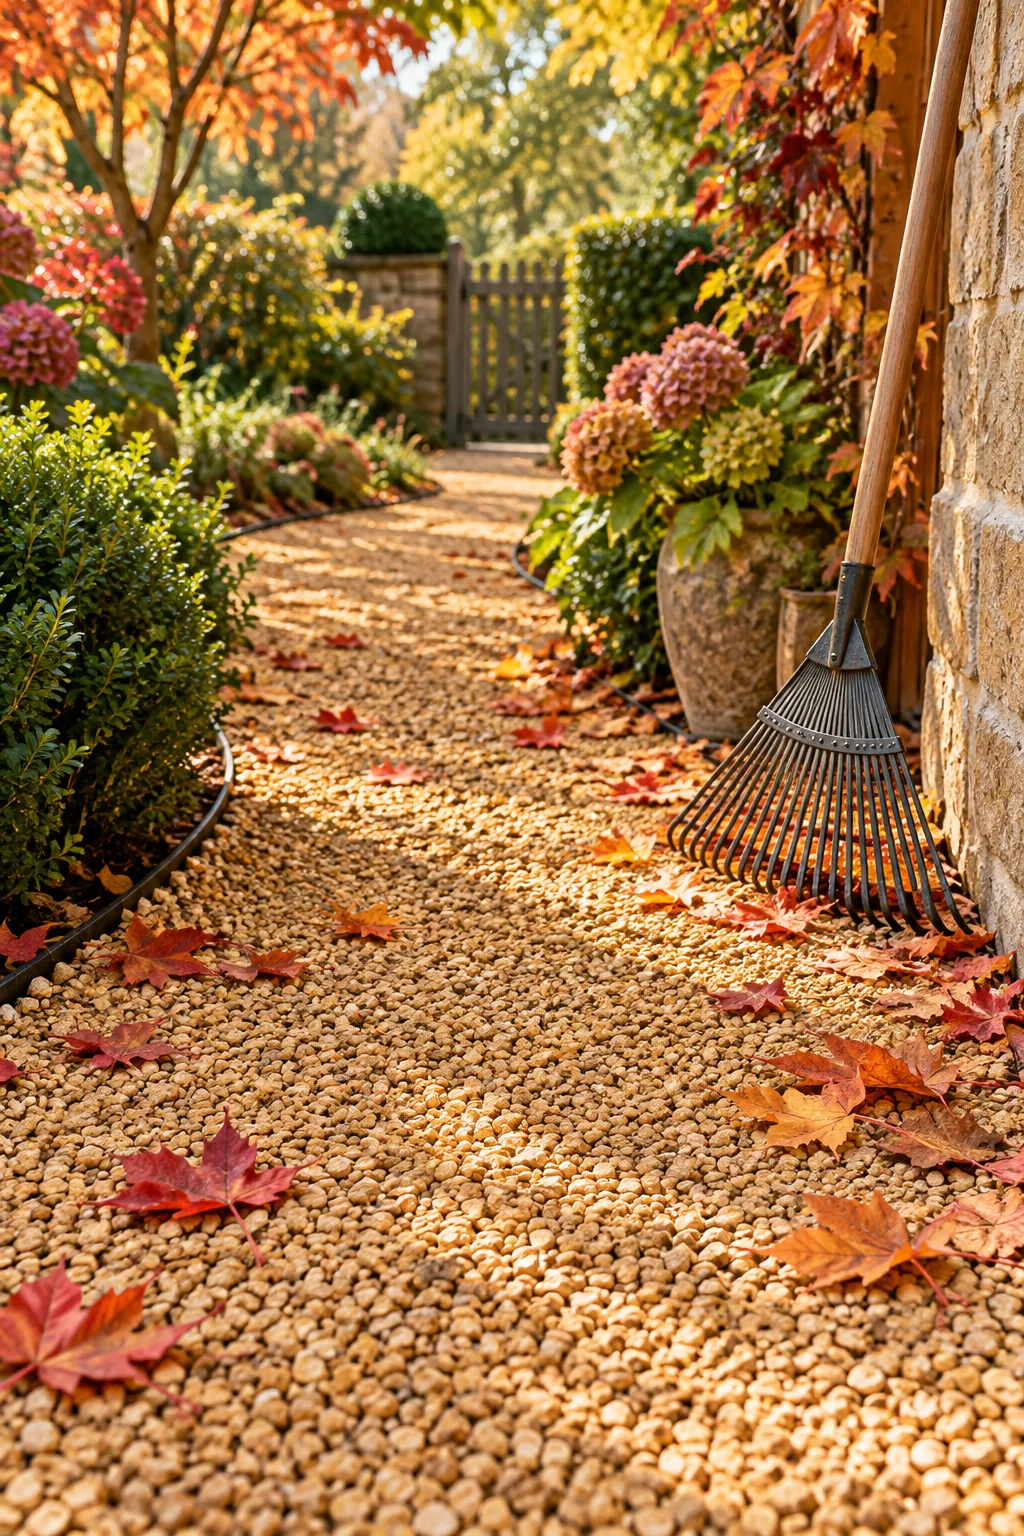
I learned the hard way that a deeper top layer feels like walking through deep sand, while a thin skim locks firmly against the hard base. This counterintuitive rule of applying minimal decorative top stone maintains a firm walking surface with a satisfying crunch.
Selecting the Right Decorative Stone
The shape of your final surface stone matters just as much as its color when you want a pathway that stays put underfoot. Always choose an angular crushed gravel rather than smooth river rock, because the jagged edges physically interlock to prevent sliding and rolling.
Washing the Decorative Gravel
Most bulk decorative stone arrives covered in a fine layer of quarry dust that dulls the natural color and tracks into your house on wet shoes. Spraying the gravel thoroughly with a hose before spreading it reveals the true vibrant hues of your chosen rock.
Managing Autumn Leaf Drop
Dealing with heavy leaf accumulation requires a gentle touch so you do not accidentally rake your expensive decorative top stone into the surrounding garden beds. Using a lightweight blower on its lowest setting pushes the dry leaves away while leaving the heavier gravel perfectly intact.
Refreshing the Golden Color
Over several seasons, environmental dust and organic matter can slightly dull the vibrant honey-gold tones of your decorative surface layer. A quick pass with a pressure washer equipped with a wide fan tip easily blasts away the grime and restores the original bright crunch.
Gravel Pathway Styling Ideas
Explore how different stone colors and edging materials completely change the mood of the finished walkway.
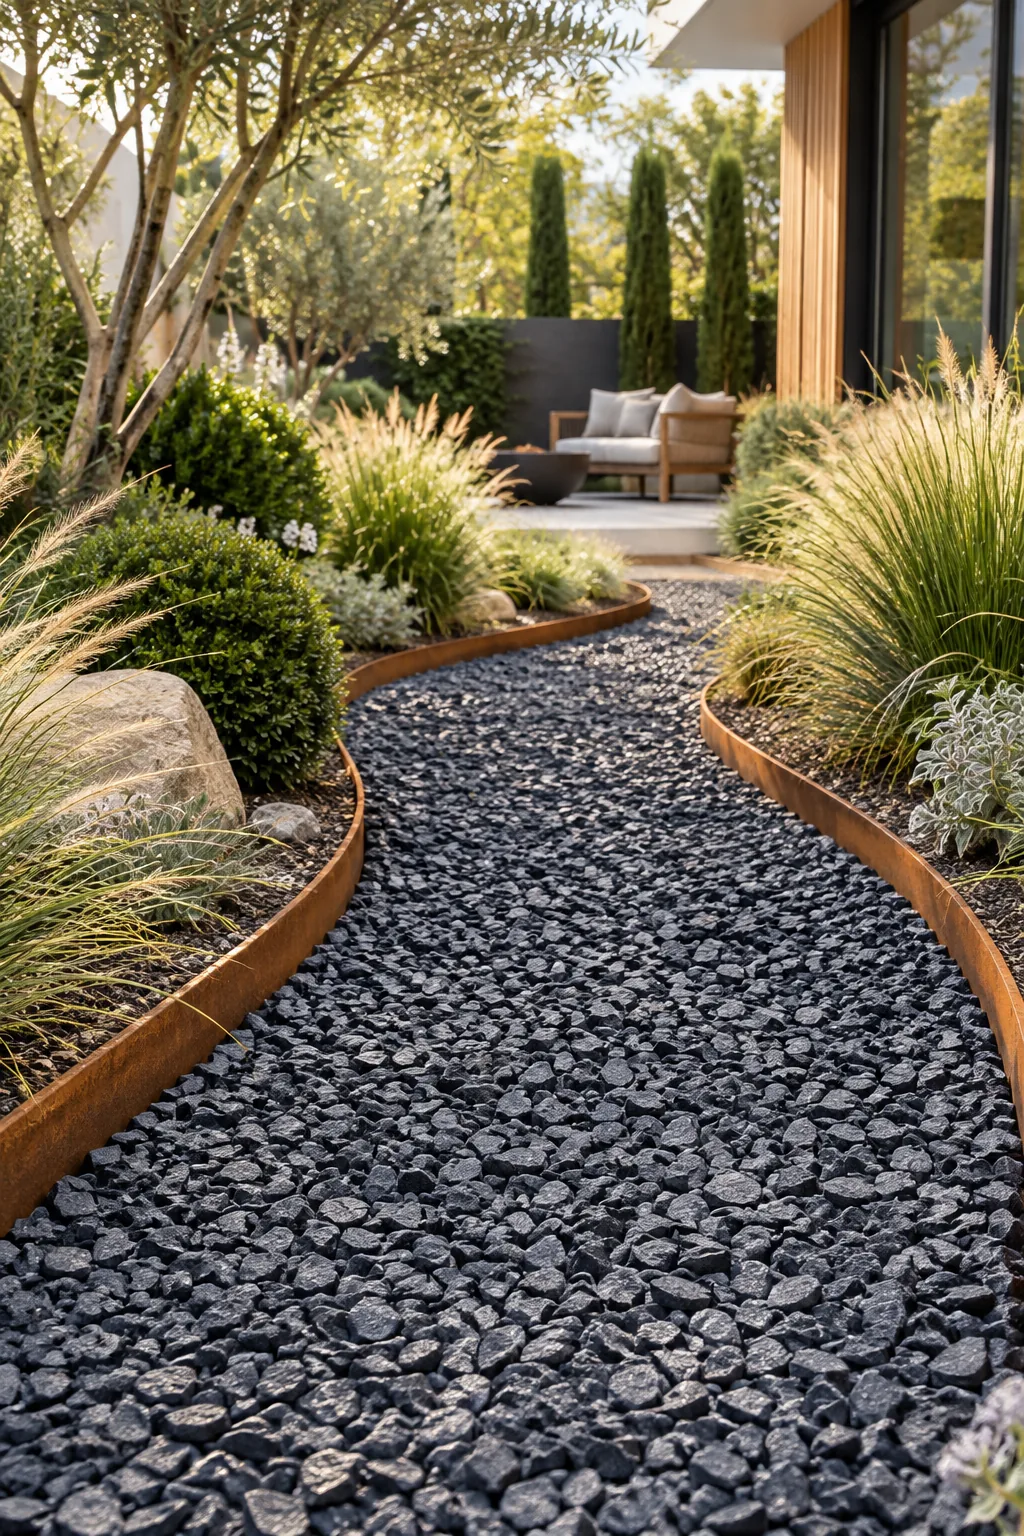
Modern Dark Slate Pathway: Dark angular slate paired with rusted corten steel edging creates a striking, contemporary line through minimalist plantings.
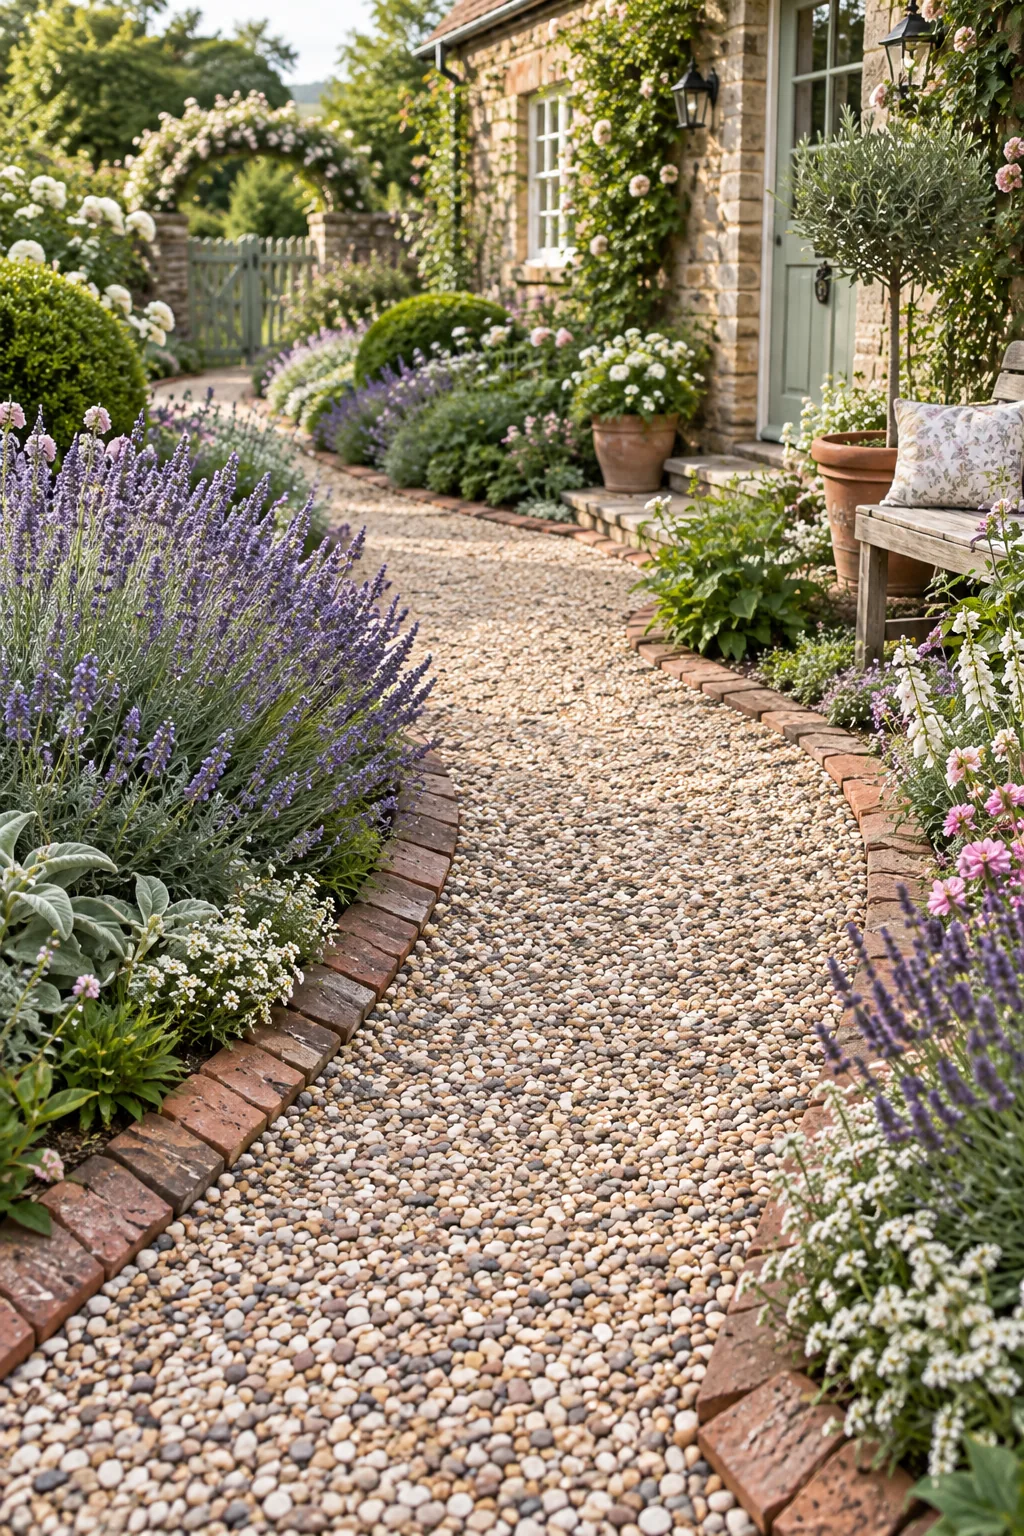
English Cottage Mixed Gravel: Weathered brick edging and a multi-colored stone mix provide the perfect relaxed foundation for spilling cottage garden perennials.
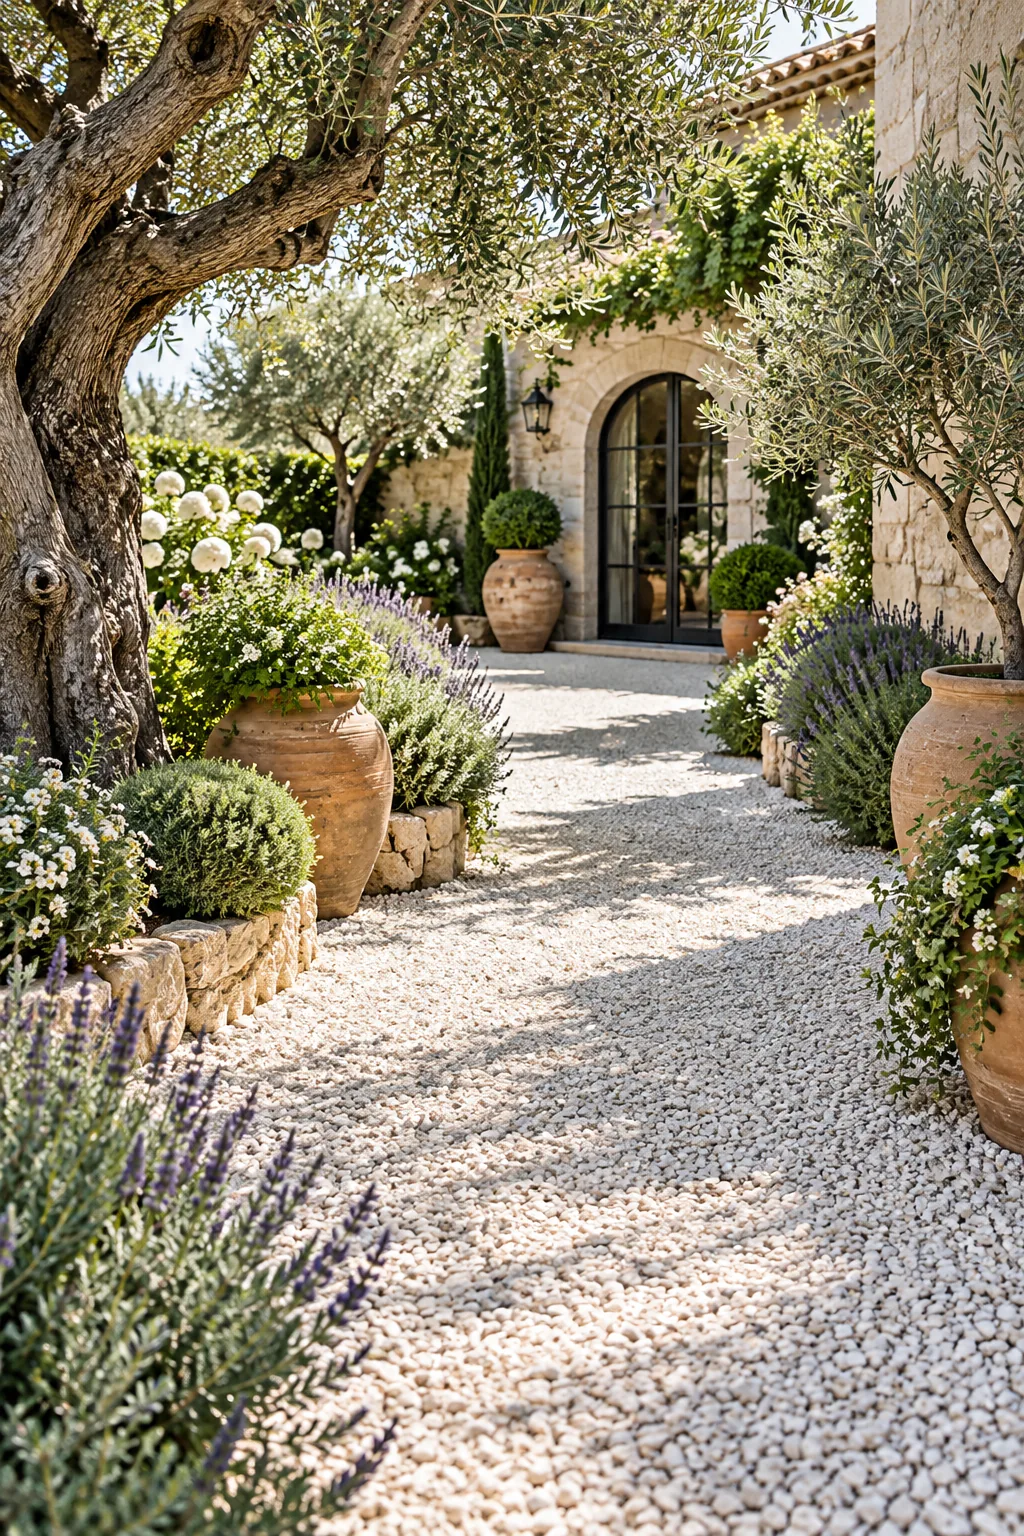
Mediterranean White Limestone Walkway: Bright white crushed limestone reflects the sun and pairs beautifully with classic terracotta pots for a warm Mediterranean feel.
Long-Term Pathway Maintenance
Keep the pathway clean by using a flexible leaf rake that glides lightly over the stones without digging into the compacted base underneath.
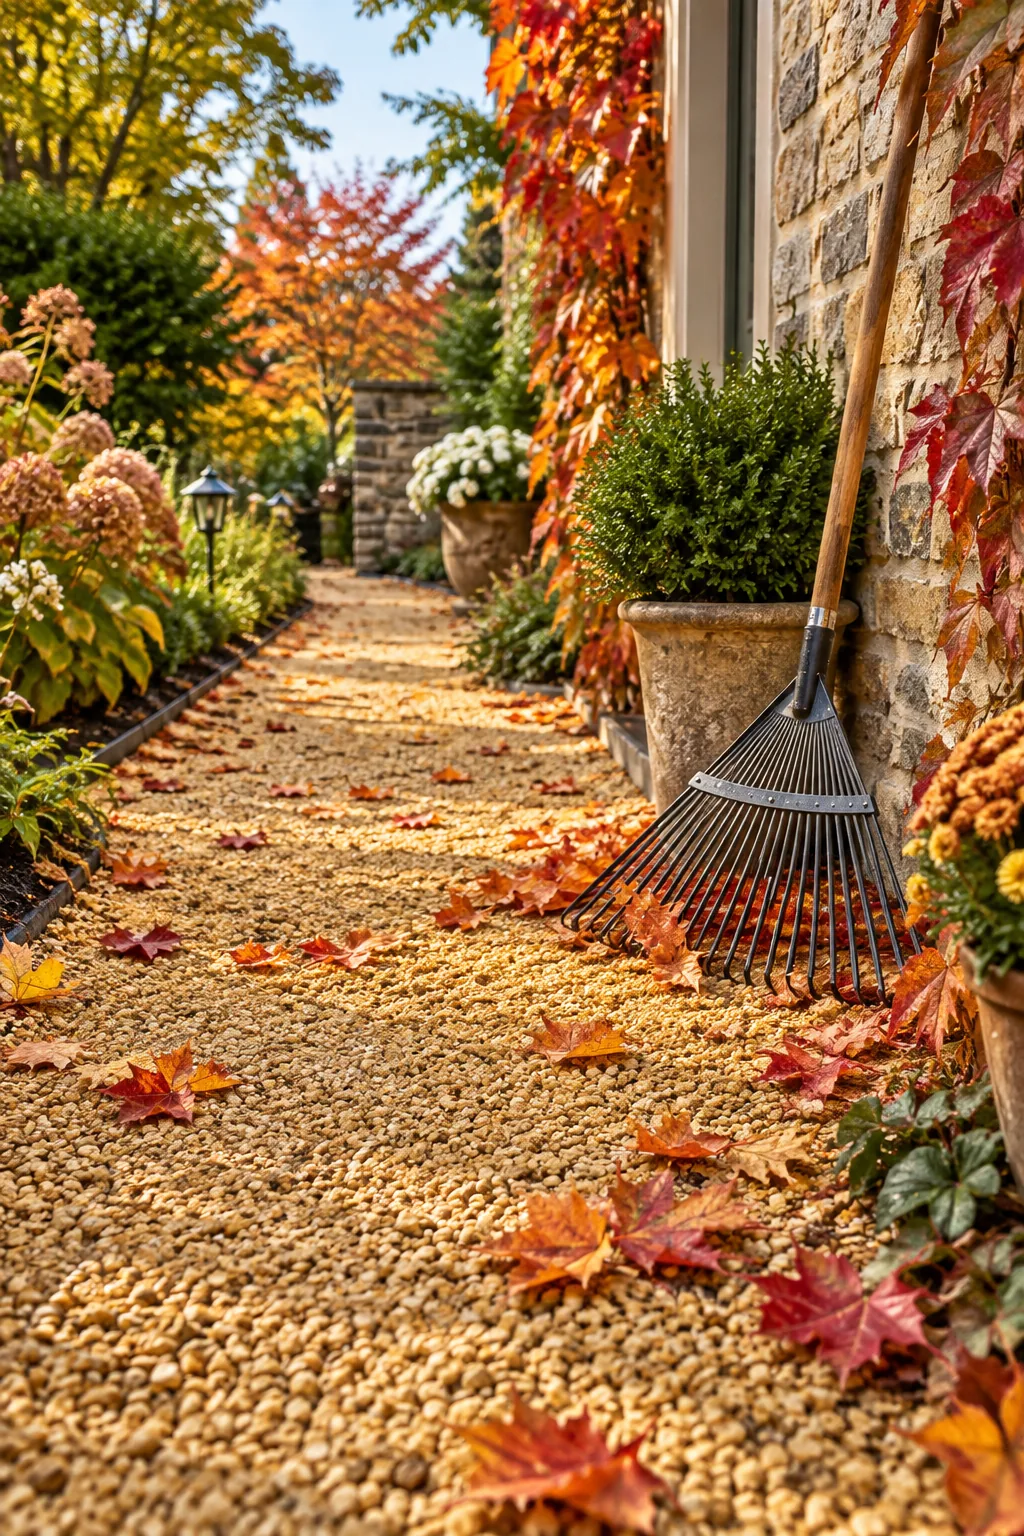
Because you intentionally kept the decorative layer thin, simple maintenance techniques will keep the pathway clear of debris without disturbing the carefully measured stone layers. You will only need to top up sparse spots with a few bags of matching gravel every couple of years.