
Framed Sheet Metal Fence Plans: The 8-Foot Bay Cut List
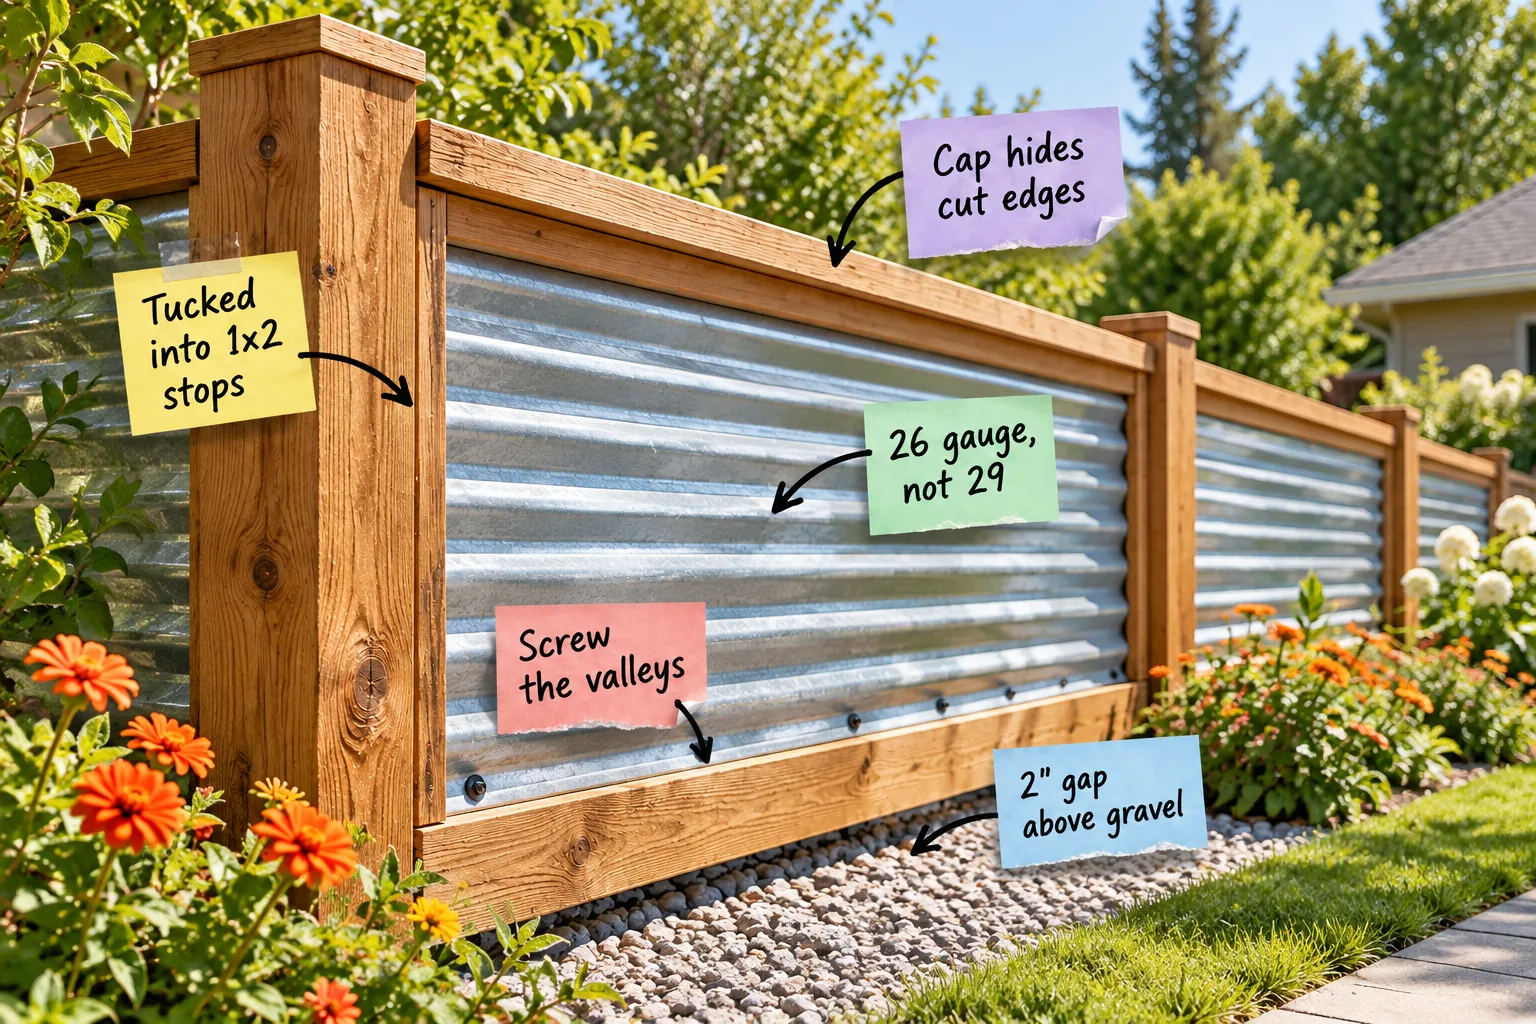
Grab your printable cut list and 8-step build sequence to construct a clean, modern corrugated privacy fence. You will be able to purchase the exact materials needed and follow my proven method to build a stunning framed sheet metal fence bay.
Upgrading to 26-Gauge Panels
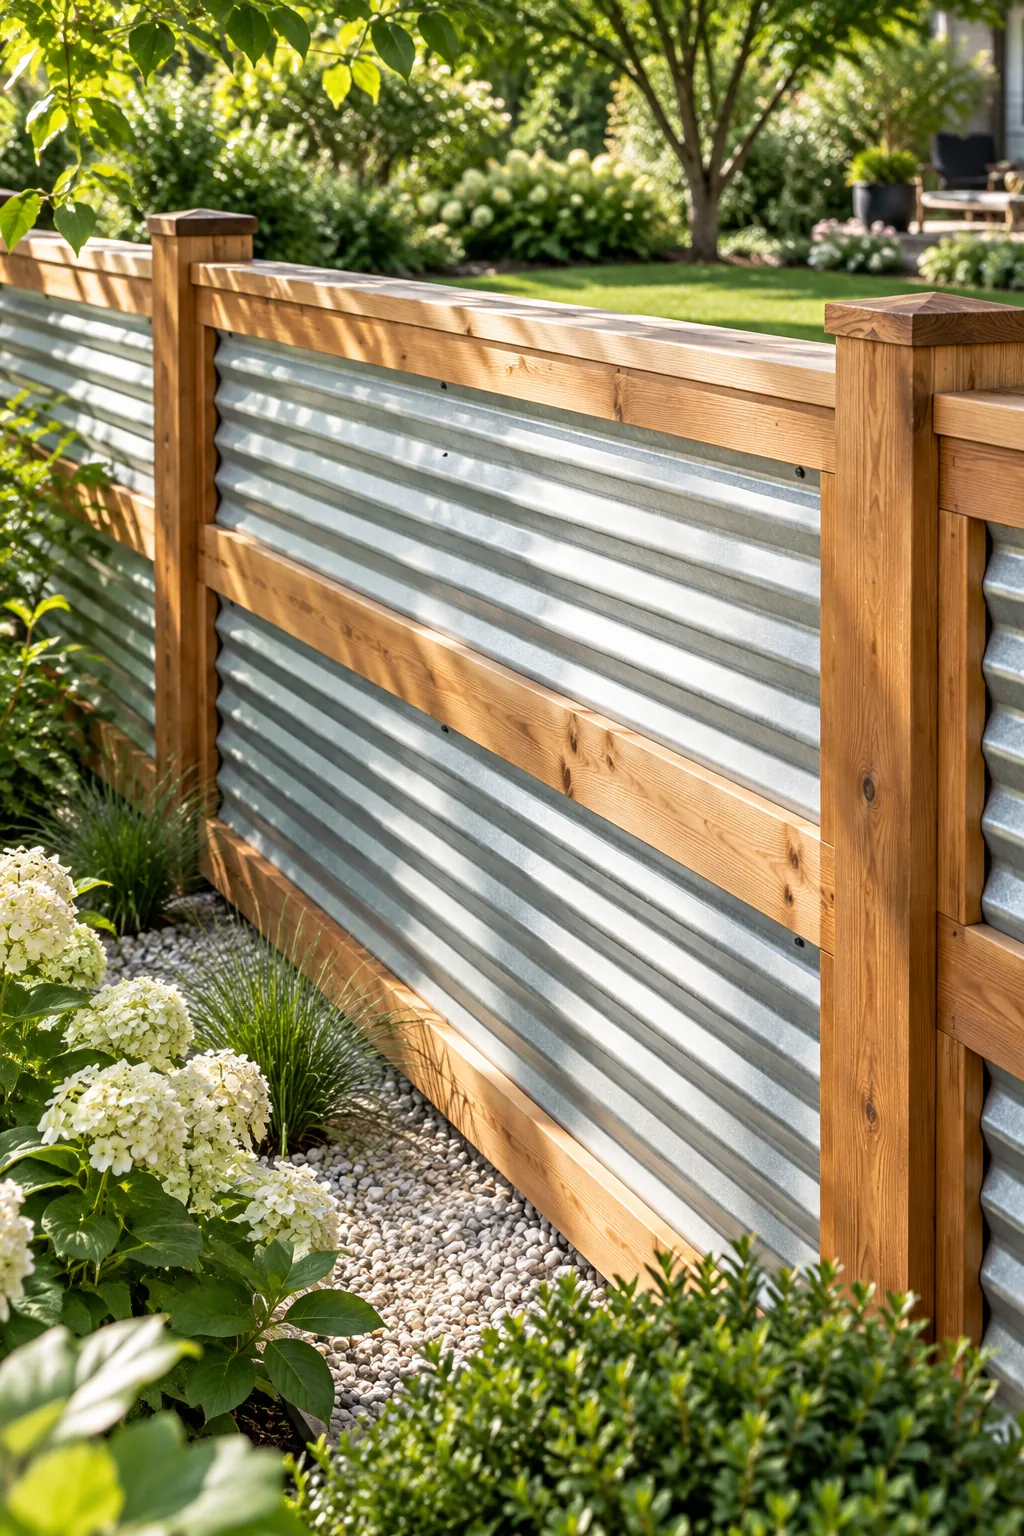
Start with the right material specification by selecting 26 gauge, not 29-gauge standard roofing sheets. The thicker steel provides the necessary rigidity to span the fence bay without flexing, rattling in the wind, or denting from stray yard debris.
Comparing Corrugated Metal Profiles
Understanding the structural differences in metal profiles helps you choose the perfect material for your privacy fence. Upgrading your steel thickness ensures the panels withstand daily wear and tear.
| Steel Gauge | Relative Thickness | Ideal Application | Dent Resistance |
|---|---|---|---|
| 29 Gauge | Thinnest | Shed roofs | Low |
| 26 Gauge | Medium | Privacy fences | High |
| 24 Gauge | Thickest | Commercial walls | Maximum |
Establishing the 2-Inch Ground Gap
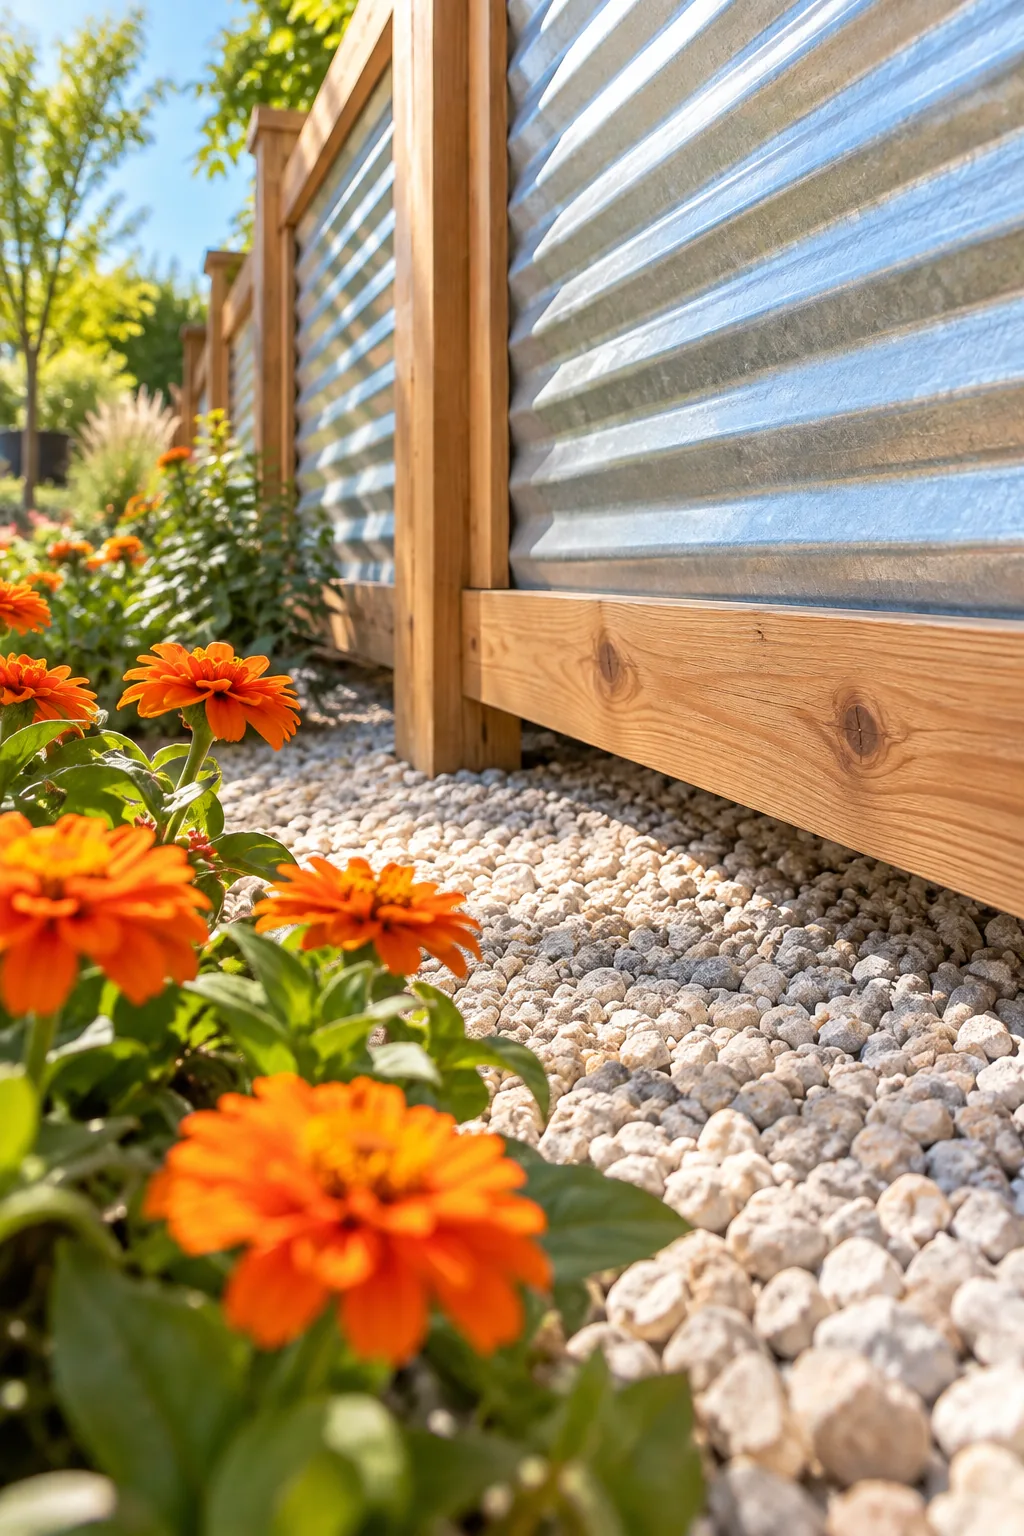
Set the bottom 2×4 cedar rail to maintain a strict 2″ gap above gravel borders. When I built my first metal fence here in Austin, skipping this clearance meant standing water quickly wicked up, so this precise measurement prevents premature rot.
Framing with Cedar 1×2 Stops
Hide the sharp, jagged vertical cuts of the metal panels by keeping them tucked into 1×2 stops made of cedar. I learned the hard way that exposed metal edges are a hazard for kids, but this secure inner frame locks everything away safely.
Securing the Valleys
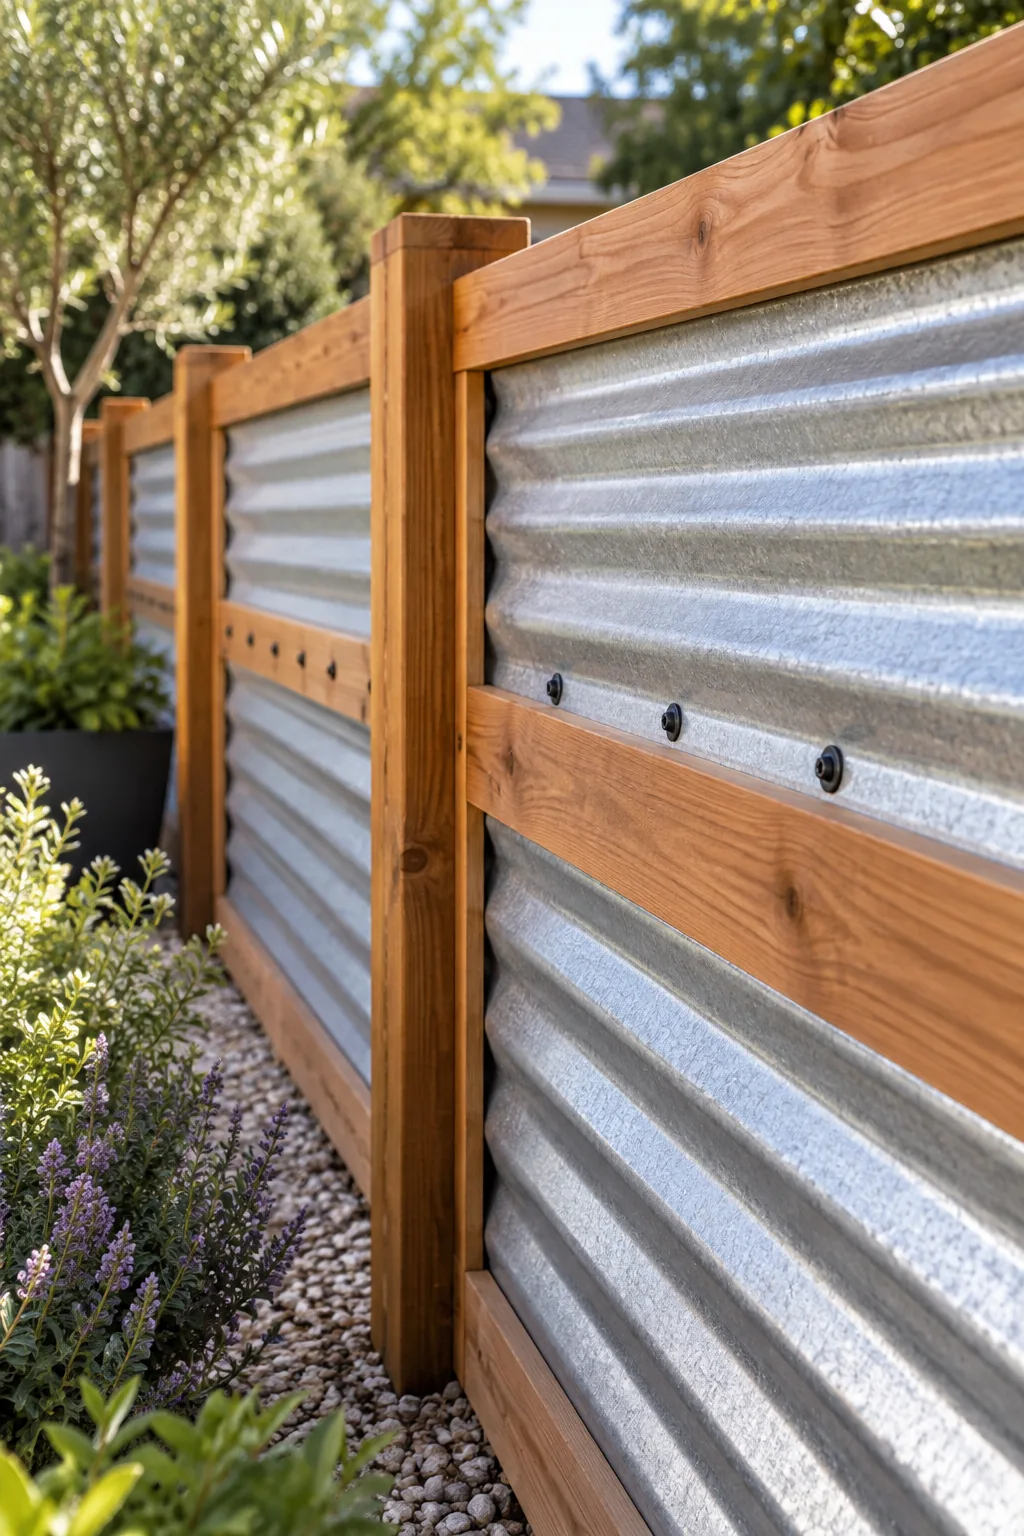
Fasten the corrugated panels to the horizontal cedar mid-rail by driving screws exclusively into the flat valleys of the metal. Always screw the valleys flush against the wood backing to ensure a tight grip without warping the corrugated profile.
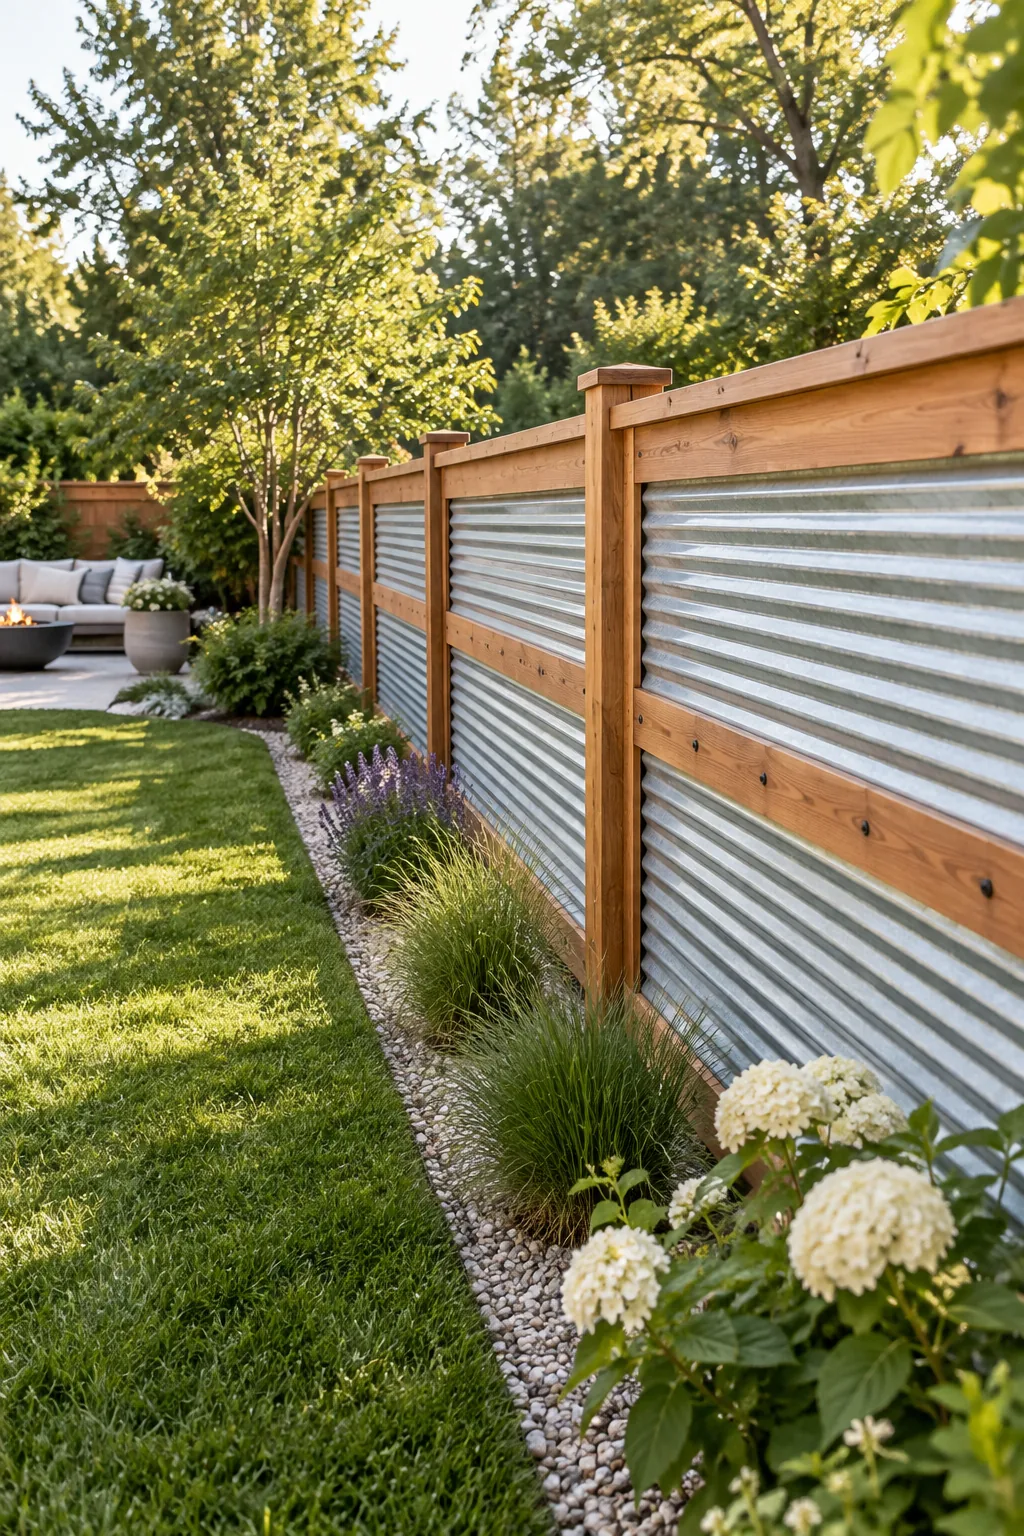
Even with the right hardware, improper installation can ruin the look and longevity of your fence panels. Watch out for these common fastening errors when securing the metal to the mid-rail.
Adding the Flat Cedar Cap Rail
Finish the top of the fence with a flat 2×6 cedar cap rail that runs continuously over the posts and panels. A sturdy cap hides cut edges while protecting the vertical posts, a trick that saved my own fence during heavy spring downpours.
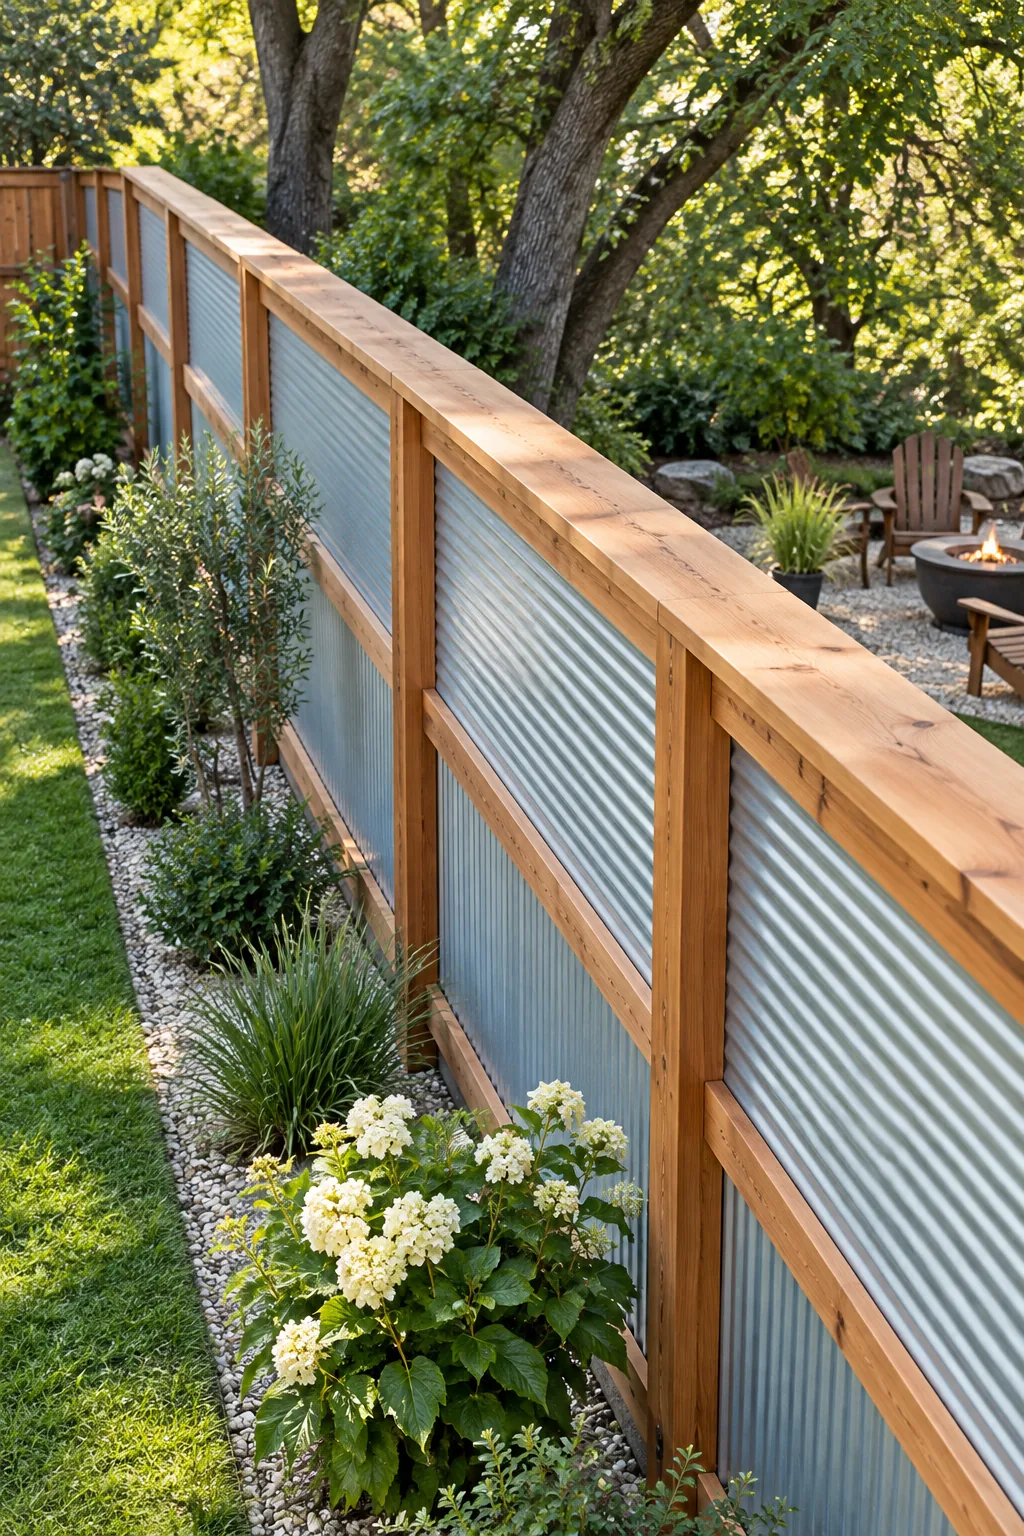
Managing Panel Overlaps
Because standard corrugated panels are typically 26 or 36 inches wide, an 8-foot bay requires overlapping multiple sheets. Overlap the panels by one full corrugation rib, facing the seam away from the primary viewing angle of your patio to make the joint virtually invisible.
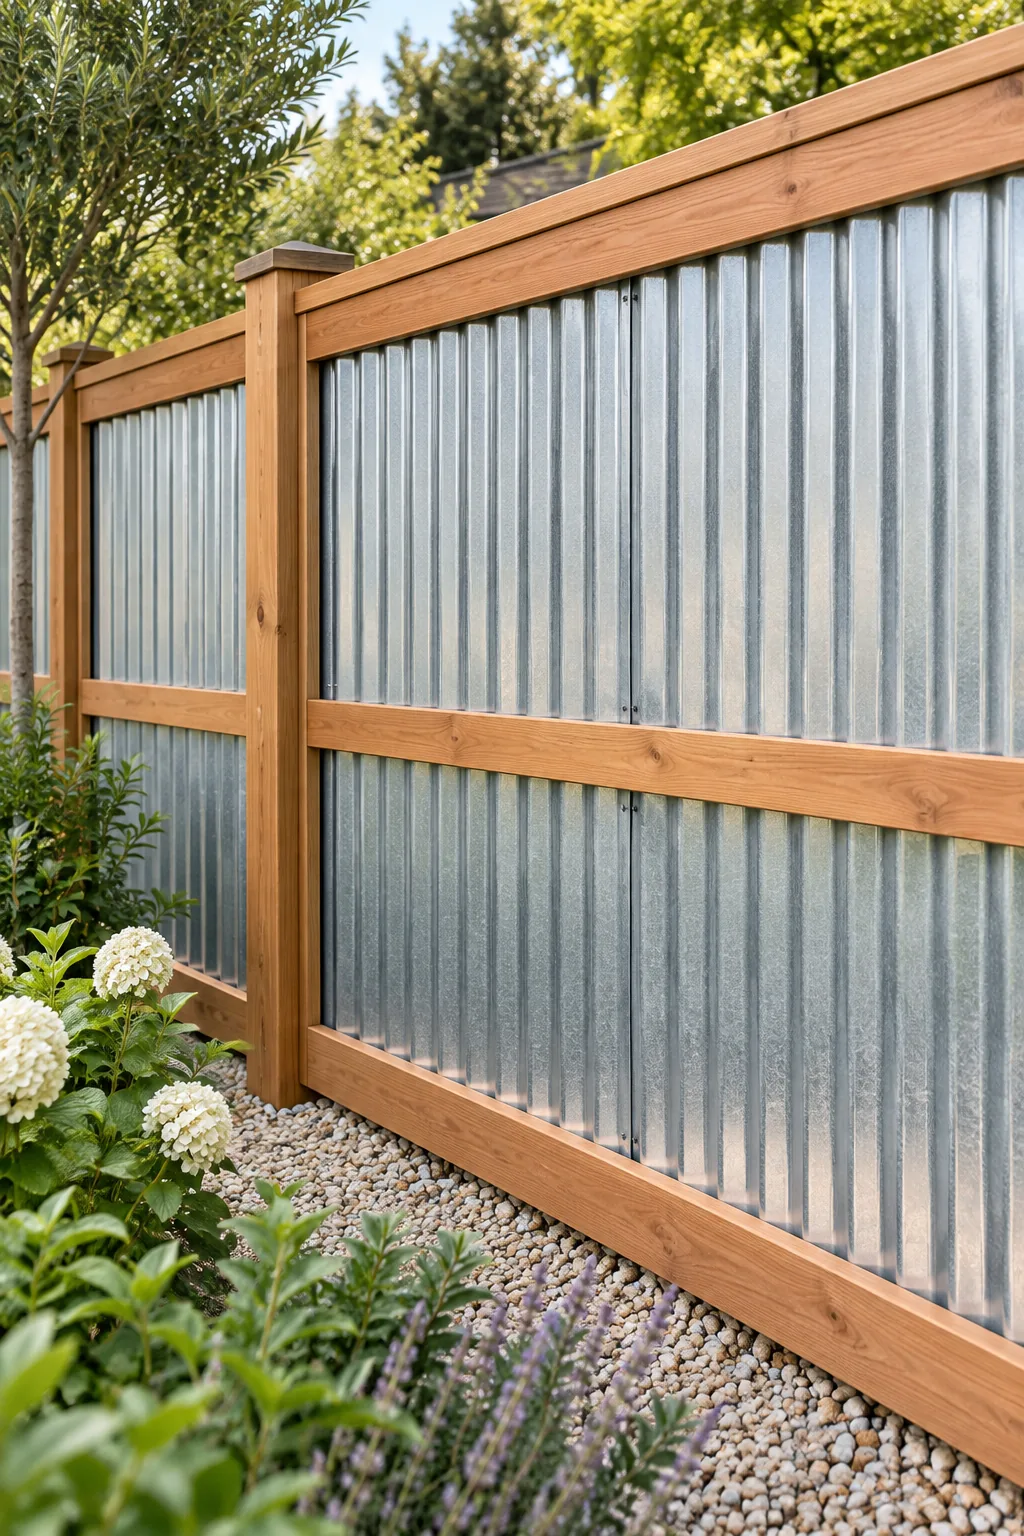
Orienting the Corrugation Ribs
Always run the corrugated ribs vertically rather than horizontally across the fence bay. This vertical orientation prevents dust, leaves, and rainwater from pooling in the metal channels over time.
Choosing the Right Fasteners
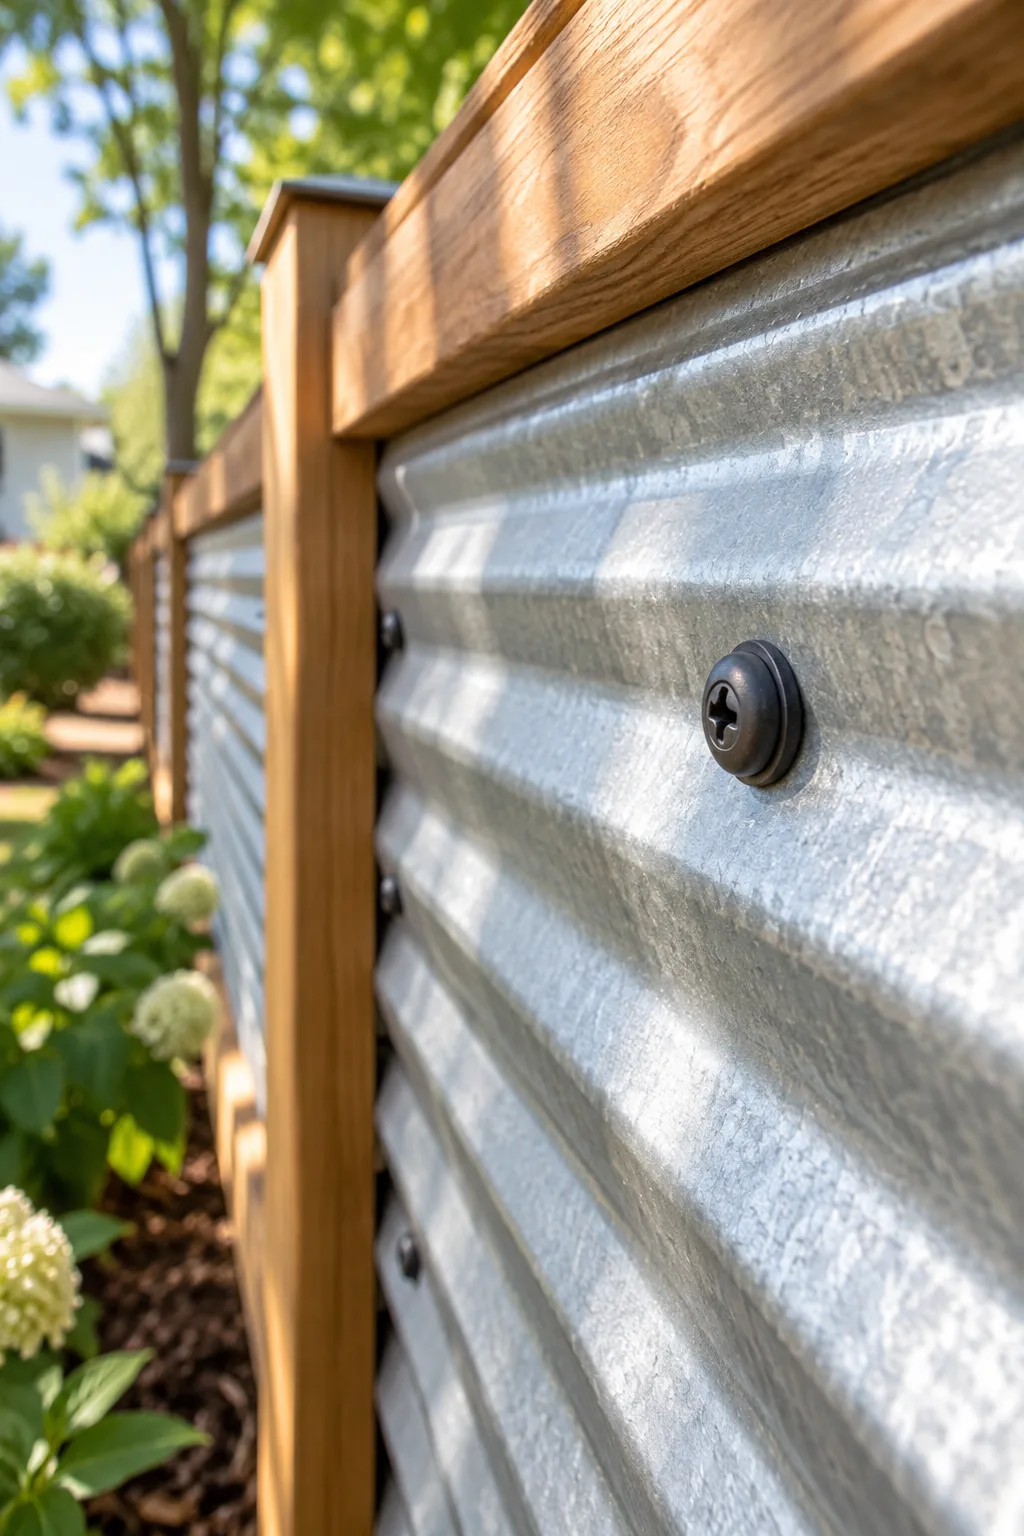
Use 1-inch exterior-grade black washer-head screws to attach the metal to the wood framing. The integrated neoprene washer creates a watertight seal over the puncture hole, while the black finish provides a striking modern contrast against the warm cedar.
5 Ways to Style a Corrugated Metal Fence
Explore how different materials and finishes can completely change the mood of this framed panel design.
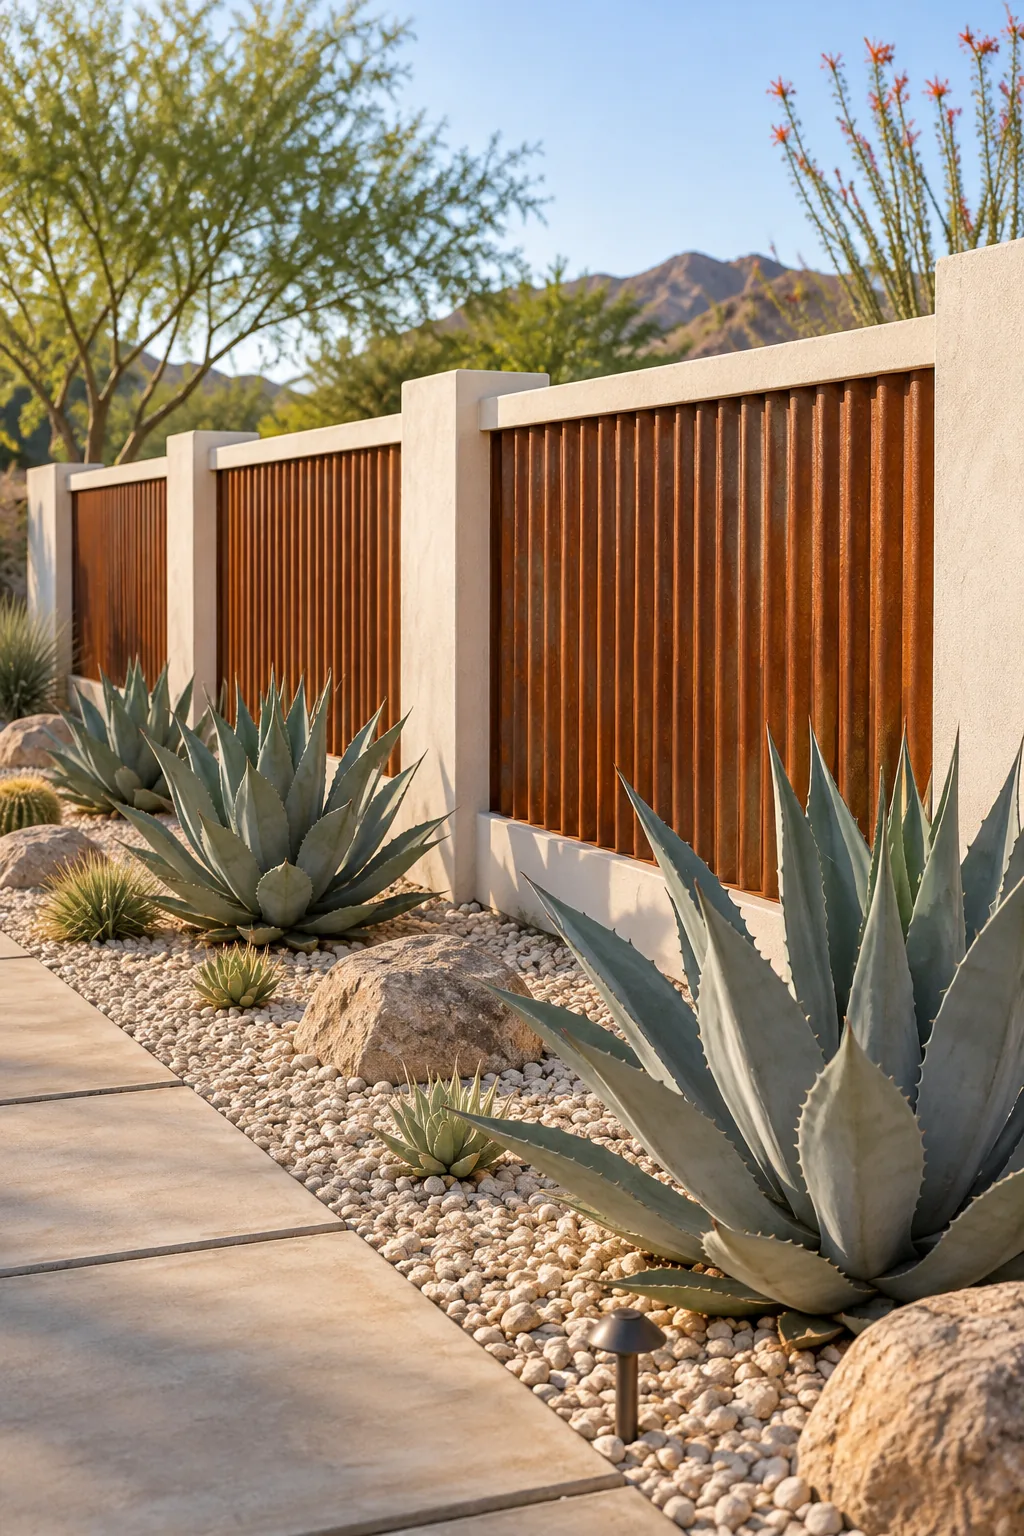
Modern desert corten steel: Rusted Corten steel panels paired with pale stucco framing create a striking, low-maintenance desert oasis.
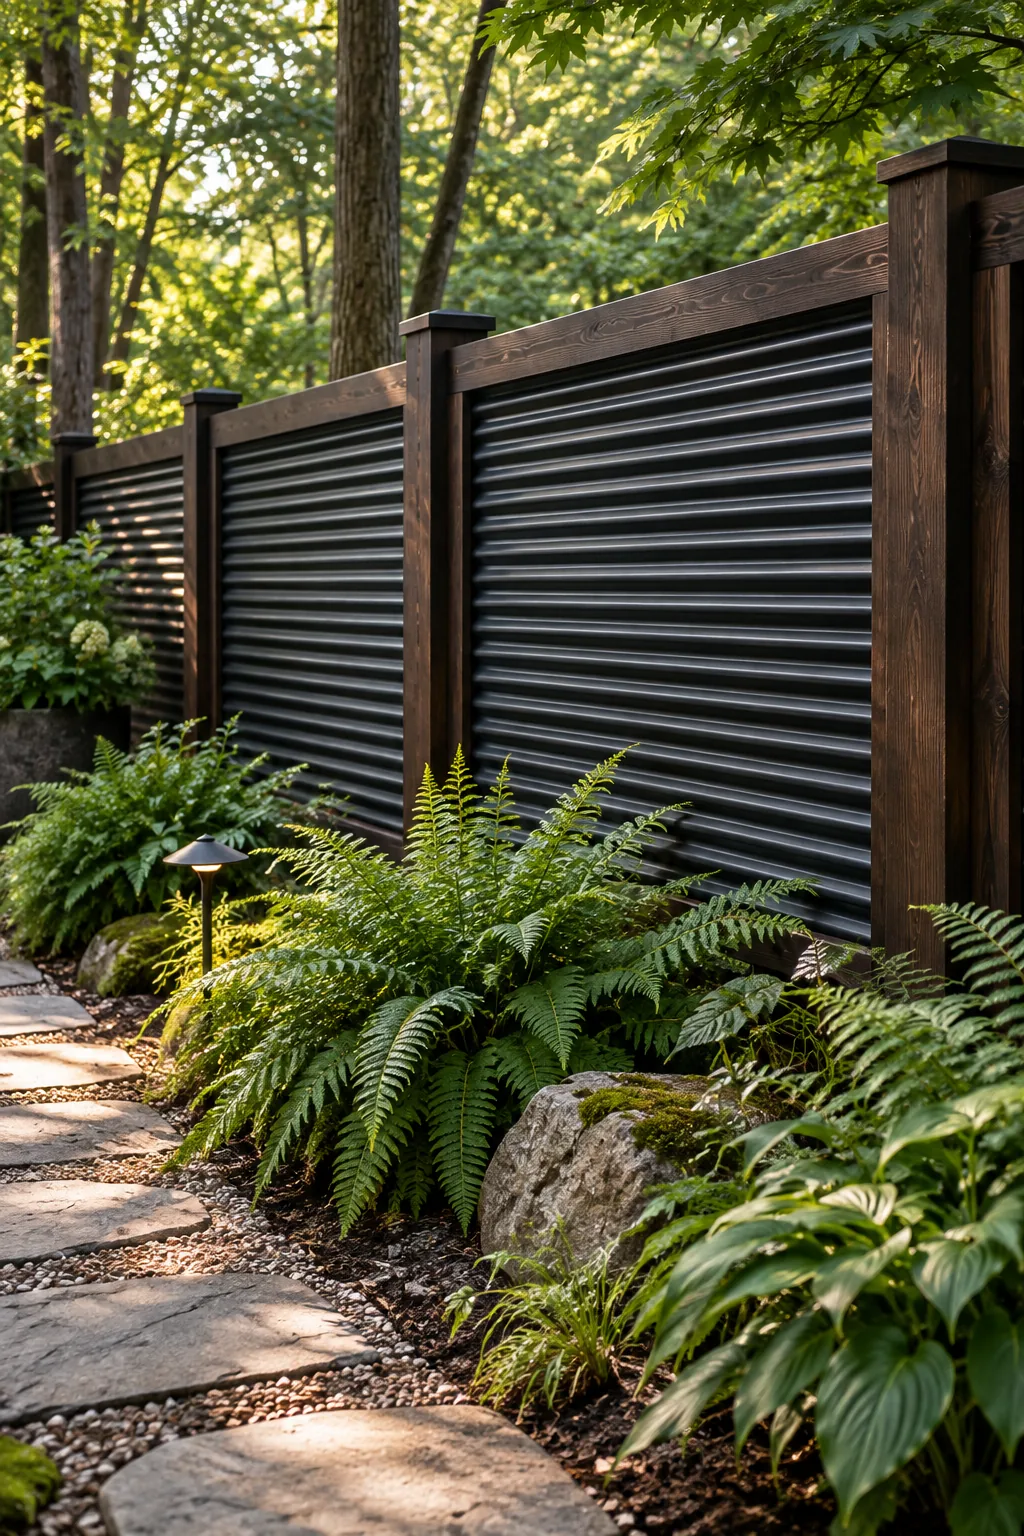
Moody black and dark stain: Matte black metal and dark-stained cedar recede beautifully into the background of a lush woodland garden.
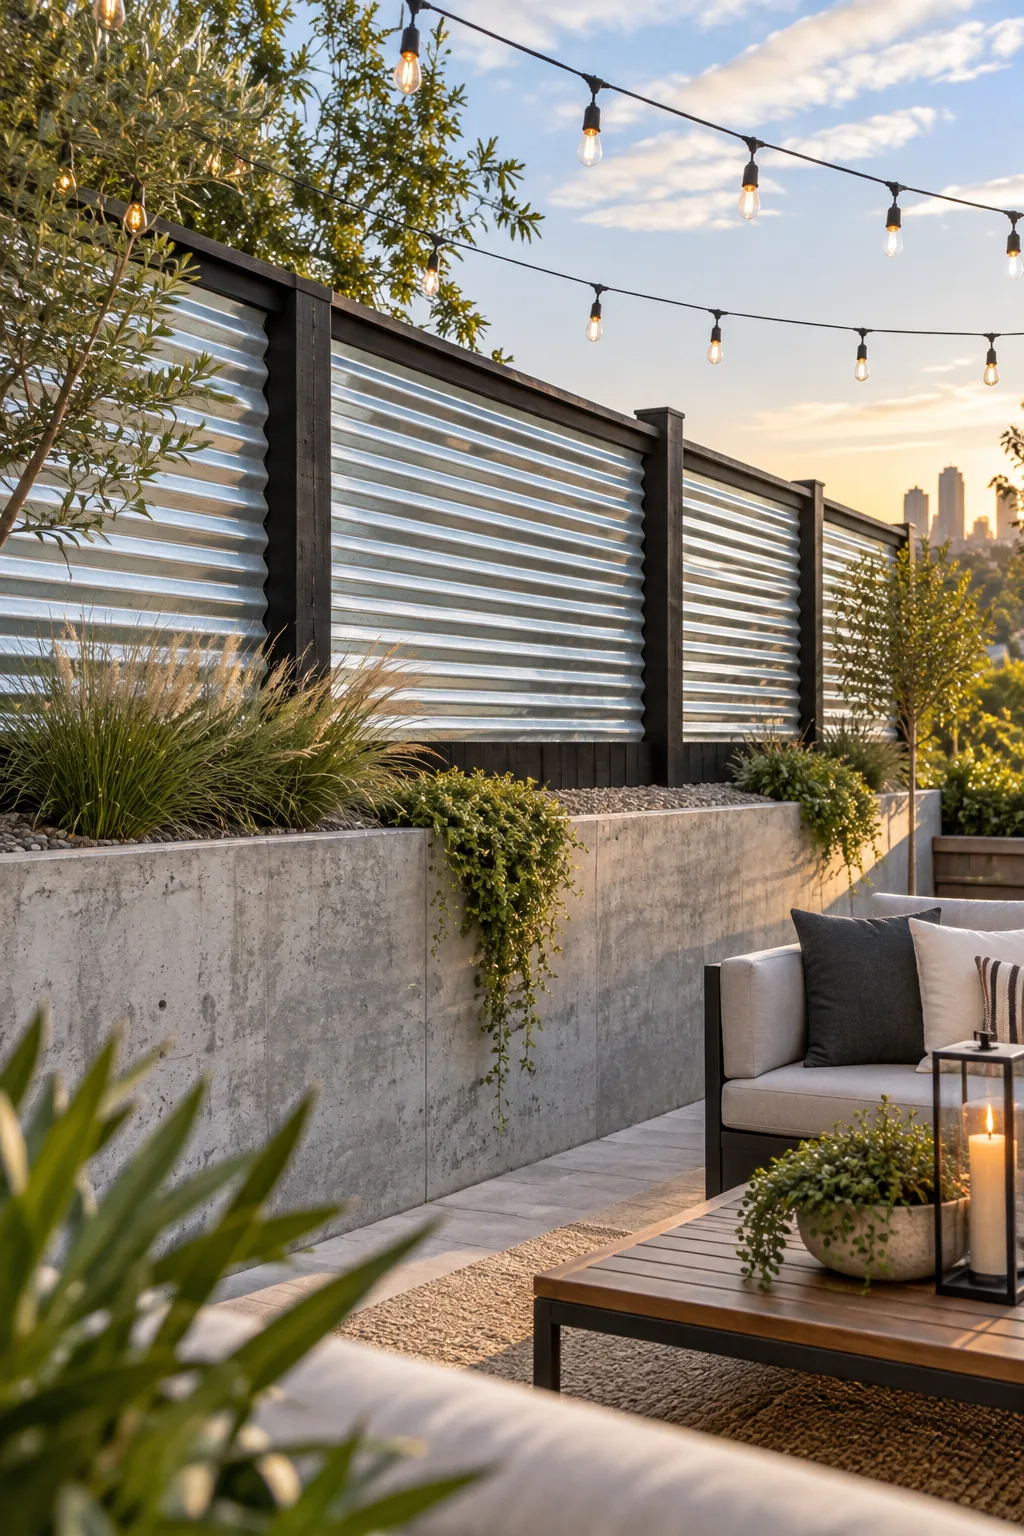
Urban industrial galvanized finish: Bright galvanized steel set against stark black framing delivers an edgy, loft-inspired look for urban patios.
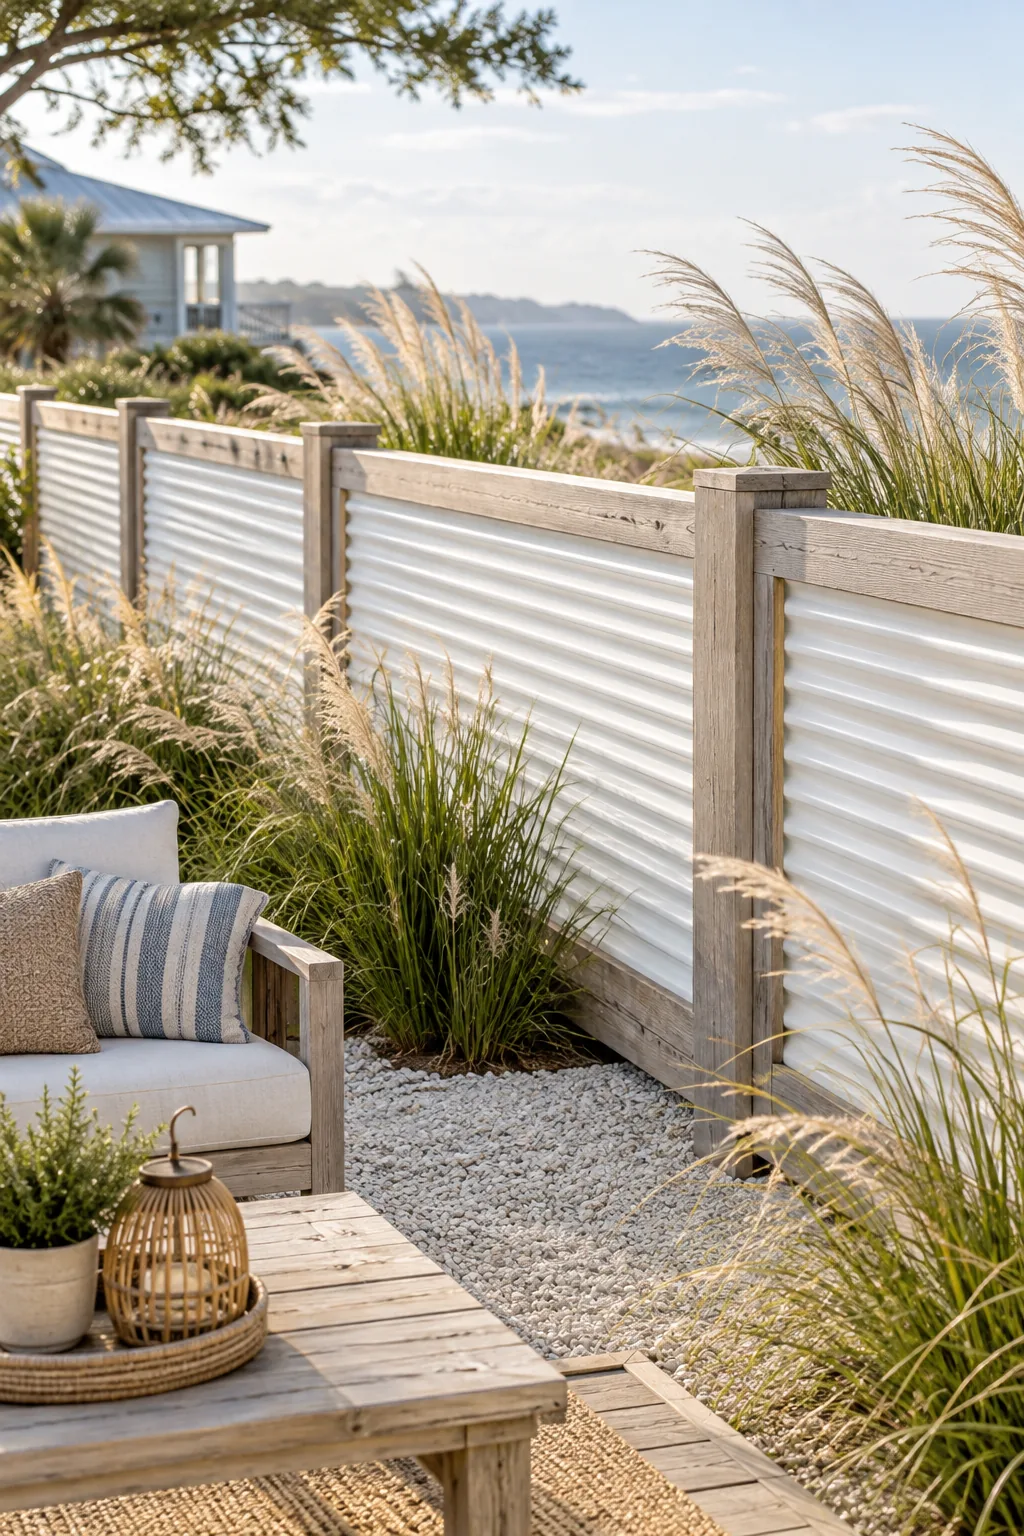
Coastal white painted corrugated: White painted panels and bleached wood framing reflect the sunlight for a bright, airy coastal retreat.
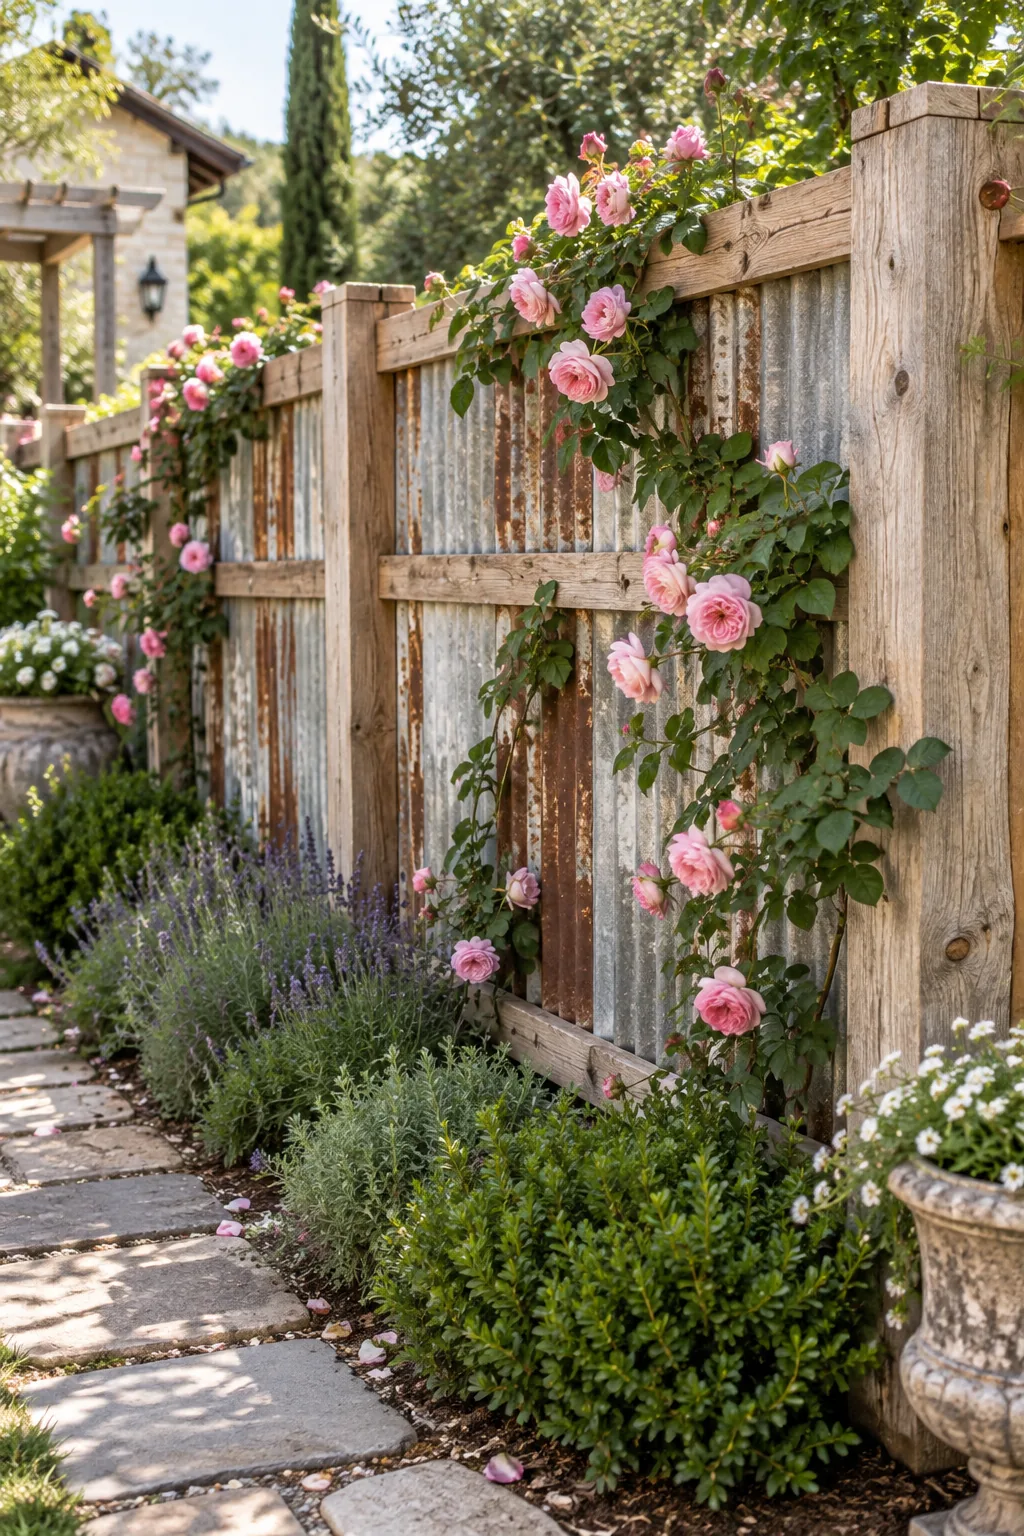
Rustic reclaimed tin and pine: Weathered reclaimed tin and rough-sawn pine provide instant history and texture to a cottage garden.
The 8-Foot Bay Cut List and Build Sequence
For one standard 8-foot bay, you will need two 4x4x96″ cedar posts, three 2x4x96″ rails, one 2x6x96″ cap rail, six 1x2x96″ stops, and three 36″x72″ 26-gauge panels to complete this sequence.
- Set posts at 96 inches on center.
- Install the bottom and top rails.
- Attach the back 1×2 stops.
- Add the mid-rail for central support.
- Drop in the metal panels.
- Secure the valleys with washer-head screws.
- Attach the front 1×2 stops.
- Finish with the top cap rail.
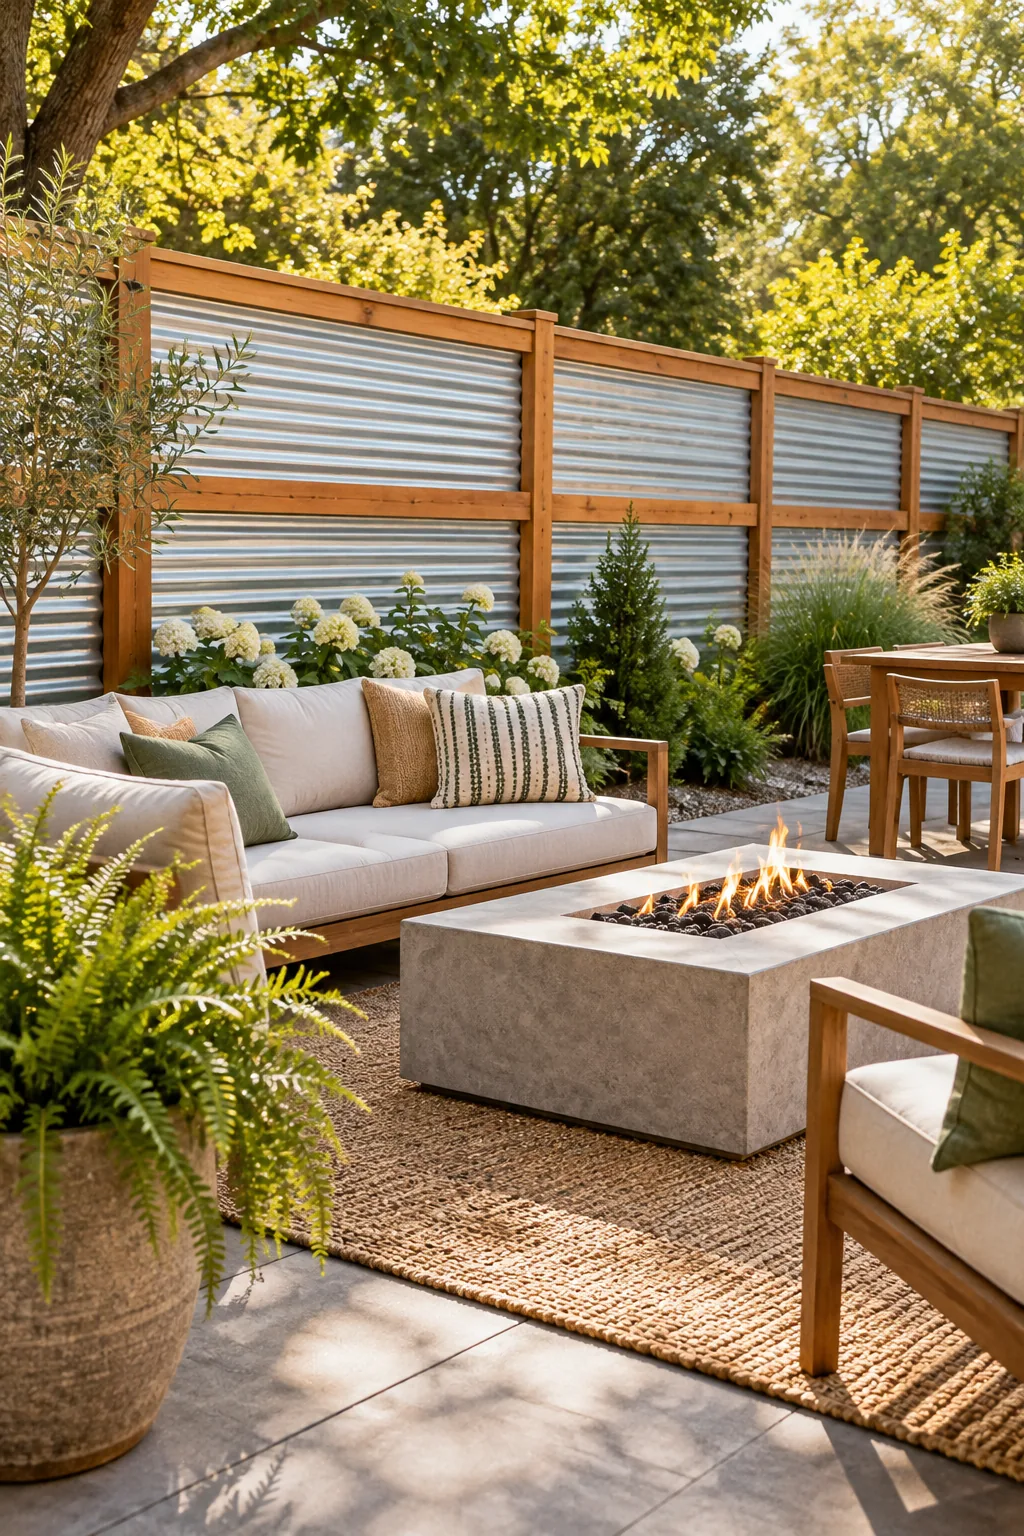
Seeing the fully completed 8-foot fence bay in a landscape shows exactly how these simple components create a stunning architectural feature.
Before you head to the lumberyard with your cut list, take a moment to verify your site conditions and prep your materials for a smooth build.