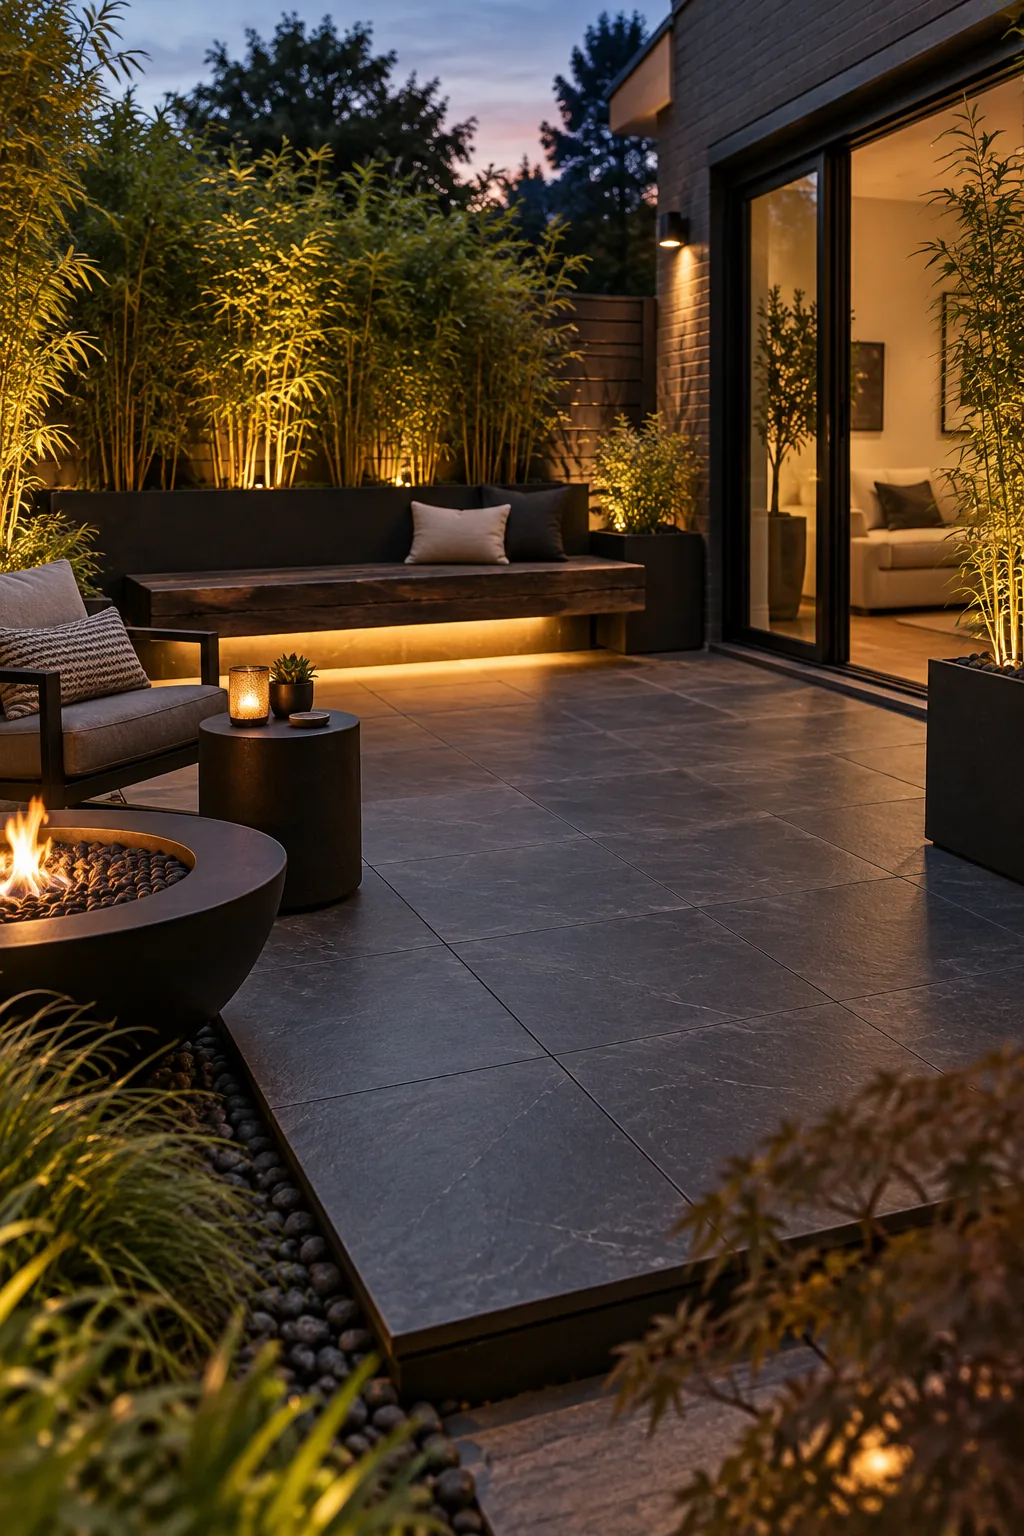
Build a Contemporary Modern Patio over an Old Concrete Slab
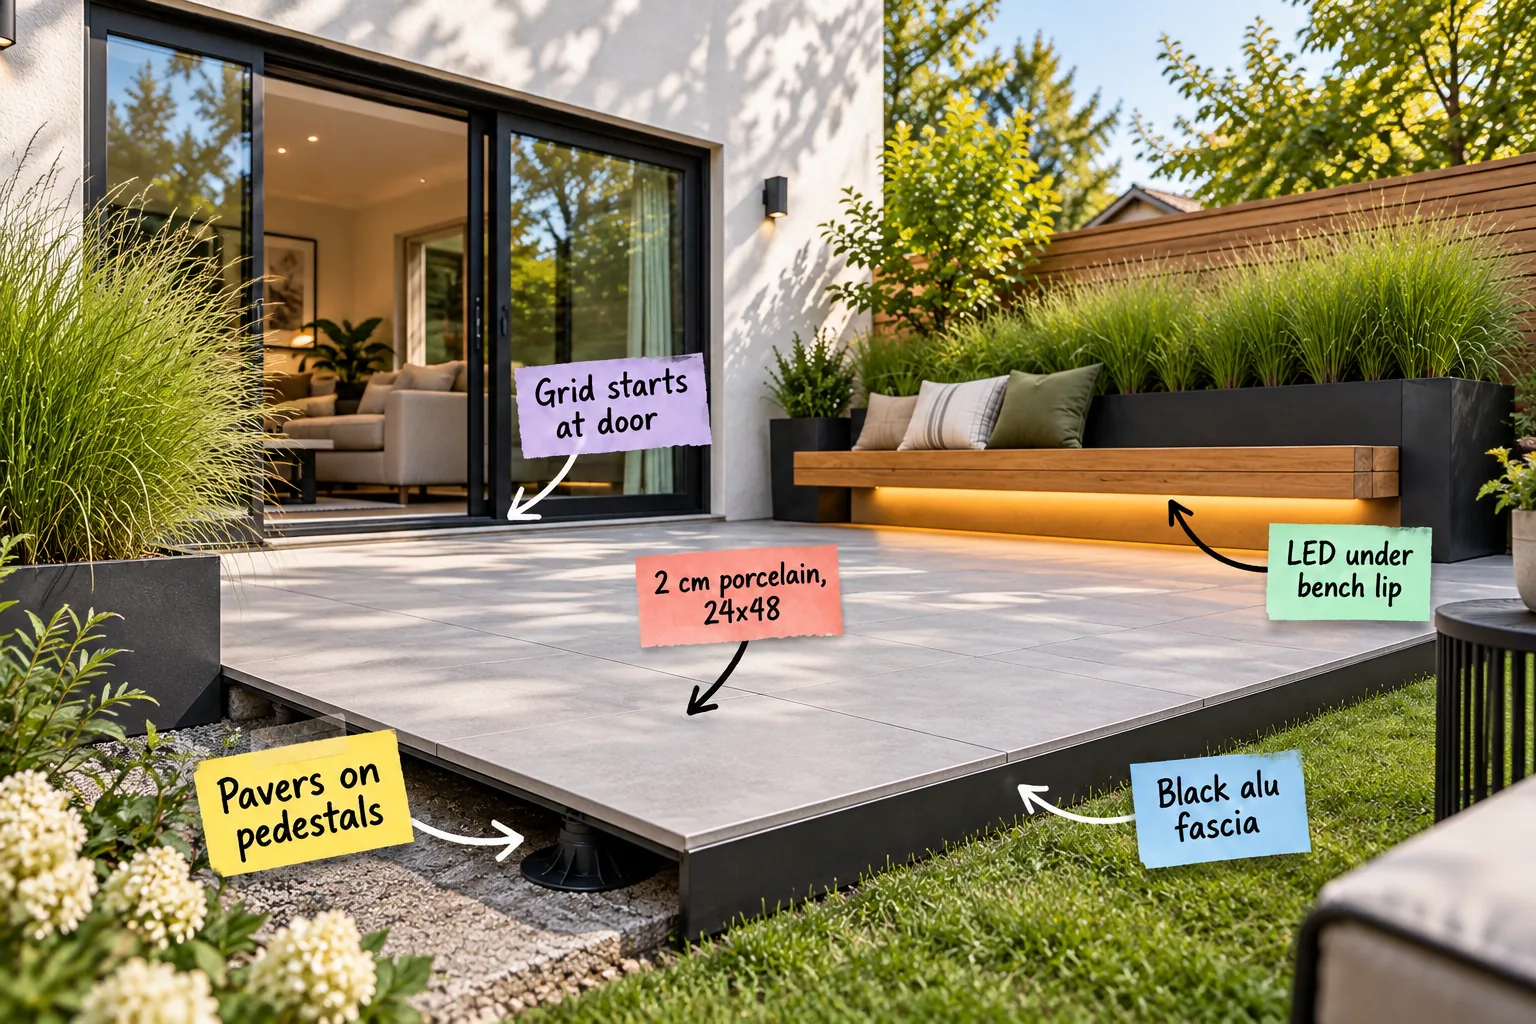
You can absolutely build a gorgeous contemporary modern patio right over your old concrete using our pedestal paver planning sheet. Grab the two-page printable to calculate your perfect heights, check your drainage fall, and order the exact materials you need.
Assessing the Old Concrete Slab
Start by checking your existing concrete for major structural cracks, because a solid foundation ensures the pedestal system won’t settle. When I tackled my own Austin backyard, I spent an hour tapping the old slab with a hammer to find and patch hollow spots.
Minor surface flaking is perfectly fine, but you must confirm the slope drops at least 1/4 inch per foot away from your house. Lay a standard 4-foot level across the concrete to ensure rainwater will drain freely beneath your new patio.
Understanding the Built-In Fall
Your original concrete was likely poured with a slight tilt to prevent water from pooling against your home’s foundation. You must maintain this essential drainage path, which is exactly why an elevated system is superior to mortaring tiles directly to the old surface.
- Locate the highest point of your concrete slab near the exterior wall.
- Measure the total drop at the furthest edge using a string line.
- Verify the water has a clear exit path into your lawn or drains.
Mapping this slope early prevents unexpected water buildup under your beautiful new outdoor living space. The adjustable supports will easily bridge the gap between this angled concrete base and your perfectly flat new floor.
Calculating Your Pedestal Heights
Before ordering materials, use the provided printable planning sheet to map out your patio dimensions and verify your door threshold clearance. The height-measuring grid helps you determine the lowest and highest points of the existing slab to select the correct adjustable pedestal ranges.
Determining the Quantity of Shims
The planning sheet’s quantity chart converts your total square footage into the exact number of pavers, bases, and leveling shims required. Shims are crucial for making micro-adjustments where the concrete surface has slight dips or uneven textures that the main threads cannot catch.
Mapping the Paver Layout
Sketching your grid on paper first allows you to visualize where the partial cuts will fall along the outer edges. You always want to avoid leaving tiny, narrow slivers of porcelain at the visible perimeter, as they look messy and are prone to cracking.
Setting the Adjustable Pedestals
Position the adjustable pedestal bases directly on the old concrete, spacing them to support the corners and center of each large format paver. I found that drawing a chalk grid on my slab first made placing these pavers on pedestals incredibly fast and accurate.
Twist the threaded heads to raise or lower the supports, compensating for the slab’s uneven slope. This creates a perfectly level upper plane while keeping the heavy porcelain safely elevated above any pooling water.
Fine-Tuning the Leveling System
Once the bases are placed, lay a long spirit level across multiple pedestal heads to ensure they all sit on the exact same horizontal plane. Take your time adjusting the threaded collars now, because a perfectly flat sub-structure guarantees a flawless finished surface.
Choosing 2cm Porcelain Pavers
Select outdoor-rated 2 cm porcelain, 24×48 pavers for a durable, stain-resistant surface that easily withstands harsh freeze-thaw cycles. At about 5 cm above the old slab, this pale warm-grey finish completely transforms the space while keeping the overall weight manageable.
Handling Large Format Tiles
Moving these massive porcelain pieces requires care, as each paver can weigh upwards of 35 pounds and is awkward for one person to maneuver. Always use heavy-duty suction cup lifters to safely lower the slabs onto the pedestal tabs without pinching your fingers.
Aligning the Grid at the Door
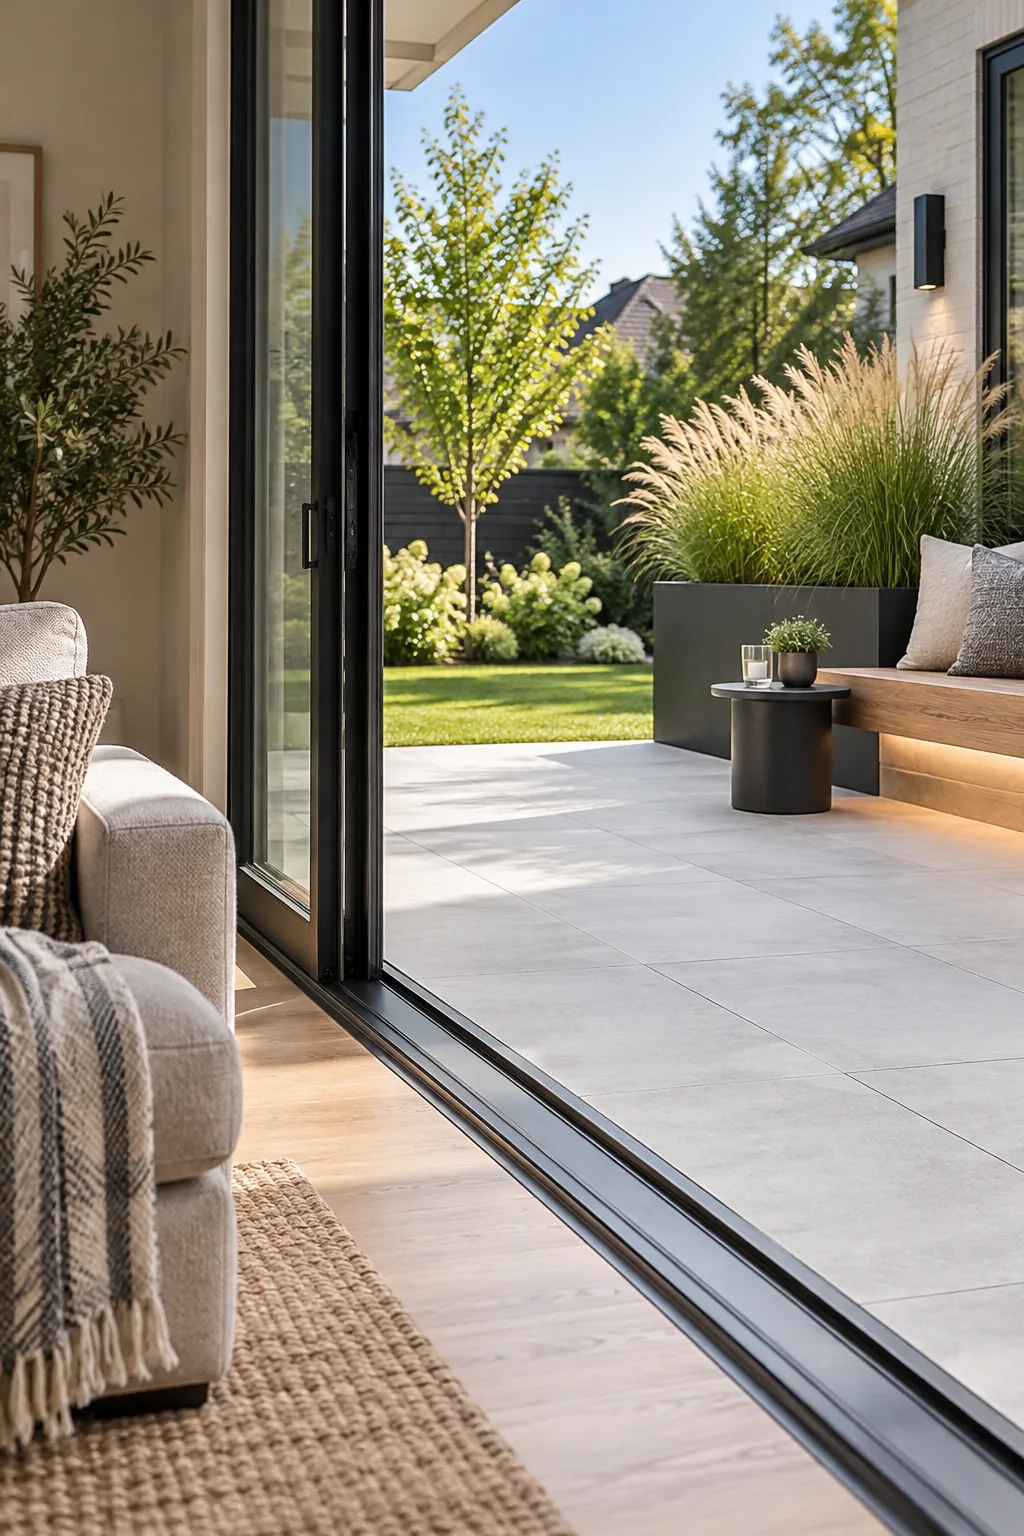
Start laying the porcelain field from your most visible architectural feature by ensuring the grid starts at door frames. Align the first full, uncut paver edge-to-edge with the black sliding door threshold.
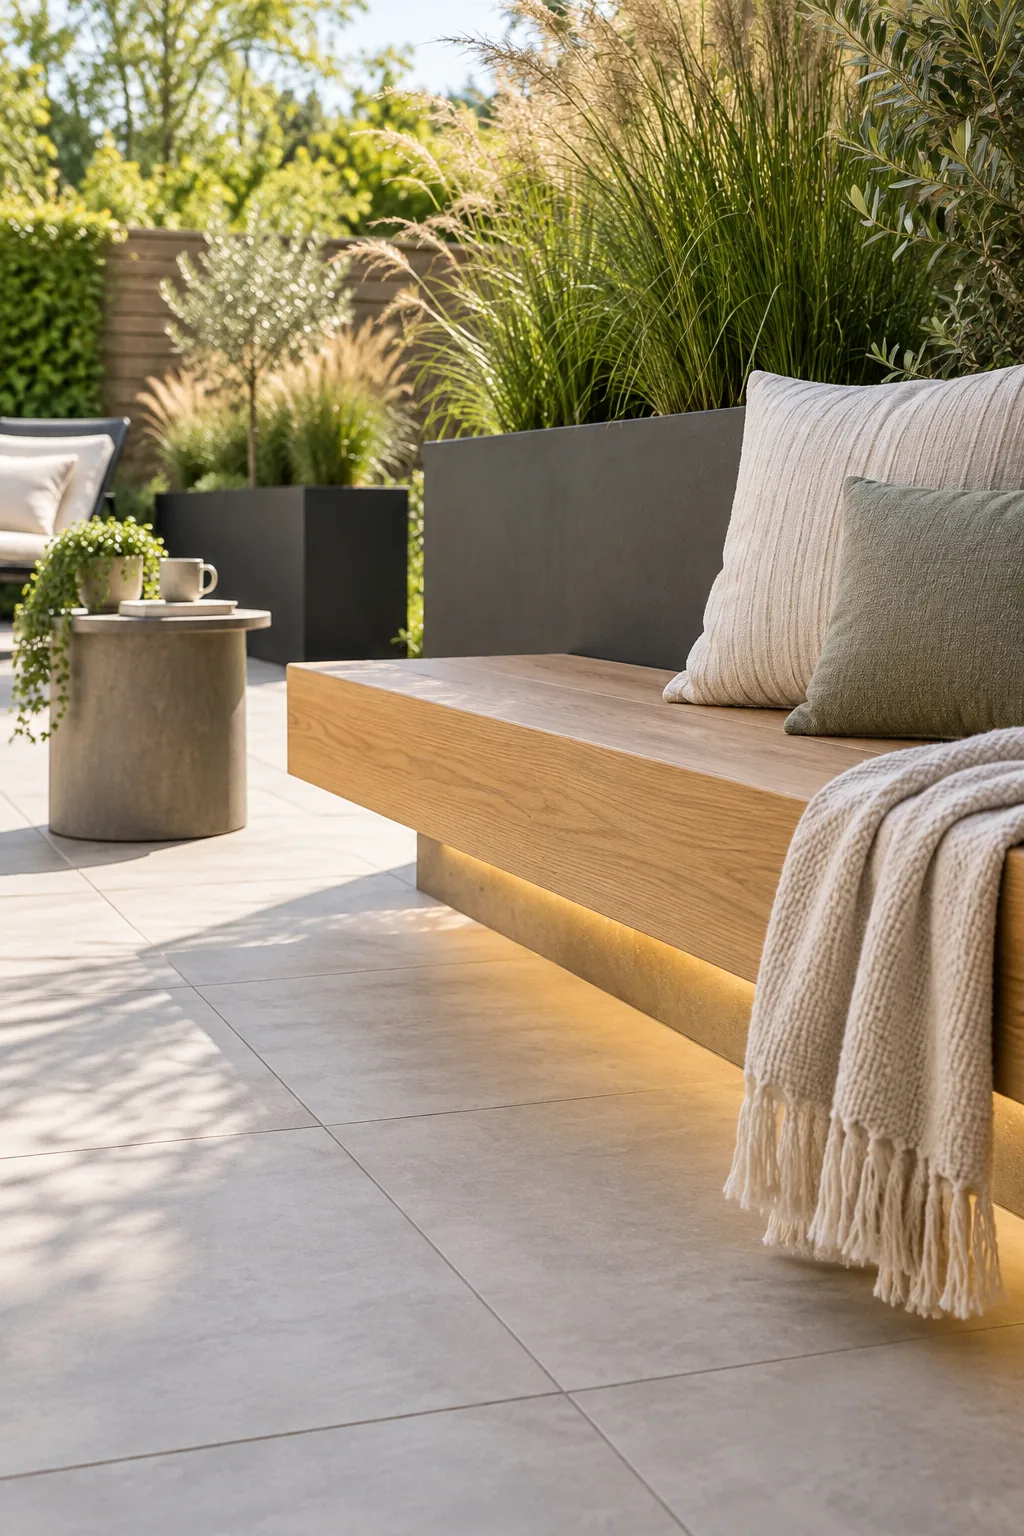
Continuing the joint lines straight out from the door frame makes the patio feel like a seamless, intentional extension of your interior living space. This simple visual trick makes both your indoor room and the outdoor patio appear significantly larger.
Maintaining Consistent Joint Spacing
The built-in spacer tabs on top of each pedestal head automatically create uniform gaps between the porcelain slabs. These precise 4-millimeter shadow lines not only look incredibly sharp, but they also provide the necessary channels for rainwater to slip through to the concrete below.
Cutting Porcelain Pavers Safely
When you reach the perimeter, you will inevitably need to trim several pavers to fit your exact patio dimensions. Rent a professional-grade wet saw equipped with a continuous-rim diamond blade to slice through the dense porcelain without chipping the elegant pale grey finish.
Concealing the Edge with Aluminum Fascia
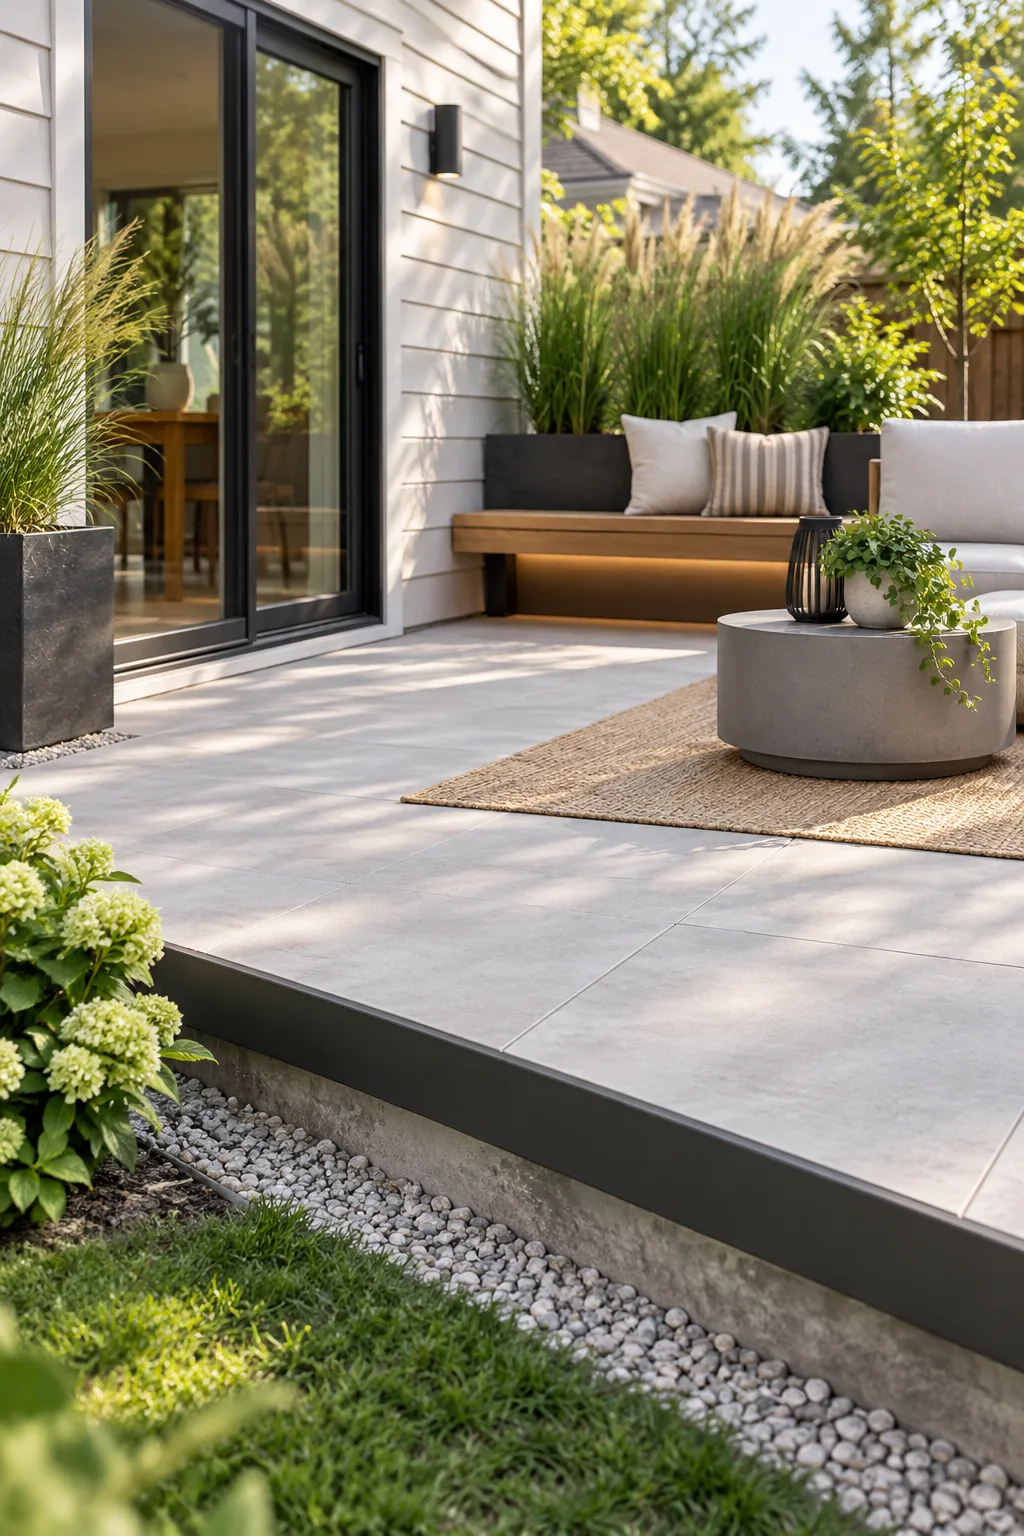
Finish the exposed sides of your raised patio with a slim, matte black alu fascia band. This metal edge wraps the perimeter where the pavers meet the lawn, completely hiding the pedestal cavity and the old grey concrete slab from view.
Securing the Perimeter Clips
Attach specialized edge clips to the outer pedestals before snapping the metal fascia securely into place. These hidden stainless steel fasteners grip the aluminum tightly without requiring any visible screws, preserving the sleek, uninterrupted border of your modern outdoor retreat.
Managing Water Runoff at the Lawn
Ensure the soil bordering your new metal fascia slopes gently away from the patio structure to prevent muddy puddles from forming. Adding a shallow trench filled with decorative river rock right at the edge provides an attractive and effective transition zone for heavy rain.
Building the Floating Oak Bench
Construct a floating bench using light-oak timbers to add warm, natural texture against the pale grey porcelain. When I built mine, mounting the bench supports directly to the adjacent planter wall saved me from having to drill through my beautiful new pavers.
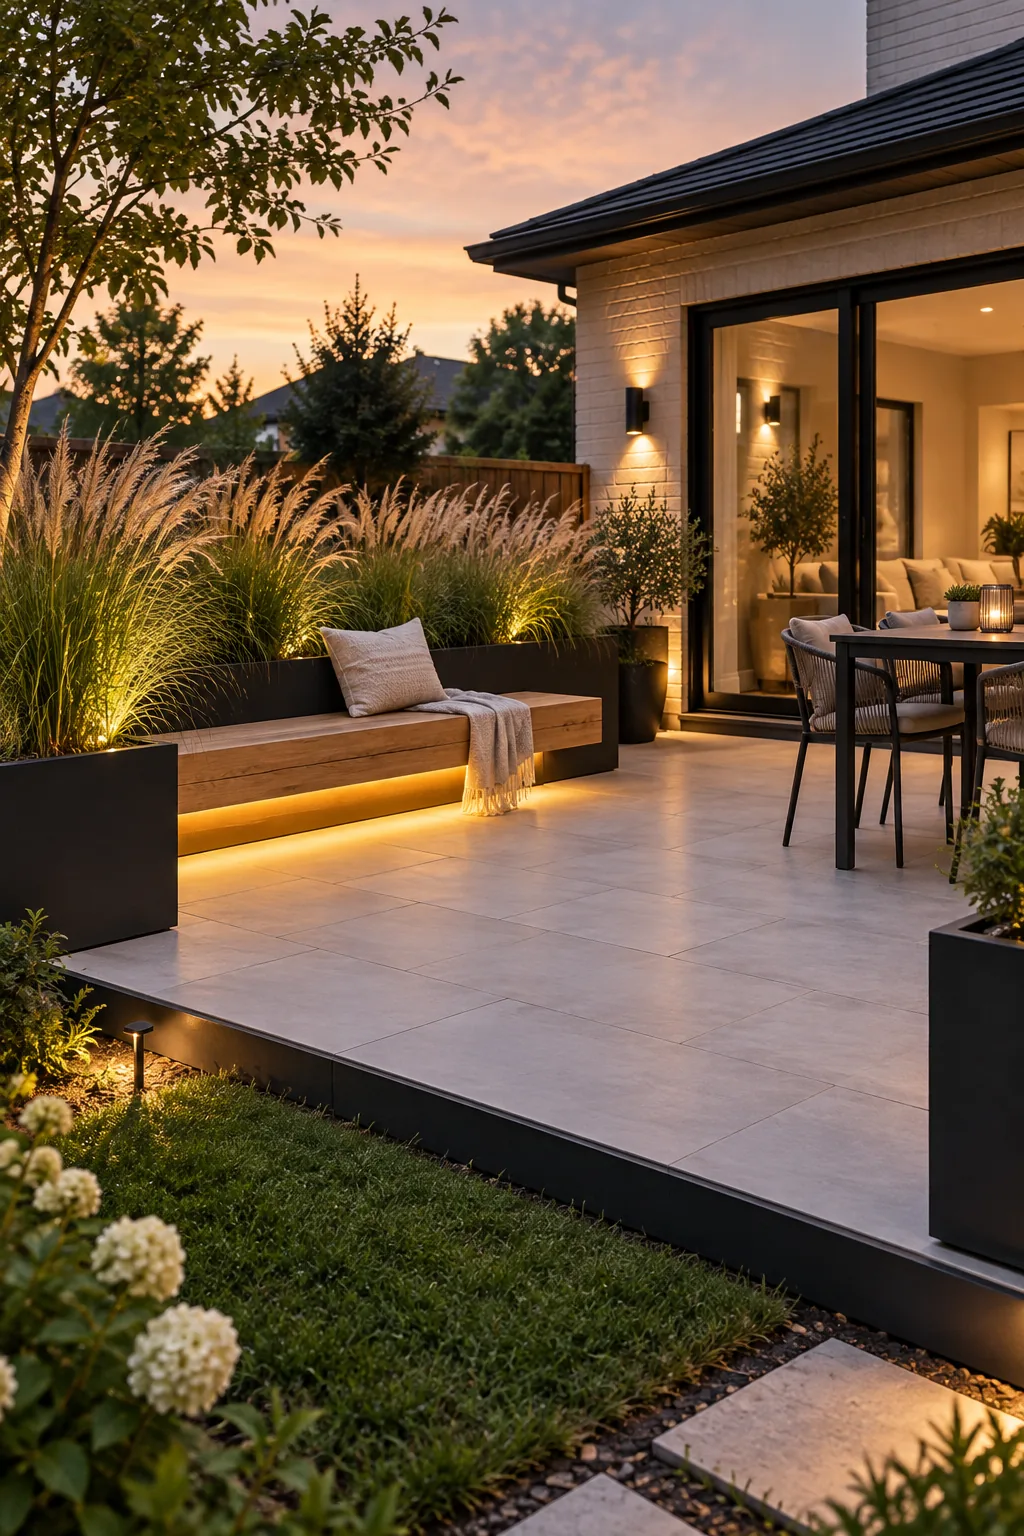
Leaving the space underneath completely open keeps the patio floor clear and enhances the contemporary, minimalist aesthetic. This cantilevered design provides plenty of seating without cluttering your carefully planned porcelain grid.
Anchoring the Bench Supports
Use heavy-duty masonry anchors to bolt the hidden steel brackets firmly into the structural blocks of your planter wall. Spacing these brackets exactly 16 inches apart ensures the thick oak seat will not bow or flex when multiple guests sit down during a party.
Installing the Under-Bench LED Lighting
Tuck a waterproof strip of LED under bench lip overhangs to cast a soft, warm line of light across the patio at night. Connect the lighting to a smart outdoor transformer so your evening ambiance turns on automatically at sunset.
Wiring the Smart Transformer
Mount your low-voltage lighting transformer to the exterior wall near an existing GFCI outlet, keeping it safely elevated above ground moisture. Hide the thin connecting wires behind the planter wall and run them cleanly up into the bench cavity for a truly professional finish.
| Component | Placement | Function |
|---|---|---|
| LED Strip | Under bench lip | Provides soft downward glow |
| Transformer | Near wall outlet | Converts power safely |
| Wiring | Behind planter | Connects system cleanly |
Using a simple layout like this guarantees your lighting remains protected from the elements while remaining easily accessible for future maintenance. The resulting glow instantly elevates the entire outdoor space, making it feel like a luxury resort right in your own backyard.
Framing the Patio Perimeter
Choose lightweight fiberglass containers over traditional concrete pots to prevent unnecessary stress on your elevated porcelain floor. Filling the bottom third of each tall planter with empty plastic bottles before adding soil drastically reduces the final weight while promoting excellent root drainage.
Softening the Space with Ornamental Grasses
Place tall fiberglass planter troughs along the patio perimeter to frame the seating area without blocking the breeze. When planting my own patio borders, I chose feathery ornamental grasses because they added gentle vertical movement that beautifully contrasted the rigid geometry of the paving.
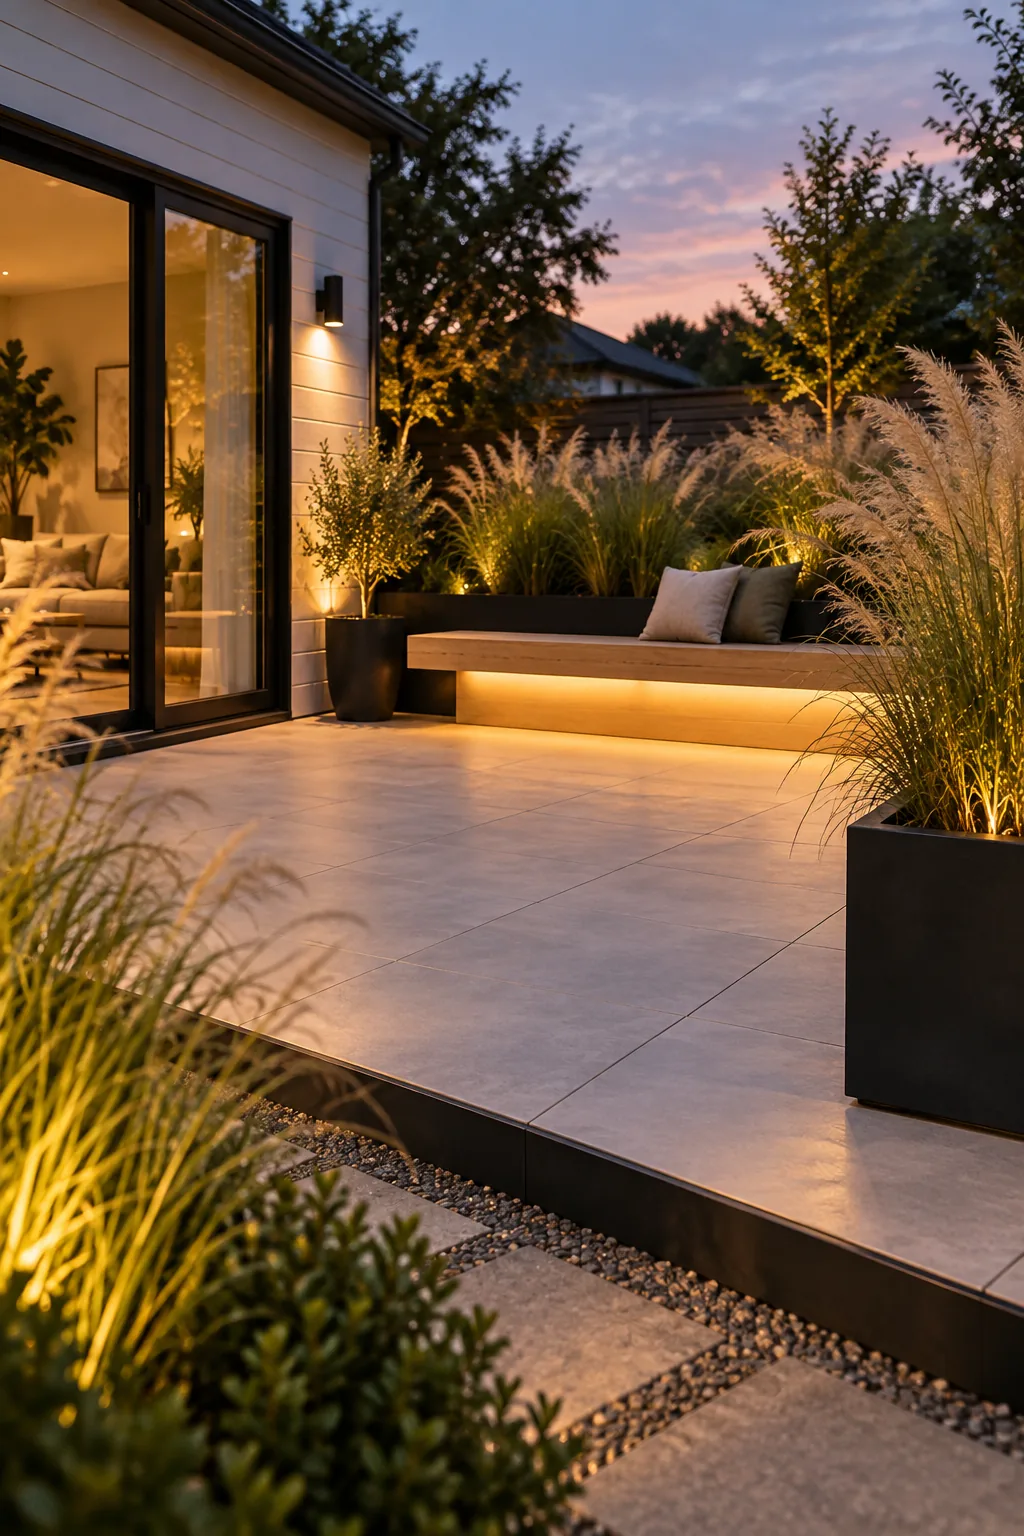
The dark planters perfectly tie into the black fascia and door frames, completing your cohesive modern scheme. It is the easiest way to bring life to the space while keeping maintenance to an absolute minimum.
More Ways to Style a Pedestal Paver Patio
Discover how changing the paver color and planter materials can completely shift the mood of your outdoor space.
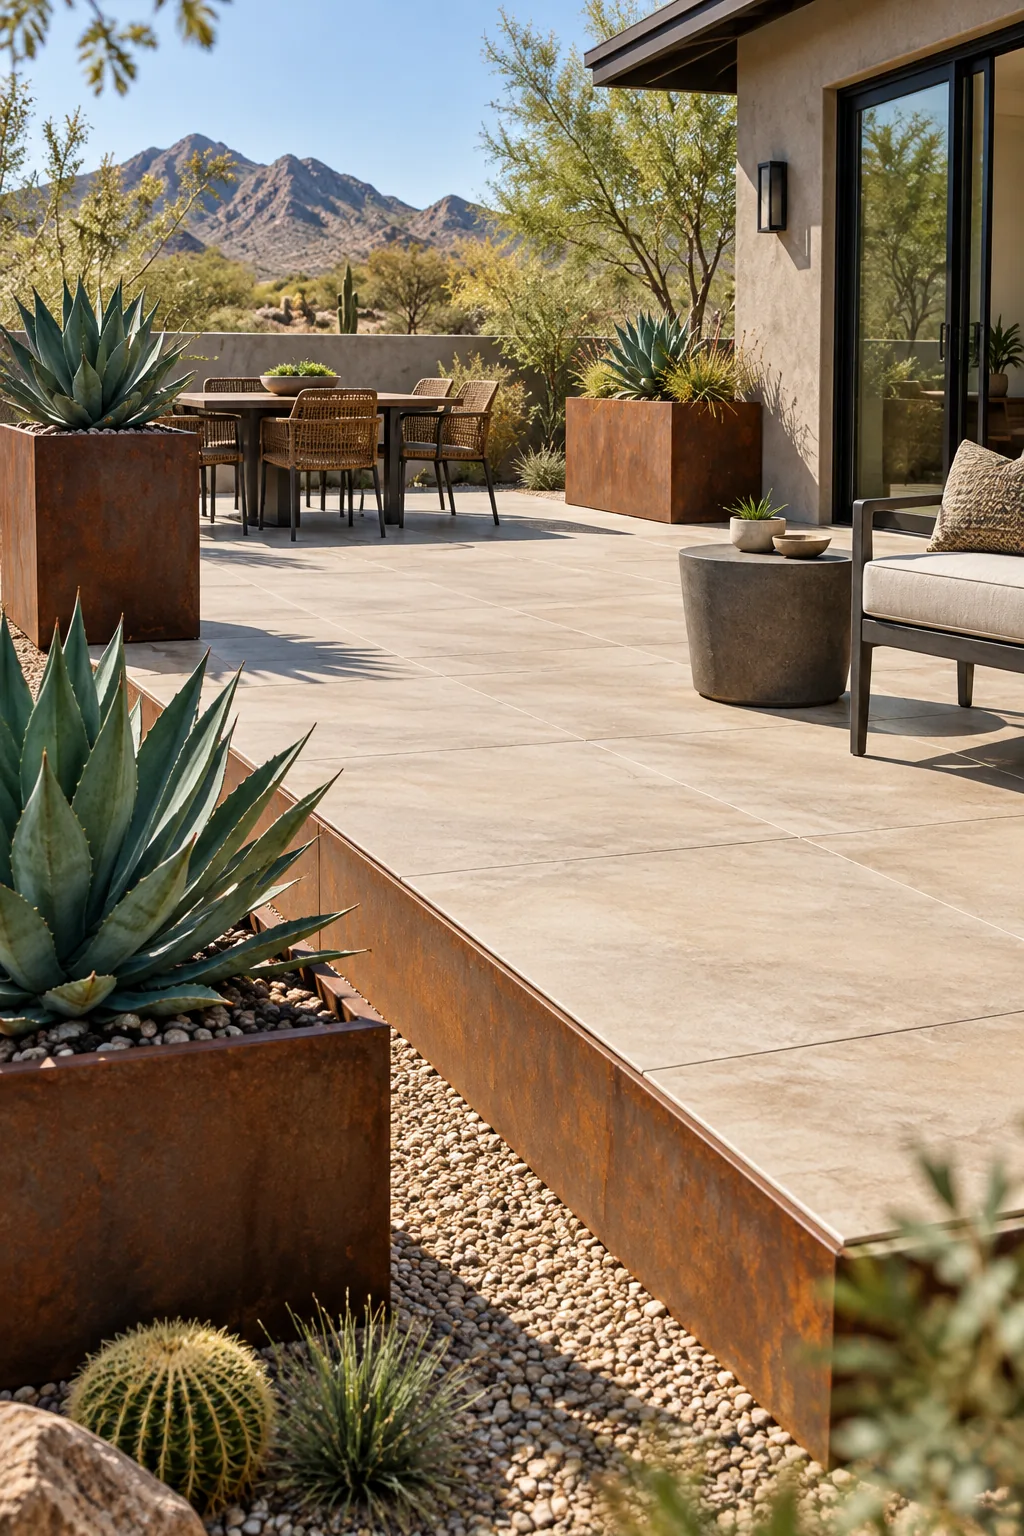
Desert Modern: Warm sandstone pavers and a weathered corten steel fascia give this desert patio a rugged, earthy feel. Try adding sculptural agave for structural contrast.
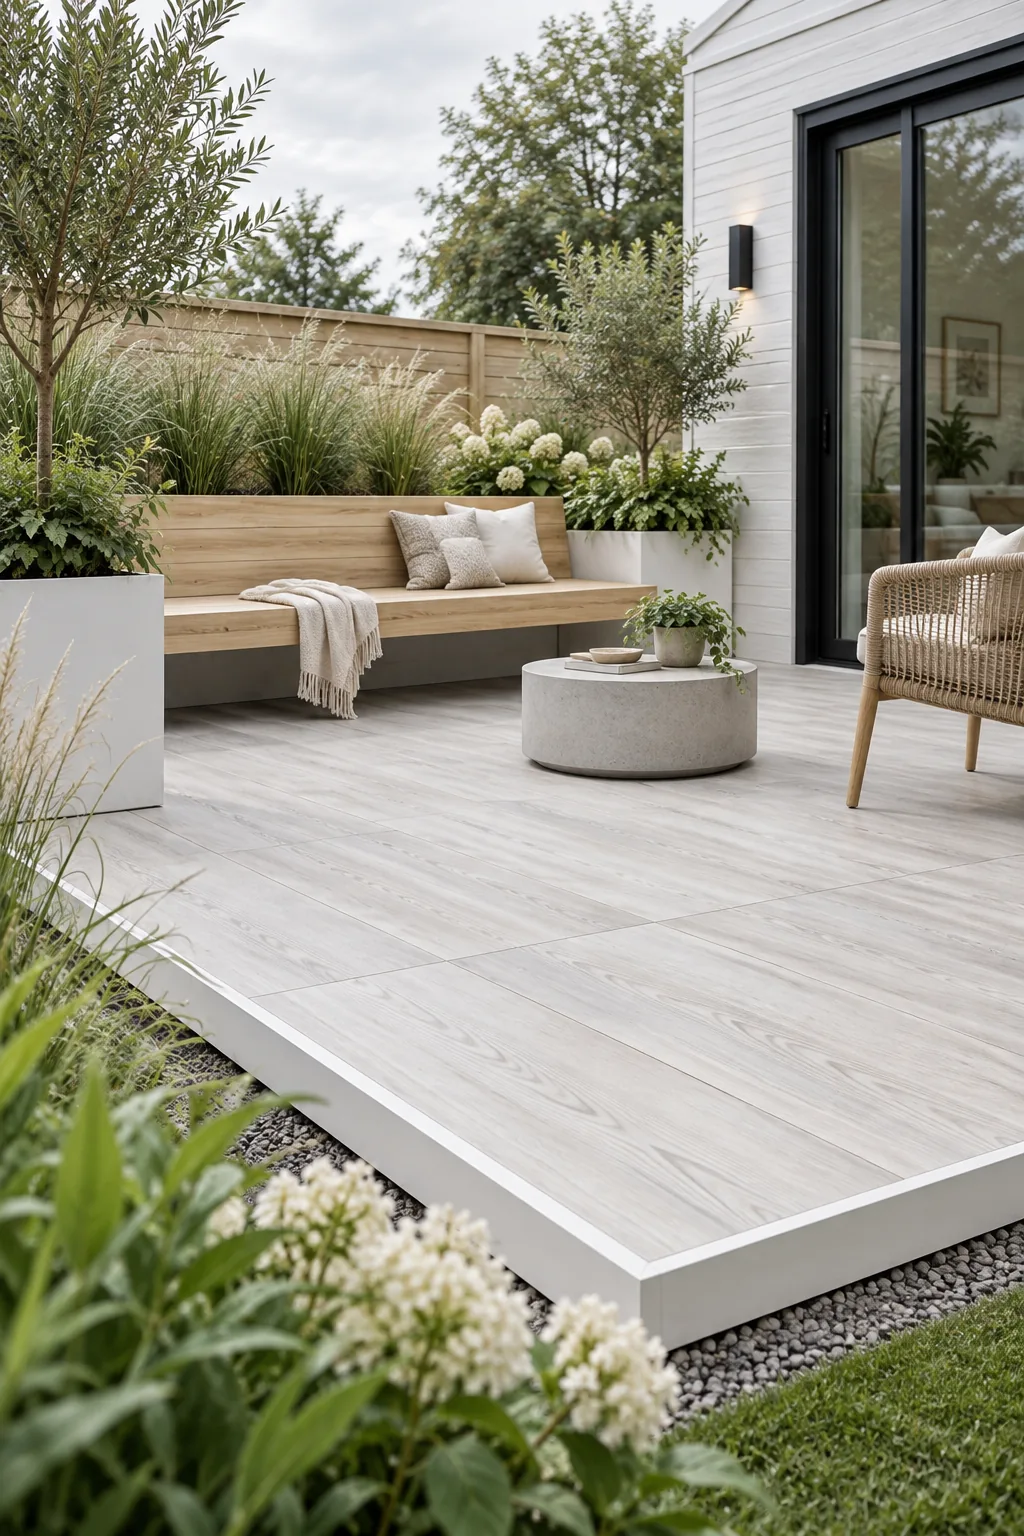
Scandi Minimalist: Whitewashed wood-look porcelain and a crisp white aluminum edge create a serene Scandinavian retreat. Incorporate a built-in birch bench for minimalist seating.
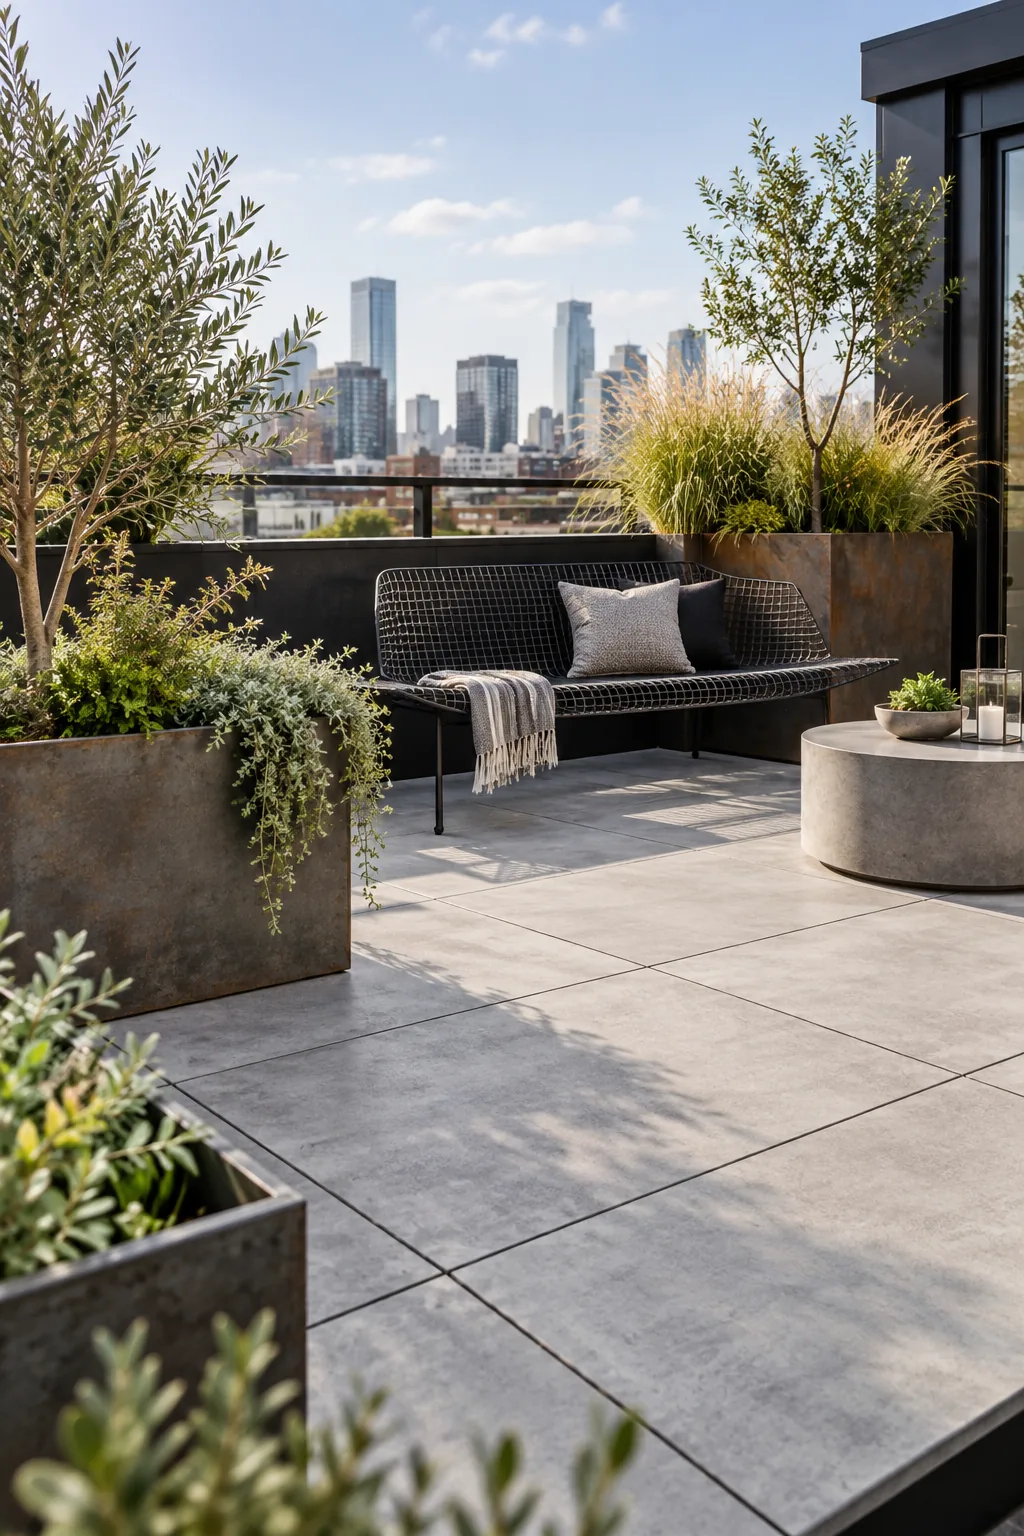
Industrial Loft: Oversized concrete-look pavers and raw steel planters bring an industrial loft vibe outdoors. Use a wire mesh bench to keep the layout feeling open and airy.
Moody Zen: Charcoal slate-look pavers and dark bamboo planters establish a moody, Zen-inspired atmosphere. A charred timber bench adds deep texture to the dark palette.