
Garage Man Cave: The Pro Build-Out and Complete Power Plan
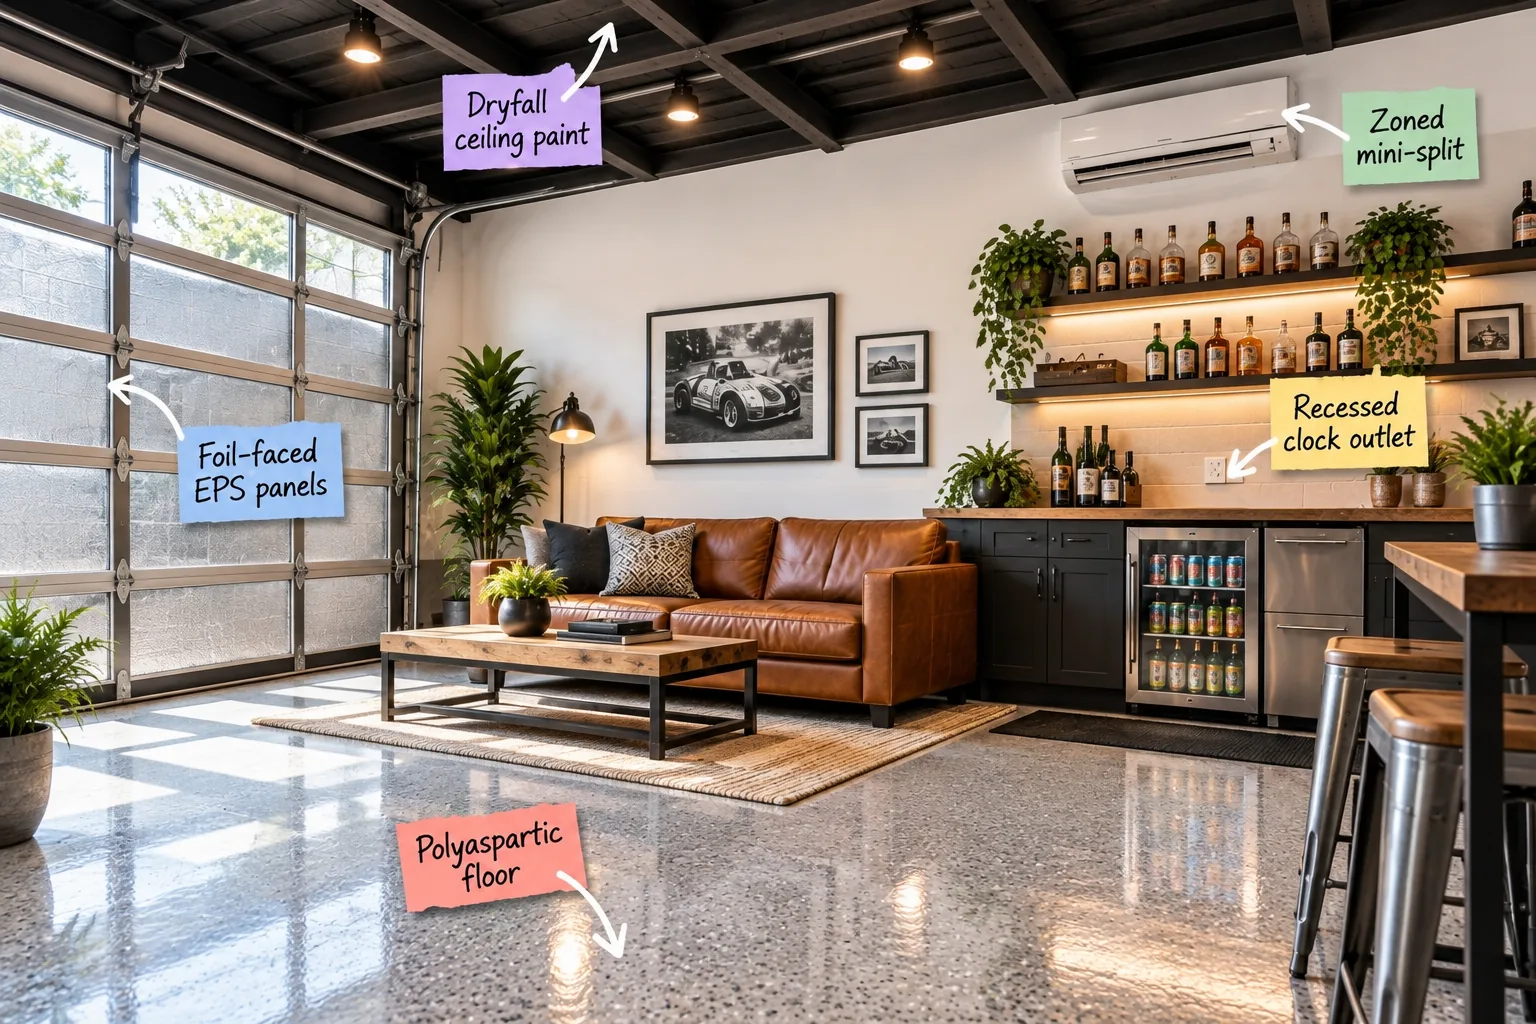
Transforming your raw garage into a premium lounge starts with the right foundation, which is why I’m sharing my complete garage zone and power plan. You will be able to map out your electrical needs, choose commercial-grade finishes, and arrange a fully functional climate-controlled space.
Upgrading the Garage Door Insulation
Sealing the building envelope is the mandatory first step before addressing any interior systems or finishes. We added 1.5-inch thick foil-faced EPS panels to our own Austin garage door, and it instantly stopped the brutal afternoon sun from baking the space.
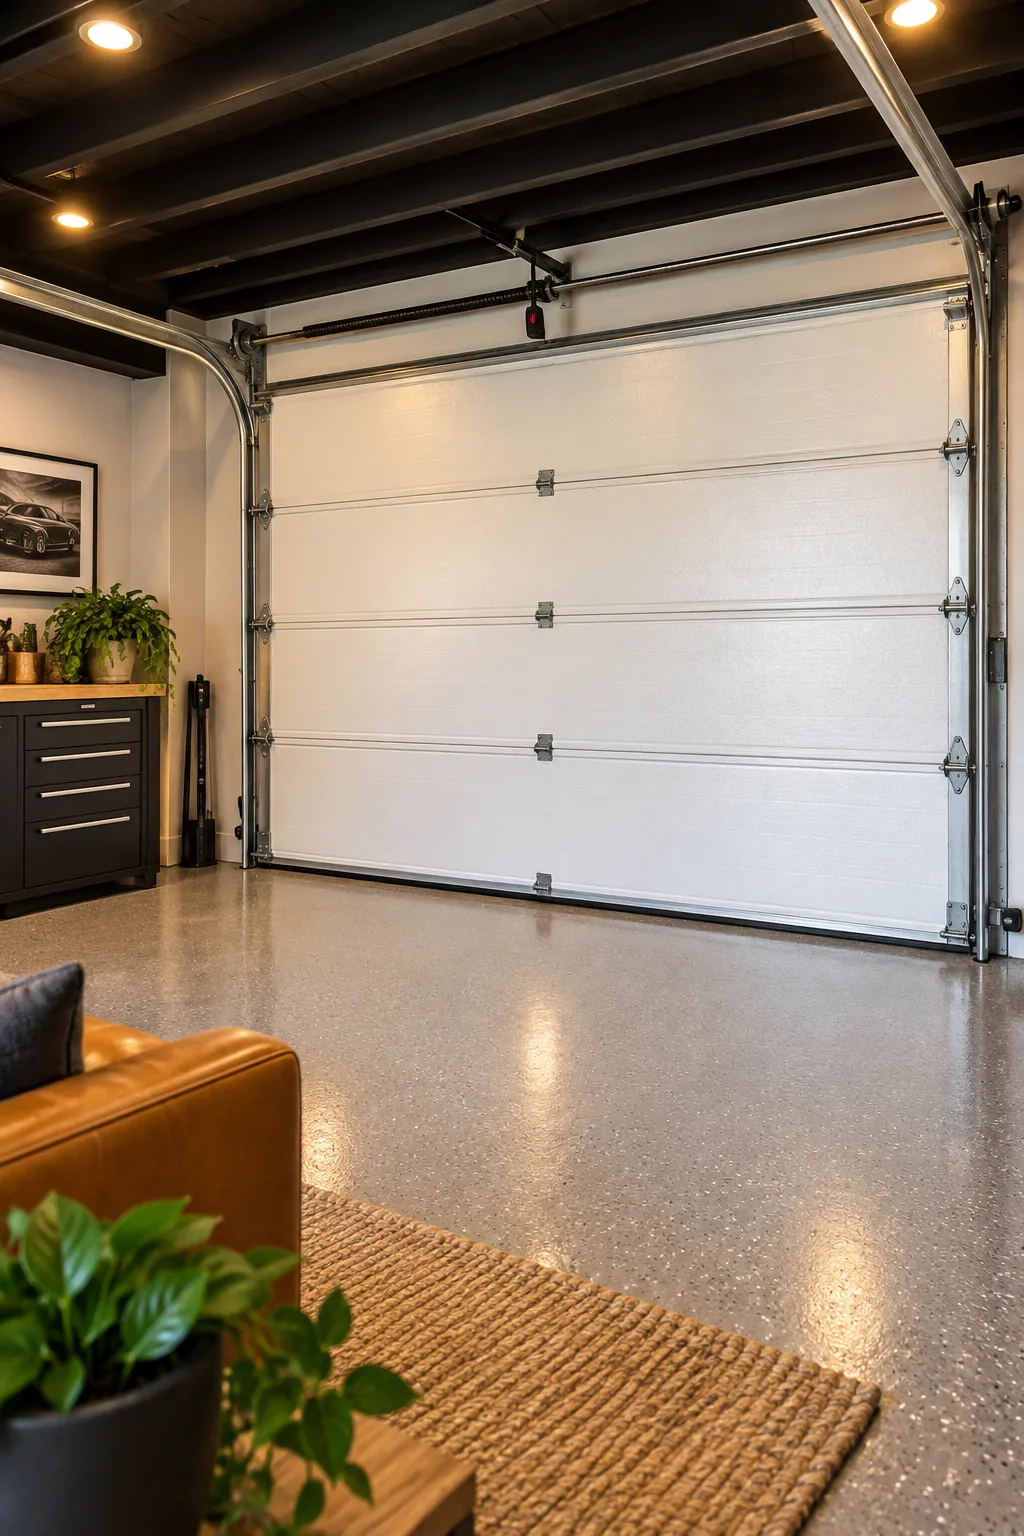
These rigid foam inserts provide an estimated R-8 insulation value, which is absolutely critical for keeping the new man cave comfortable year-round. Blocking that radiant heat transfer means your new air conditioning unit won’t have to run constantly to maintain a cool temperature.
Weatherstripping the Exterior Envelope
Beyond the panels, replacing the bottom rubber seal and adding heavy-duty vinyl weatherstripping to the side tracks prevents conditioned air from escaping. You want a completely airtight perimeter to keep severe humidity, seasonal dust, and outdoor pests out of your newly finished lounge area.
Insulating the Exterior Walls
If your garage features bare studs, filling those wall cavities with fiberglass batts is the next logical step. Insulating the perimeter walls locks in the temperature control provided by your upgraded door and prevents the surrounding outdoor climate from dictating your interior comfort.
Spraying an Exposed Dark Ceiling
Blacking out the ceiling is a popular trick to seamlessly hide exposed ductwork, plumbing, and electrical wiring without the massive expense of hanging drywall. We opted to spray the entire overhead area to create an industrial yet highly polished look for the room.
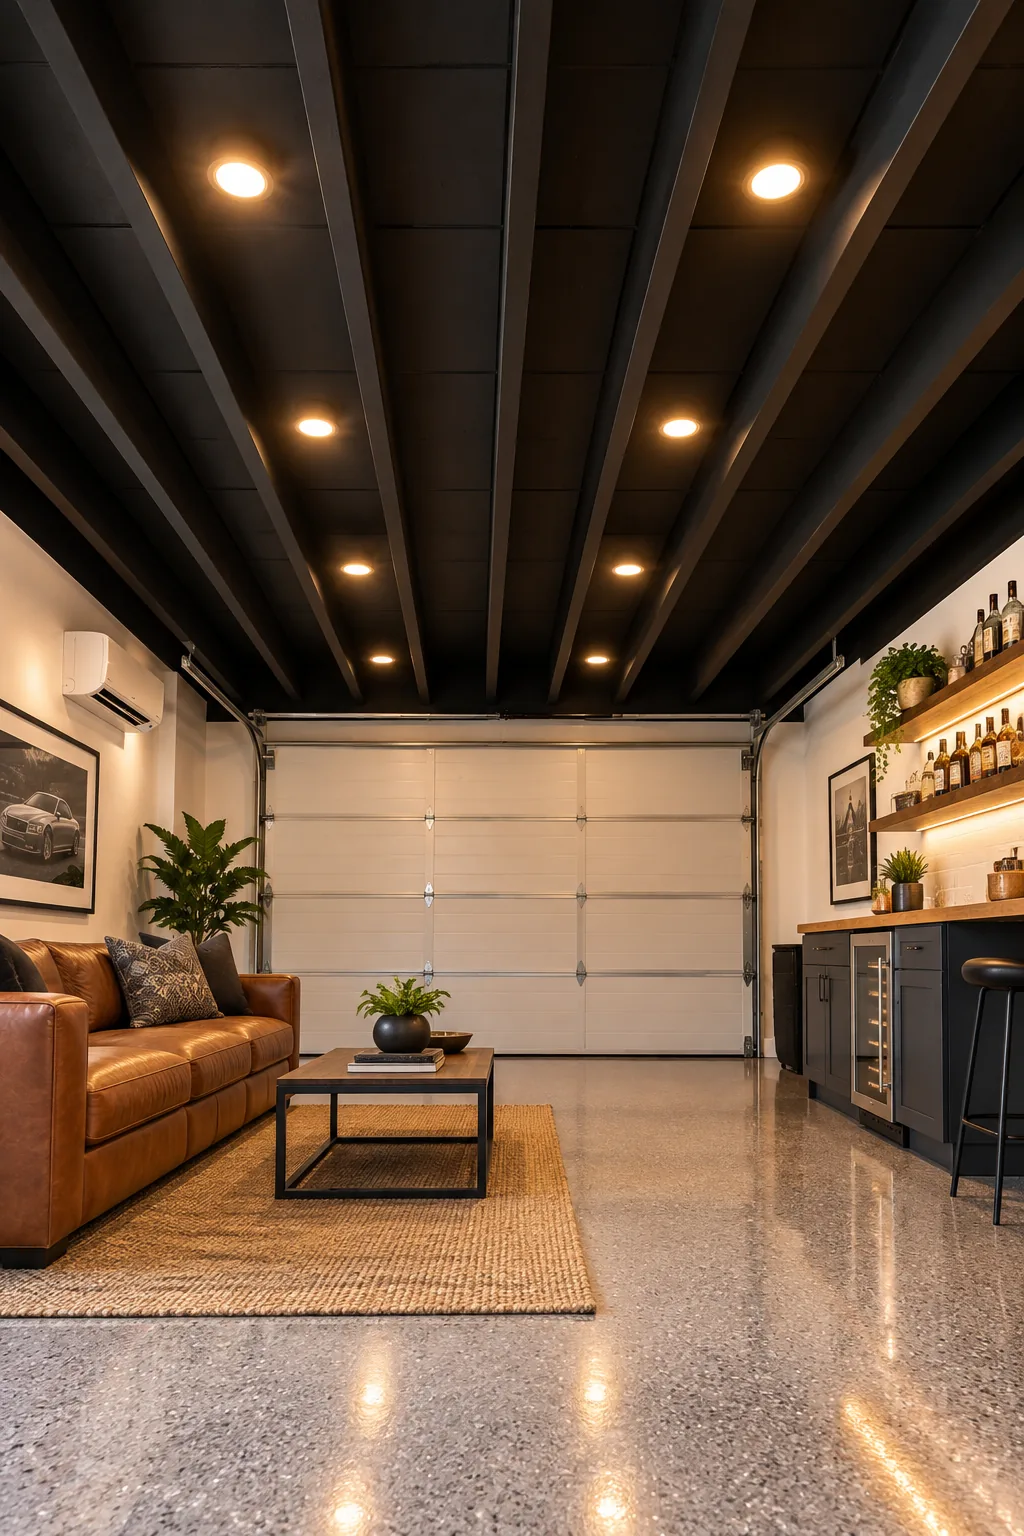
Commercial dryfall paint remains the safest choice for exposed joists because the inevitable overspray turns to a dry, sweepable dust after dropping just 10 feet to the floor below. This unique chemical property eliminates the nightmare of scraping dried paint off your concrete slab later.
- Cover the entire floor and all wall surfaces with heavy-duty plastic sheeting before starting the paint sprayer.
- Prime any bare metal conduit or HVAC ducting with a specialized bonding primer to prevent peeling over time.
- Apply the flat black dryfall paint in two light coats to ensure even coverage across the rough wood grain.
Upgrading the Overhead Lighting
With a dark ceiling absorbing light, you must compensate by adding strategic task and ambient lighting throughout the entire space. Installing slim LED recessed wafers directly into the painted joists provides excellent illumination while maintaining that clean, modern overhead aesthetic.
Choosing a Polyaspartic Floor Coating
Upgrading the concrete slab requires a commercial-grade finish that can withstand heavy foot traffic and the occasional parked vehicle. A true polyaspartic coating cures completely in just 24 hours, allowing you to move heavy furniture in the very next day.
Choosing the wrong floor coating is the most expensive error you can make, as hot tires and trapped concrete moisture will quickly ruin inferior finishes. Taking the time to select commercial-grade materials ensures your new lounge floor looks pristine for decades.
Prepping the Concrete Slab
Mechanical grinding remains the only reliable way to open the microscopic pores of your garage floor before applying any chemical coating. Renting a walk-behind diamond grinder ensures the polyaspartic base coat penetrates deeply into the slab for a permanent, lifetime bond.
Applying the Flake Broadcast
A full flake broadcast isn’t just for aesthetics; it provides essential slip resistance on an otherwise slick surface. Tossing these vinyl chips into the wet base coat creates a textured grip that keeps the floor safe even when you track in rainwater.
Installing Dedicated Climate Control
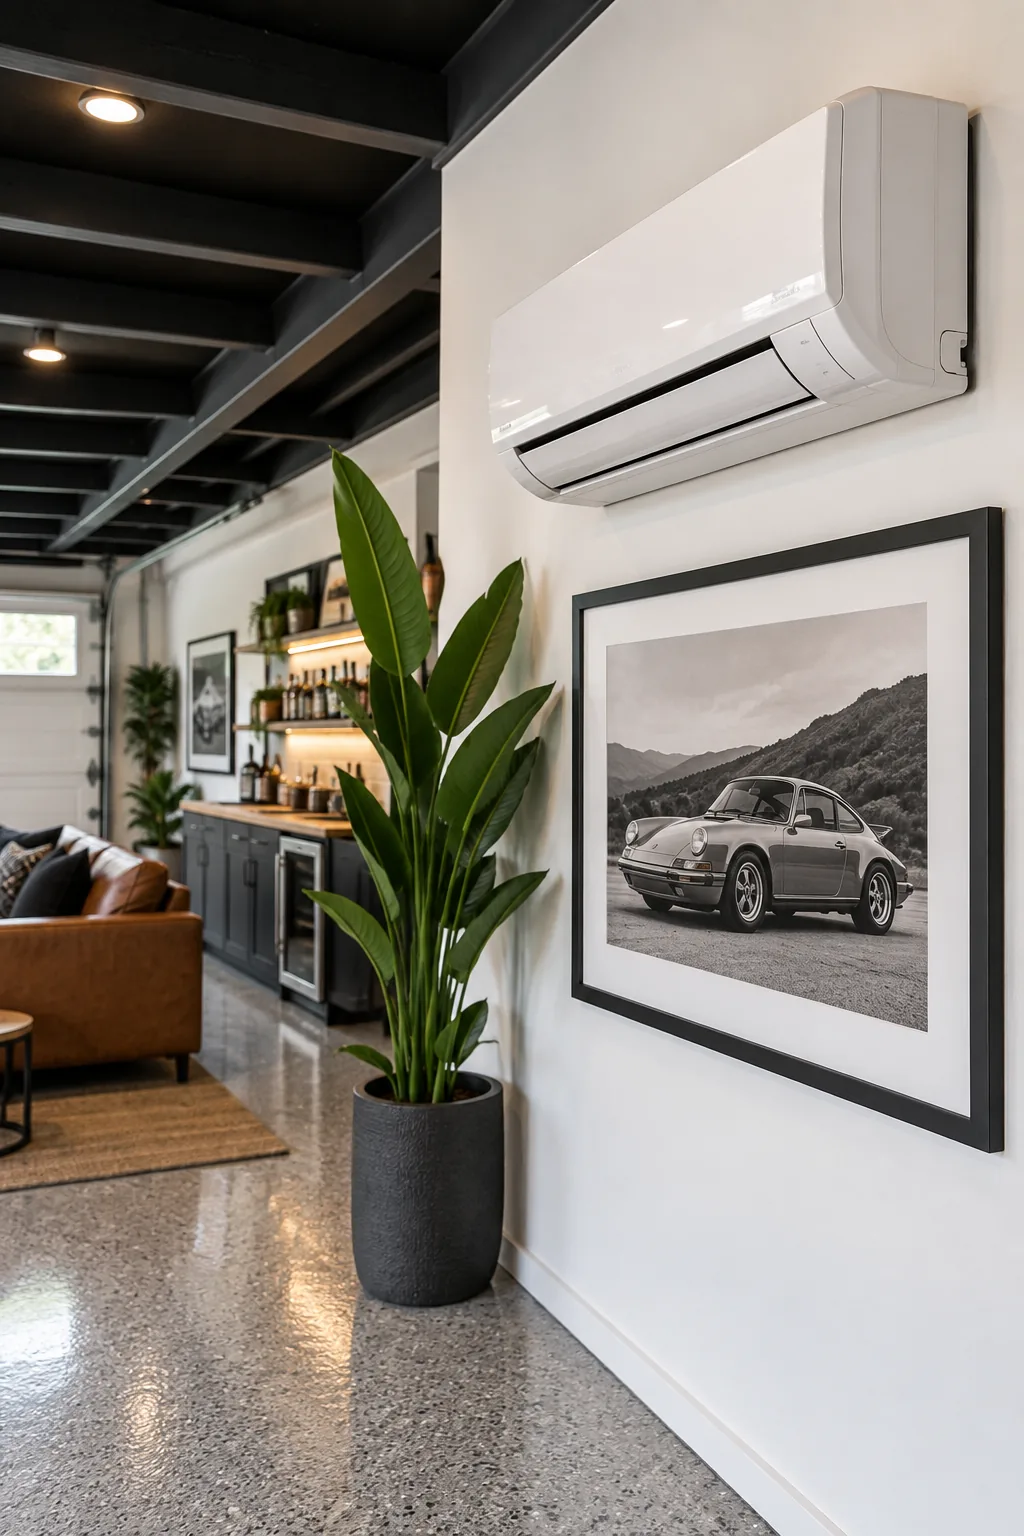
Sizing a ductless system correctly is essential for maintaining consistent comfort in a newly insulated space. When we installed ours, stepping out into a perfectly crisp, cool garage during a blazing Texas summer afternoon felt like absolute magic.
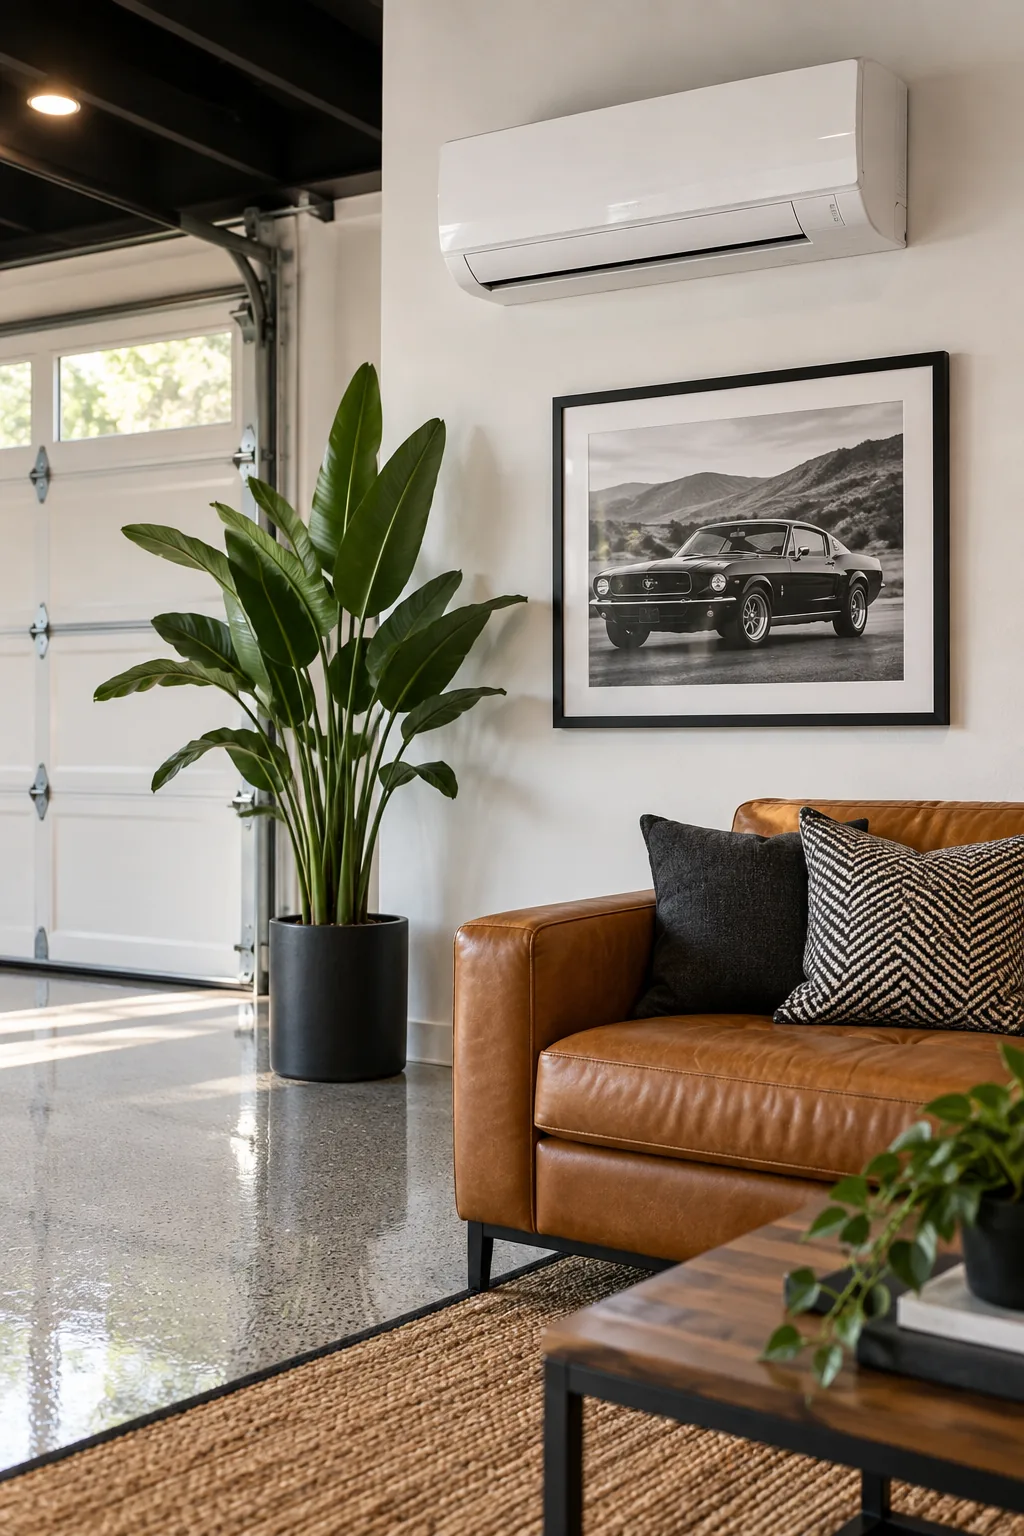
The general rule of thumb dictates 20 BTUs per square foot, meaning a standard two-car garage usually requires a 12,000 BTU zoned mini-split to handle extreme seasonal temperatures. Undersizing this unit will leave your space feeling sticky and completely unusable during the peak summer heat.
| Garage Size | Minimum Cooling Capacity |
|---|---|
| 1-Car (250 sq ft) | 6,000 BTU |
| 2-Car (400 sq ft) | 12,000 BTU |
| Oversized 2-Car (500 sq ft) | 18,000 BTU |
| 3-Car (600 sq ft) | 24,000 BTU |
Managing Condensation Lines
Every mini-split air handler generates significant condensation that must be safely routed outside the building envelope. Pitching the PVC drain line slightly downward and running it alongside the copper refrigerant lines ensures gravity carries the moisture away from your interior drywall.
Placing the Outdoor Condenser
Selecting the right spot for the outdoor condenser unit directly impacts the efficiency of your new climate control system. Mounting the heavy unit on a poured concrete pad in a shaded area prevents the compressor from overheating during intense afternoon sun exposure.
Concealing Appliance Power Cords
Achieving a seamless, built-in look for your bar area means carefully planning exactly where every appliance plugs in. We mapped out the precise dimensions of our under-counter units to ensure no bulky power cords would push them out of alignment.
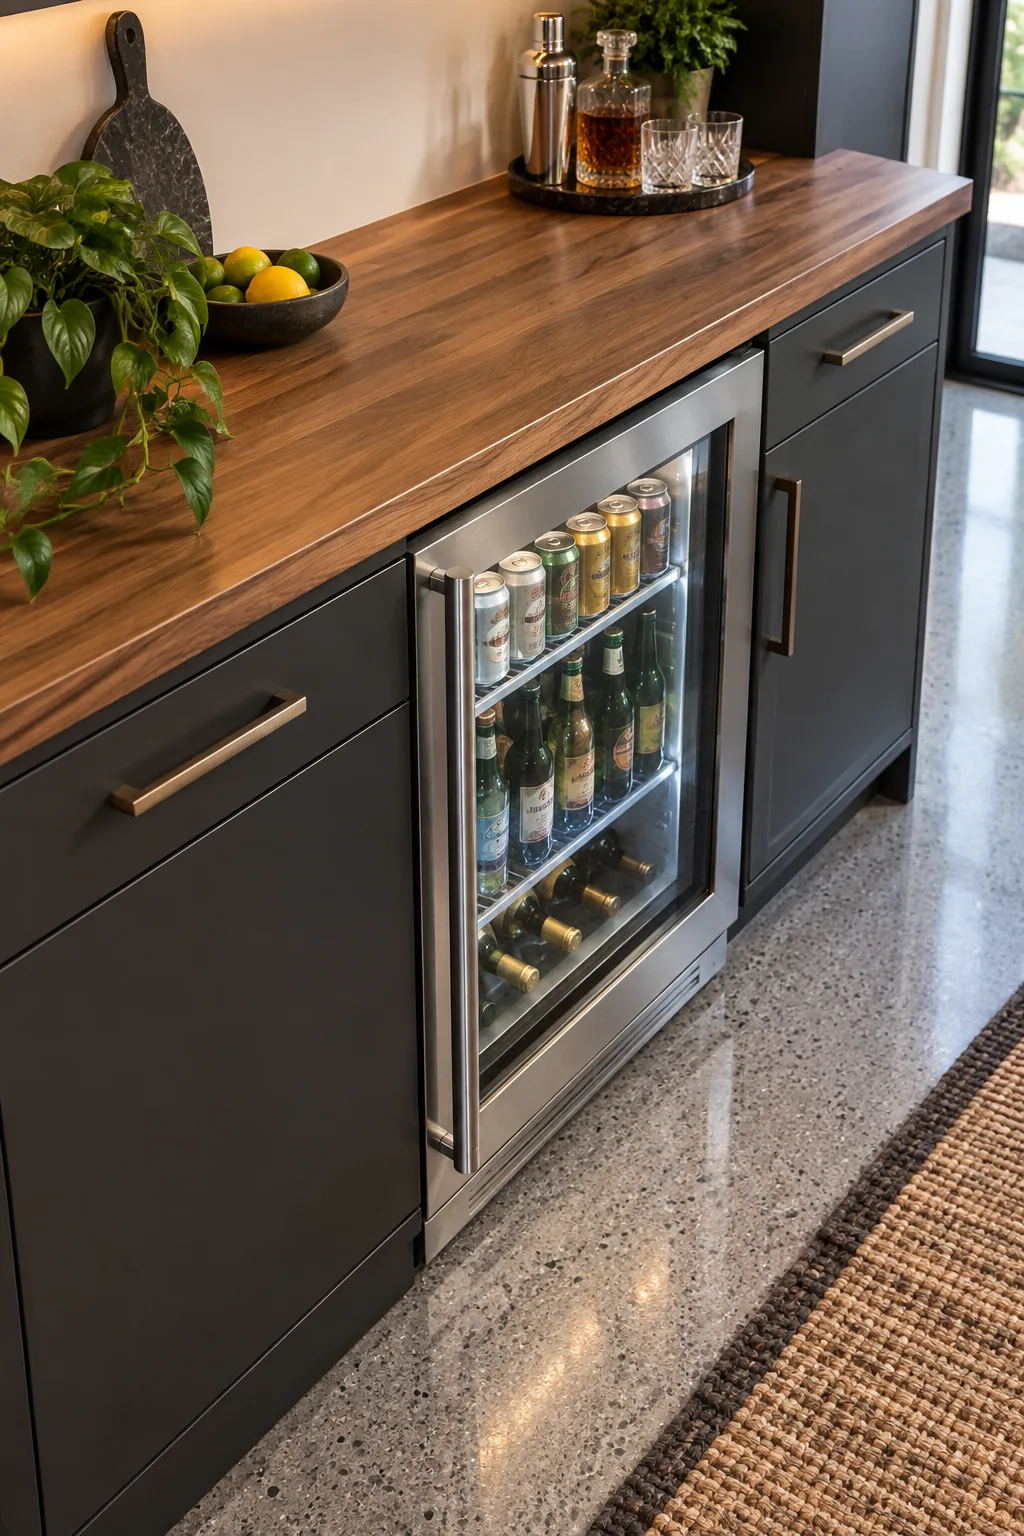
Installing a recessed clock outlet directly behind the unit provides 2 inches of inset depth, allowing a beverage fridge to sit perfectly flush against the surrounding cabinetry. This small electrical detail prevents the appliance doors from protruding awkwardly into your walking path.
Planning the Media Wall Wiring
The entertainment zone requires just as much electrical foresight as the bar to keep HDMI cables and bulky power bricks completely hidden. Placing a recessed media box directly behind the planned television location guarantees a clean wall mount with zero dangling wires.
Your Garage Zone and Power Plan
Download our exact zone and power plan to map out 4 dedicated 20-amp circuits that safely handle the mini-split, beverage center, and entertainment wall without tripping breakers. Having this blueprint in hand makes pulling permits and passing your rough-in electrical inspection incredibly simple.
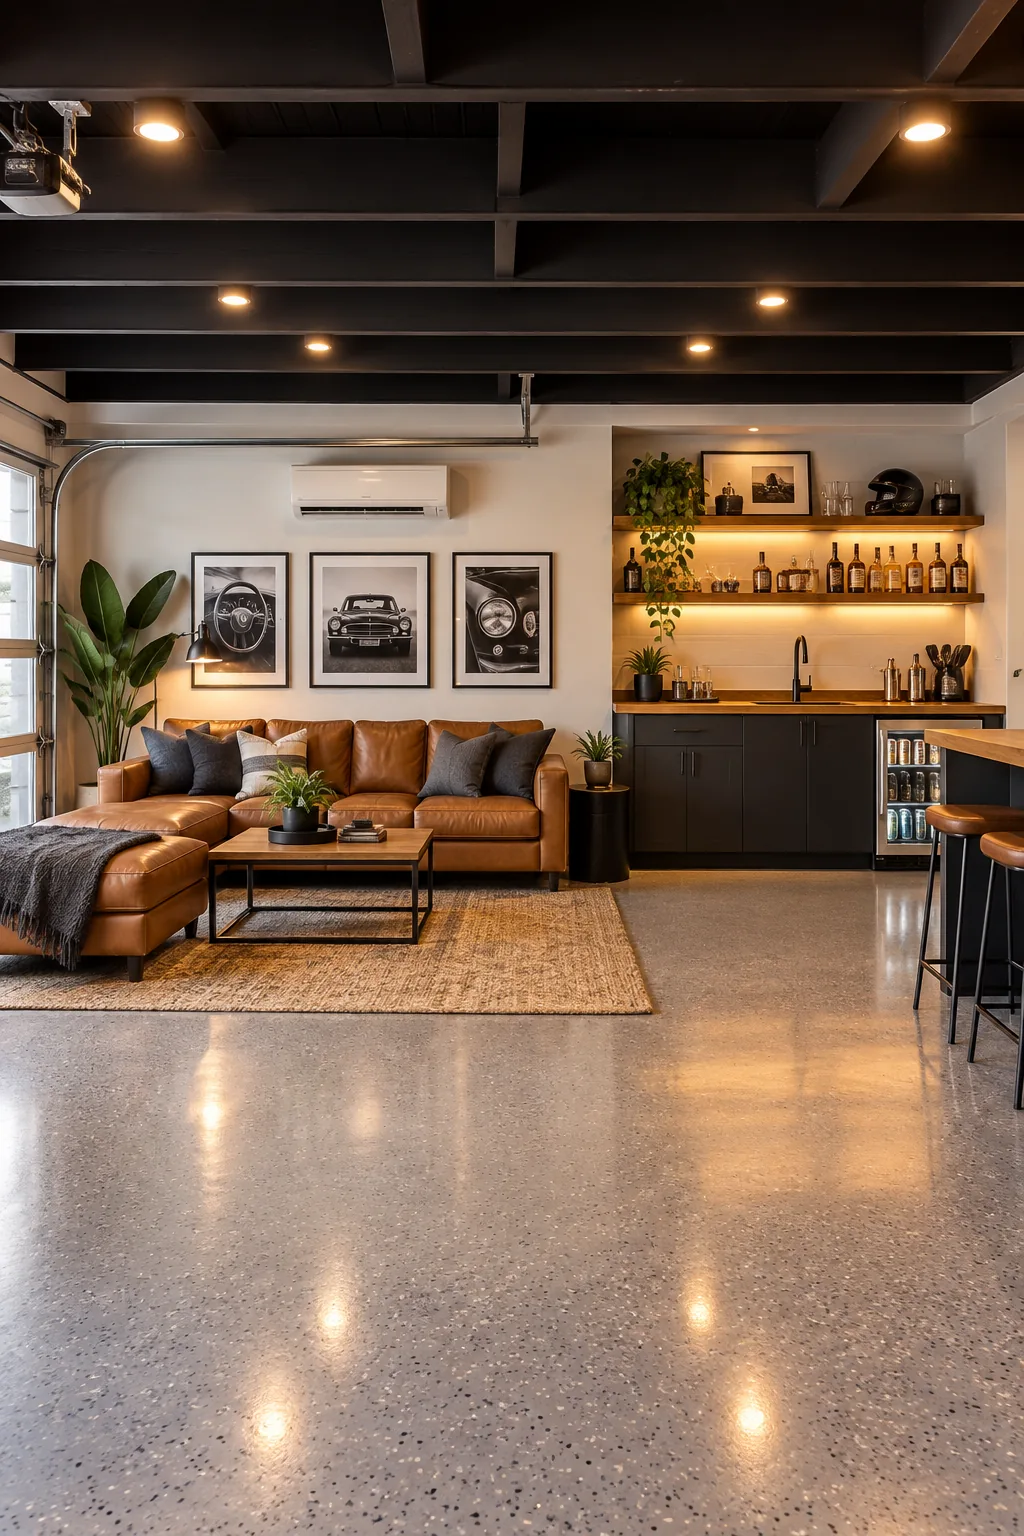
Before hanging the first sheet of drywall, verify that your electrical rough-in covers every high-draw appliance and entertainment device in your layout. Missing a single plug now means tearing into beautifully finished walls later to add the necessary power capacity.
Selecting the Sub-Panel Location
Adding these new dedicated circuits often requires installing a secondary sub-panel if your main house breaker box is already full. Positioning this sub-panel near the garage entrance keeps the heavy gauge feeder wire run short and minimizes your overall electrical material costs.
Designing the Built-In Bar
Creating a functional beverage station doesn’t require expensive custom millwork if you utilize clever stock cabinet configurations. We designed a simple layout that maximizes storage for glassware and snacks while keeping the assembly process incredibly straightforward for a weekend project.
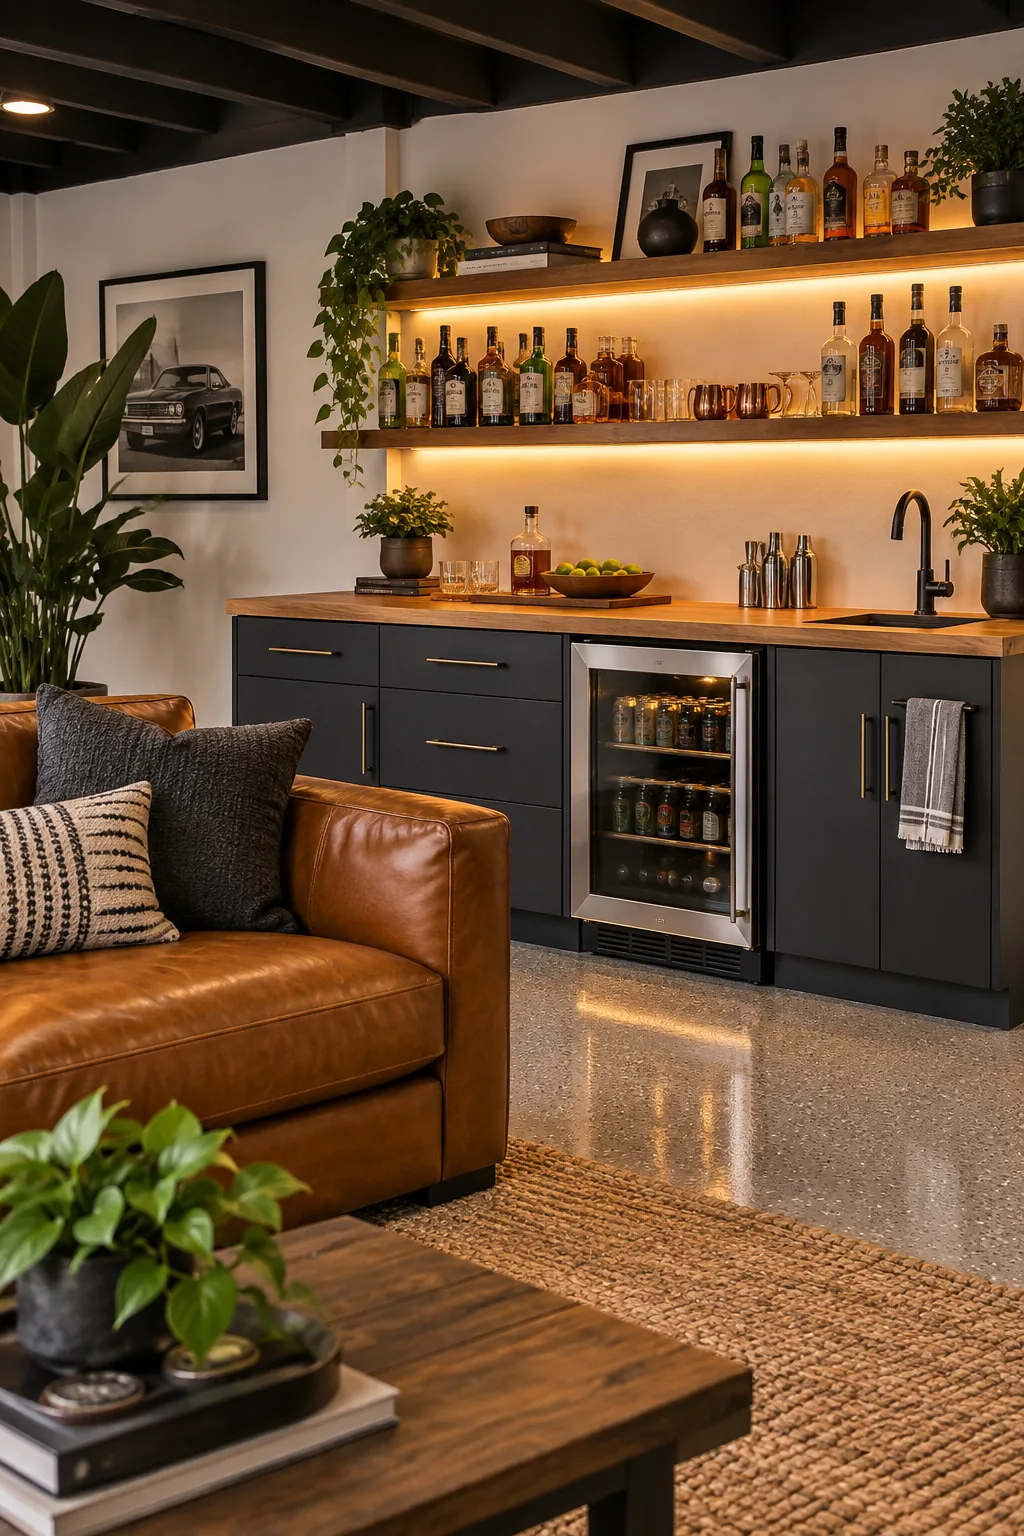
Using standard 36-inch high base cabinets paired with a 24-inch deep butcher block counter creates a cost-effective, premium-looking bar setup. This standard sizing also guarantees that any glass-front beverage coolers or under-counter ice makers will slide perfectly into the designated voids.
Choosing Moisture-Resistant Cabinetry
Even with excellent climate control, garages experience wider humidity swings than interior rooms. Selecting exterior-grade plywood cabinet boxes rather than standard particleboard ensures your new bar structure will never swell, warp, or degrade over time.
Sealing the Butcher Block Counter
Raw butcher block requires immediate protection to survive the inevitable spills that happen around a busy beverage station. Applying three coats of a food-safe penetrating oil seals the wood grain against moisture while deeply enriching the natural color of the wood.
5 Ways to Style Your Garage Lounge
Once the drywall is up and the floors are poured, choose a finishing style that fits your personal taste.
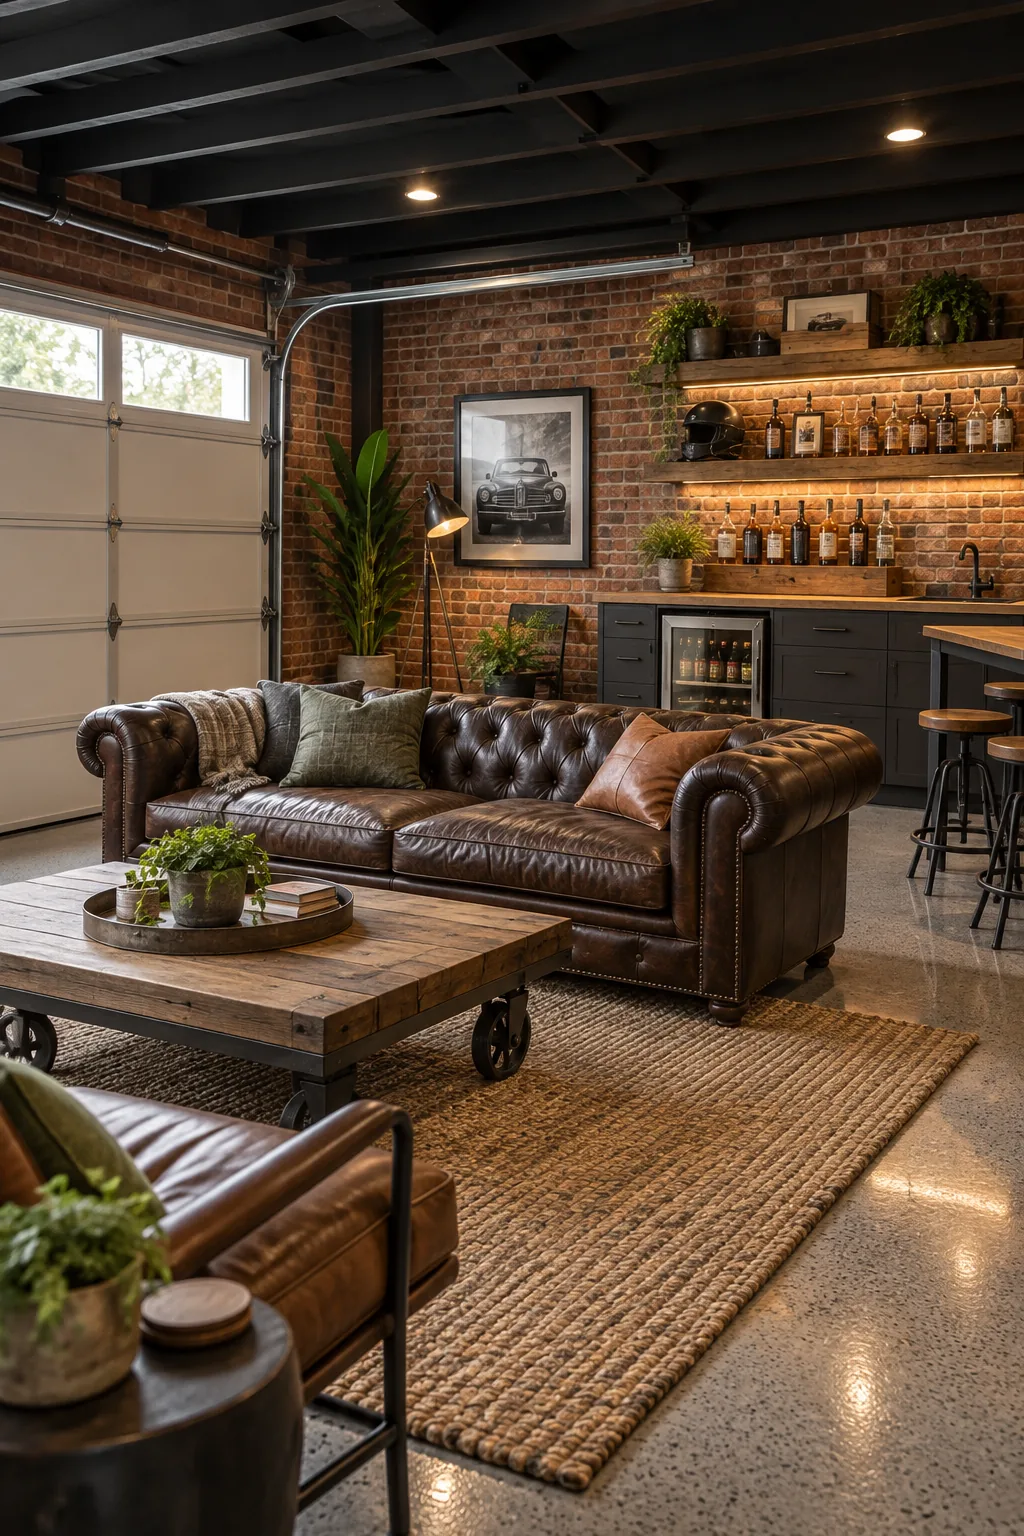
Industrial rustic garage lounge: Exposed brick and distressed dark leather create a rugged, classic hideaway.
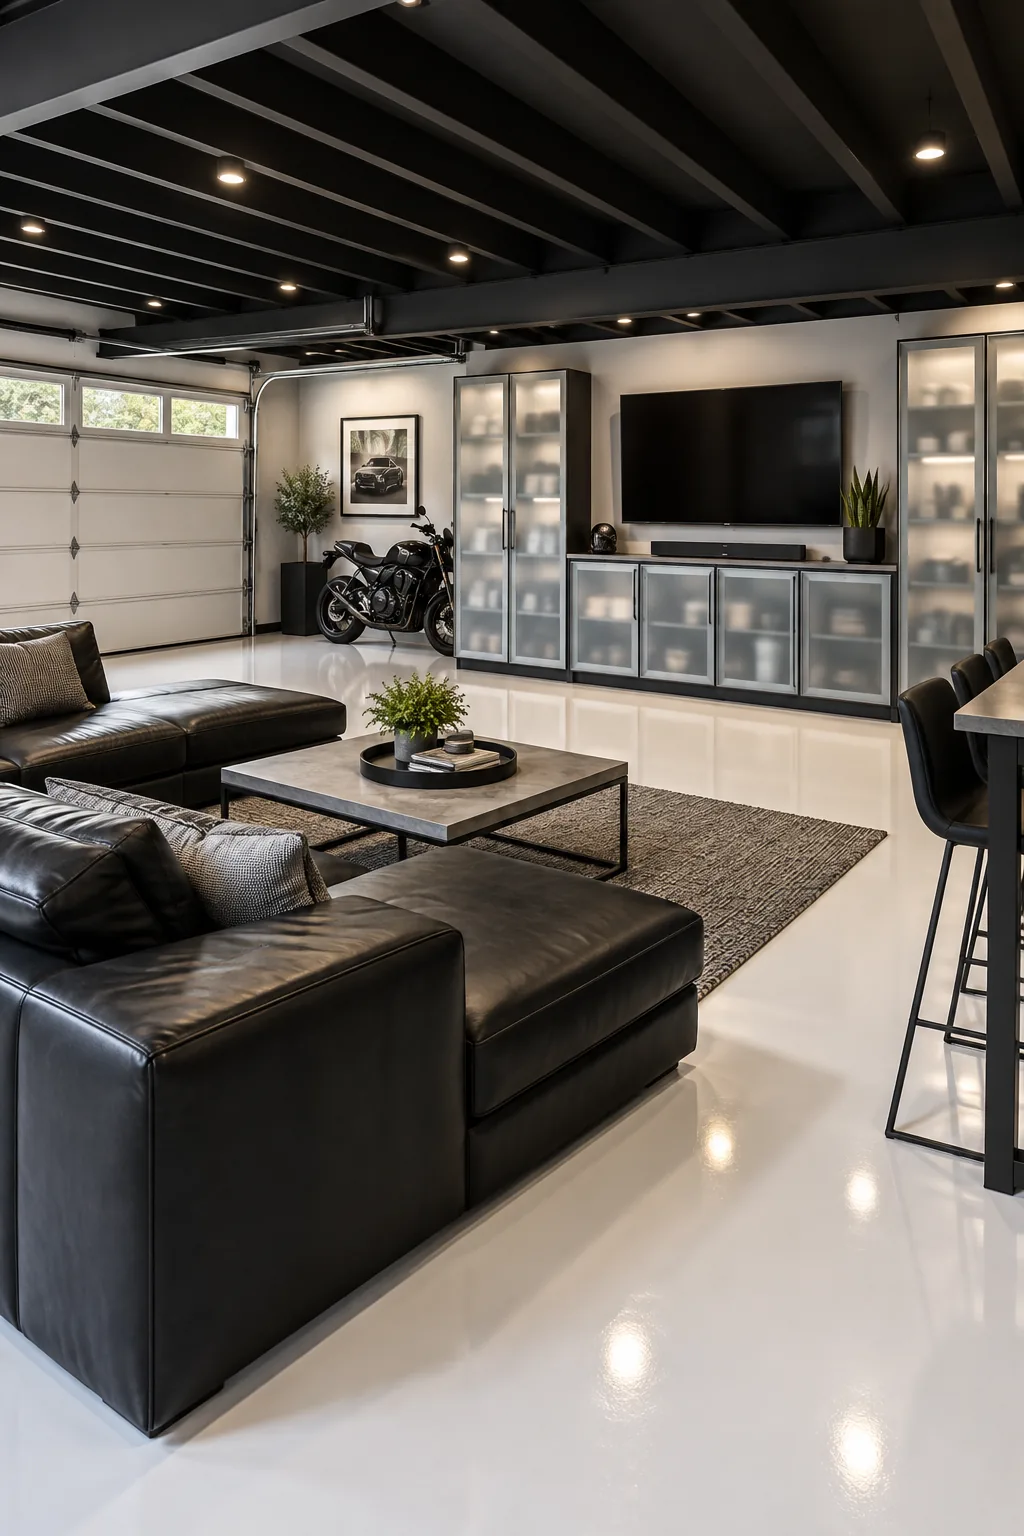
Sleek modern minimalist man cave: High-contrast black leather against pure white floors delivers a clean, contemporary aesthetic.
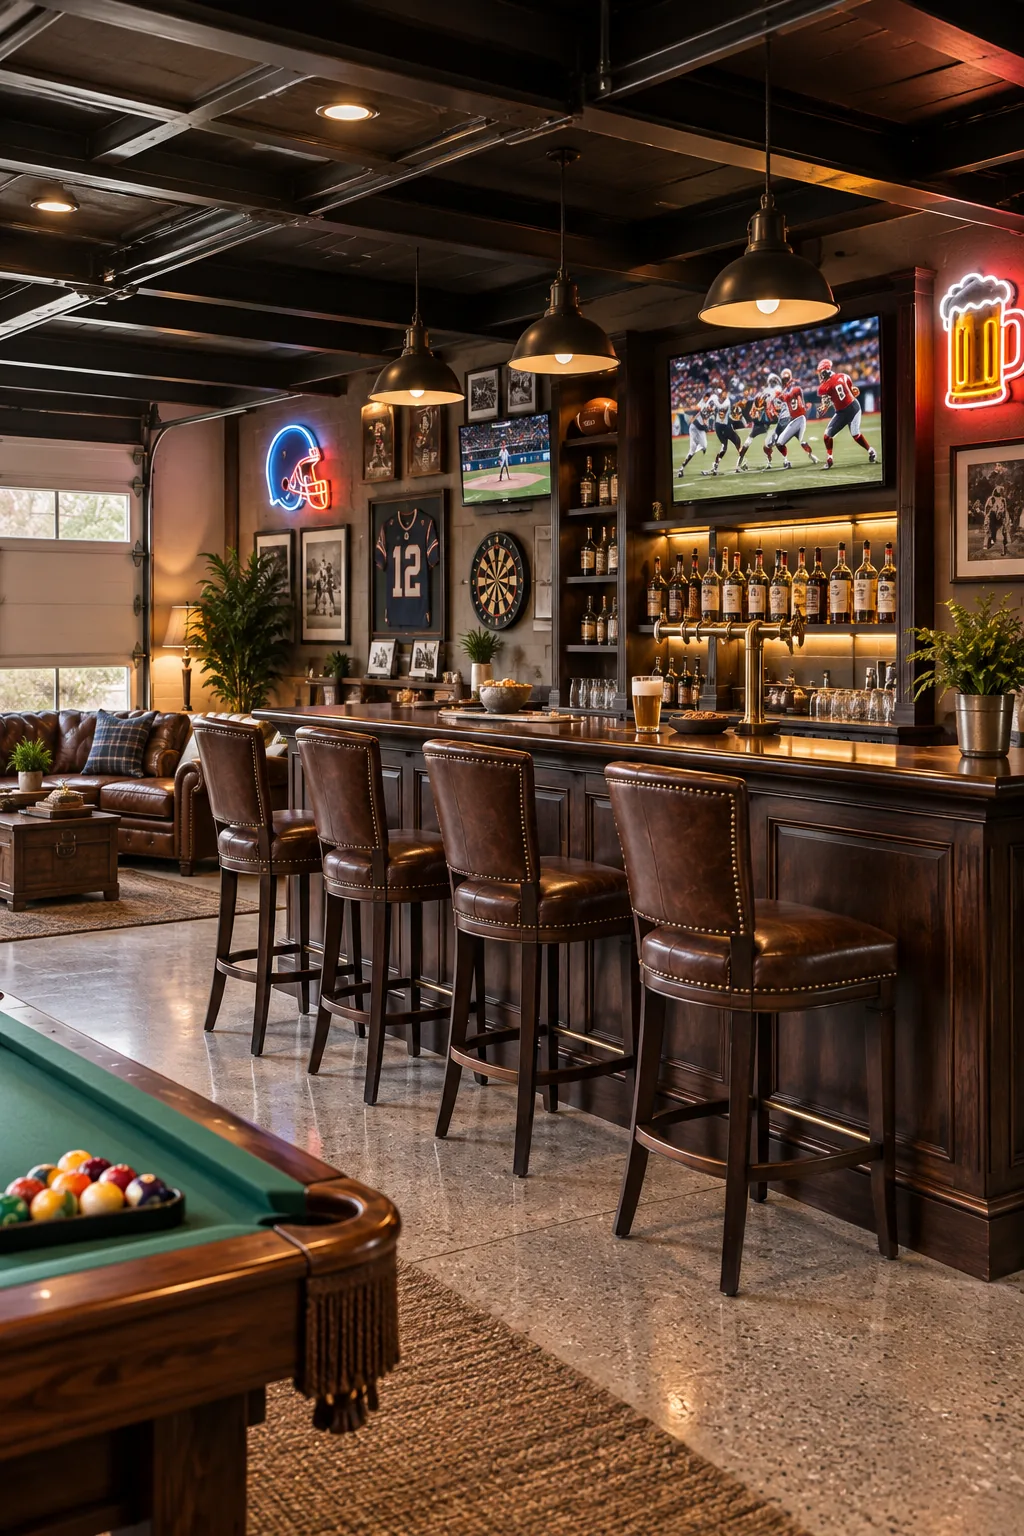
Classic sports pub garage conversion: Rich mahogany tones and glowing neon signs instantly replicate a neighborhood tavern.
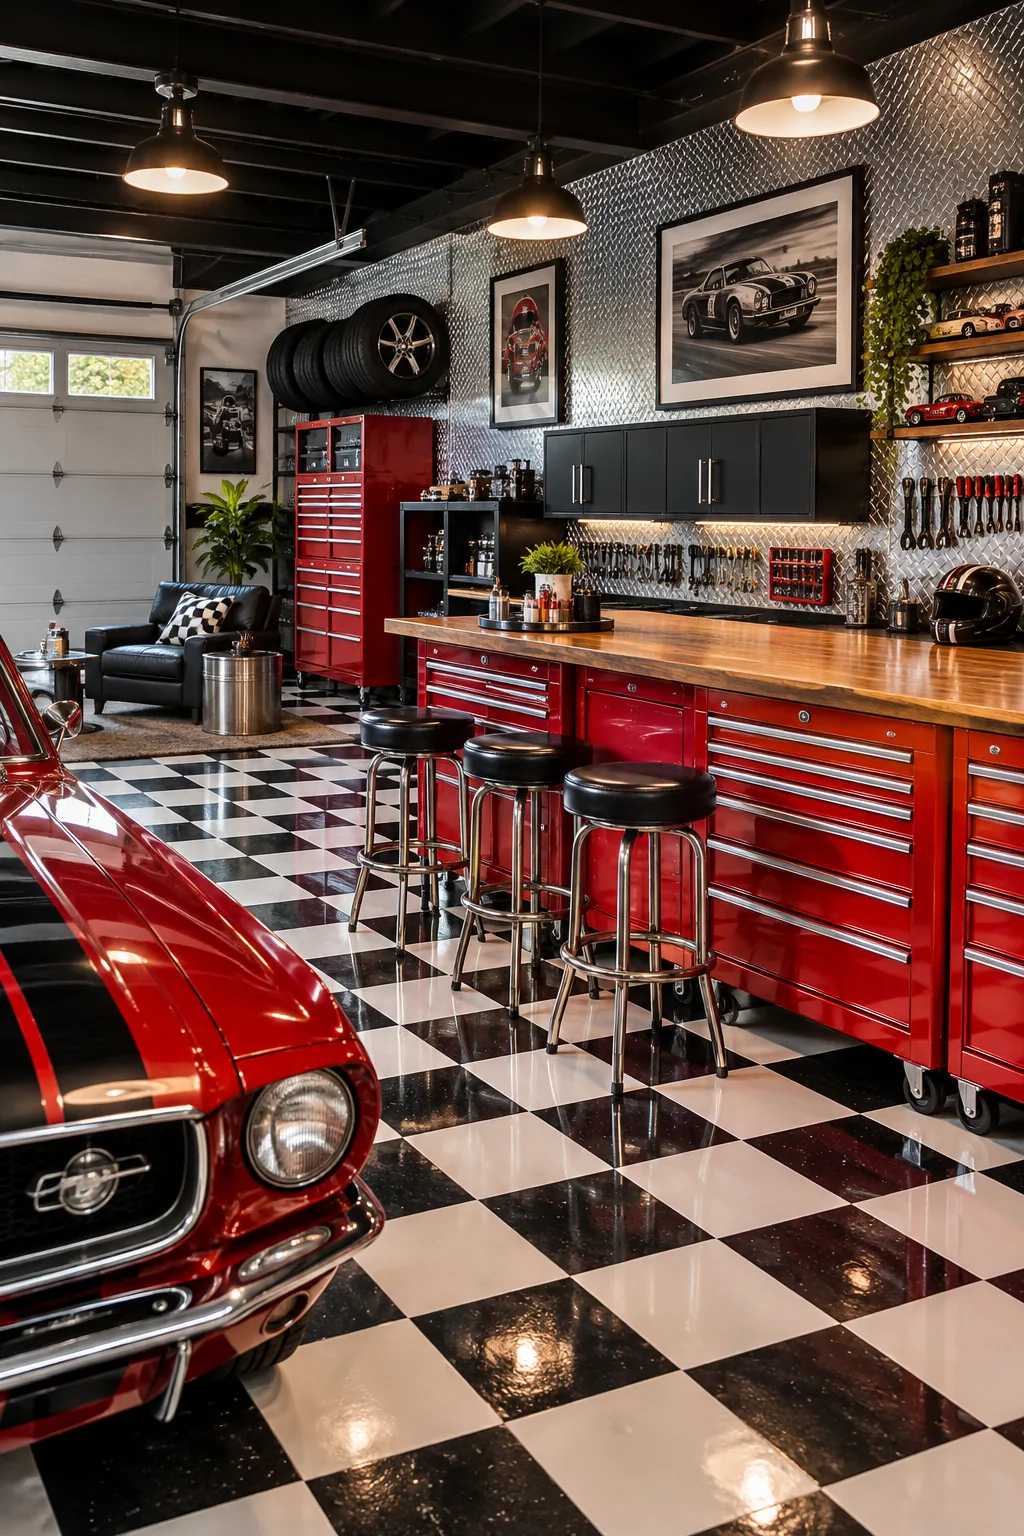
High-octane auto enthusiast workshop: Repurposed red tool chests and a checkerboard floor celebrate classic automotive culture.
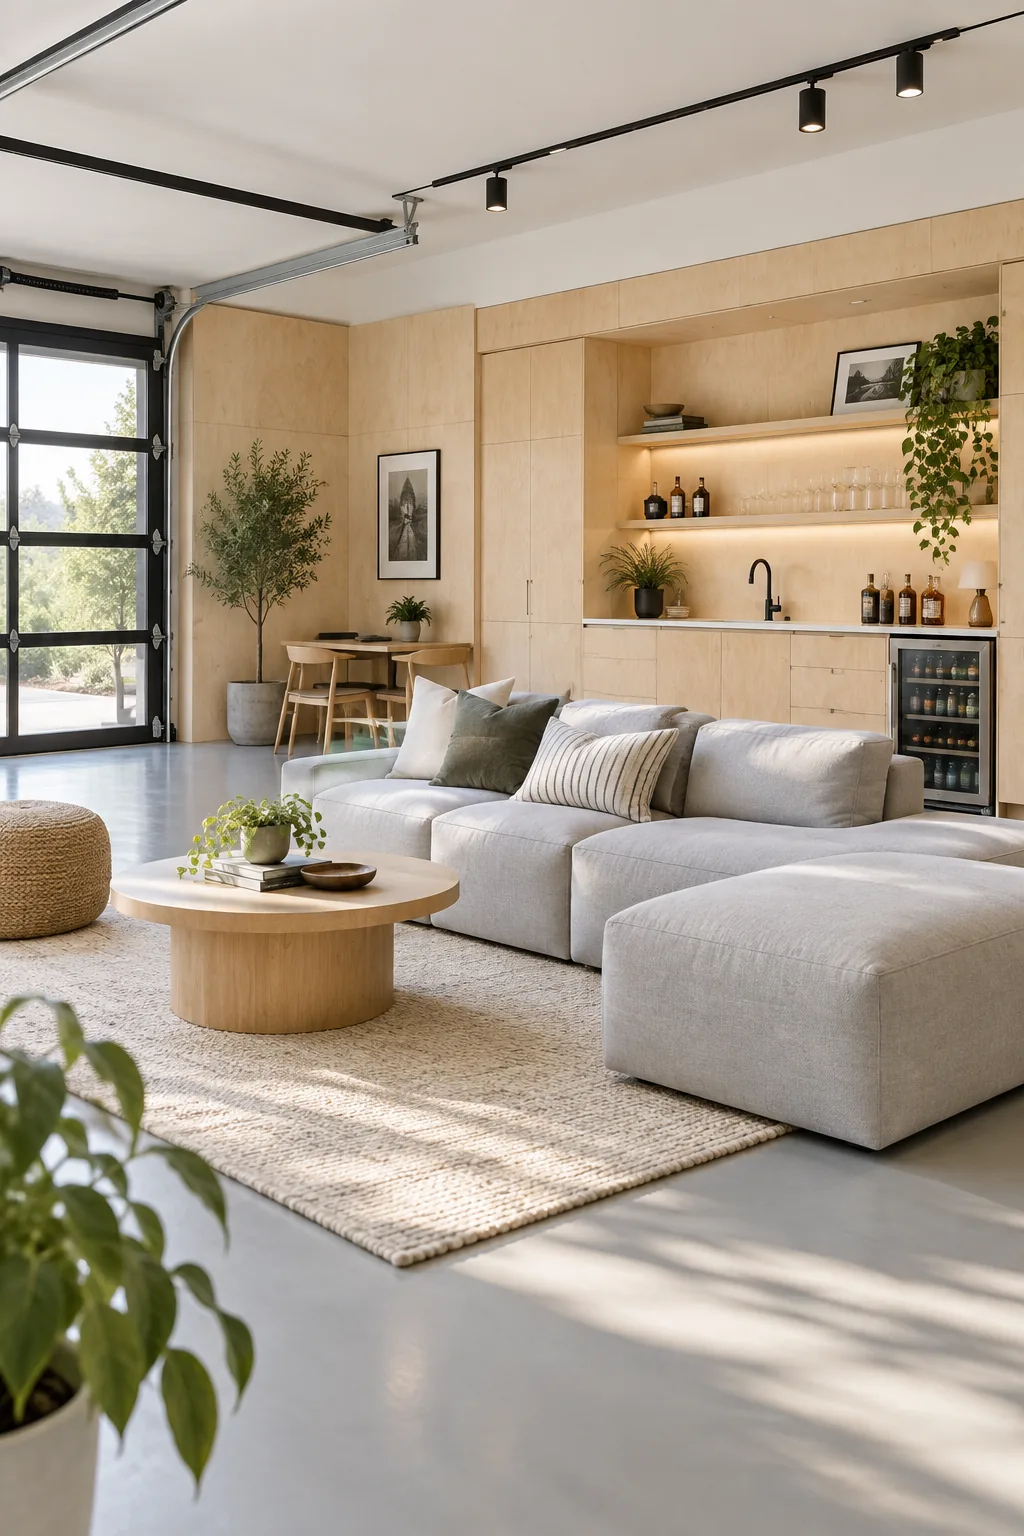
Scandi-inspired light wood studio: Matte finishes and pale birch plywood keep the space feeling airy and calm.
Anchoring the Leather Lounge
Concluding the build-out means selecting furniture that defines the relaxing footprint and visually separates the seating from the bar. We finally have a dedicated spot where my husband and his friends can watch the game without taking over the living room.
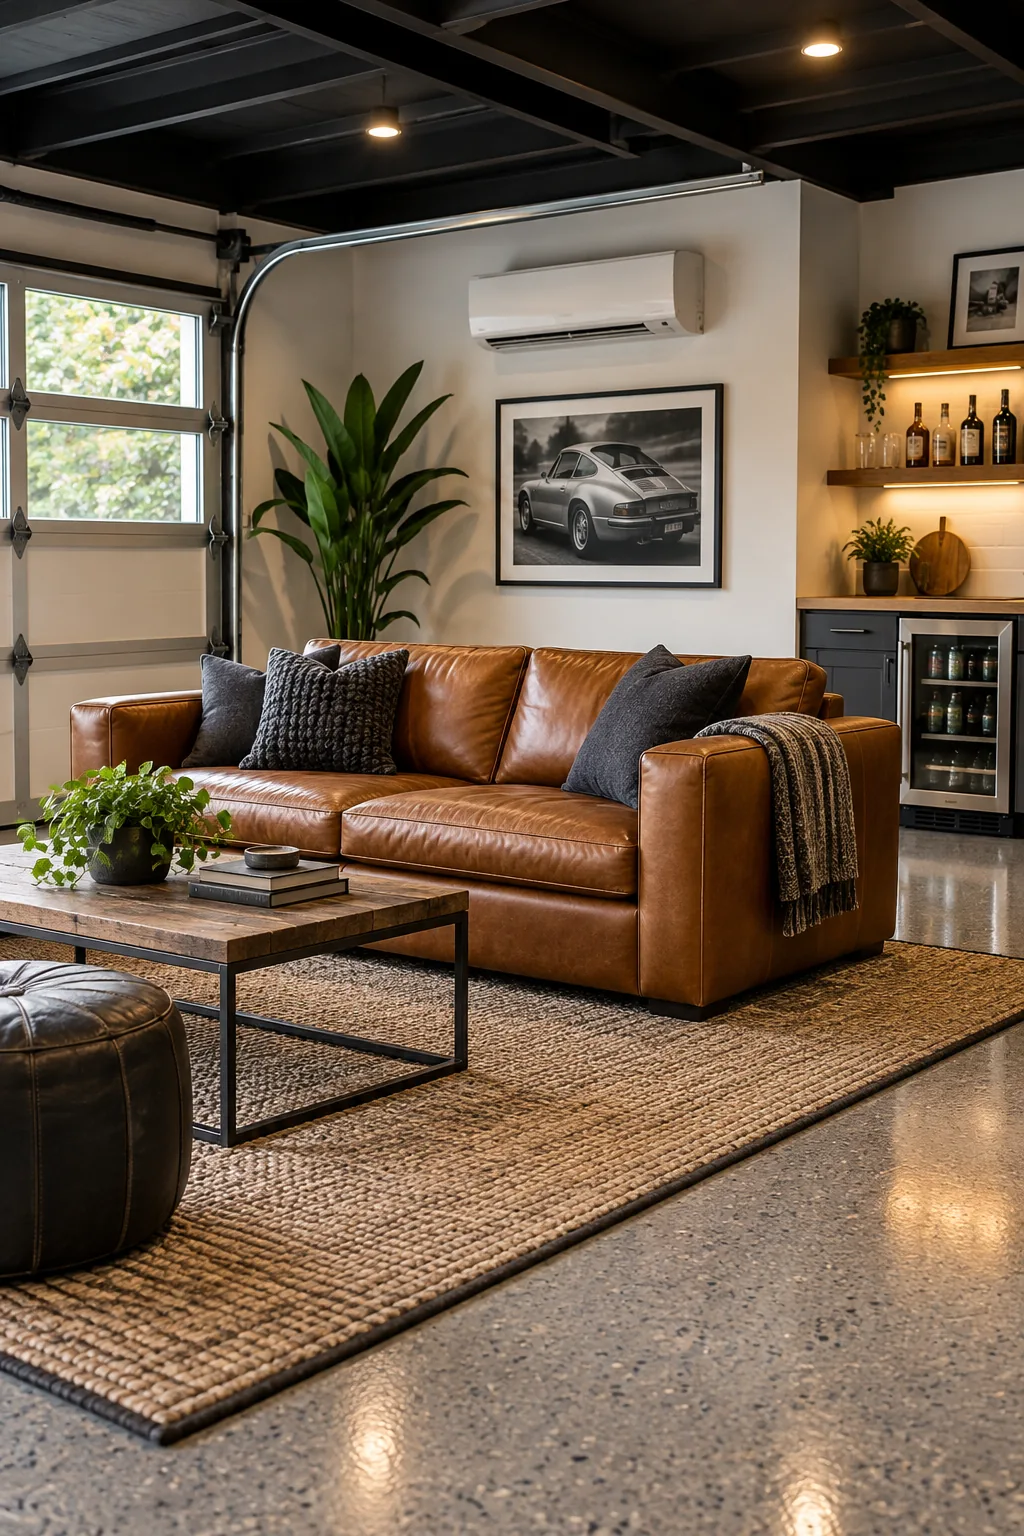
I highly recommend using an 8×10 foot durable indoor-outdoor rug to soften the hard polyaspartic floor and properly anchor the entire sofa arrangement. The heavy texture dampens the room’s natural echo while providing a warm surface for bare feet during movie nights.