
Ladder Shelf Upcycle with Matte Terracotta Paint and Macrame
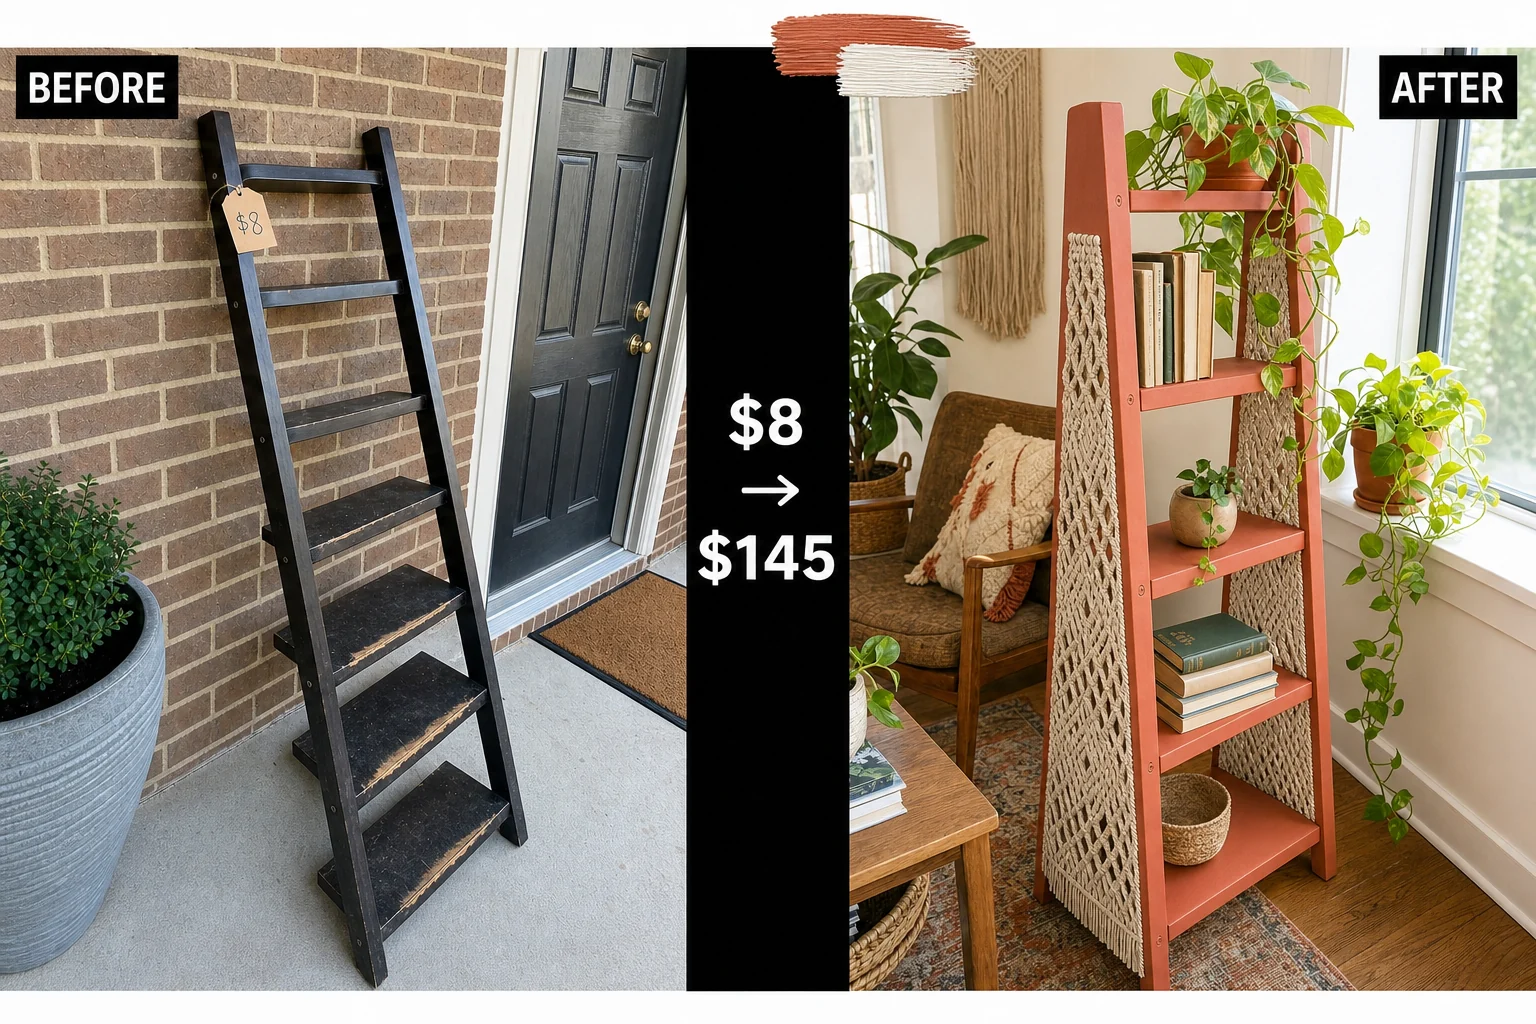
Found on a neighborhood app for eight dollars, this ladder shelf was a quick local listing pickup. We transformed it by stripping the sticky espresso finish, painting the frame matte terracotta, and weaving functional macrame side panels to act as bookends.
Assessing the Ladder Shelf Condition
The tall pine A-frame leaning structure featured five graduated horizontal shelves, measuring seventy-two inches tall and eighteen inches wide. It tapered from fourteen inches deep at the base to six inches at the top. Before beginning the makeover, we audited the solid pine side rails and fixed horizontal rungs to identify the most critical damage requiring repair.
- The side rails were covered in a degraded, sticky espresso lacquer that trapped dust and prevented immediate sanding, requiring chemical deglossing first.
- The front edges of the lowest pine shelves suffered from deep wood gouges and heavy indentations that ruined the smooth profile.
Resale Value and Project Payoff
While standard painted thrift store furniture has a modest ceiling, the addition of functional woven side panels elevates this basic leaning shelf into a boho-style statement piece. Going from a dark, sticky espresso frame to a smooth finish with textured cream macrame bookends commands a premium, yielding a strong return with an estimated resale value of $145.
| Item | Cost |
|---|---|
| Purchase Price | $8 |
| Liquid Deglosser | $9 |
| Epoxy Wood Filler | $8 |
| Matte Terracotta Paint | $22 |
| Cotton Macrame Cord | $15 |
| Total Investment | $62 |
| Estimated Resale Value | $145 |
| Value Gain | $83 |
The transformation from a dark, sticky espresso frame with open sides to a smooth matte terracotta finish completely changes the silhouette. The textured cream macrame side panels spanning the front and back legs provide a signature detail that justifies the higher valuation.
Step 1: Evaluate and Prep the Workspace
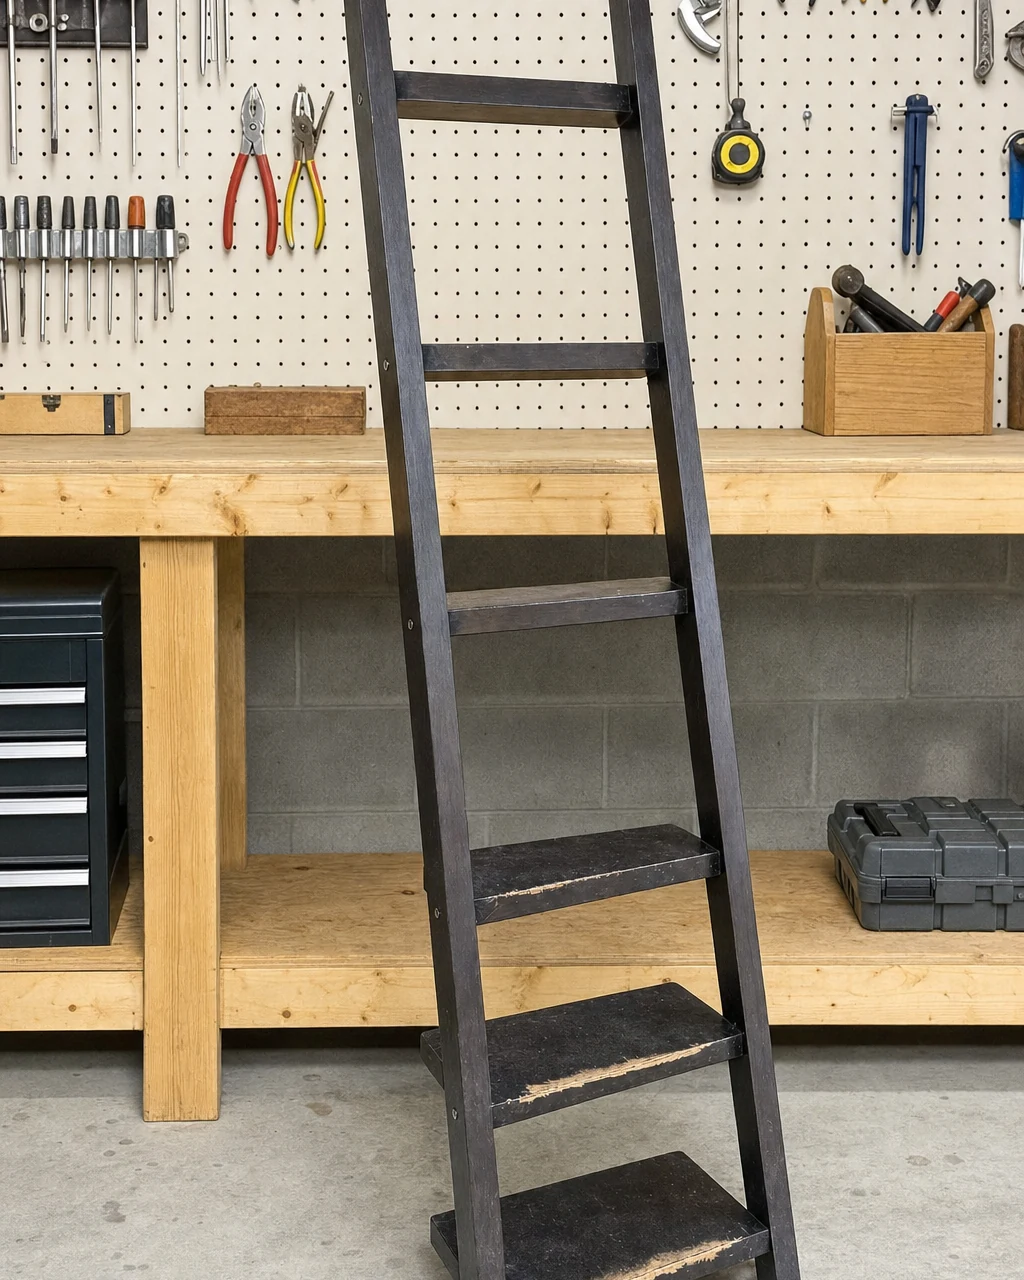
The full espresso ladder shelf sits in the workshop, covered in sticky lacquer and deep gouges. Assess the degraded finish by resting a bare hand on the sticky espresso rung to evaluate the deep gouges under bright overhead garage lighting. Prepare the workspace by laying down a heavy canvas drop cloth, ensuring the garage is well-ventilated before opening chemical deglossers.
Materials checklist
The seventy-two-inch frame features solid pine side rails and fixed horizontal rungs assembled with countersunk screws. Positioning the piece on the drop cloth ensures the concrete floor remains protected while you assess the sticky damage across the five graduated horizontal shelves.
Step 2: Degloss the Sticky Finish
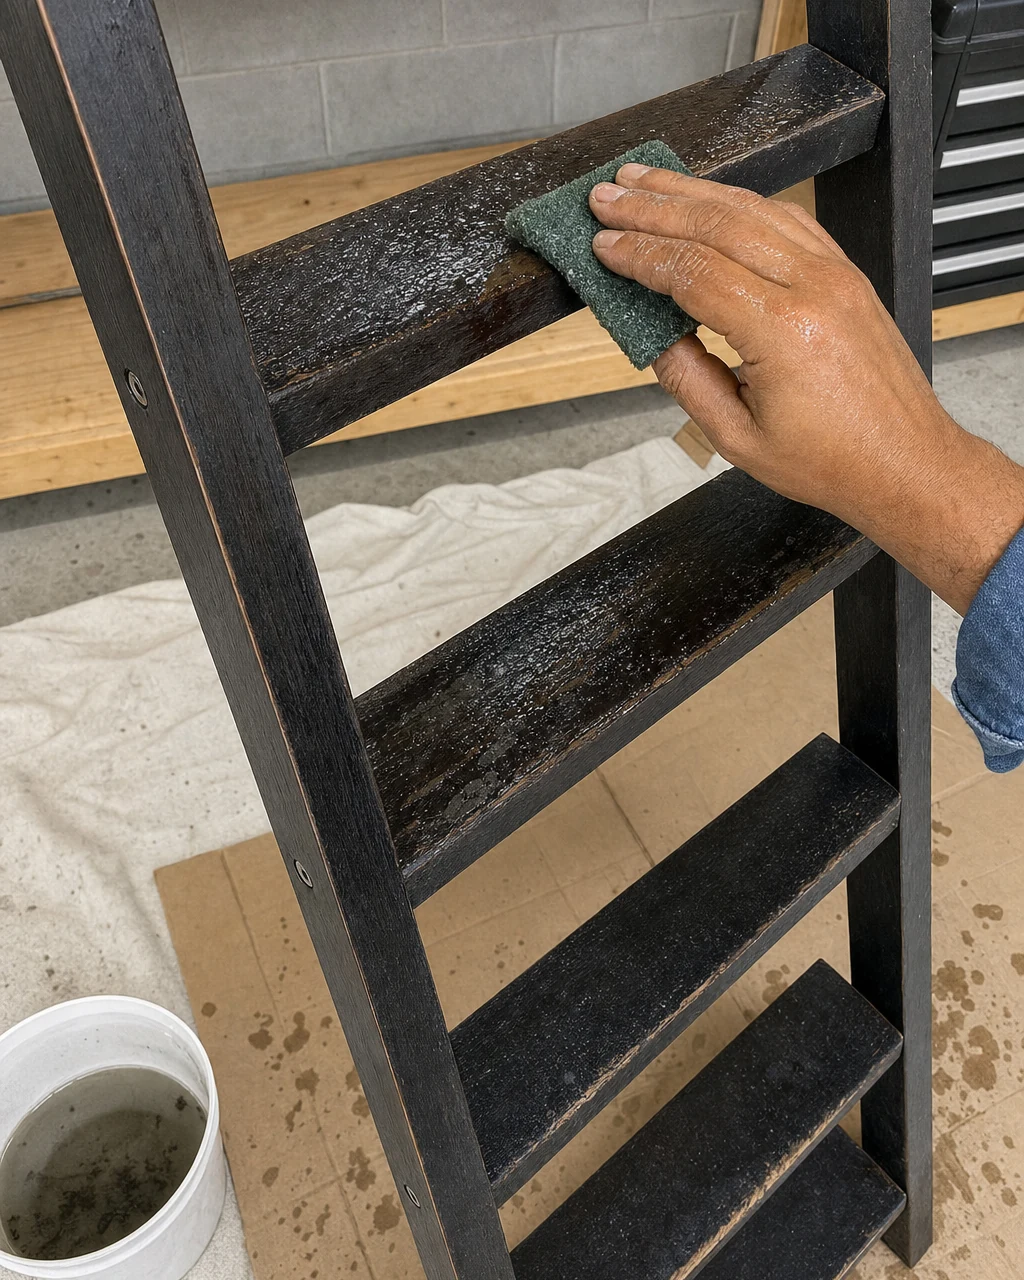
The espresso lacquer is gummy and traps dust, making it impossible to sand directly. Scrub the entire frame, including the top shelf, with liquid deglosser and a coarse abrasive pad to break down the tacky residue. Always wear nitrile gloves and a respirator when handling chemical strippers.
Wiping the dulled surface clean with shop rags ensures the wood is completely free of gummy buildup. Once the degraded finish is broken down, the lacquer is no longer sticky to the touch, preparing the upper side rails for the necessary wood repairs.
Step 3: Fill the Deep Wood Gouges
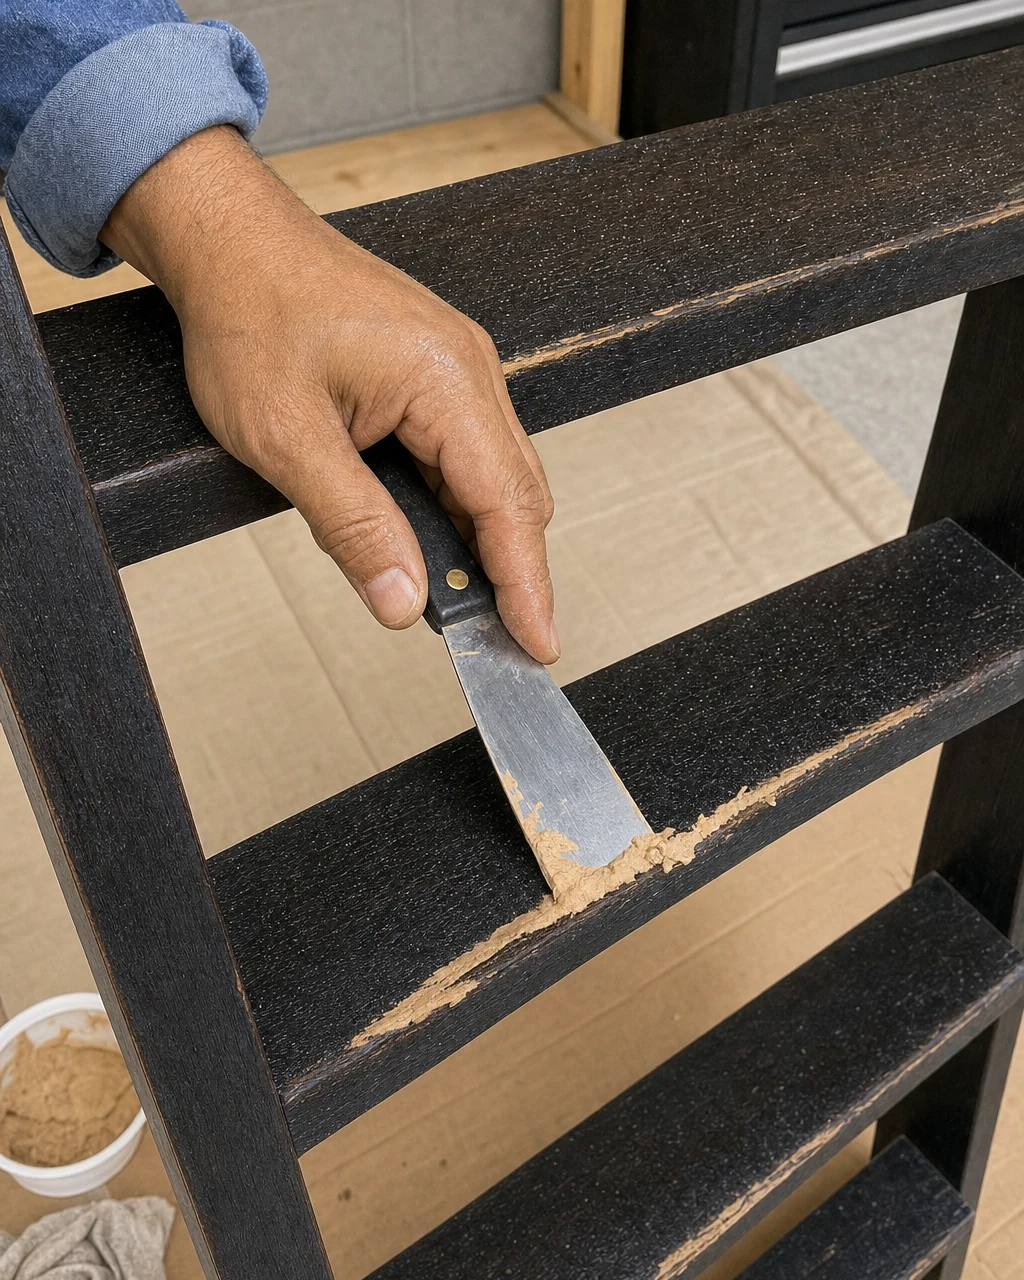
Once the finish is clean and dull, address the deep gouges remaining on the lower shelf edges. Mix the epoxy wood filler in a disposable container to avoid ruining tools, preparing it to pack into the heavy indentations and chipped edges.
- Press the mixed epoxy firmly into the deep gouges on the front edge of a pine rung using a metal putty knife.
- Leave the light-colored filler slightly proud of the surface to ensure full coverage, then allow it to cure for two hours.
Step 4: Sand and Apply Terracotta Paint
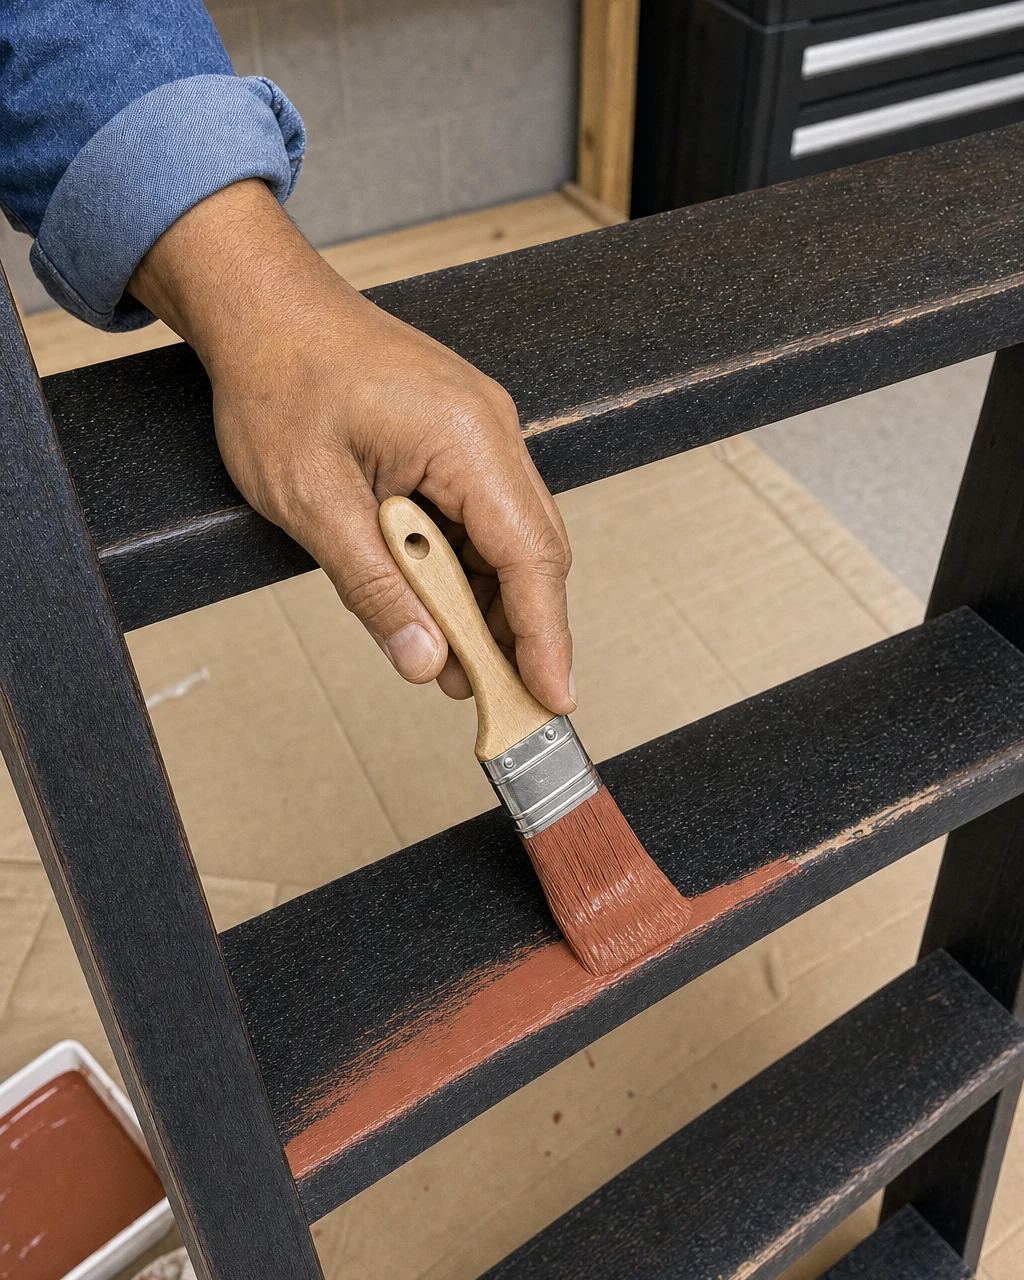
When the wood filler is fully cured and hard, wear a dust mask and sand the filled areas flush using an orbital sander. Wipe away all residual dust. Brush smooth matte terracotta cabinet paint over the sanded pine rung to completely cover the flush wood filler. Apply two coats, allowing four hours of drying time between coats for a smooth, opaque finish.
Step 5: Weave the Macrame Side Panels
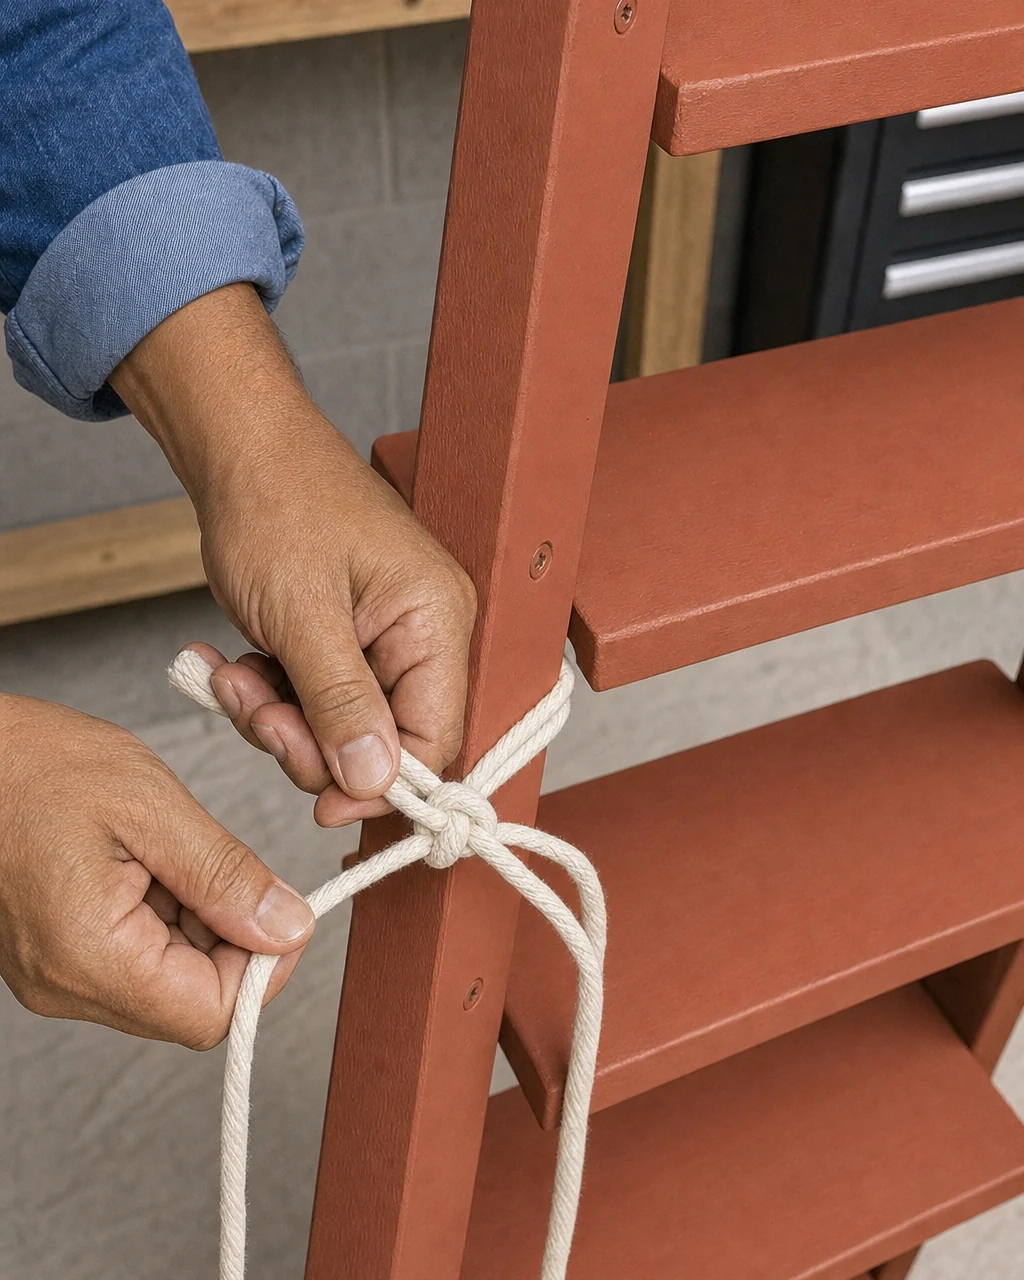
Once the terracotta paint is completely dry and cured, use a measuring tape to cut equal lengths of cotton cord. Pull a tight square knot in the thick cream cotton cord around the painted side rail of the ladder. Tie these square knots between the front and back angled legs to create tensioned, woven side panels spanning the open gaps.
Step 6: Trim the Macrame Fringe
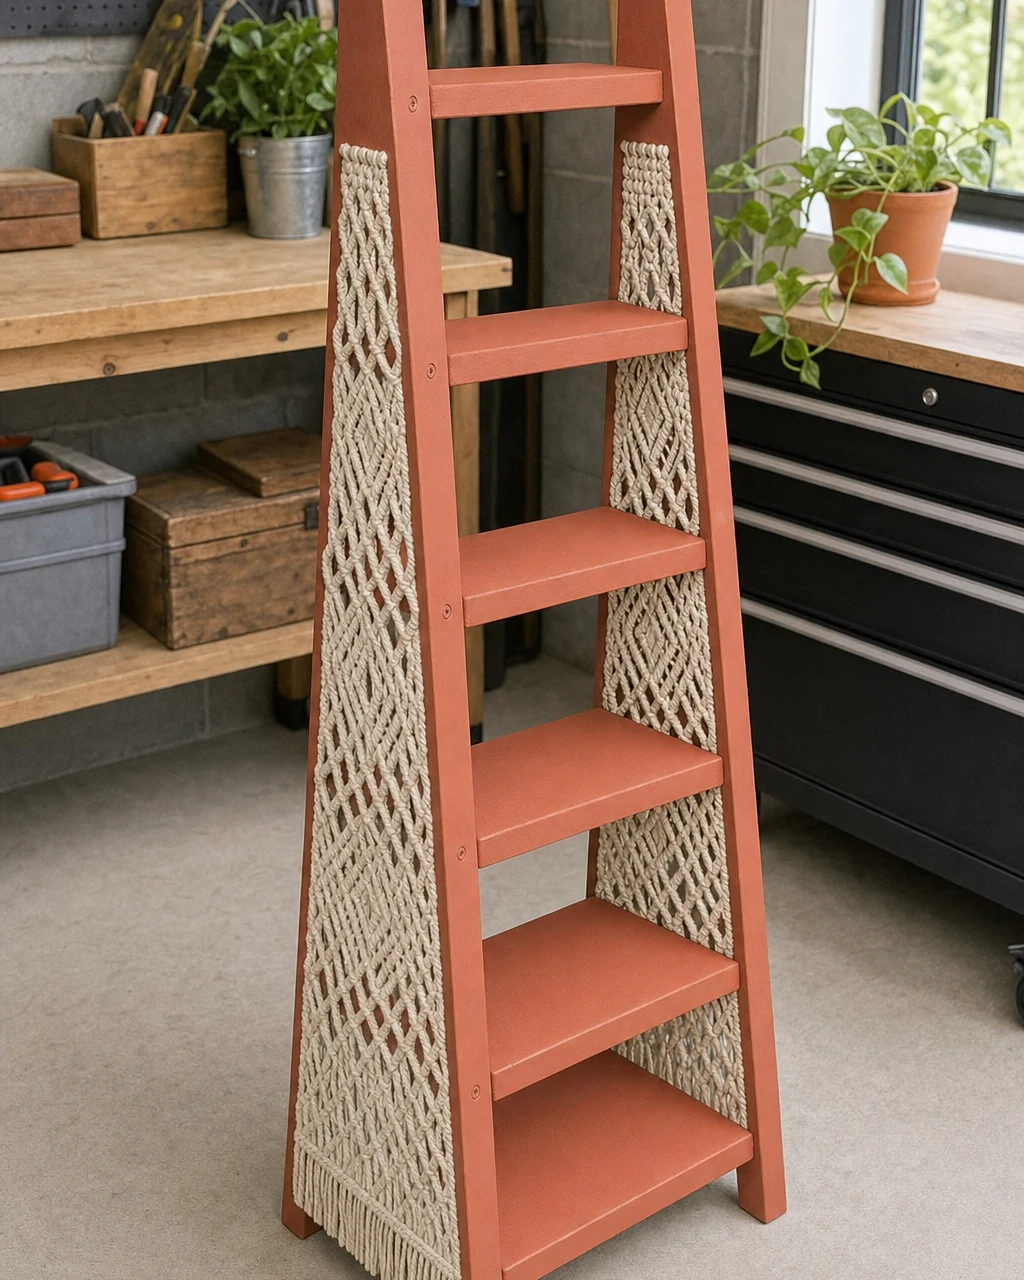
The macrame panels are fully knotted but have uneven hanging cords at the bottom. Comb out the loose cord ends at the base of the woven side panels using a macrame comb. Trim the combed ends into a neat, straight fringe using fabric scissors against the terracotta frame. Use sharp fabric scissors to prevent the cotton cord from pulling or snagging.
Step 7: Style the Upcycled Shelf
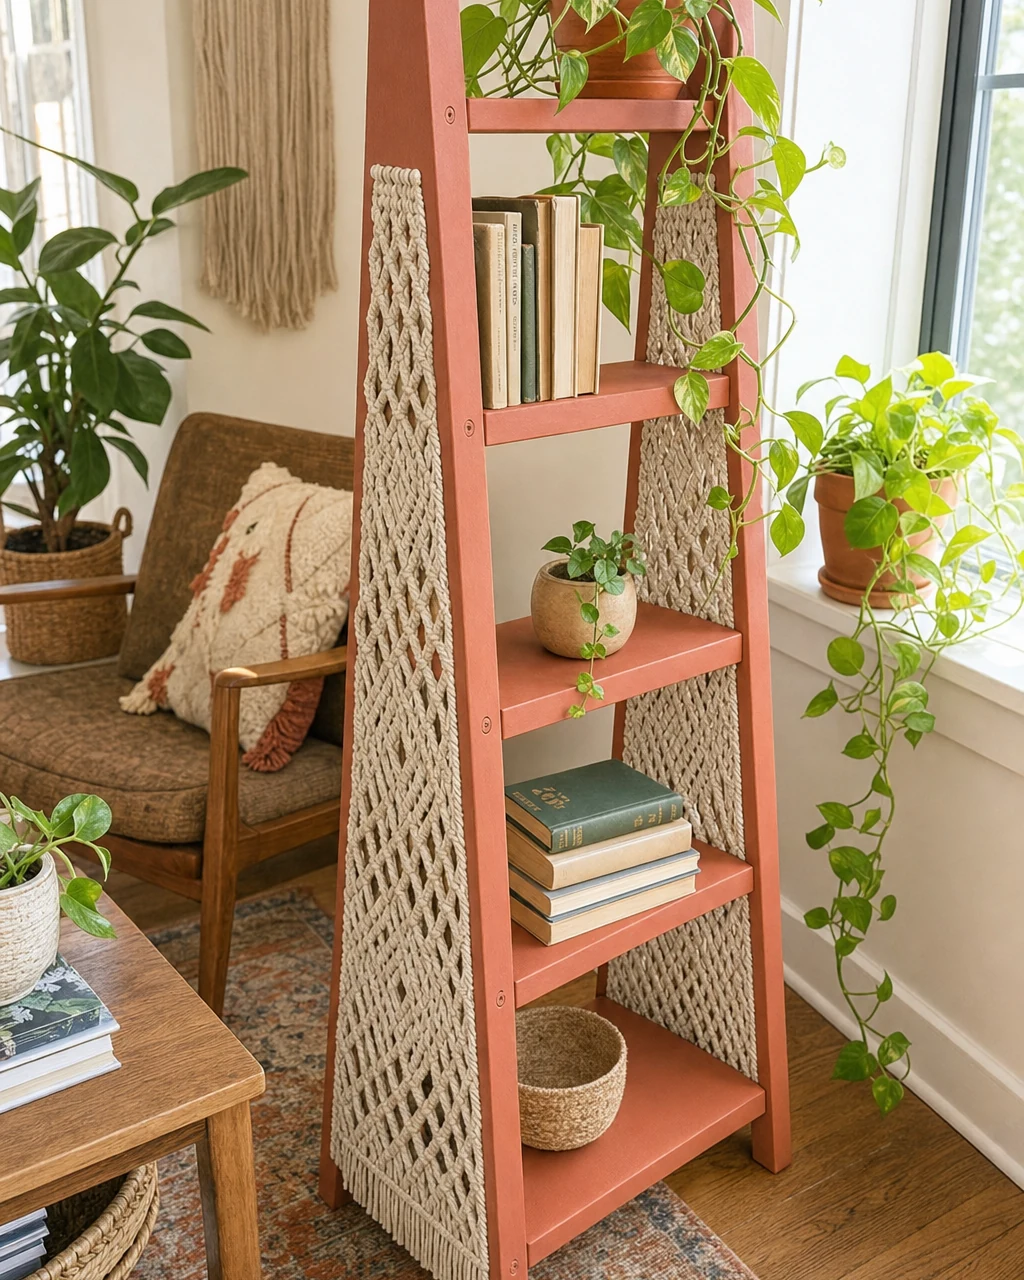
The completed terracotta and macrame shelf is ready for use. Move the finished piece into a bright living room, using a basic hand tool to adjust any leveling feet. Load the shelves with heavy books, utilizing the new tensioned macrame sides as functional bookends. Adjust a trailing pothos plant on the top terracotta shelf, placing the heaviest items on the bottom for structural stability.