
Corner Shelf Transformation into a Faux-Concrete Monolith
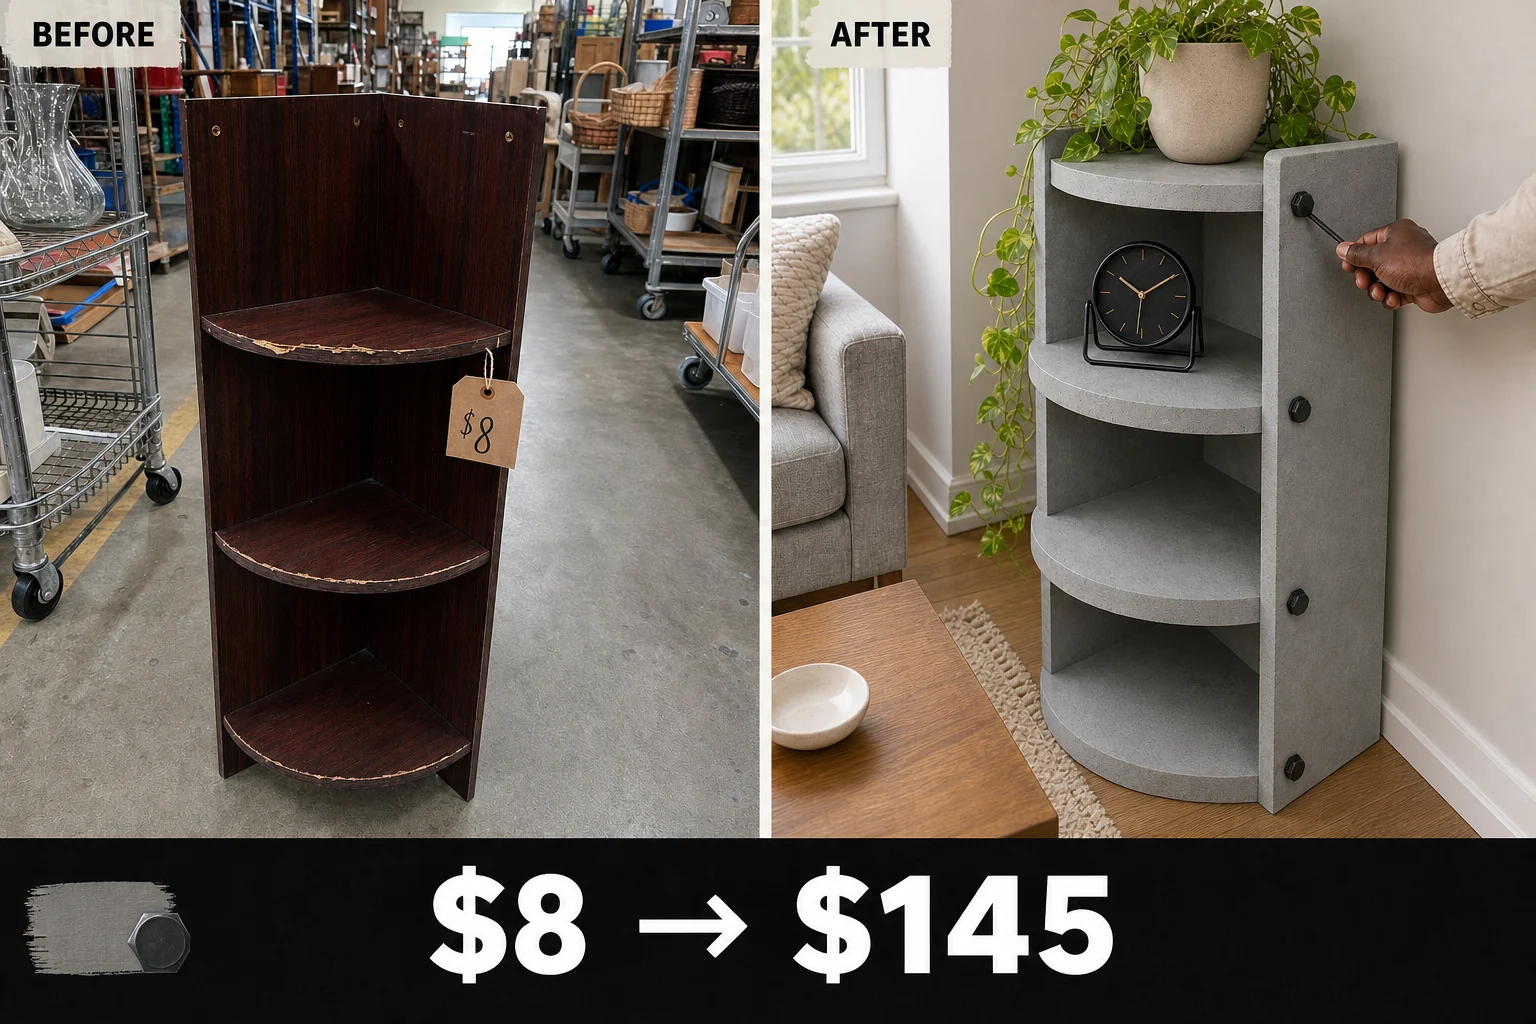
Found leaning against a rolling cart at a community reuse center, this wobbly laminate corner shelf was priced to move. We coated it in microcement and added oversized industrial hardware for a heavy, monolithic brutalist aesthetic.
Assessing the Wobbly Laminate Frame
Found in a severely degraded state, this corner unit required a comprehensive condition audit before any plastering could begin. The distinctive damage dictated our transformation strategy.
- The original countersunk screws spin in place, causing the frame to shift. Larger hardware is needed for stability.
- Flaking mahogany finish exposes raw particleboard on the front curves, requiring a thick textured coating.
- The glossy mahogany woodgrain finish demands heavy scuffing and a bonding primer before plaster can adhere.
Project Costs and Materials
Transforming this cheap dorm furniture into a trendy brutalist accent requires a few specialized supplies. The heavy industrial hardware easily justifies the estimated resale value, which is an editorial estimate rather than a completed sale.
| Item | Cost |
|---|---|
| Purchase Price | $8 |
| Black Hex Bolts | $12 |
| Sanding Sponge | $5 |
| Bonding Primer | $15 |
| Concrete Texture | $25 |
| Total Materials | $57 |
| Total Investment | $65 |
| Estimated Resale Value | $145 |
| Value Gain | $80 |
Materials checklist
Step 1: Find the Weak Spots
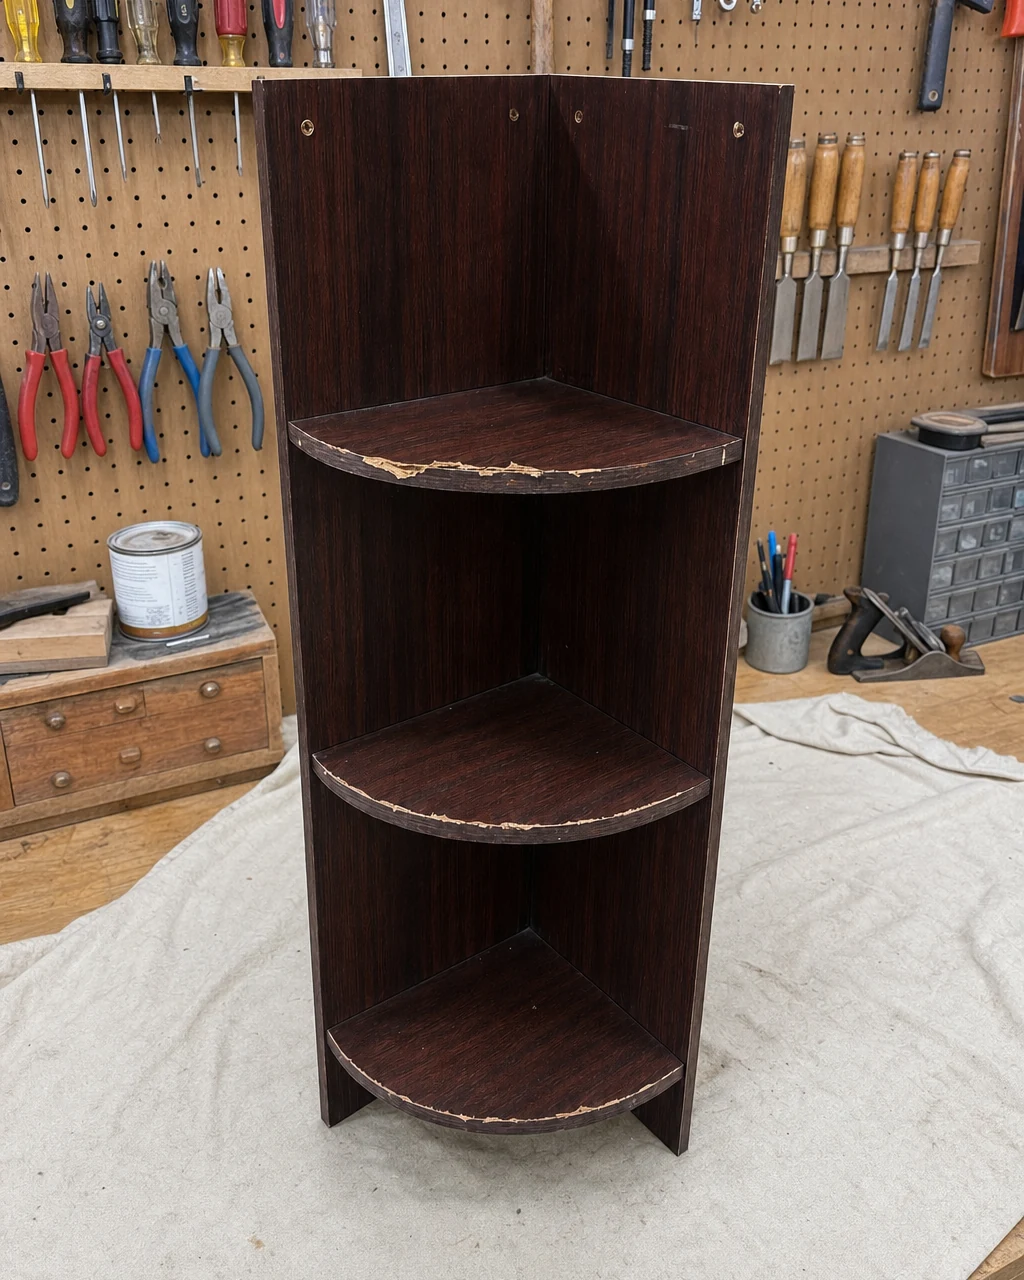
Evaluate the wobbly laminate shelf on the workbench to locate the stripped joints and chipped edges. Use your hands to test the frame’s movement and identify every loose connection. The glossy dark mahogany woodgrain laminate hides some damage, making a thorough tactile inspection absolutely essential.
Identifying Structural Flaws
The 90-degree corner footprint and fixed spacing between the three tiers are immutable features, but the loose particleboard joints must be addressed. Ensure the workbench is stable before testing the wobbly frame to prevent accidental drops.
Step 2: Add Industrial Hardware
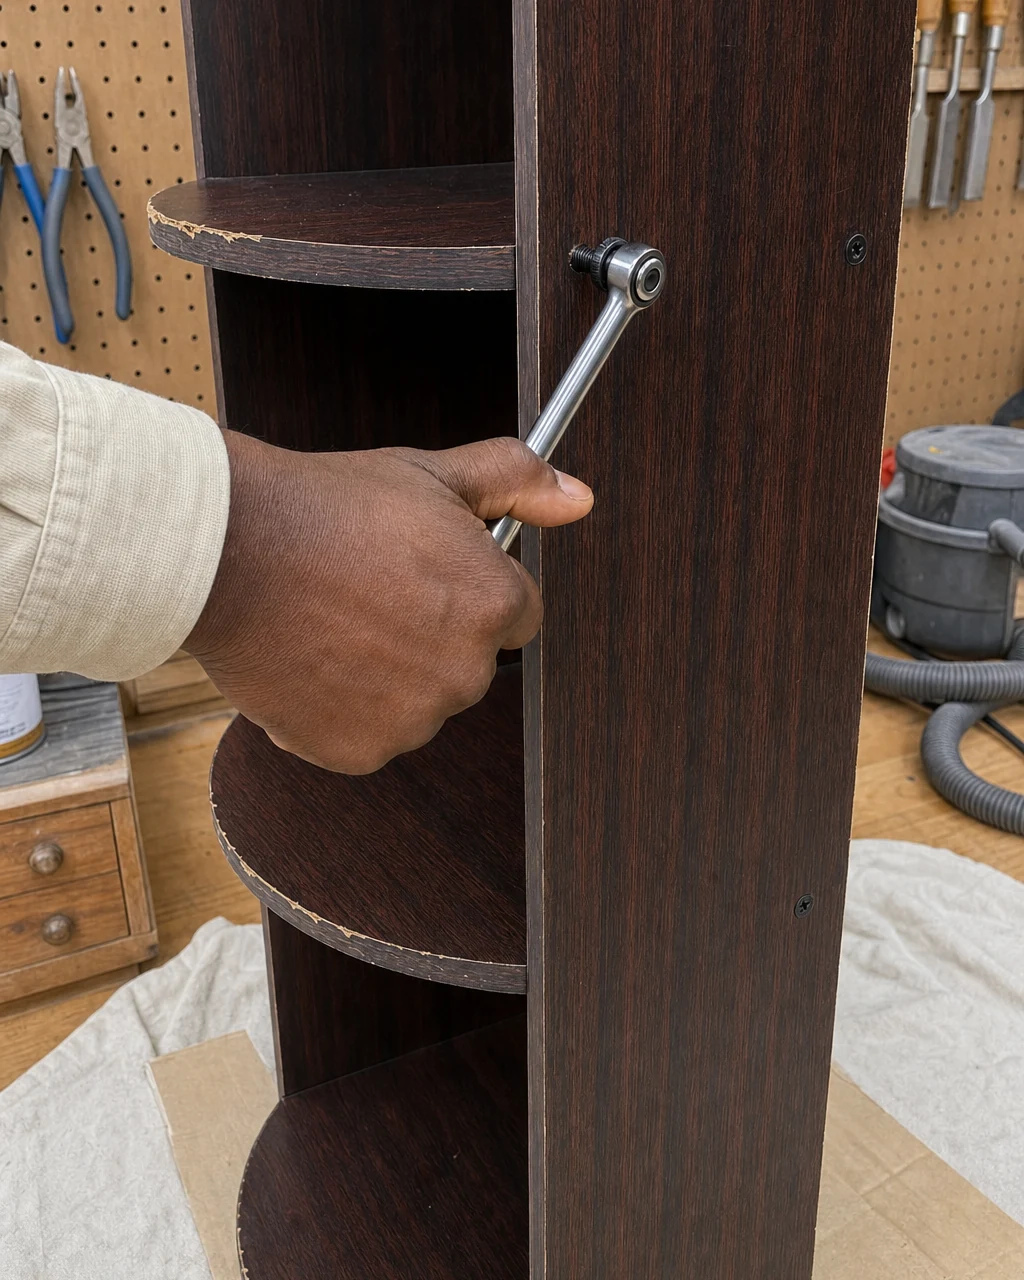
Replace the spinning original screws with thicker black lag bolts using a socket wrench. This crucial step locks the wobbly frame permanently in place while adding an exposed industrial detail to the joints. The oversized black hex bolts transform the basic particleboard construction.
Driving these large fasteners requires steady pressure to properly seat the hardware against the vertical rectangular side panels. Do not overtighten bolts in particleboard to avoid splitting the manufactured wood.
Step 3: Prep the Slick Surface
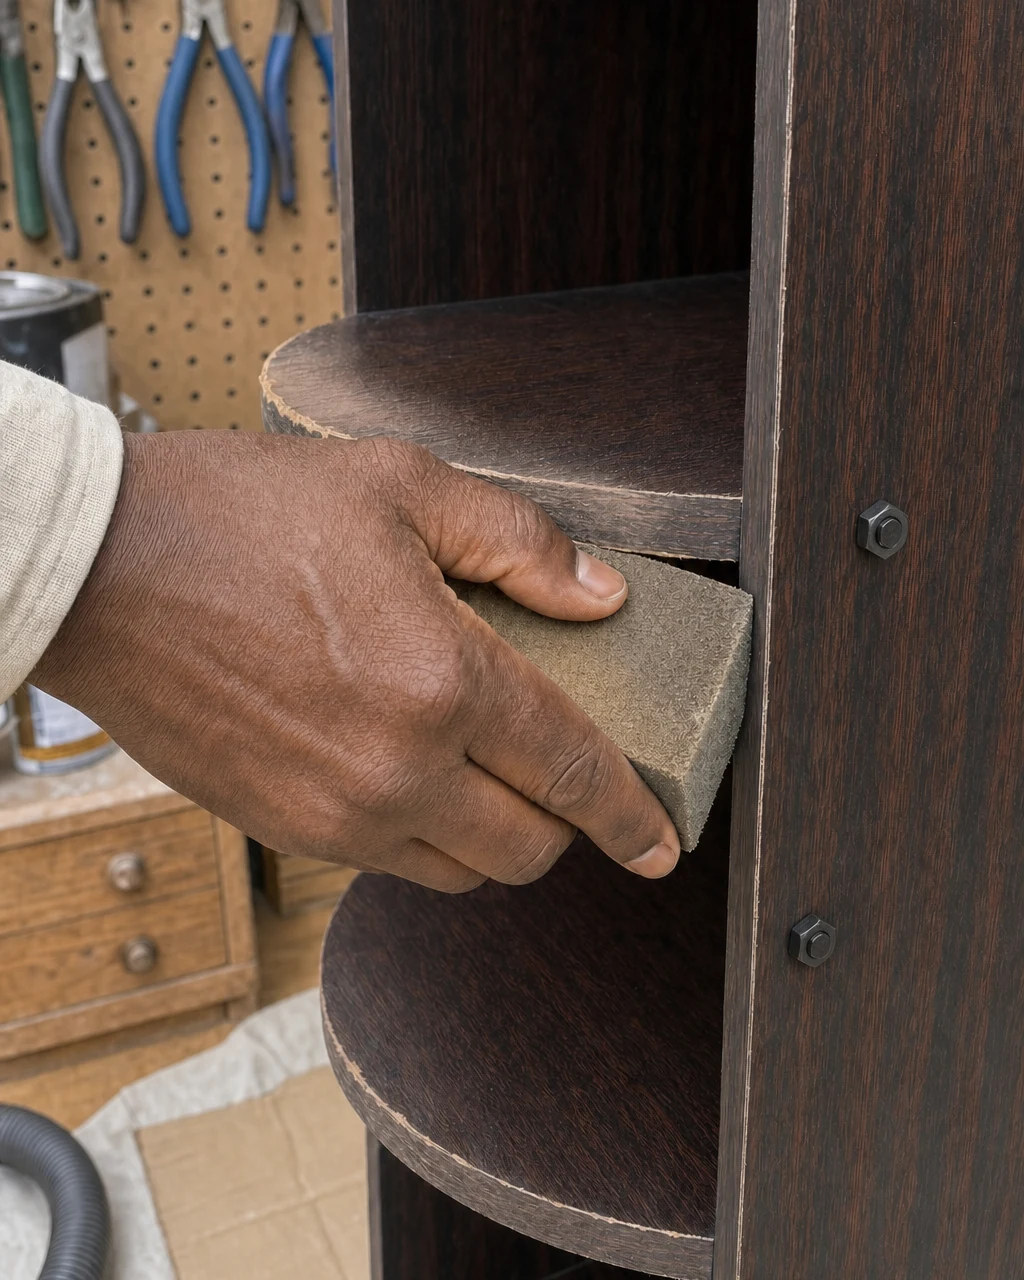
Press a coarse sanding sponge firmly along the chipped front edge and flat surfaces of the mahogany laminate. Sanding dulls the gloss and creates a rough mechanical key necessary for the primer to grip. This aggressive surface scuffing is vital for transitioning to raw stone.
Creating a Mechanical Key
Focus extra attention on the flaking mahogany finish exposing raw particleboard on the front curves. Wear a dust mask when sanding laminate to avoid inhaling plastic particles. Proper preparation ensures the subsequent layers bond securely to the slick non-porous surface.
Step 4: Prime for Adhesion
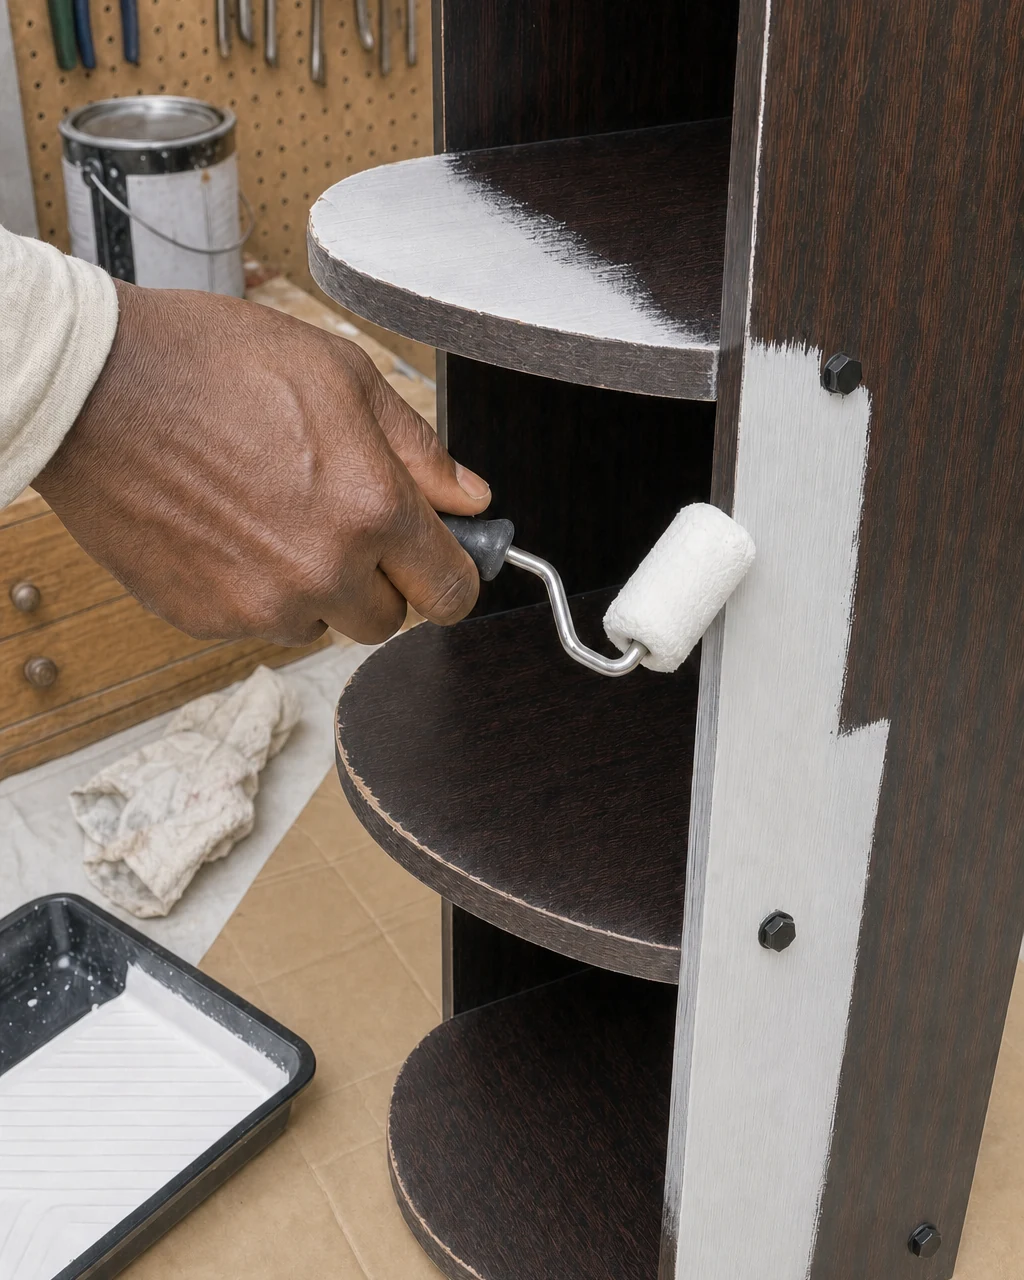
Roll a thick layer of heavy-duty bonding primer over the scuffed dark mahogany surface using a small foam roller and paint tray. This opaque white layer ensures the heavy plaster will adhere to the slick laminate without peeling.
Applying the Bonding Layer
Coat the top tier and upper side panels evenly, working the primer into the heavily scratched areas for maximum grip. Work in a well-ventilated area when applying solvent-based bonding primers to minimize fume exposure. Allow this foundation to dry completely.
Step 5: Apply the Concrete Texture
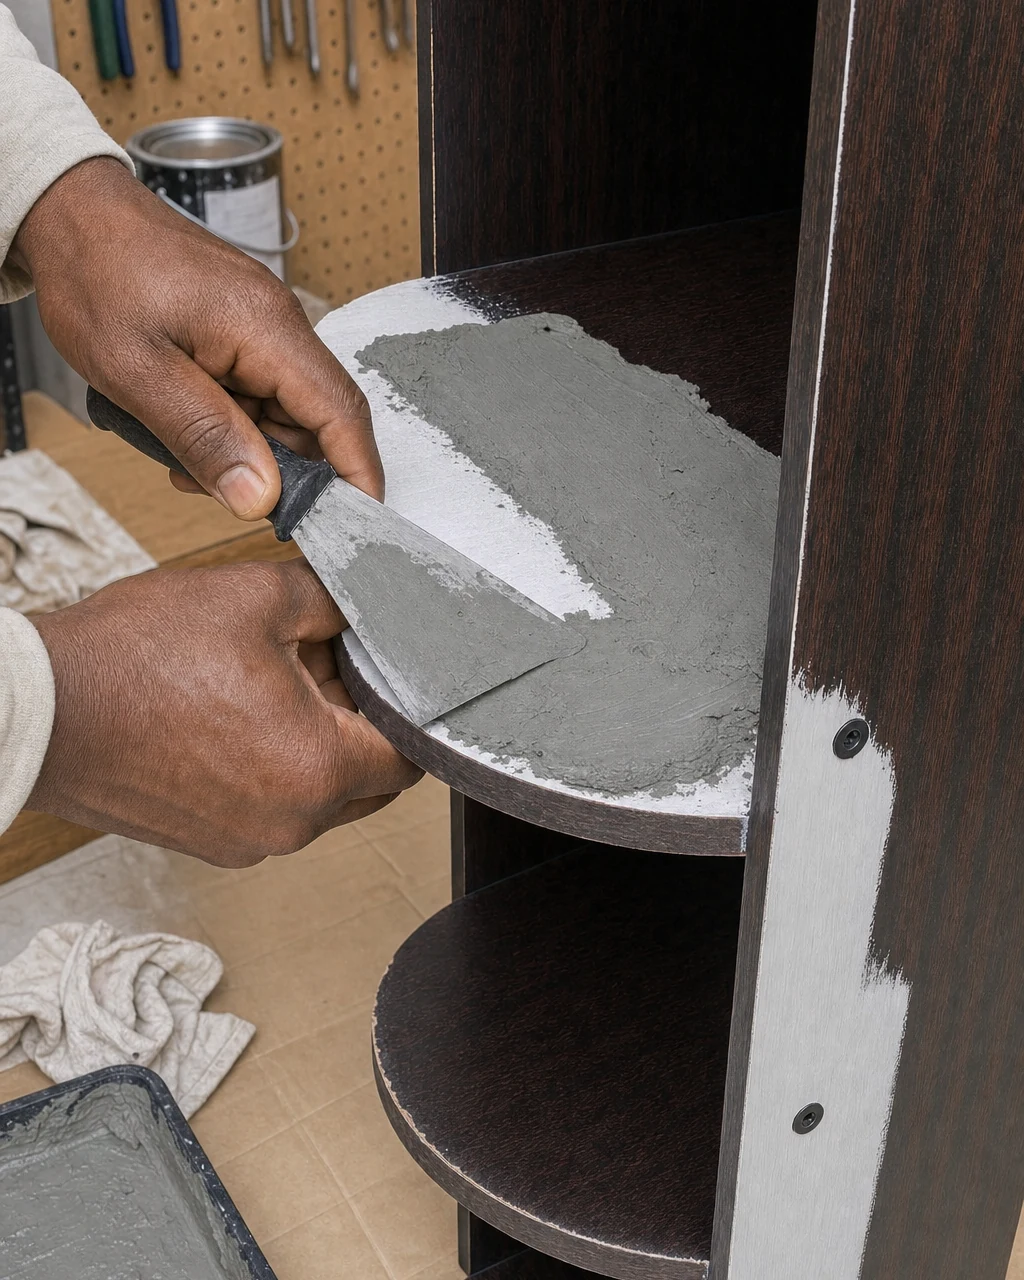
Spread a thick layer of concrete-tinted microcement over the primed wood using a steel putty knife. Carefully work the wet, textured gray plaster around the exposed bolt heads to build the faux-concrete brutalist finish.
Apply the plaster generously across the middle tier and its intersection with the side panel. Wear gloves to protect skin from the drying effects of cementitious plaster. The goal is a matte, heavily textured surface that mimics a solid concrete monolith.
Step 6: Check the Cured Finish
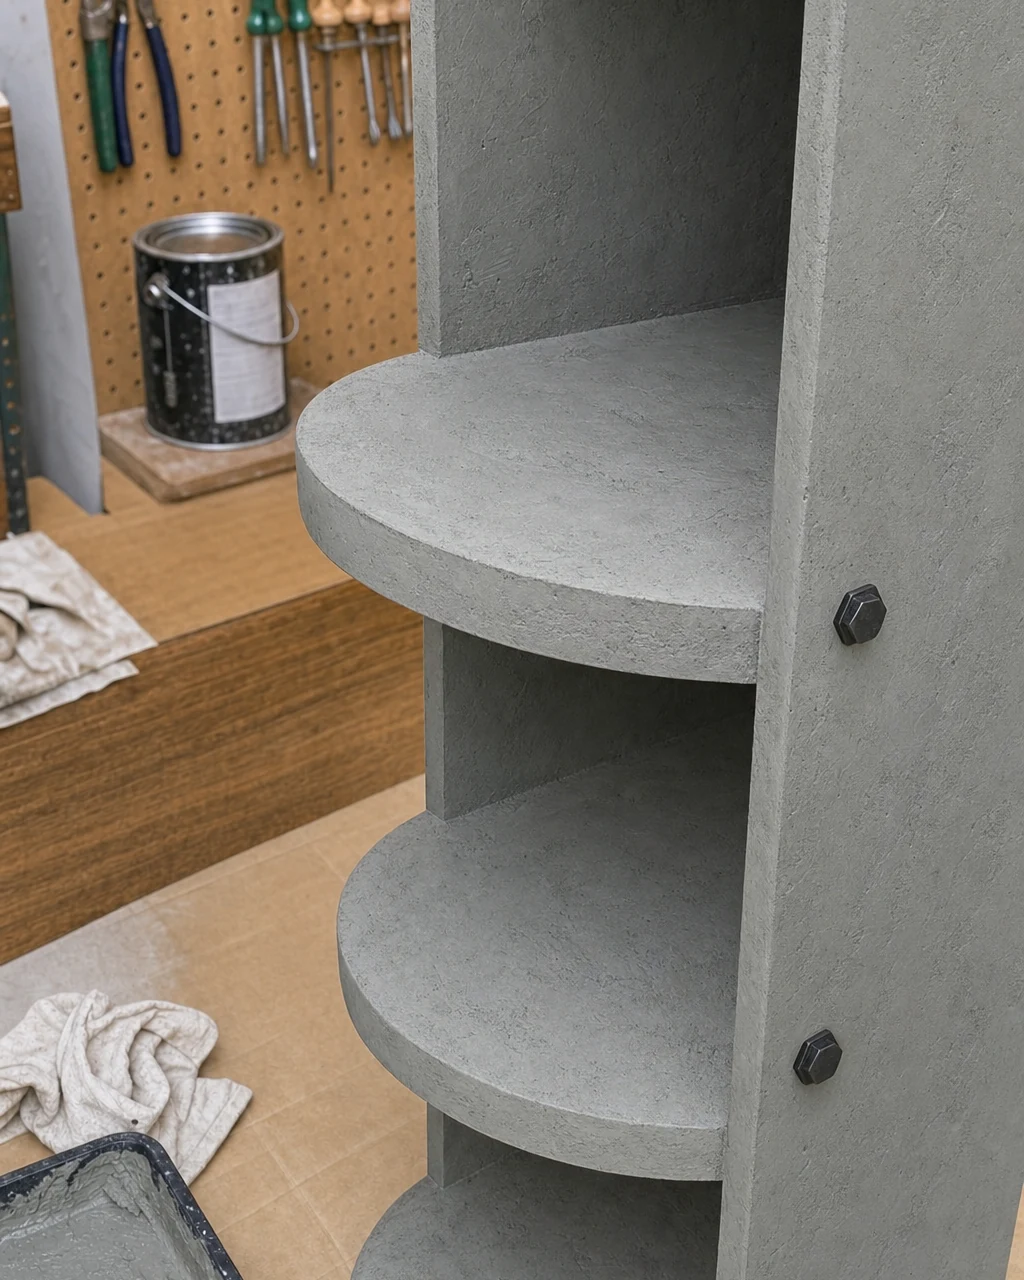
Inspect the fully cured, monolithic faux-concrete surface in the workshop under bright task lighting. Verify that the matte gray finish looks and feels like a solid piece of cast concrete before moving it indoors.
Verifying the Texture
Rest a hand on the fully cured top tier to confirm the plaster has hardened into a durable faux-concrete shell. Ensure the plaster is completely dry before handling to prevent fingerprints or smudges on the raw gray stone finish.
Step 7: Style the Brutalist Piece
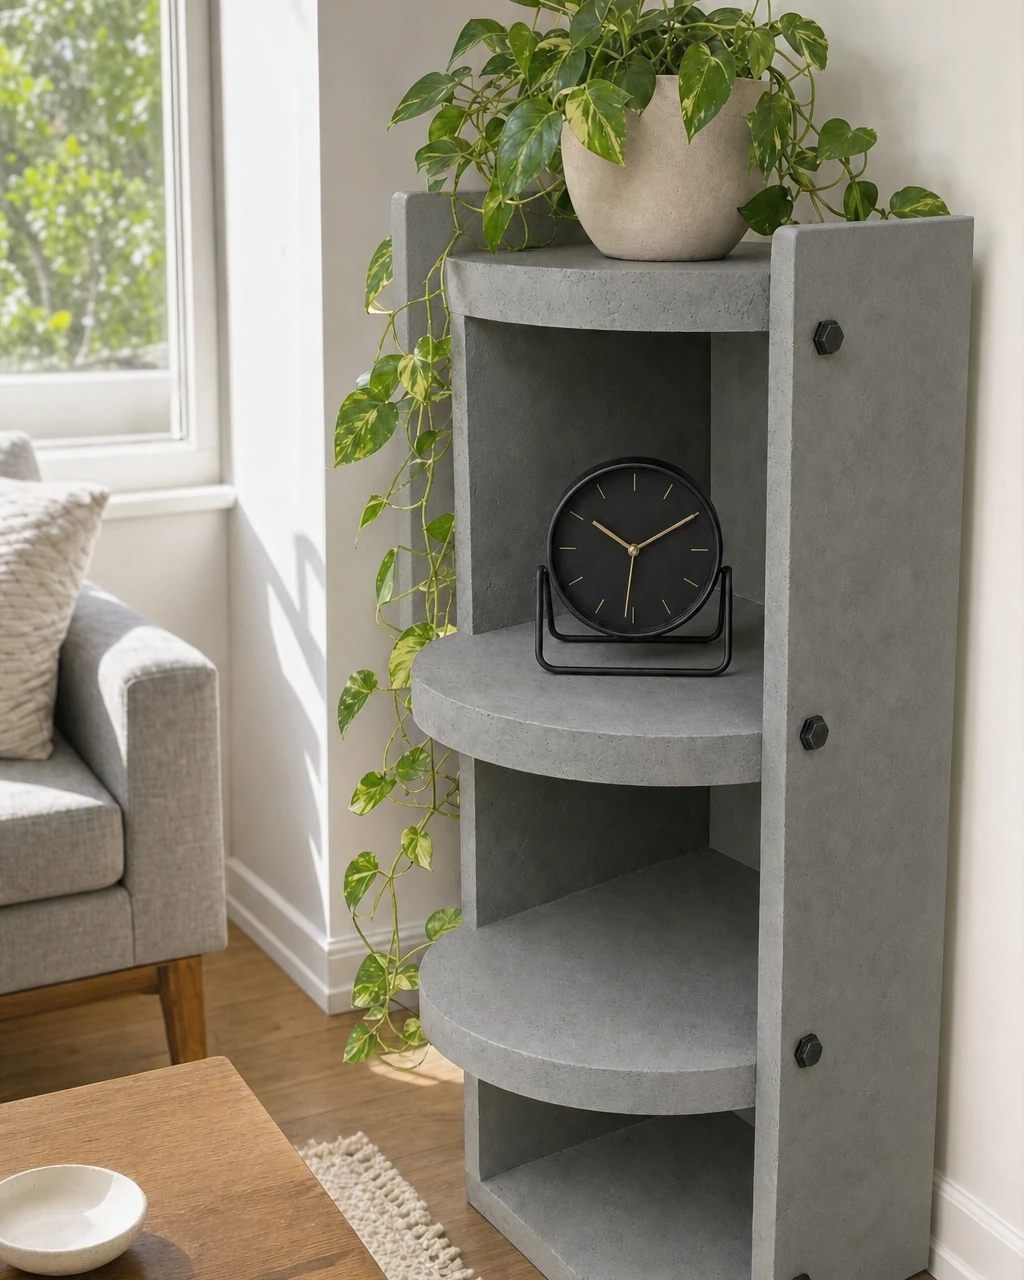
Position the heavy-looking brutalist piece in a minimalist living space to maximize its visual impact. Place stark, simple decor like a black metal clock onto the tiers to highlight the shelf as a striking architectural feature.
Displaying the Monolith
Treat the finished piece as a sculptural statement, allowing the oversized exposed black hex bolts to stand out. Lift from the bottom tier to support the weight of the piece when making final adjustments. This faux-concrete microcement method turns basic storage into high-end modern decor.
Brutalist Market Value
The specialized microcement finish and heavy industrial hardware elevate this from a disposable dorm piece to a trendy brutalist accent. This striking architectural aesthetic commands a premium in modern decor markets, easily justifying the estimated $145 resale value.
Return on Investment
Investing just $57 in materials yields a remarkable value gain of $80. While this estimated resale value represents an editorial estimate rather than an actual sale, the 2.23 value multiple highlights the profitability of this transformation.