
Wooden Trivet Thrift Flip with a Bold Botanical Decoupage
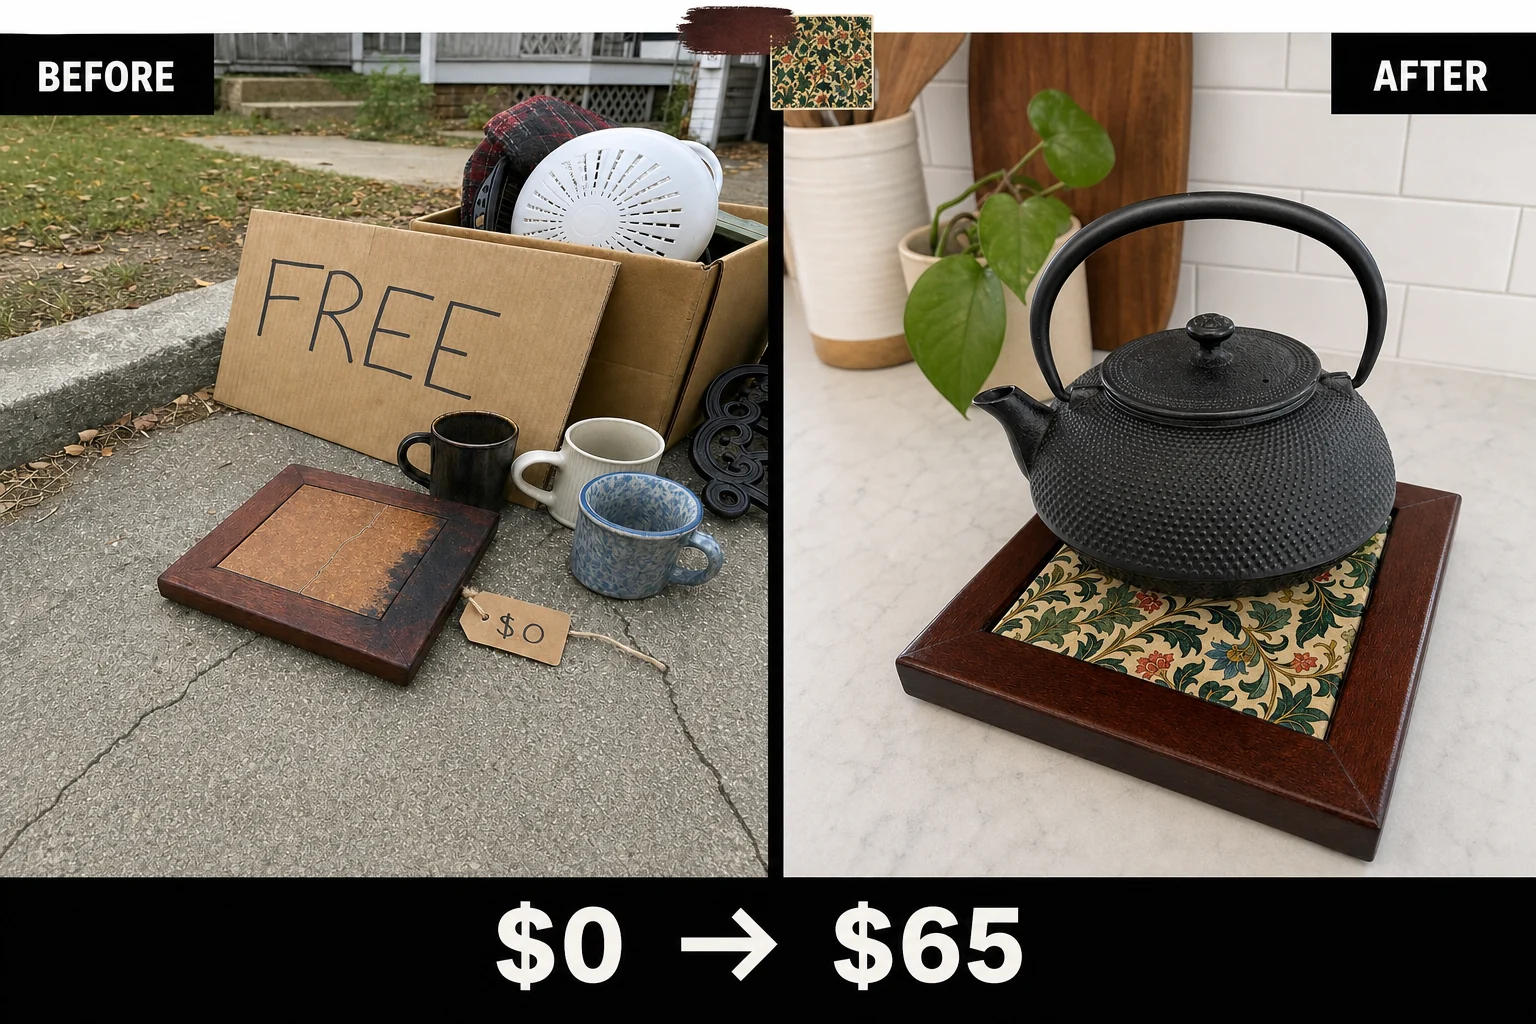
Spotted at the bottom of a neighborhood curbside free pile, this scorched mahogany trivet was destined for the trash. We filled the cracked 1970s tile and decoupaged it with a bold botanical print while restoring the charred wooden border to its original glory.
Assessing the Curbside Trivet Damage
Before beginning any restoration, it is crucial to evaluate the exact condition of the piece on your workbench. This heavy wooden frame and its fixed inset tile presented two distinct challenges that required different repair strategies to ensure a durable, heat-resistant final product that could withstand daily kitchen use.
- Primary structural issue: The center glazed tile suffered a deep hairline fracture running diagonally across its surface, which traps moisture and creates an uneven base that would easily tear delicate decoupage paper.
- Secondary cosmetic damage: The solid mahogany border featured severe, blackened heat scorch marks burned deeply into the wood, ruining the original finish and creating an unsightly, uneven edge profile.
Valuation and Resale Potential
Solid mahogany kitchen accessories command a premium on the secondhand market, especially when fully restored to their natural luster. The heavy weight of the wood provides a high-quality, durable feel that buyers immediately appreciate when handling the piece. Restoring the wood grain rather than painting over it preserves this inherent material value.
| Item | Cost |
|---|---|
| Purchase Price | $0 |
| Two-part epoxy filler | $6 |
| Medium-grit sanding block | $4 |
| Decoupage glue | $5 |
| Decorative craft paper | $3 |
| Heat-resistant clear polyurethane | $12 |
| Total Investment | $30 |
| Estimated Resale Value | $65 |
| Value Gain | $35 |
Adding a custom heat-sealed botanical design elevates this from a basic thrift find to an artisan-style homeware piece. This combination of rich wood and a vibrant pattern justifies the estimated sixty-five dollar resale value. Please note that this valuation remains an editorial estimate rather than a guaranteed completed sale.
Step 1: Assess the Damage
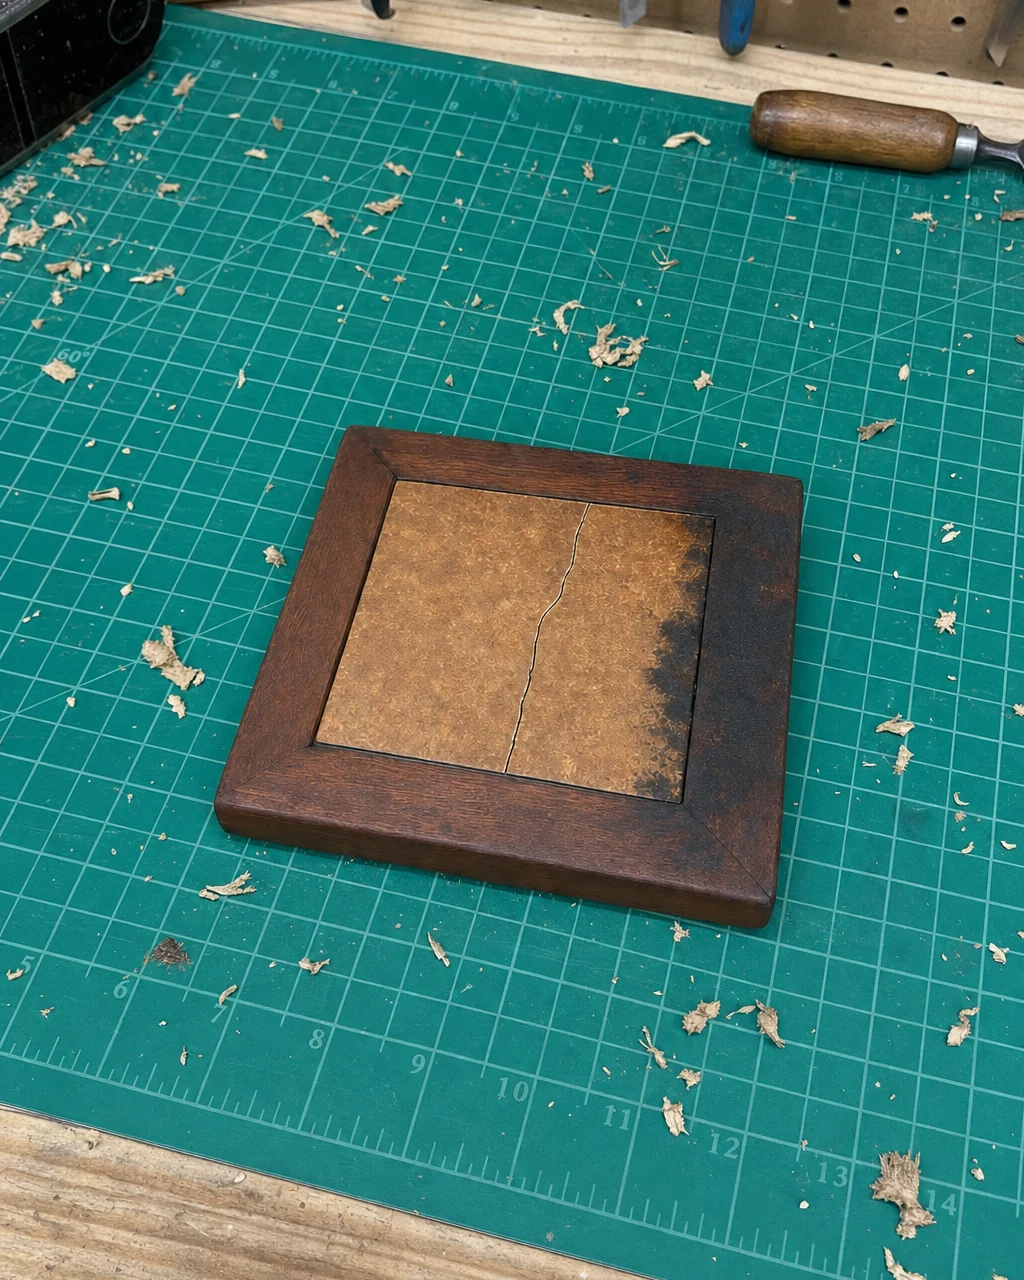
Place the trivet on a flat workbench to evaluate the depth of the scorch marks and the stability of the cracked tile. Wipe the surface down with a lint-free cloth to remove any loose debris. Ensure the cracked tile has no loose, sharp shards before handling the piece to prevent accidental cuts during the initial inspection.
Materials checklist
Step 2: Level the Cracked Tile
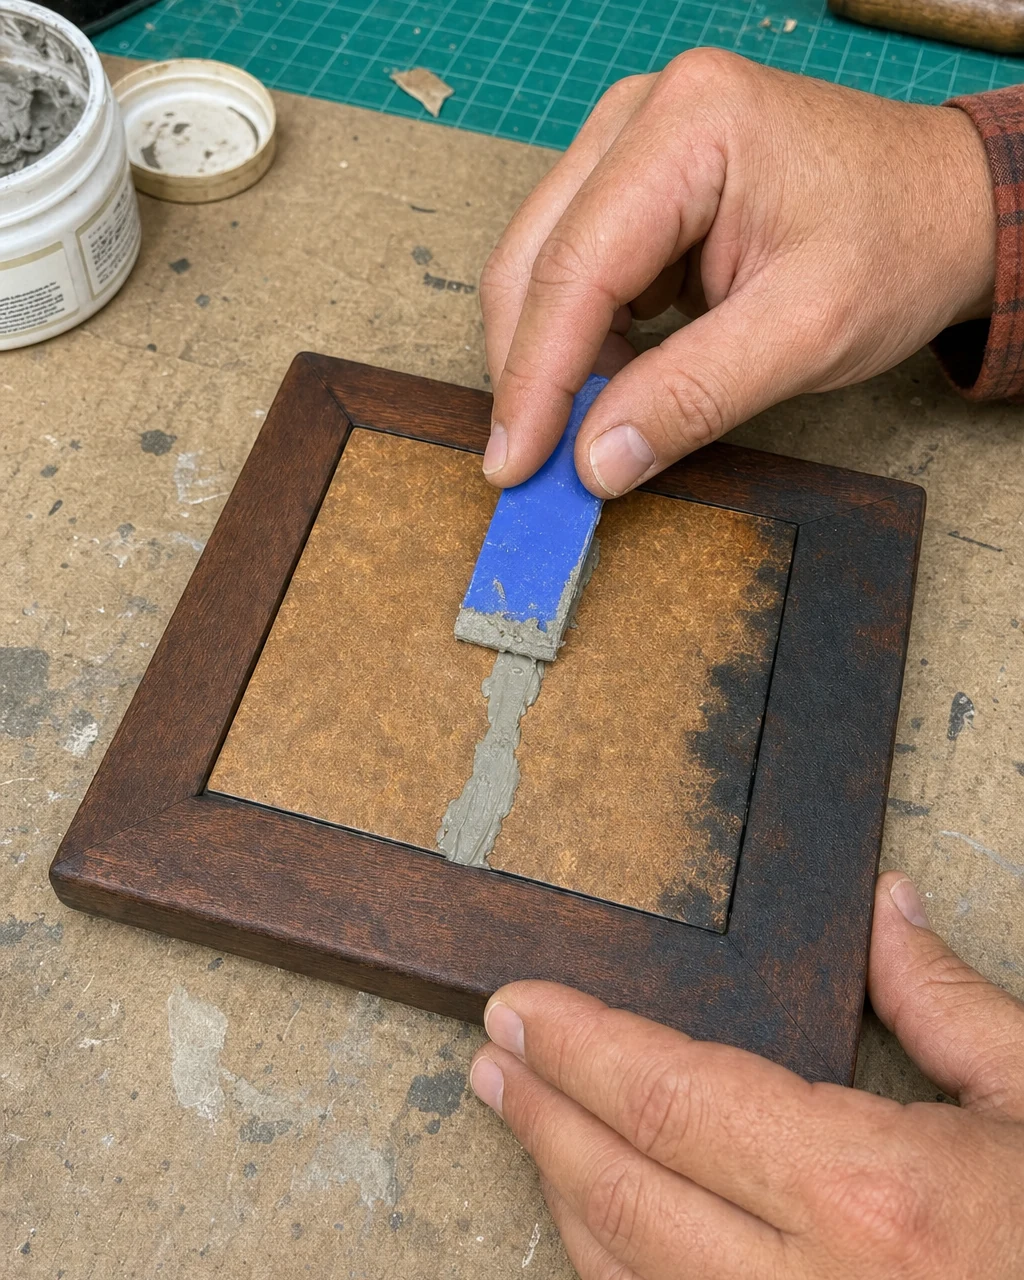
Mix the two-part epoxy putty and use a plastic putty knife to scrape it firmly across the cracked ceramic tile. Press the filler deep into the hairline fracture to ensure a strong bond. Always wear nitrile gloves when mixing and applying two-part epoxy putty to protect your bare skin from harsh chemical irritation and allergic reactions.
Smooth the surface so the filled crack is completely flush with the surrounding glaze. A perfectly flat base prevents the new decorative paper from tearing or showing unsightly ridges once the decoupage medium dries. Look for a quick-curing, sandable epoxy putty that bonds well to ceramic and porcelain surfaces for the best long-term results.
Step 3: Sand the Scorch Marks
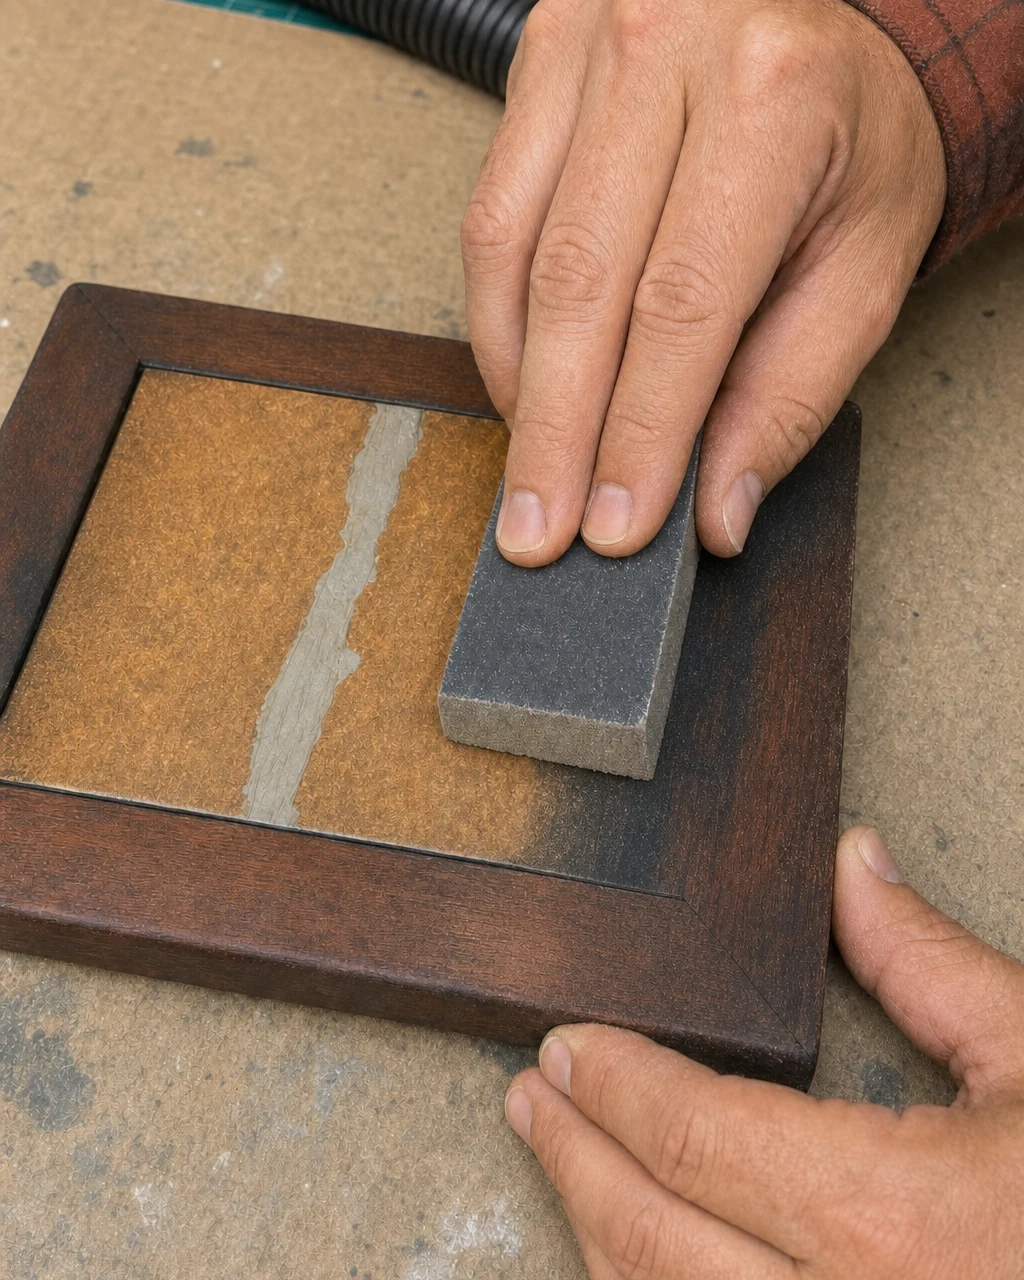
Push a medium-grit sanding block firmly along the scorched mahogany border to grind away the charred wood. Focus on applying even pressure to maintain a flat, uniform edge profile. Continue sanding until the blackened rings are completely gone, revealing the clean, raw wood underneath. Removing this charred layer exposes the beautiful natural grain. Always wear a dust mask to avoid inhaling fine hardwood particulates.
Step 4: Apply the Decoupage
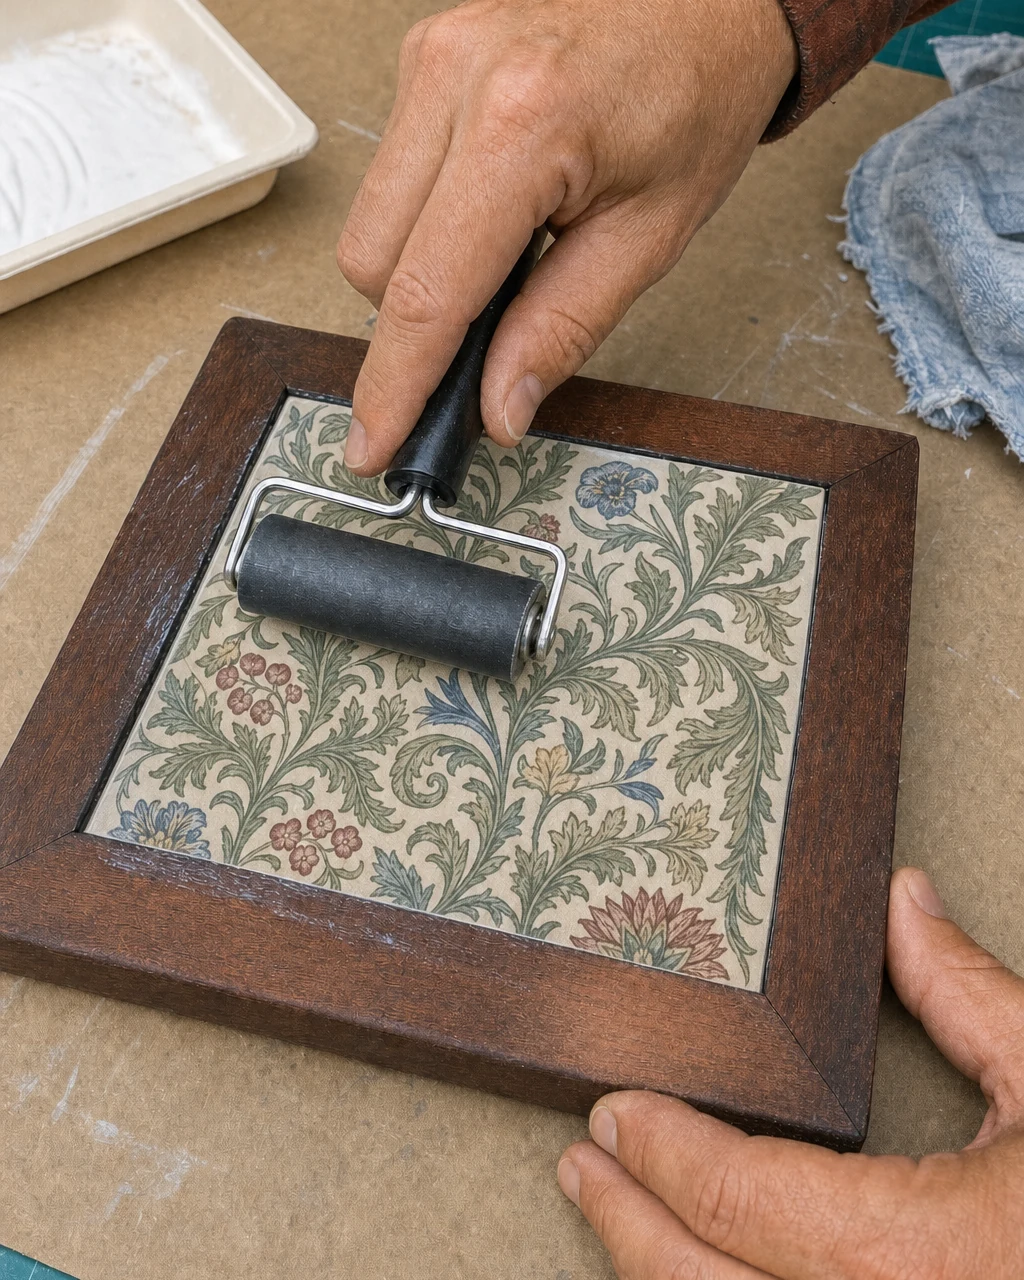
Brush an even layer of decoupage medium over the leveled ceramic tile. Carefully align your cut botanical paper square and press it onto the glue-coated center. Smooth the patterned paper onto the tile using a rubber brayer to eliminate trapped air and wrinkles. Always work in a well-ventilated area when using liquid adhesives to minimize fume exposure.
Work meticulously to ensure the tile is completely covered by a flat, seamless design. Opt for a medium-weight craft paper, as tissue is too thin and cardstock will not lay flush against the repaired ceramic base. Select a matte or satin finish decoupage medium specifically designed for paper-to-hard-surface adhesion to guarantee a permanent bond.
Step 5: Seal the Surface
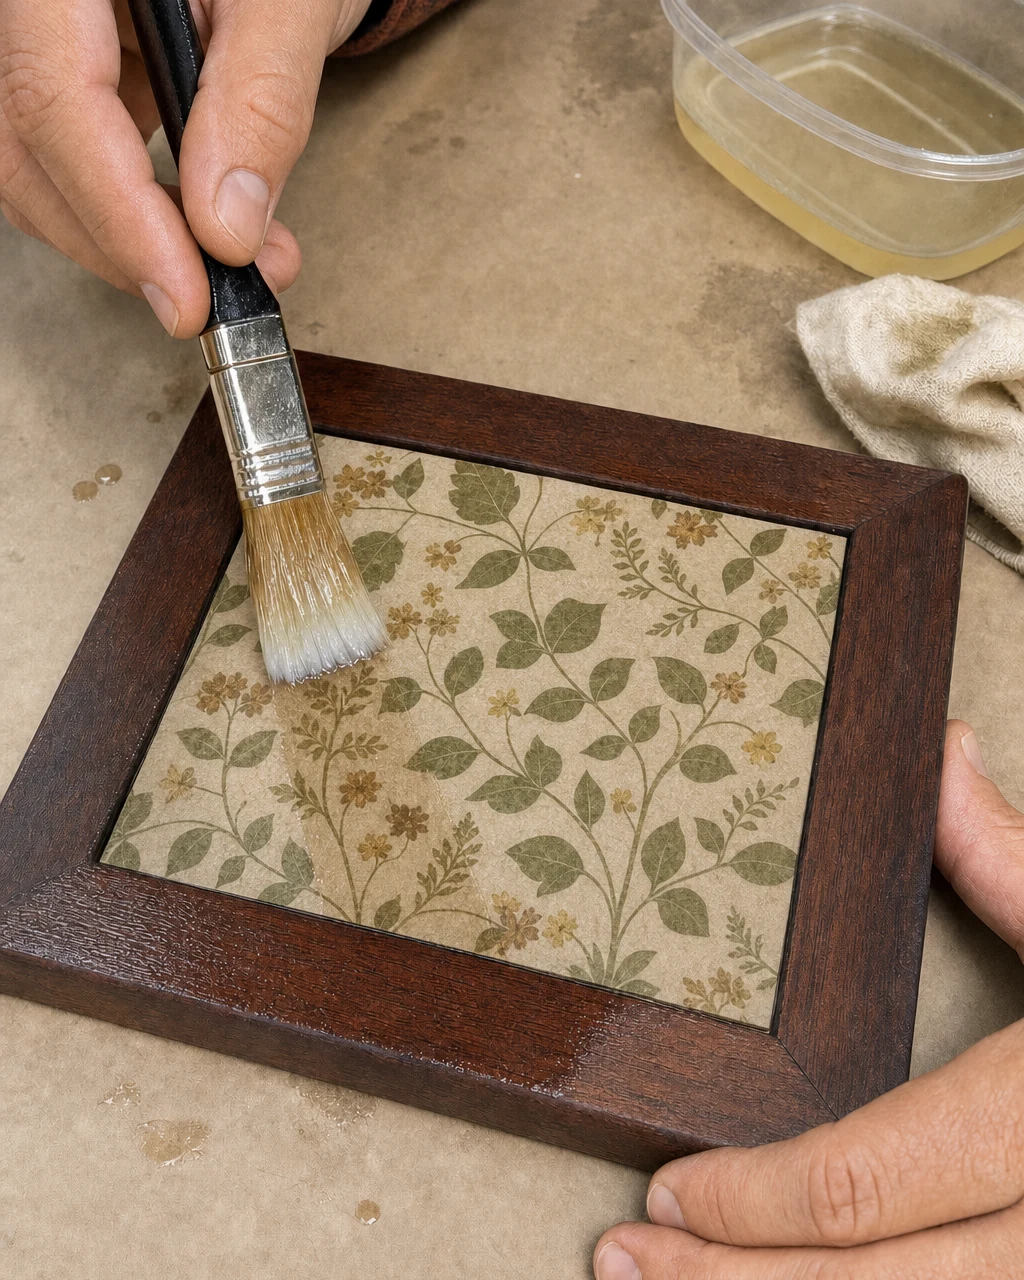
Brush a thick, even coat of clear heat-resistant polyurethane varnish across both the botanical paper and the sanded mahogany border. Ensure the edges where the paper meets the wood are heavily coated. This step is mandatory for items holding hot cookware. The high-heat waterproof polyurethane protects the raw wood and delicate paper. Always wear a respirator mask and apply polyurethane in a well-ventilated space.
Step 6: Review the Finish
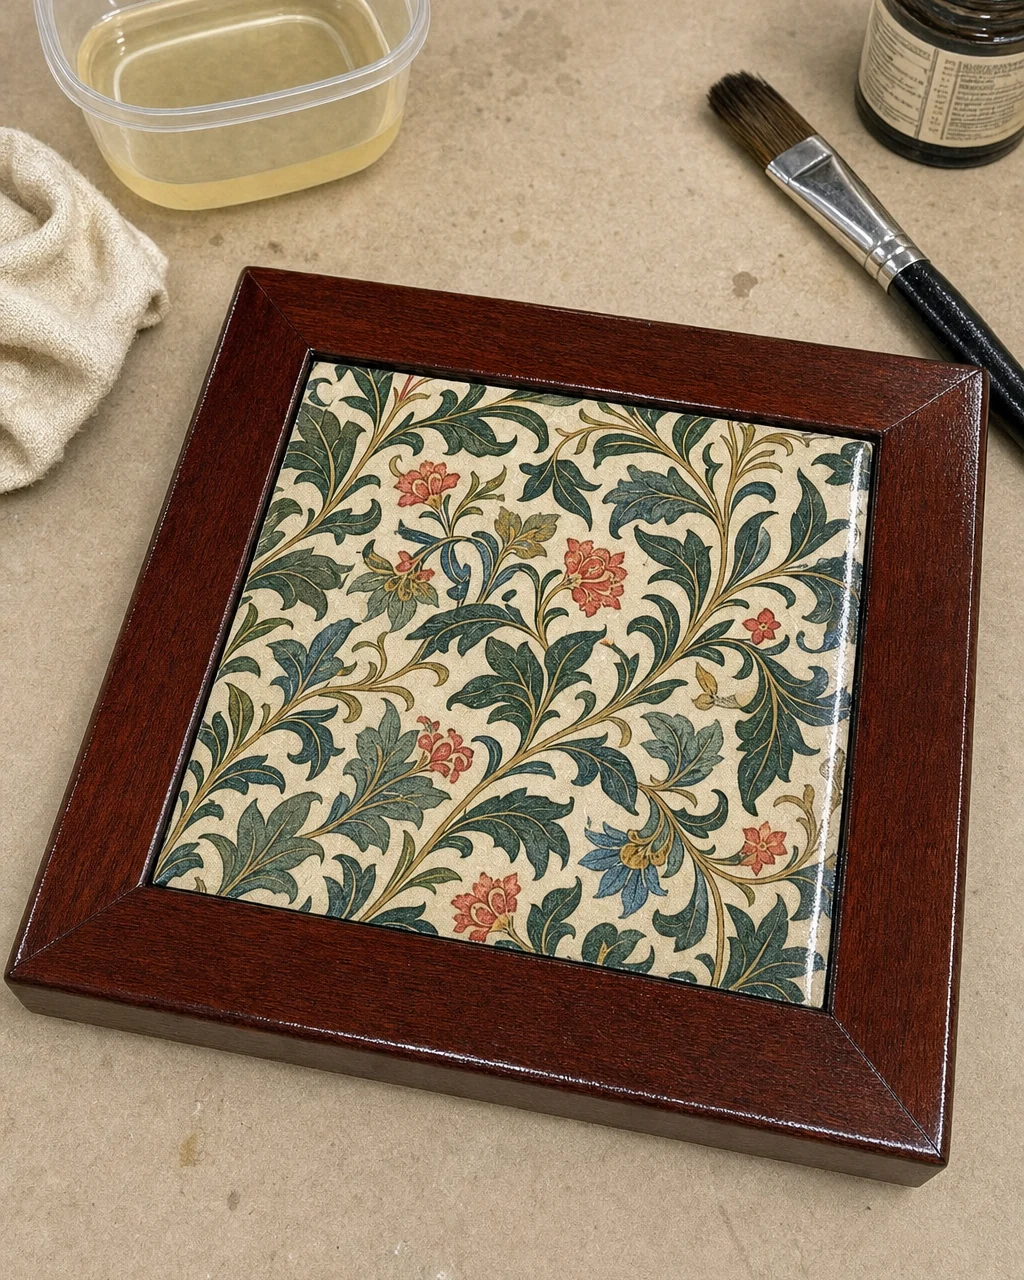
Leave the trivet flat on the clean workbench to allow the polyurethane to fully cure into a hard, heat-resistant shell. The entire surface should display a wet, glossy protective coating. Inspect the completed botanical trivet for any missed spots or uneven varnish. Allow a full 72 hours of curing time before exposing the finish to high heat or heavy cast iron pans.
Step 7: Style the Trivet
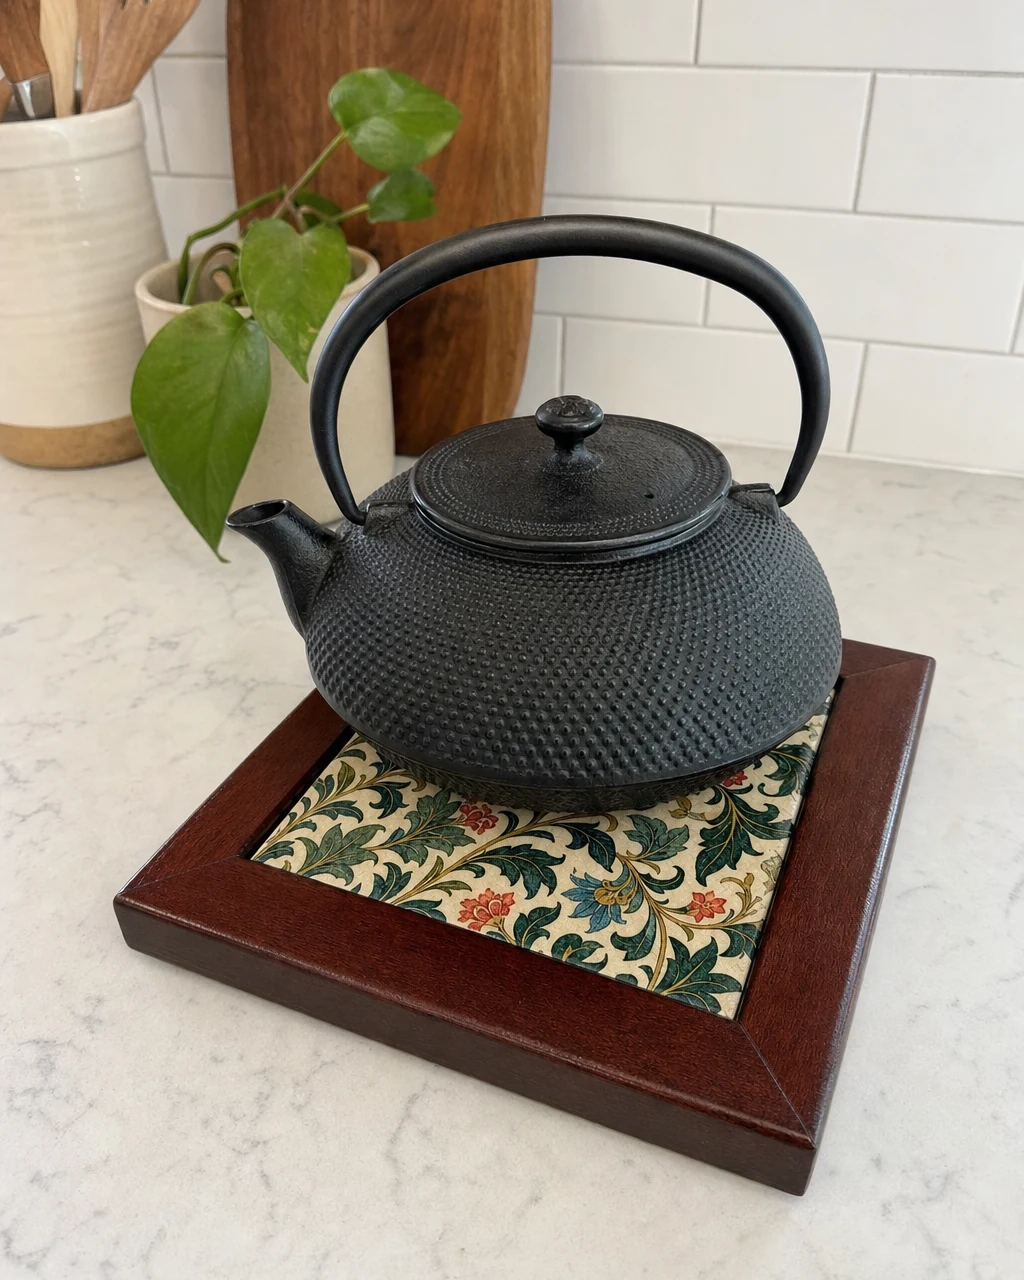
Place the restored trivet in a bright, modern kitchen setting to hold hot cookware. The glossy botanical design functions perfectly while adding a vibrant pop of color to the counter. Custom kitchen accessories elevate daily routines without overspending. Always test a new heat-resistant finish with a moderately warm item before using boiling cast iron to ensure the surface is completely cured and safe.