Bathroom Ceiling Light Guide: Printable Lumens & Size Chart
Grab our printable lumens-by-square-footage chart and comprehensive buying checklist to calculate exactly how much light your space needs and take the guesswork out of fixture shopping. You will be fully equipped to get your bathroom lighting perfectly bright, accurately colored, and electrically safe.
Calculating Your Bathroom Lumens
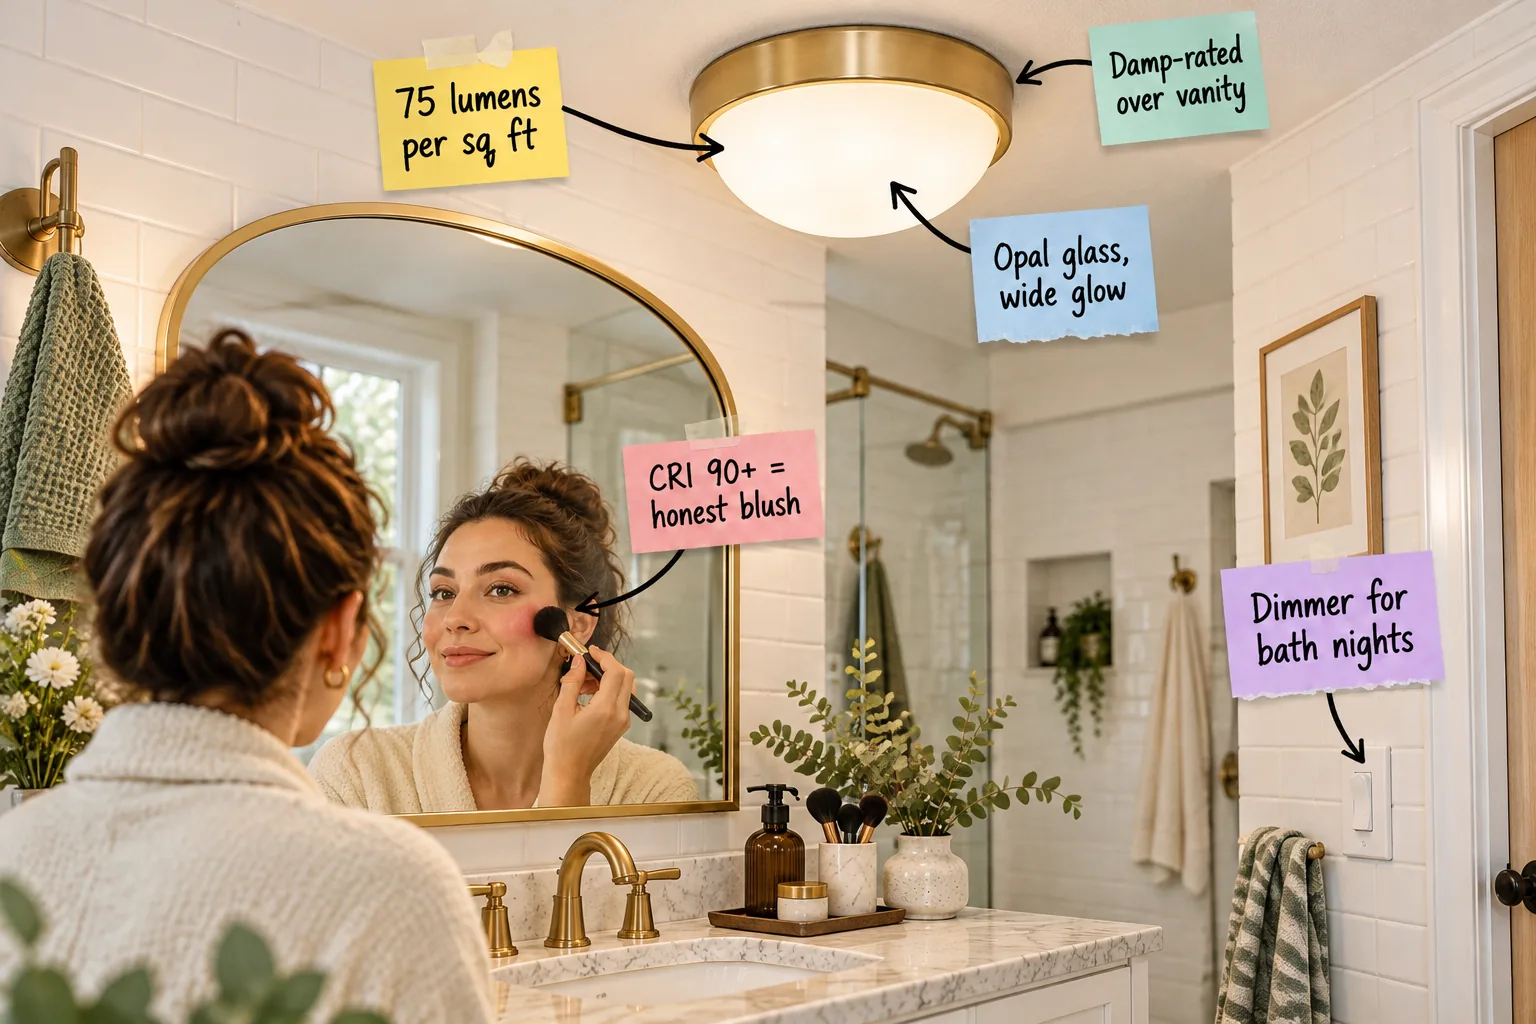
The most reliable foundation for a well-lit vanity is the baseline rule of 75 lumens per square foot for adequate bathroom illumination.
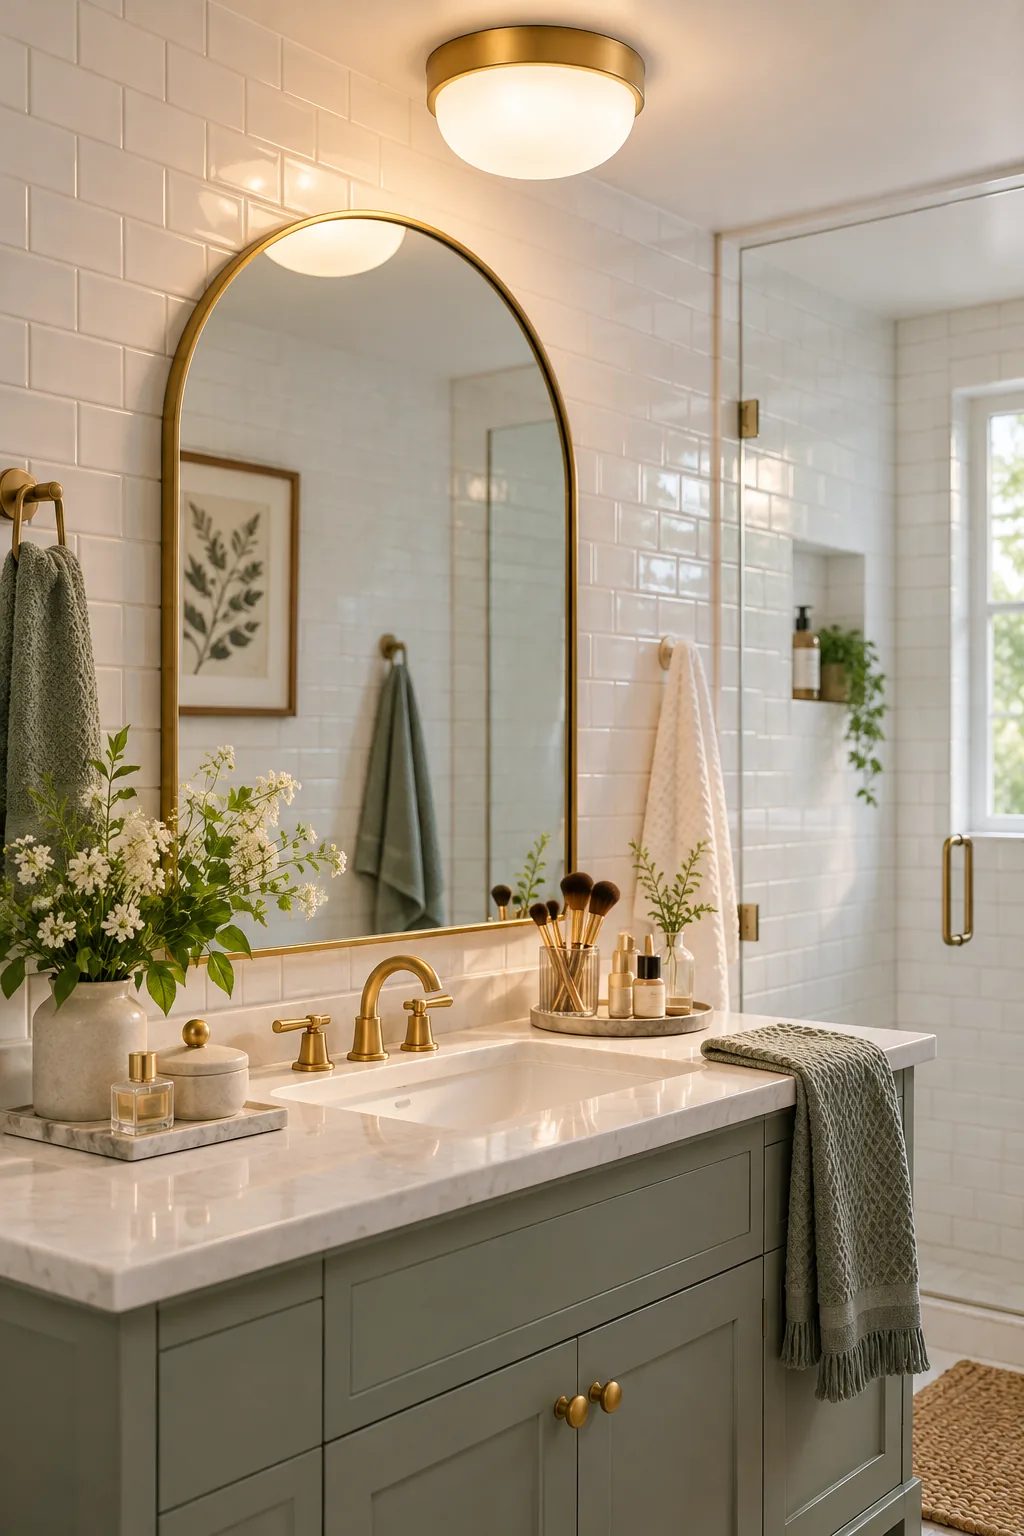
For a standard five-by-eight bathroom, that 40-square-foot space requires a total of 3,000 lumens from its combined fixtures to feel properly illuminated and functional.
| Bathroom Size | Square Footage | Target Lumens |
|---|---|---|
| 5×5 Powder Room | 25 sq ft | 1,875 lumens |
| 5×8 Standard Bath | 40 sq ft | 3,000 lumens |
| 8×10 Primary Bath | 80 sq ft | 6,000 lumens |
| 10×12 Large Bath | 120 sq ft | 9,000 lumens |
Splitting Lumens Across Multiple Zones
You never want all of those required lumens blasting from a single overhead source, as that creates harsh, unflattering shadows across your face.
- Central ceiling dome for ambient room fill
- Vanity sconces placed at eye level for grooming
- Dedicated wet-rated trim inside the shower enclosure
Layering Light for Maximum Depth
Professional lighting design relies heavily on layering different sources to create a balanced, inviting atmosphere. By combining your bright overhead ceiling fixture with softer wall sconces and decorative accents, you build a space that feels both highly functional and beautifully designed.
Why Sconces Are Not Enough
While vanity sconces are incredible for illuminating your face during morning routines, they simply cannot push enough light into the corners of the room. A powerful central ceiling fixture is absolutely mandatory for safely navigating the space and cleaning the floors.
Why Wattage is an Obsolete Metric
Modern LED fixtures produce vastly more light using a fraction of the energy, making old wattage rules completely useless for planning your space. Always shop by lumens to guarantee your new ceiling fixture delivers the exact brightness your vanity requires.
The Impact of Wall Color on Brightness
Dark paint or matte black tiles absorb light, meaning you will need to increase your lumen count by about twenty percent to compensate. Glossy white subway tiles actively reflect illumination, helping a standard fixture feel significantly brighter and more expansive.
The Role of Natural Daylight
If your bathroom features a large frosted window or a skylight, you might be tempted to reduce your artificial lighting calculations. However, you must always plan your total lumen count for midnight usage, ensuring the space remains fully functional after the sun sets.
Why CRI 90+ Matters for Makeup
The Color Rendering Index measures how accurately a light source reveals true colors, which directly impacts your daily grooming and styling routines.
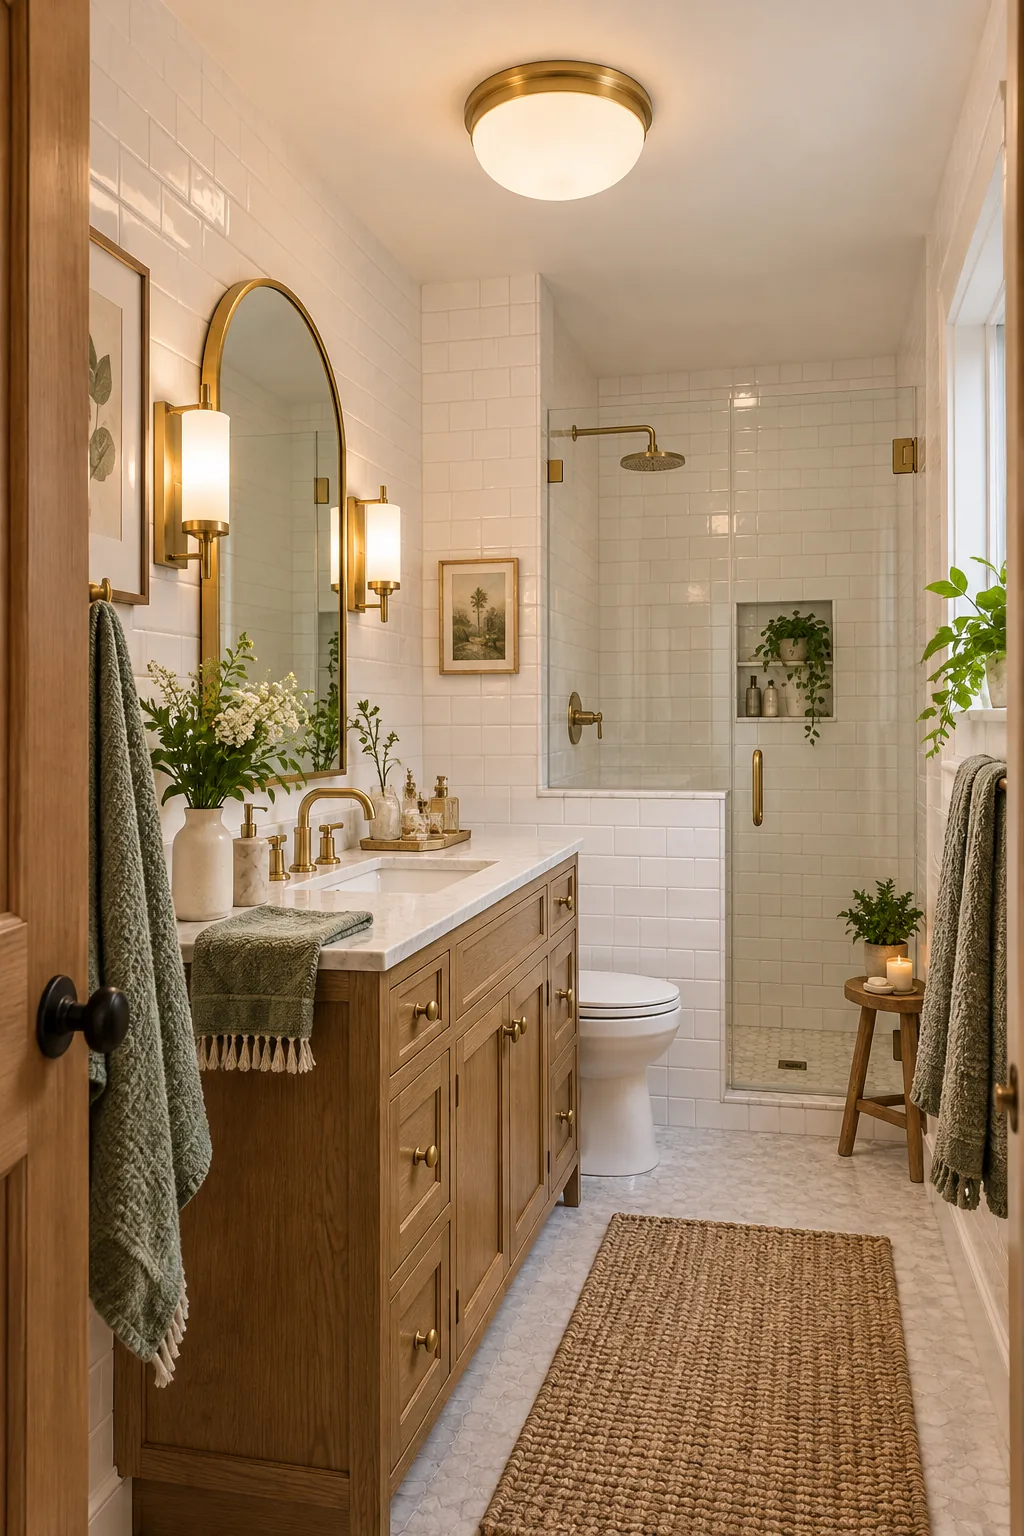
Upgrading to a fixture with a CRI of 90 or higher ensures your skin tones and cosmetics look completely accurate in the mirror.
The Science of Honest Blush
Without that high color accuracy, you will inevitably compensate for dull reflections by applying heavier cosmetics than you actually need. A high-CRI bulb guarantees an honest blush application that translates perfectly to outdoor daylight and office environments.
Selecting the Right Color Temperature
I always recommend 3000K as the ideal color temperature for bathrooms, offering a flattering white that beautifully mimics natural morning light. Matching your new ceiling fixture to any existing sconces is crucial for a cohesive, comfortable room.
Avoiding the Hospital White Trap
Going above 3500K pushes the light into a blue spectrum that washes out your complexion and makes the bathroom feel clinically cold. That sterile temperature completely ruins the relaxing, spa-like atmosphere you want when winding down for the evening.
Opal Glass for a Shadow-Free Glow
Clear glass fixtures inevitably create harsh shadows and visual glare, making them a poor choice for any room where you start your morning.
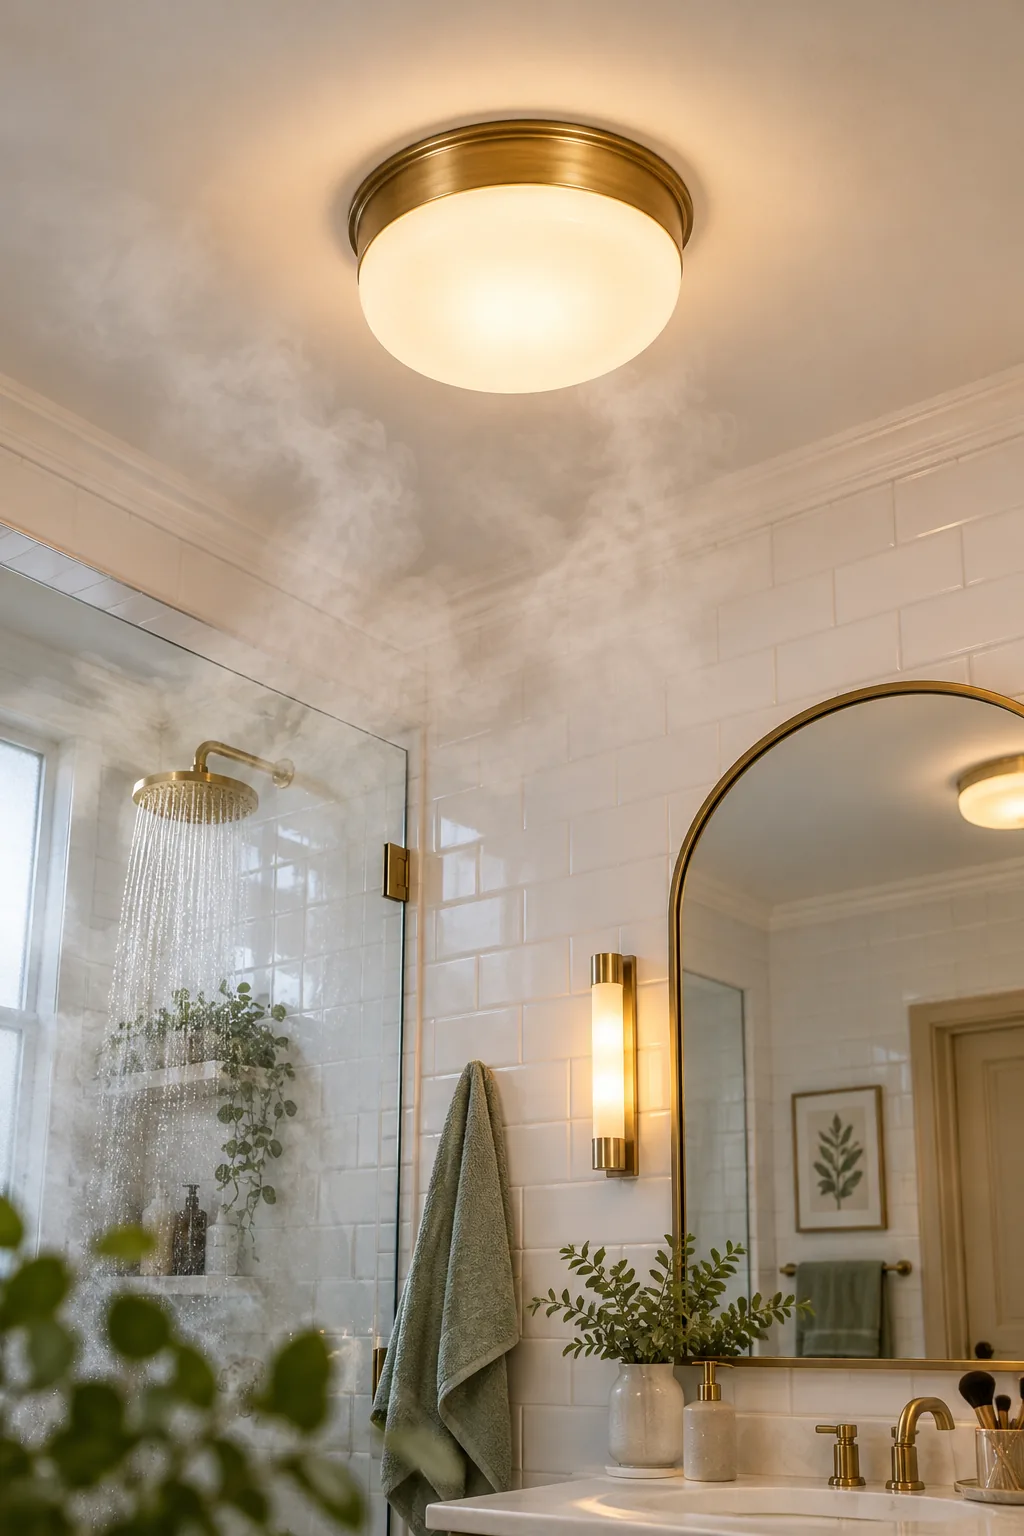
Choosing an opal or frosted glass fixture provides a milky diffuser surface that spreads light beautifully and evenly across the entire room.
How Diffusers Soften Downward Shadows
That wide, diffused glow specifically softens the harsh downward shadows that overhead lighting typically casts across your forehead and under your eyes. It acts like a giant softbox, filling the vanity space with gentle, highly flattering ambient light.
Maintaining Your Opal Glass
Because frosted surfaces show dust more readily than clear glass, you should wipe the dome with a dry microfiber cloth every month. Avoid using harsh chemical sprays, which can degrade the delicate milky finish and leave unsightly streaks behind.
Damp vs. Wet Safety Ratings
In my own primary bath renovation, I learned quickly that navigating electrical safety ratings for wet zones is absolutely non-negotiable for passing building inspections.
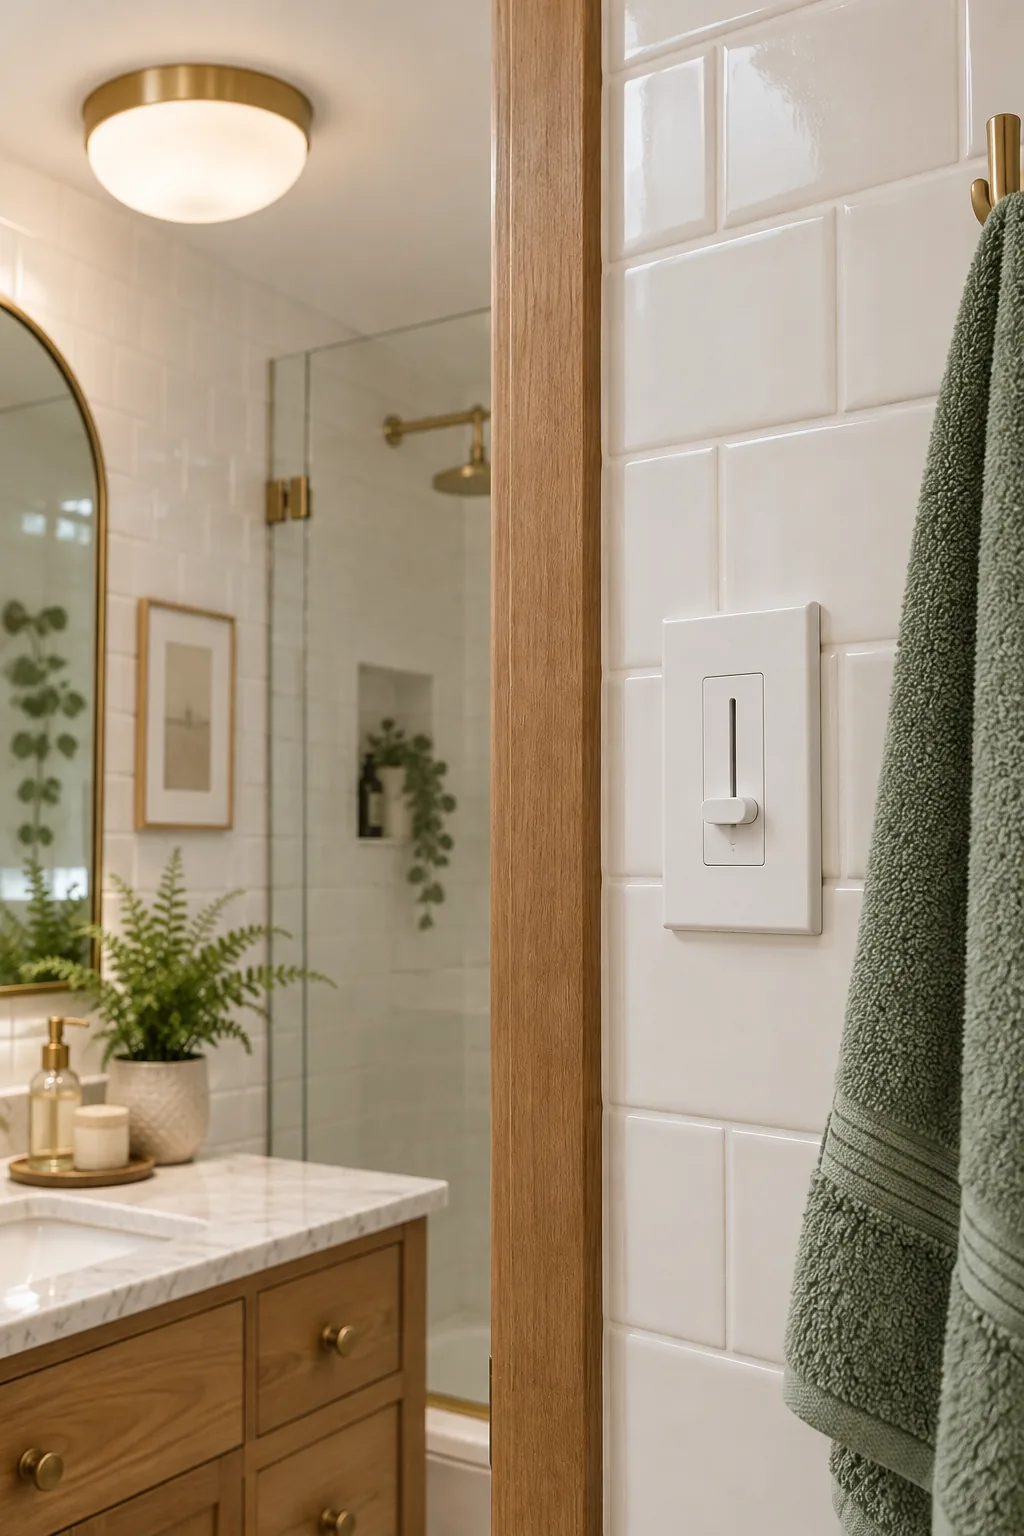
Any fixture installed over a vanity or toilet strictly needs a damp rating to survive daily steam, while wet ratings are reserved for showers.
Understanding Canopy Seals
A damp-rated fixture features specialized gaskets inside the brass canopy where the metal base meets the drywall ceiling. This crucial protective barrier prevents rising condensation from entering the electrical box and corroding the internal wiring over time.
Adding a Dimmer for Ambiance
A bright 3,000-lumen bathroom is excellent for energizing morning routines but feels terribly aggressive when you want a relaxing evening soak.
You must ensure your chosen fixture is fully dimmable and actively pair it with a wall switch designed specifically for modern lighting.
Verifying LED Switch Compatibility
Older incandescent dimmers will cause modern LED ceiling fixtures to buzz or flicker erratically at low levels. Always check the manufacturer specifications to match your new light with an LED-compatible dimmer switch for a perfectly smooth fade.
Centering and Spacing the Fixture
When I lay out a new bathroom floor plan, I always place the main ceiling light central to the walking area rather than directly over the vanity.
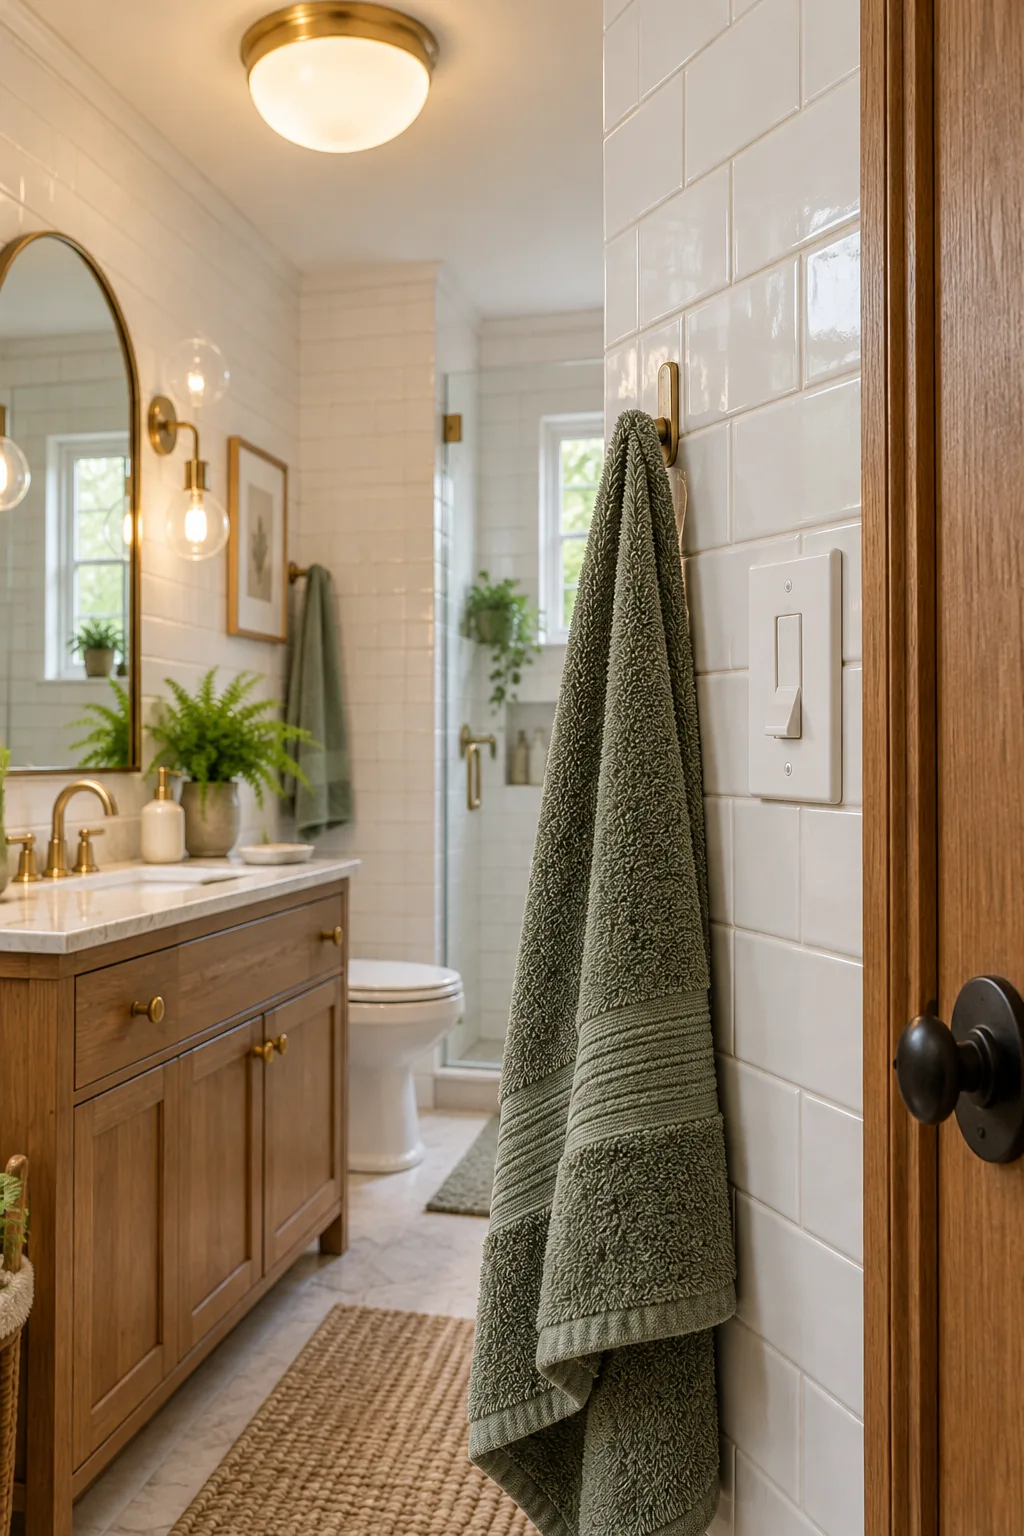
- Measure the open floor space between the tub and the vanity cabinet.
- Mark the exact center point for the ceiling electrical box.
- Keep the fixture at least thirty-six inches away from the shower threshold.
Balancing Proportions and Fixture Size
A tiny flush mount gets lost on a large ceiling, while an oversized dome overwhelms a compact powder room. Aim for a fixture diameter of eleven to fourteen inches for standard bathrooms to maintain perfect visual balance and scale.
Coordinating Brass Finishes
Your ceiling light canopy does not need to perfectly match your plumbing fixtures, but the metallic undertones must harmonize. Pair an unlacquered brass overhead light with polished nickel sconces for a beautifully layered, custom aesthetic that feels intentional.
Managing Sloped Bathroom Ceilings
If your bathroom sits under a steep roofline, a rigid flush mount will not sit level against the drywall. You will need a semi-flush fixture with a swiveling canopy joint to ensure the glass dome hangs perfectly straight downward.
Upgrading Builder-Grade Fixtures
Swapping out a cheap, builder-grade glass dome for a high-quality opal fixture is one of the fastest, most impactful upgrades you can make. This simple weekend project instantly elevates the entire room, making standard tile and cabinetry look significantly more expensive.
Get the Lumens and Specs Cheat Sheet
I keep this exact printable chart saved on my clipboard for every client shopping trip to quickly map common bathroom sizes to their required lumens.
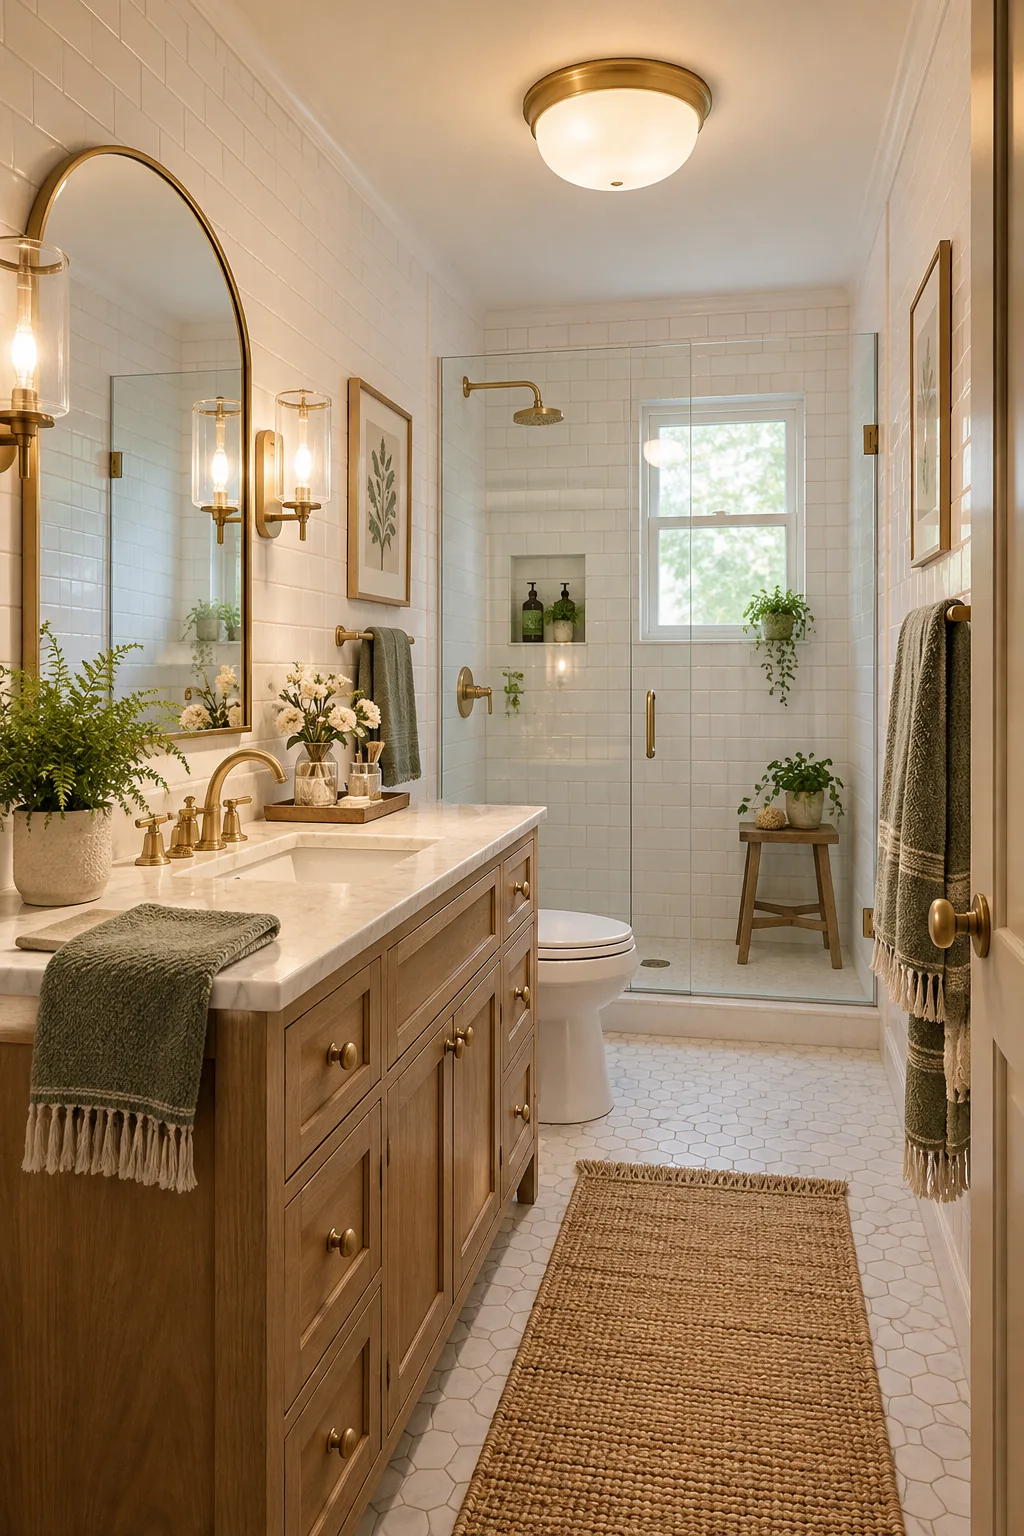
Before you head to the lighting aisle or check out online, run your chosen fixture through this final verification.
Ceiling Light Styles for Every Bathroom
Find the perfect aesthetic match for your space with these distinct fixture looks.
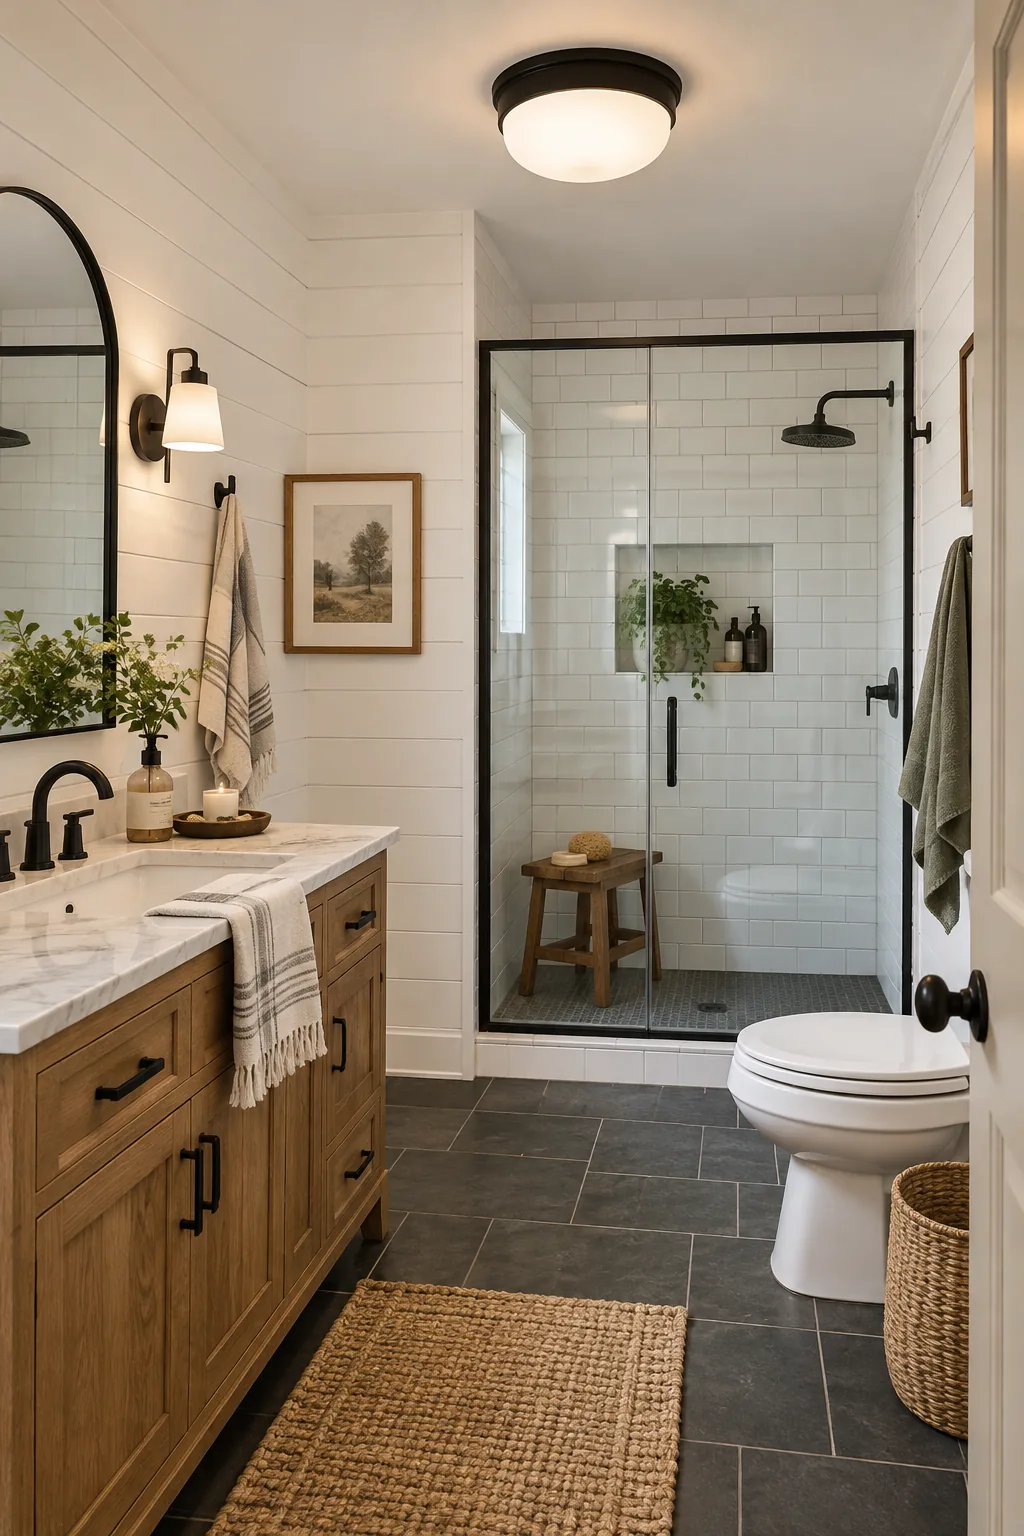
Modern Farmhouse Contrast: Matte black hardware pops beautifully against crisp white shiplap, bringing a grounded, modern edge to a classic farmhouse space.
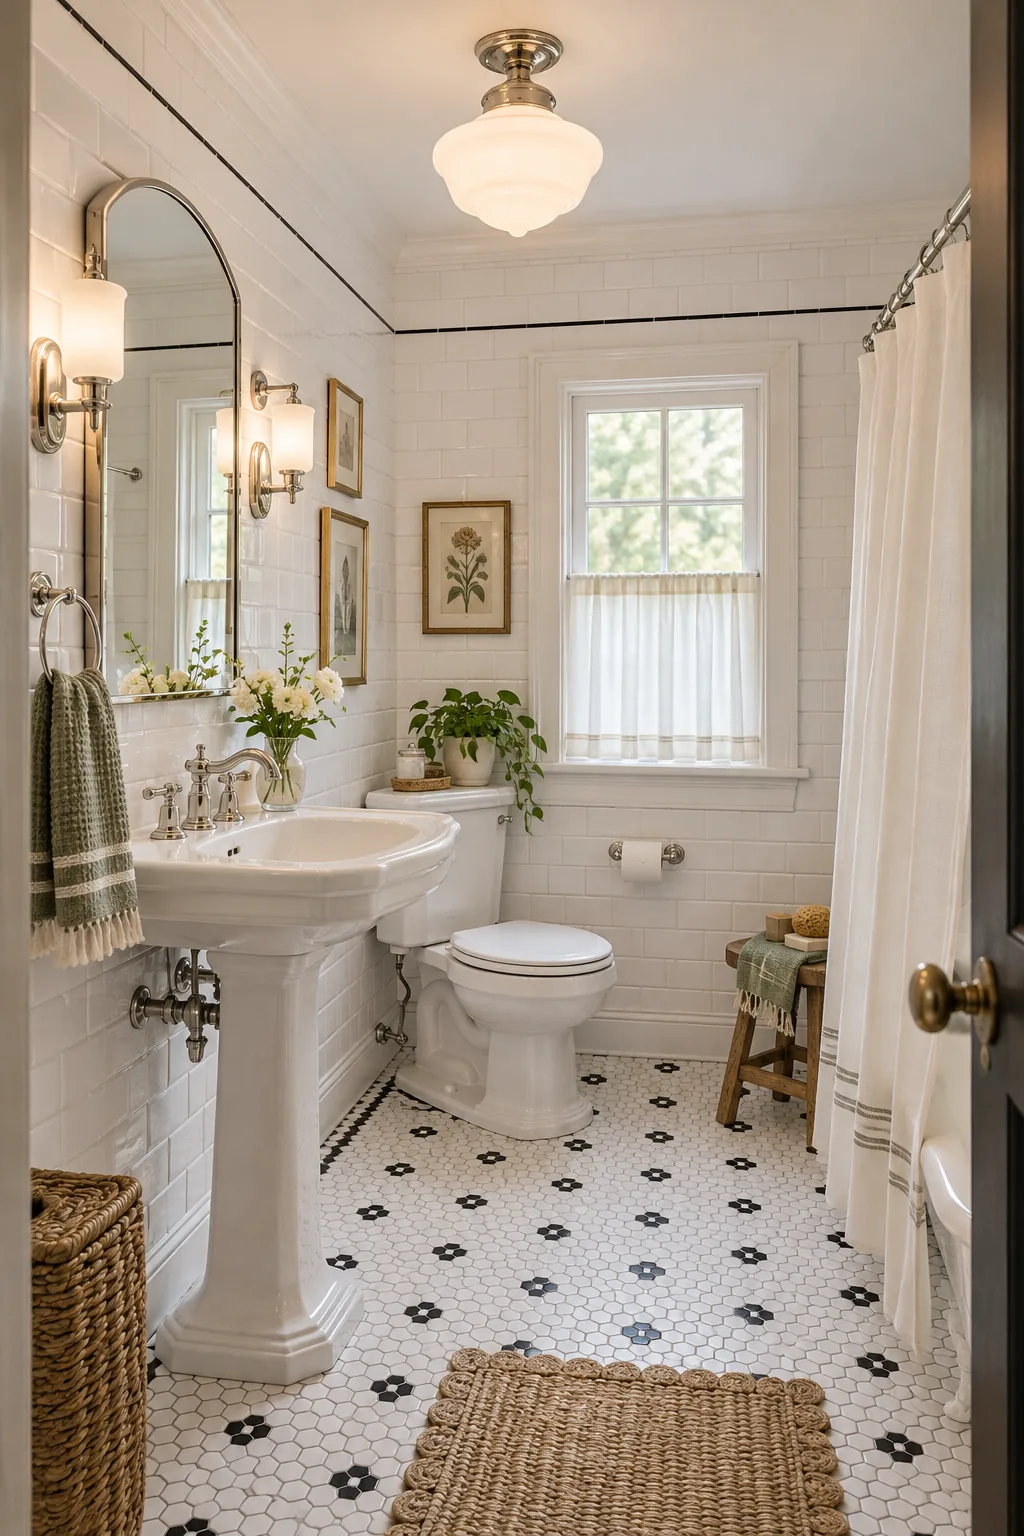
Vintage Schoolhouse Charm: A polished nickel schoolhouse fixture enhances historic character, pairing perfectly with traditional hexagon floor tiles and a classic pedestal sink.
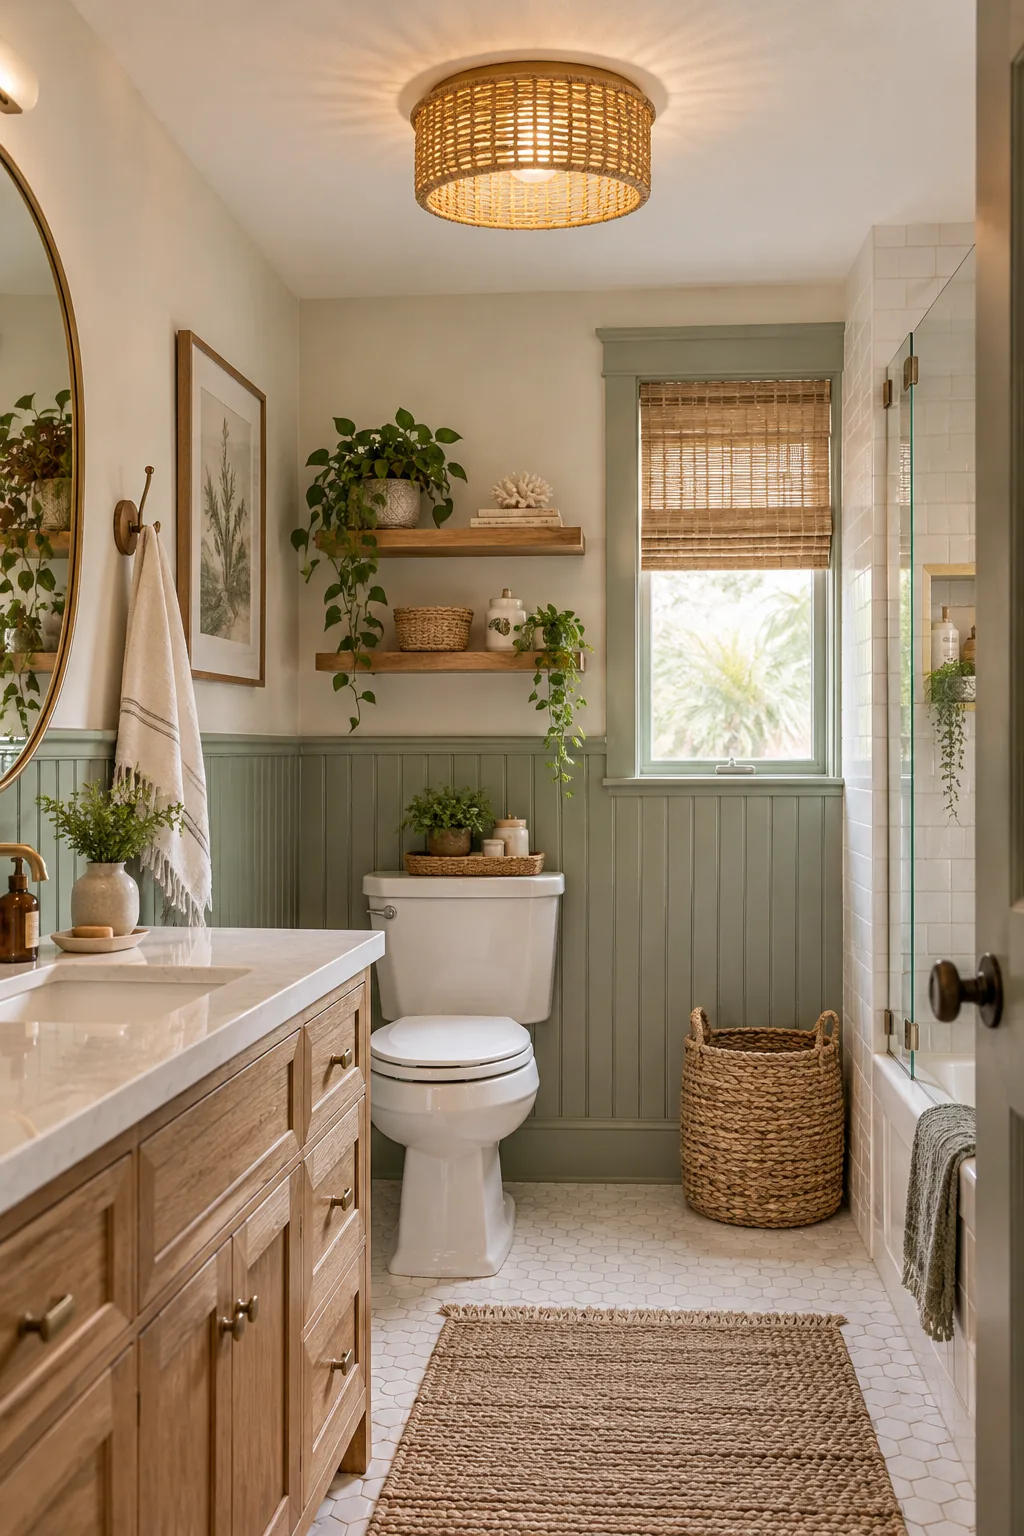
Coastal Boho Warmth: Woven rattan introduces natural texture and warmth, casting beautiful, intricate shadows that complement soft sage green beadboard.
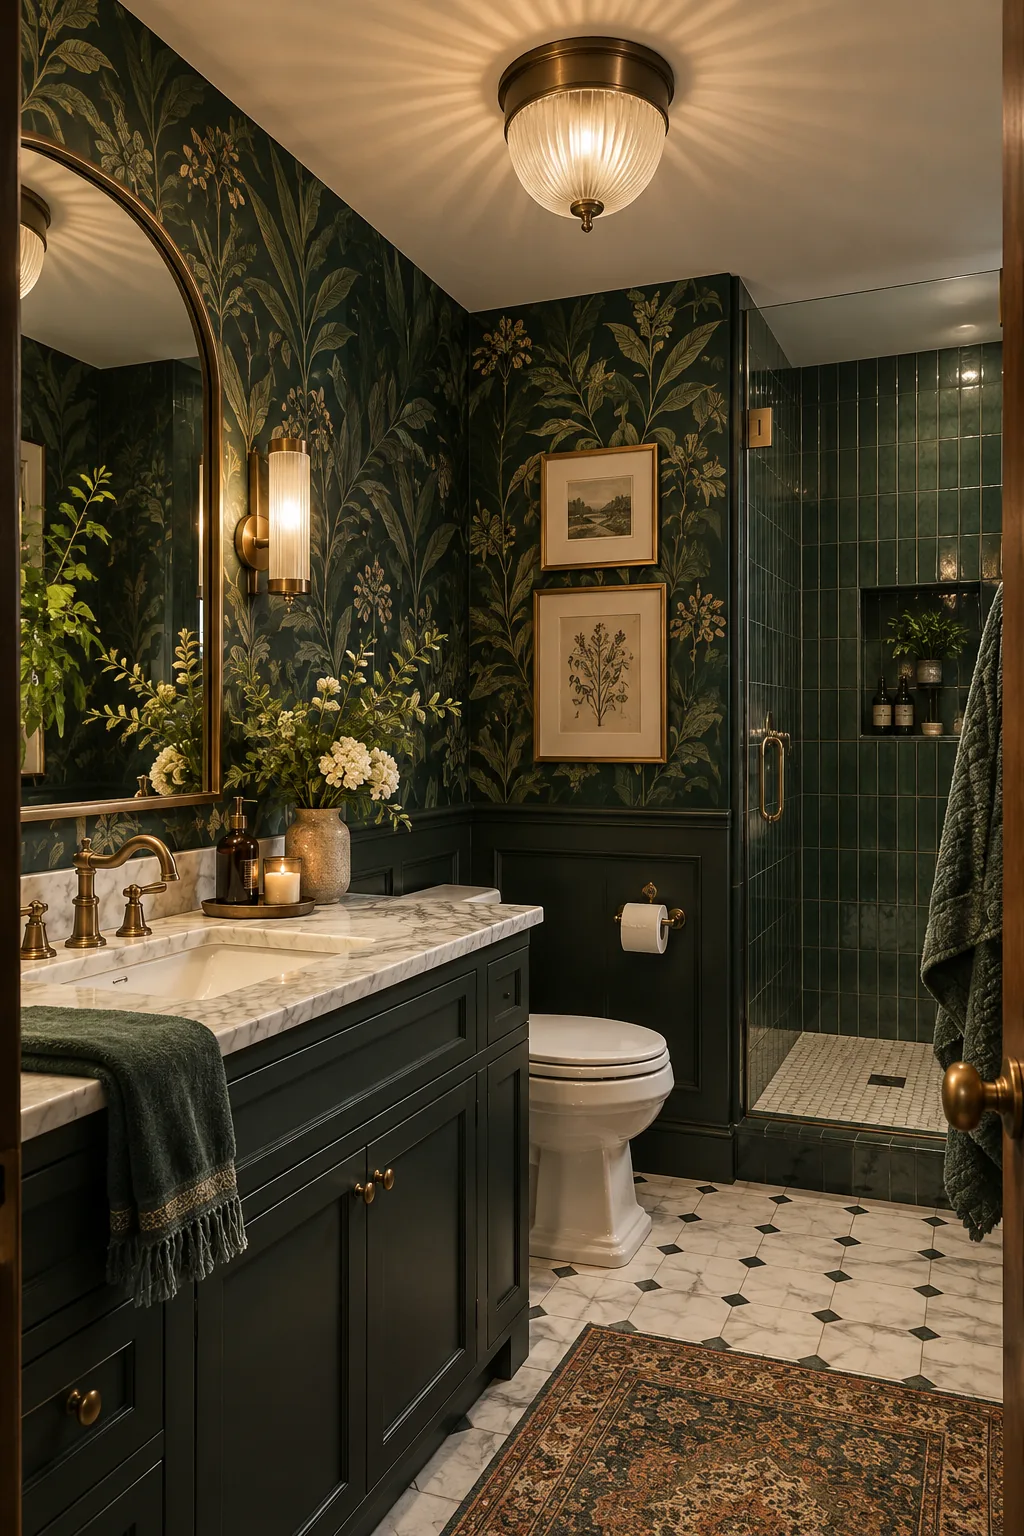
Moody Art Deco: Fluted glass and rich bronze detailing bring instant glamour to a dramatic powder room wrapped in dark botanical wallpaper.
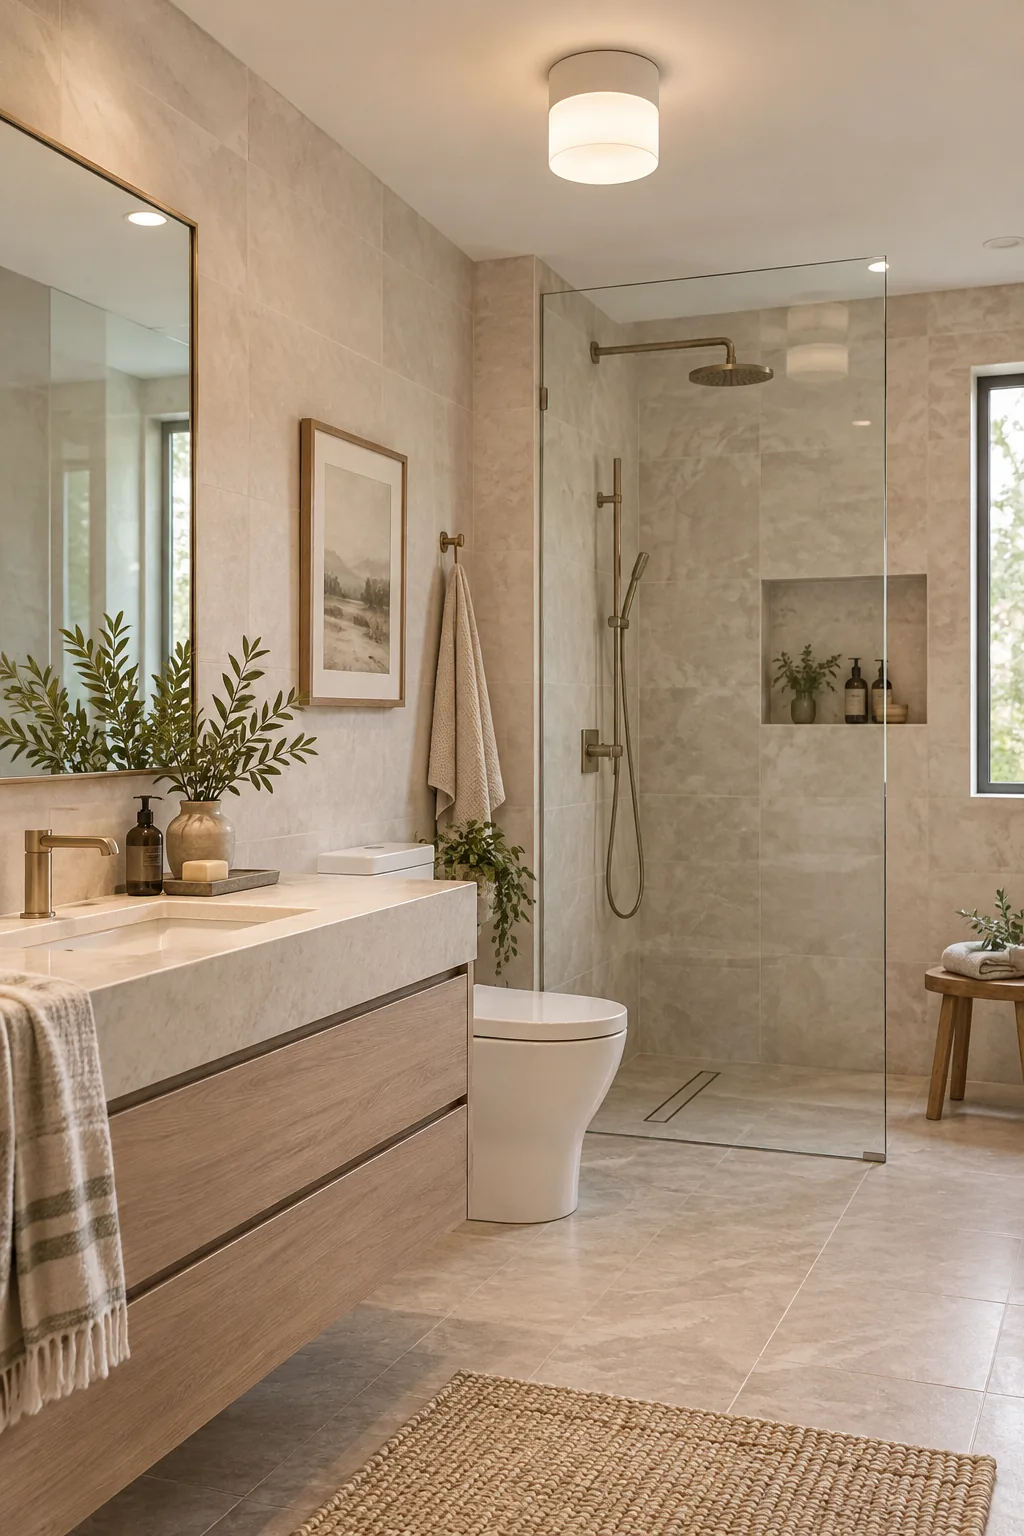
Contemporary Spa Minimal: A sleek white cylinder fixture blends seamlessly into the ceiling, letting the serene, large-format stone tiles take center stage.