
Stone Mailbox Pillar Plans: Block Core and Thin Veneer Build
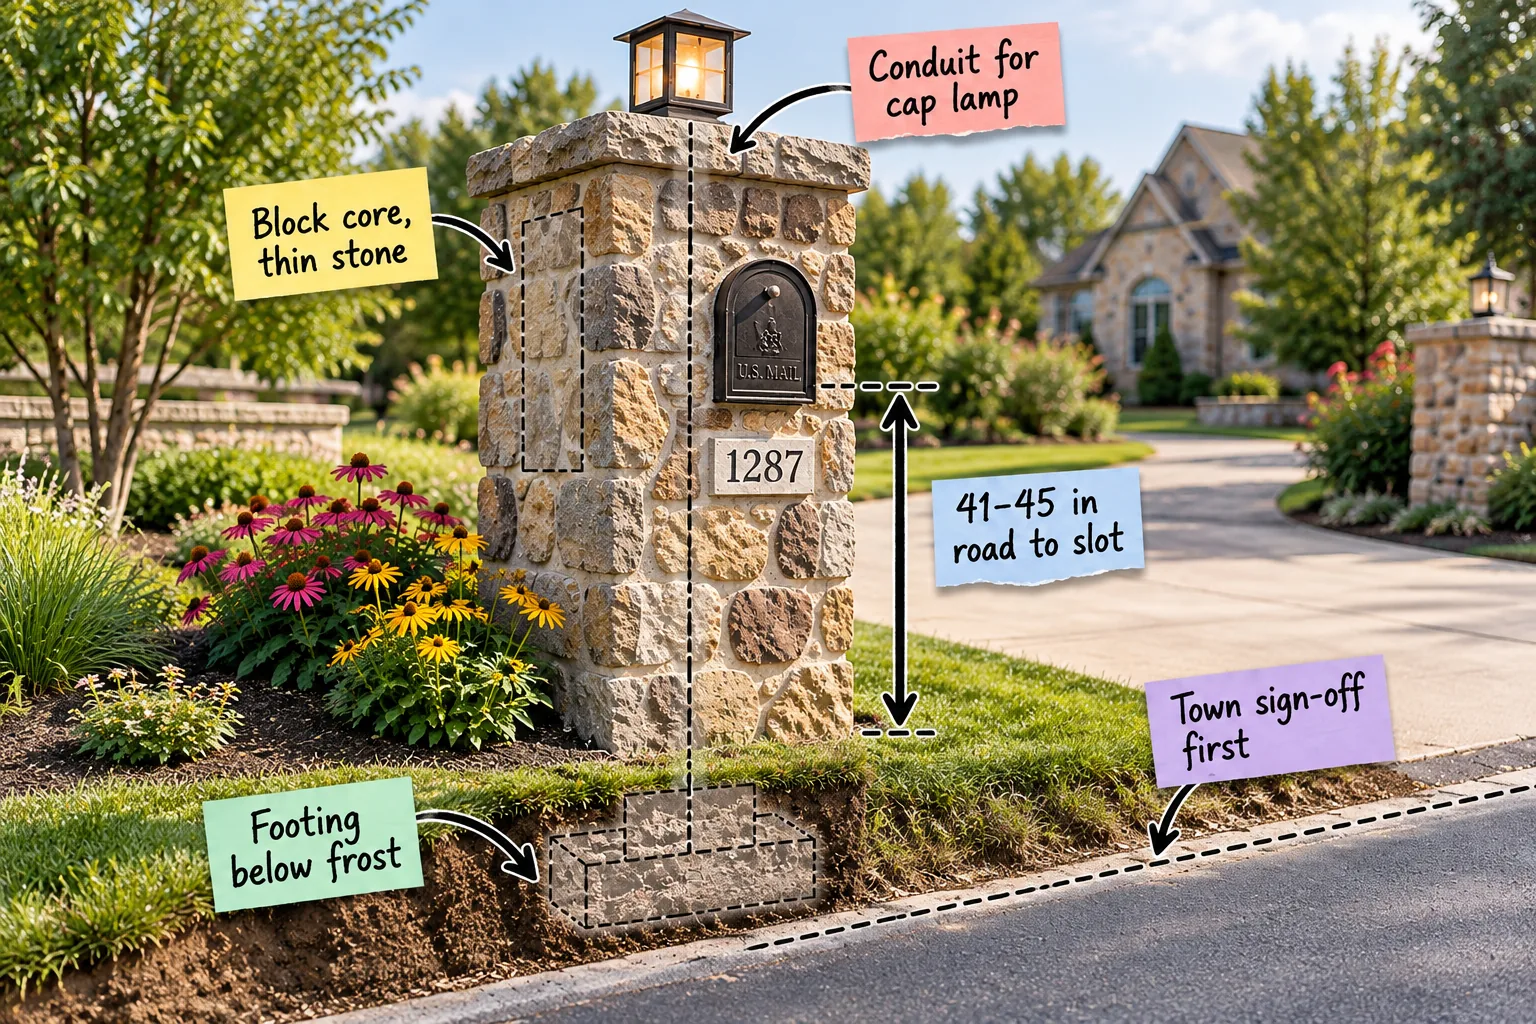
You will be able to confirm local right-of-way rules, pour a frost-proof footing, and build a beautiful block-core stone mailbox using our printable Stone Mailbox Pillar Build Sheet.
Road Authority and Town Approvals
Before buying materials, confirm that your local road authority and postmaster allow masonry mailbox supports at your roadside. I once had to completely tear down a beautiful stone planter because I accidentally built it three feet too close to the city street.
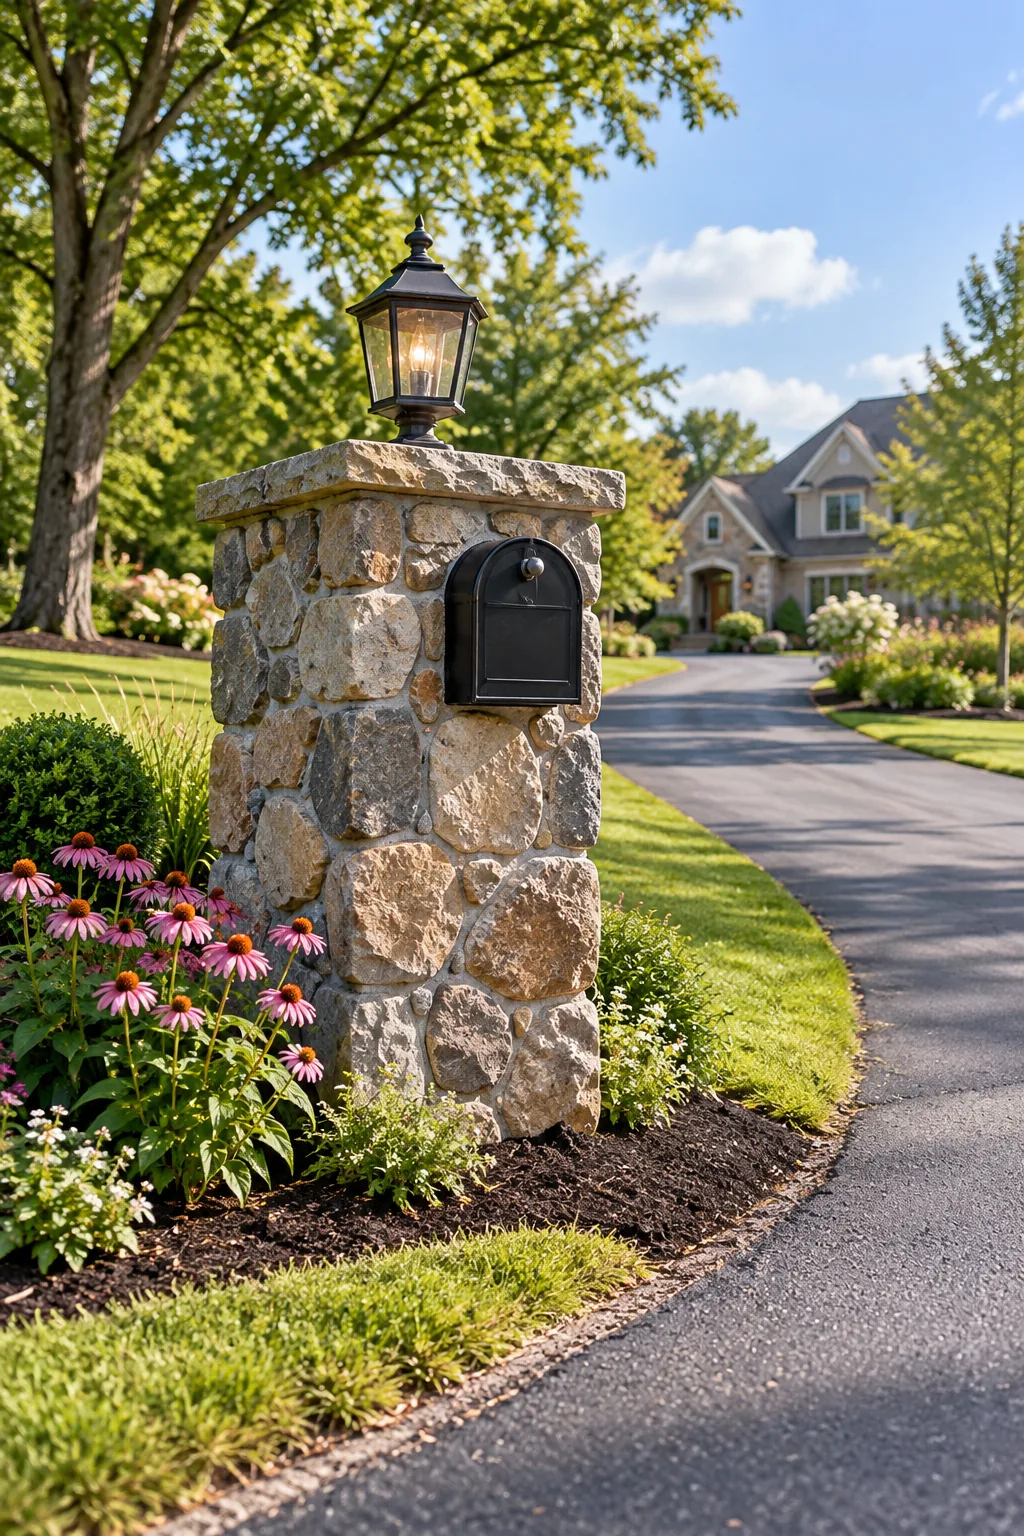
A beautiful masonry pillar becomes a costly liability if it sits in the town’s right-of-way or blocks a utility line. Always clear these three hurdles before breaking ground.
Locating the Exact Right-of-Way Line
Your property line rarely starts right at the edge of the asphalt. The town usually owns a designated right-of-way extending several feet past the pavement, so you must measure from the official surveyor pins to ensure your pillar sits legally on your land.
The Mailbox Pillar Build Sheet
Download the complete two-page printable build sheet to plan your footing, concrete block counts, thin-veneer square footage, and mortar estimates. Having a physical checklist on my clipboard saved me from running back to the hardware store for forgotten bags of mortar.
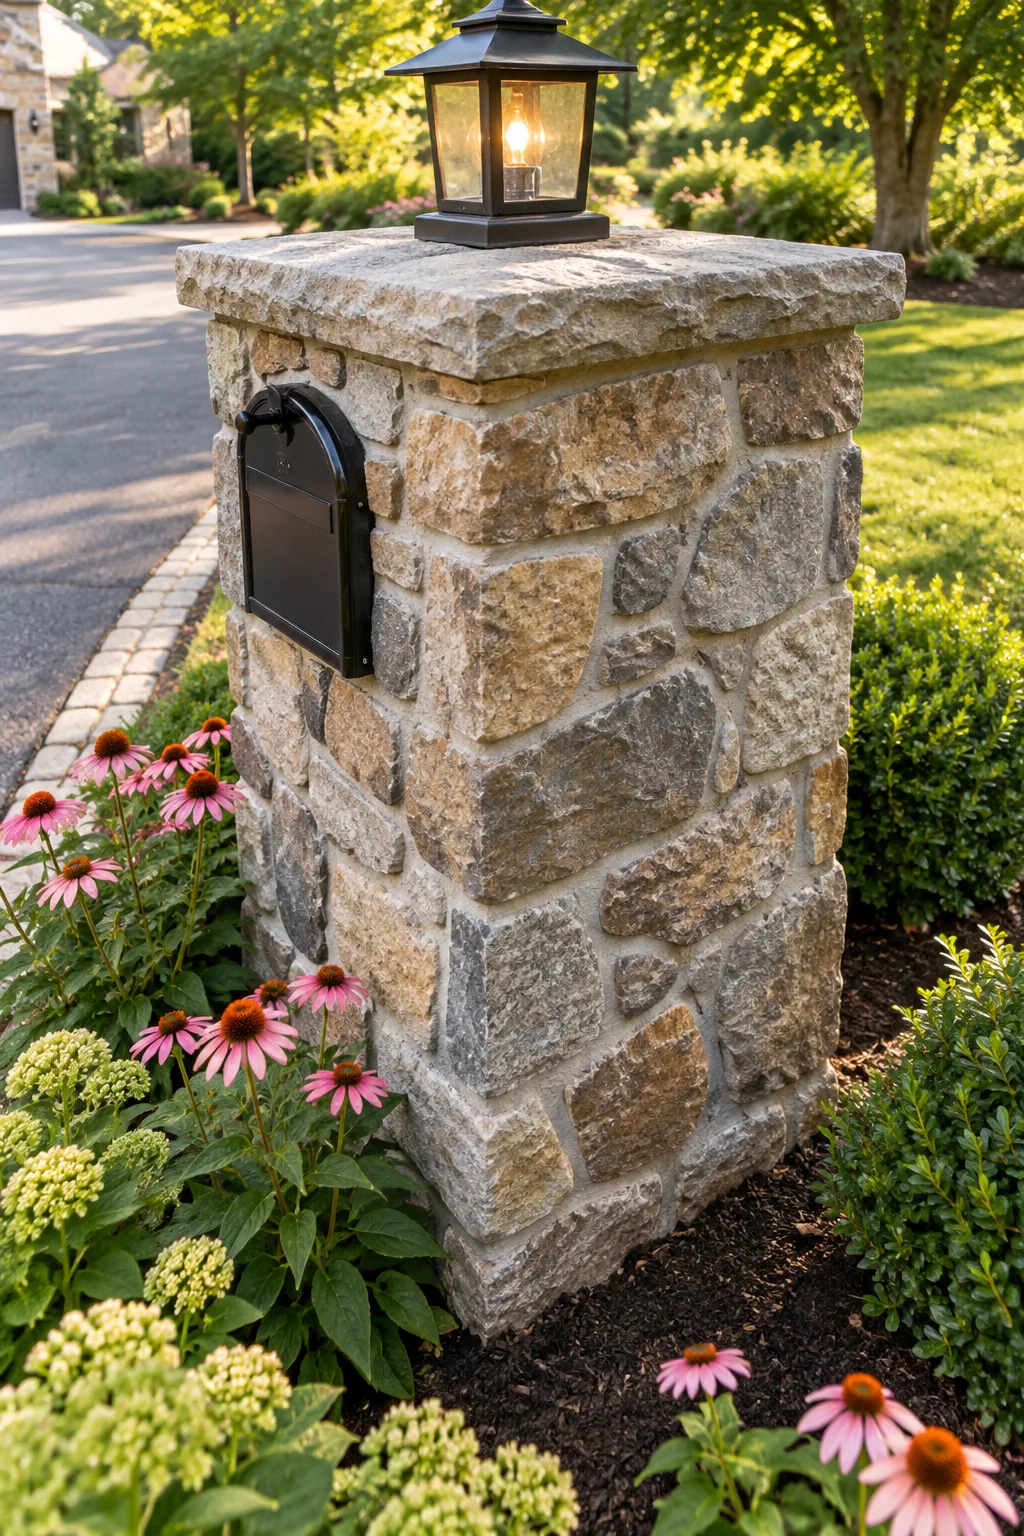
The build sheet emphasizes digging deep enough to combat seasonal heaving, ensuring your heavy structure rests firmly below the frost line.
Sizing Your Masonry Footprint
Your concrete base must extend well beyond the edges of the cinder blocks to distribute the massive weight of the stone. A standard rule of thumb is making the footing at least six inches wider on all sides.
| Pillar Size | Block Core | Footing Width | Footing Depth |
|---|---|---|---|
| 20×20 inches | 16×16 inches | 32×32 inches | Below frost line |
| 24×24 inches | 20×20 inches | 36×36 inches | Below frost line |
Always measure your specific thin stone thickness before finalizing the footprint, as natural fieldstone can add up to three inches per side.
Excavating the Foundation Trench
Use a spade to dig straight down, keeping the walls of your trench as vertical as possible to act as a natural form for the concrete. Remove all loose organic topsoil until you hit undisturbed, solid subsoil at the bottom of the hole.
Pouring the Frost-Depth Footing
A heavy stone pillar requires a wide concrete footing poured below your local frost line to prevent seasonal heaving. Check your local building code for the exact frost depth requirement in your specific zip code.
Selecting the Right Cinder Blocks
The secret to an affordable, sturdy stone pillar is a hollow concrete block core. Standard 8x8x16-inch cinder blocks provide a perfectly plumb, rigid substrate for the heavy mailbox and the decorative exterior.
Mixing Mortar for the Core
Use a standard Type S masonry mortar for stacking your cinder blocks, blending it with water until it reaches the consistency of thick peanut butter. It should hold its shape on the trowel without sliding off, ensuring your heavy blocks stay exactly where you set them.
Stacking the Concrete Block Core
Dry-fit your first course of blocks on the cured footing to ensure everything is perfectly square before mixing any mortar. Once aligned, lay the blocks with a standard 3/8-inch mortar joint and check for plumb on every single course.
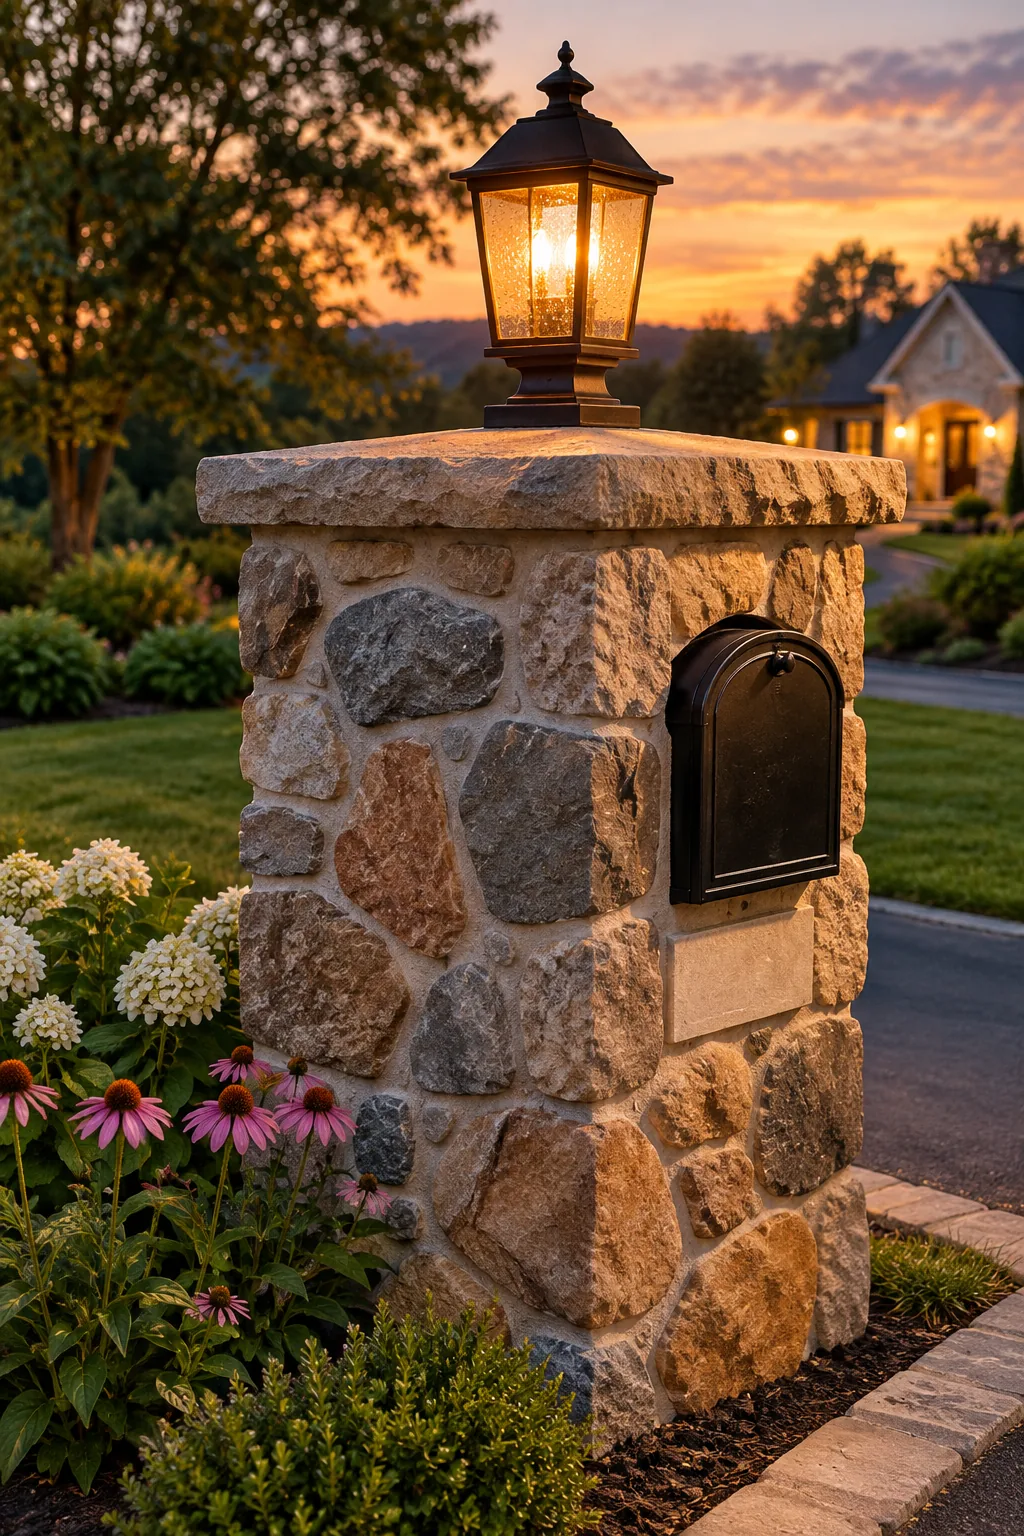
Drop vertical rebar lengths down through the hollow block cells and fill them with concrete to lock the entire core to the footing.
Reinforcing with Steel Rebar
Structural integrity relies on connecting the masonry to the ground. Pounding half-inch steel rebar pins directly into the wet footing concrete before it cures gives you rigid anchors to slide your first course of hollow blocks over.
Planning for Landscape Lighting
Adding a lantern to the top of your mailbox creates a welcoming driveway entrance and makes your house numbers highly visible at night. You must plan this electrical pathway before you pour any solid concrete into the hollow block core.
Routing Conduit for the Cap Lamp
Run a rigid PVC electrical conduit up through the center of the block core, extending it from the trench all the way past the top course. This completely hides the low-voltage wiring inside the masonry for a clean, professional finish.
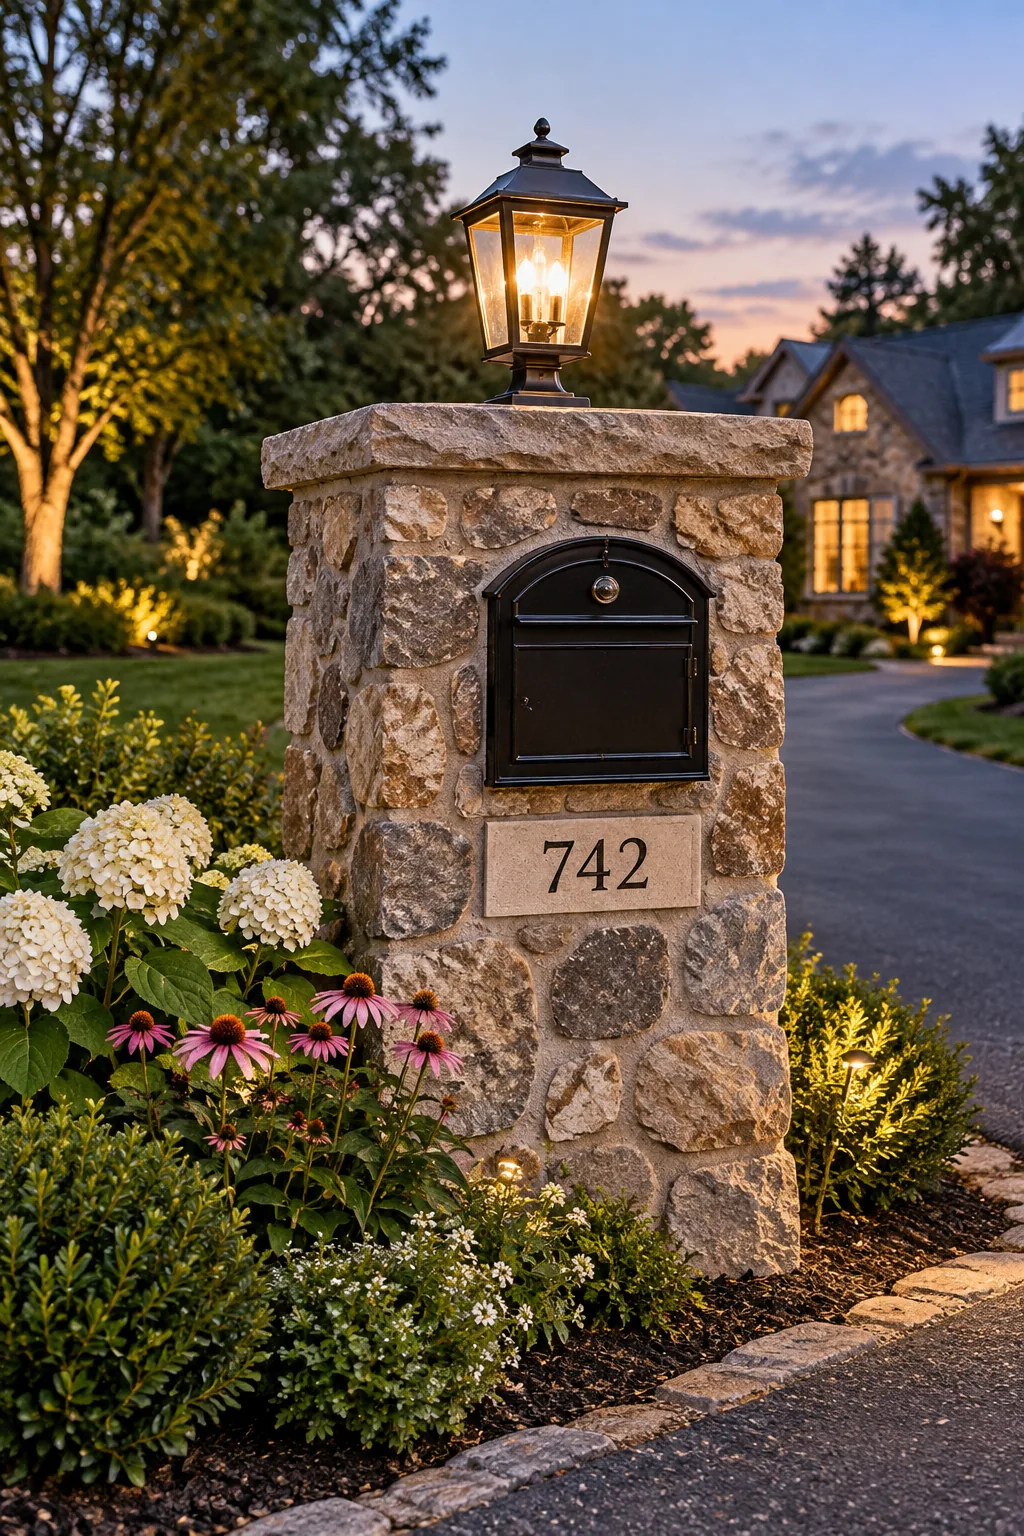
Tape the top of the PVC pipe securely shut while working so no stray mortar or concrete accidentally clogs your electrical channel.
Hitting the USPS Mailbox Height
The USPS requires the bottom of the mailbox door slot to sit exactly 41 to 45 inches above the road surface. Measure this vertical distance from the actual street asphalt, not the adjacent grass, to account for any roadside slope.
Installing the Mailbox Housing
Once you reach the correct height, set the metal mailbox directly into a thick bed of mortar on the block core. Build the remaining cinder blocks tightly around the sides and back of the metal box to lock it permanently in place.
Prepping the Scratch Coat
Before any stone goes on, you must apply a half-inch layer of Type S mortar over the bare cinder blocks and score it horizontally. This rough scratch coat gives the heavy veneer stones a highly textured surface to grab onto.
Choosing Natural Thin Stone
Natural thin stone veneer is real quarried rock sliced to roughly one inch thick, offering the exact look of full bed-depth masonry. It is significantly lighter than whole fieldstone, making it much easier to handle and apply to a vertical block wall.
Applying the Thin Stone Veneer
Wrap the block core in natural thin stone veneer using a polymer-modified veneer mortar designed specifically for vertical hold. This technique delivers the authentic look of a solid fieldstone pillar at a fraction of the weight.
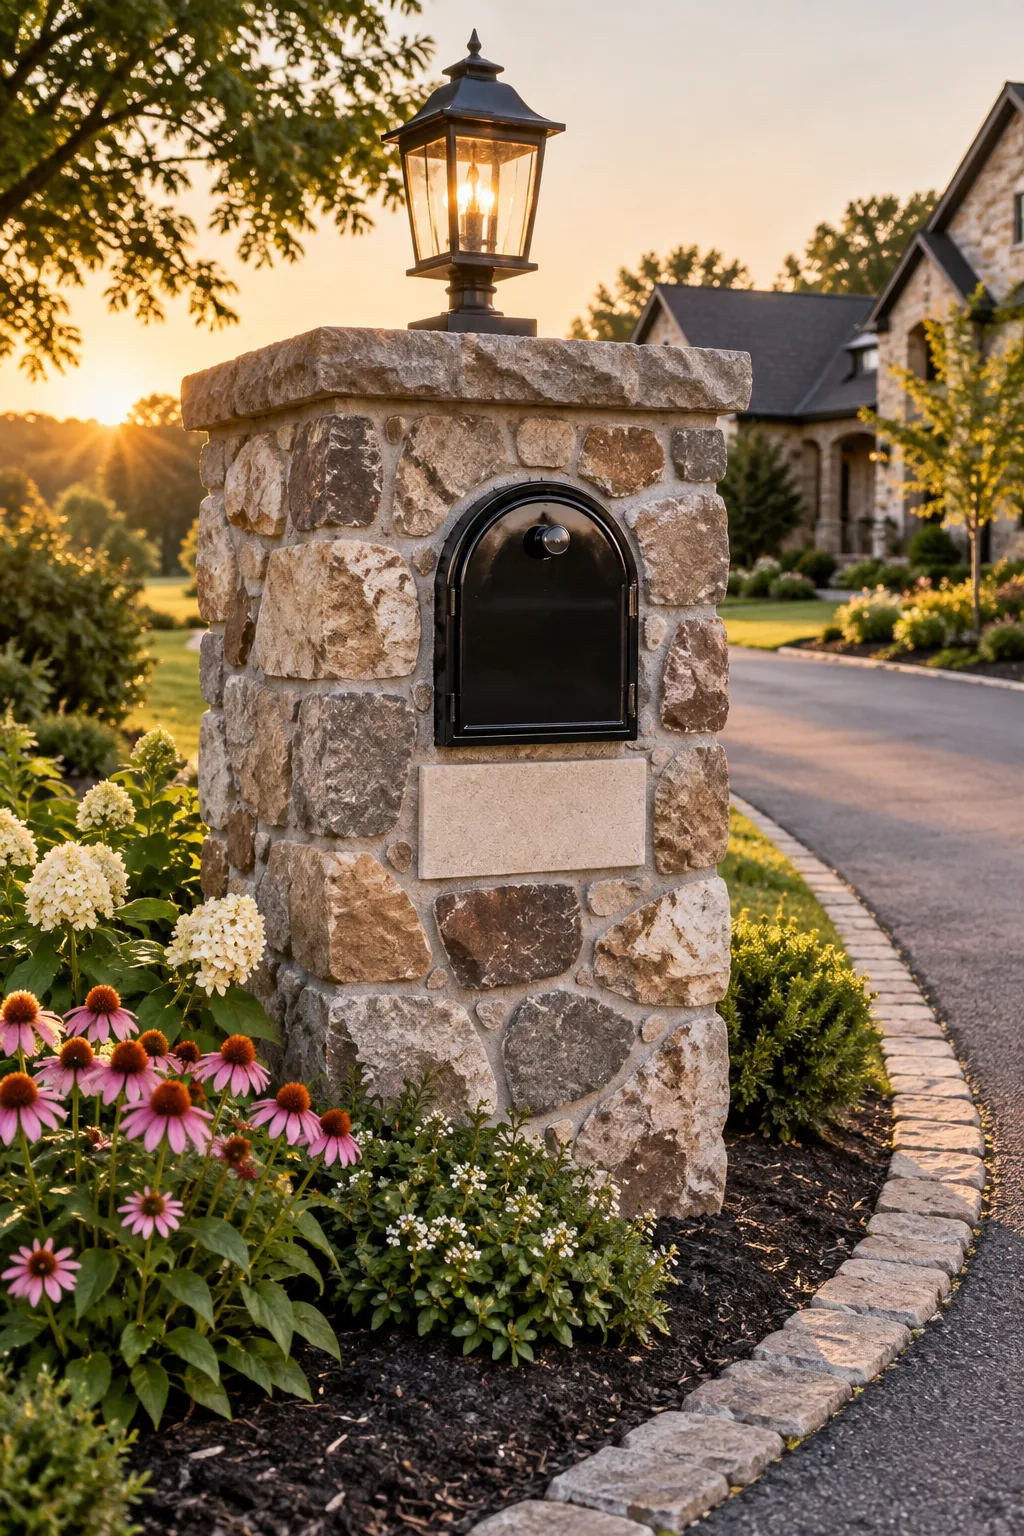
Work from the bottom corners upward, buttering the back of each stone completely to ensure no hidden voids trap freezing water behind the veneer.
Pointing the Mortar Joints
After the veneer stones set, use a grout bag to pipe fresh mortar into the gaps between them, just like frosting a cake. Tool the joints with a striking iron once the mortar becomes thumbprint-hard to create a clean, weather-resistant seal.
Choosing a Solid Stone Cap
A beautiful pillar needs a functional roof to survive harsh weather. Always select a solid, single-piece stone cap that overhangs the textured veneer by at least one full inch on every side to shed water.
4 Ways to Style a Masonry Mailbox
Find the perfect material and color combination to match your home's exterior.
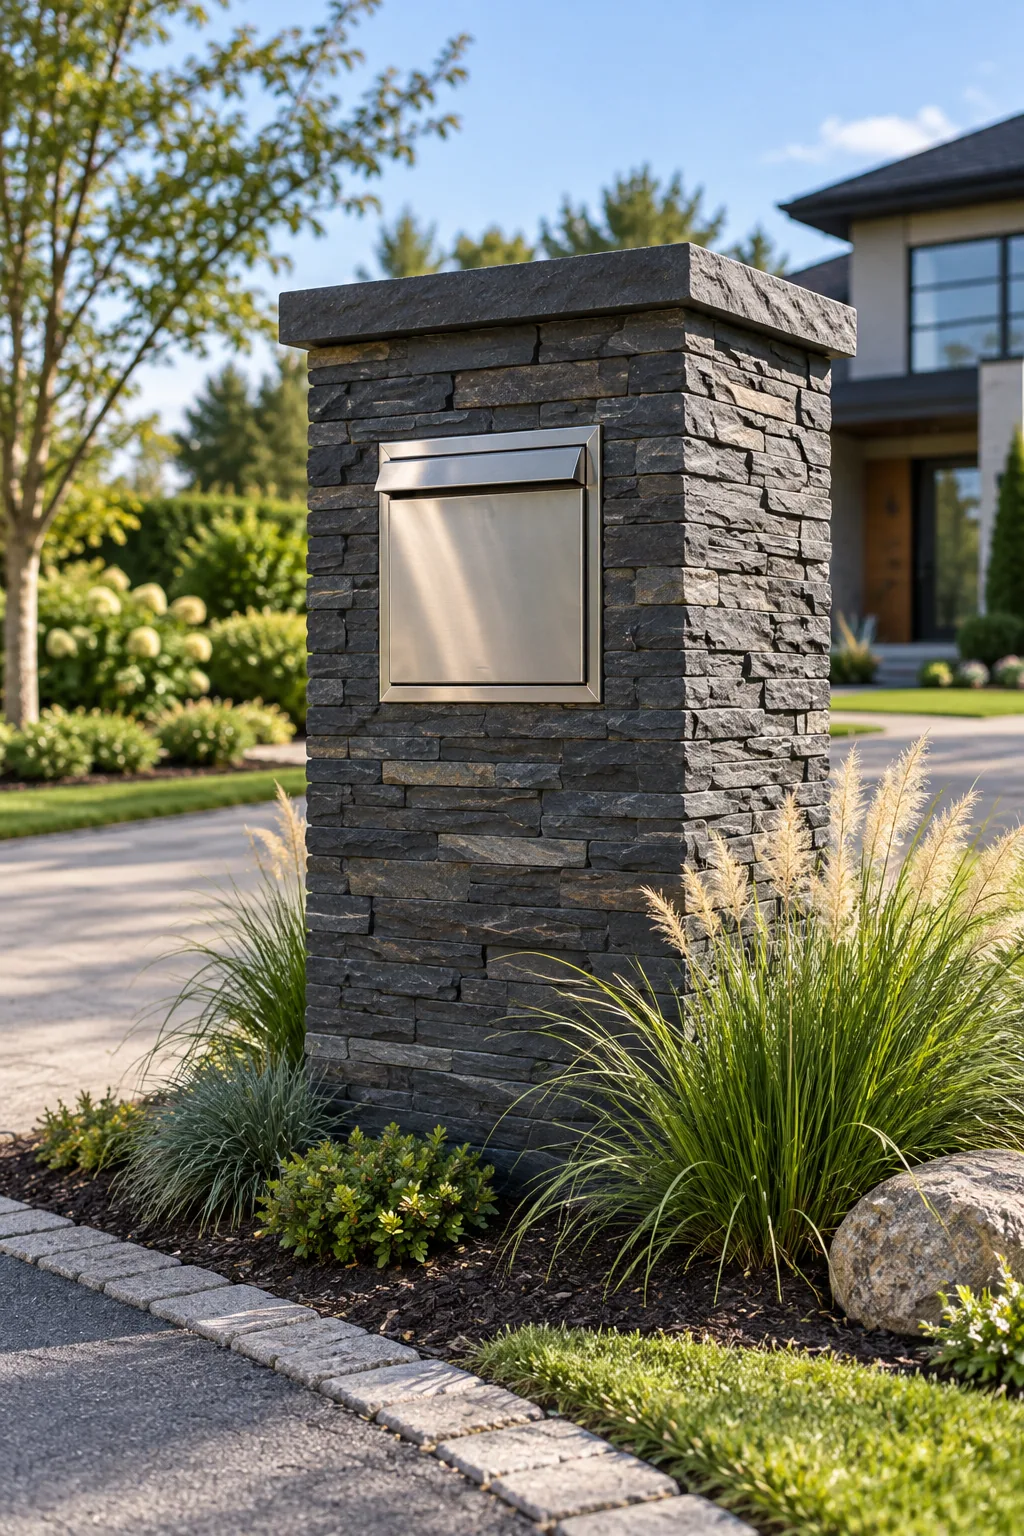
Modern Stacked Slate: Dark charcoal slate and a flush-mounted stainless steel box create a sleek, contemporary entrance.
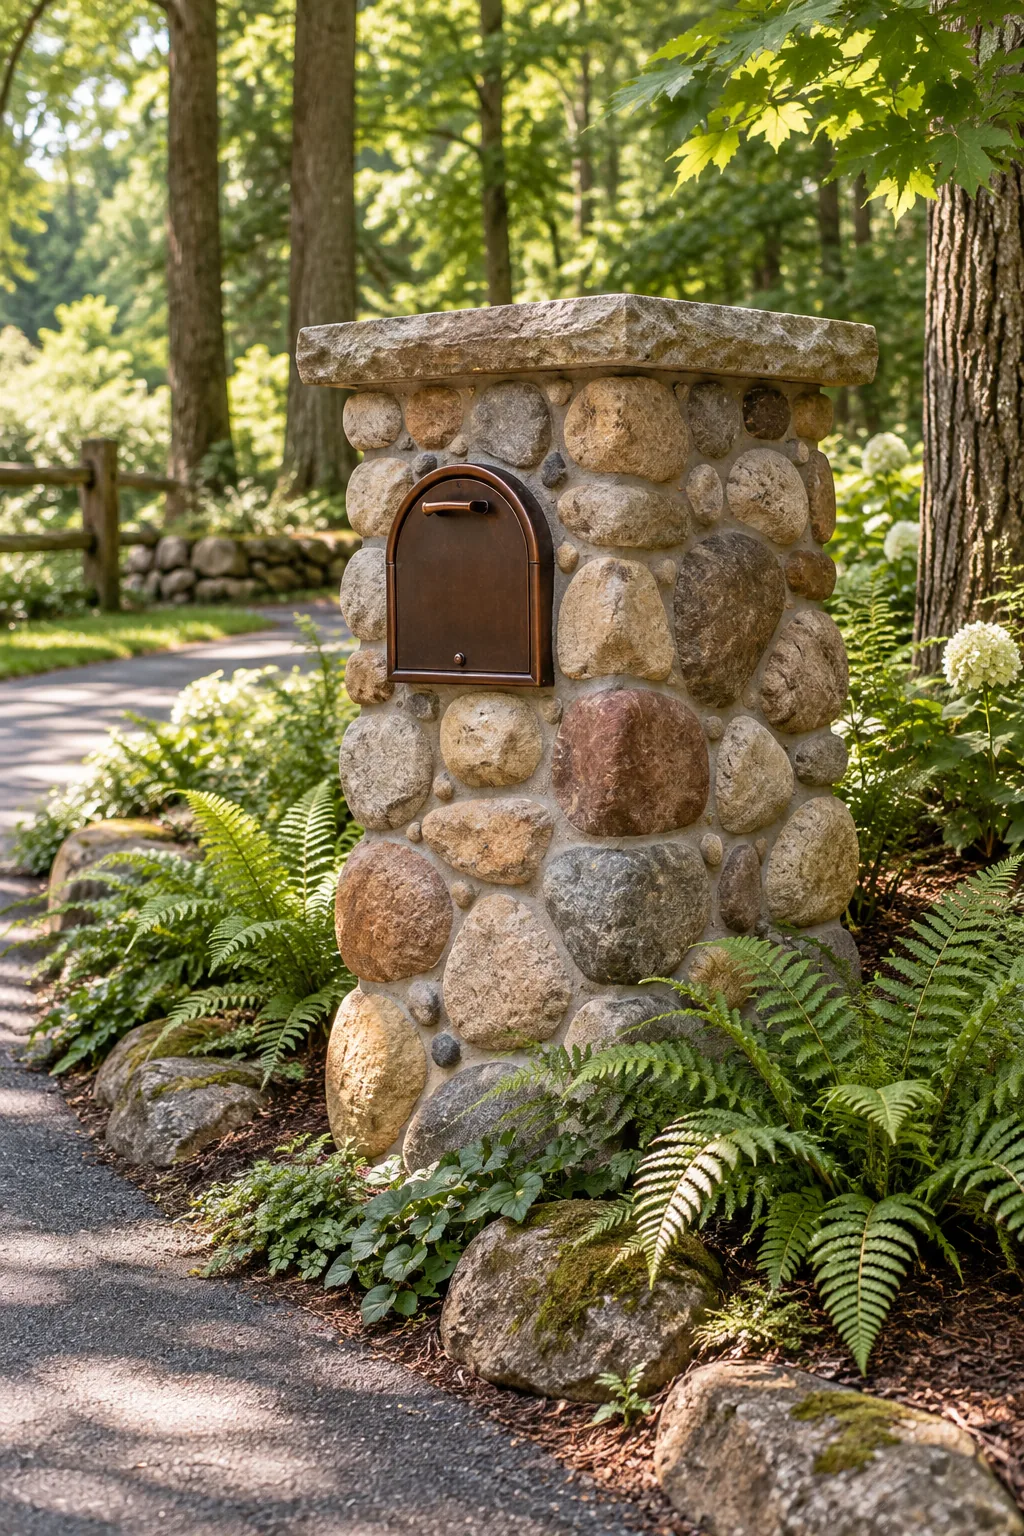
Rustic River Rock: Rounded stones and a weathered copper mailbox blend perfectly into heavily wooded, natural properties.
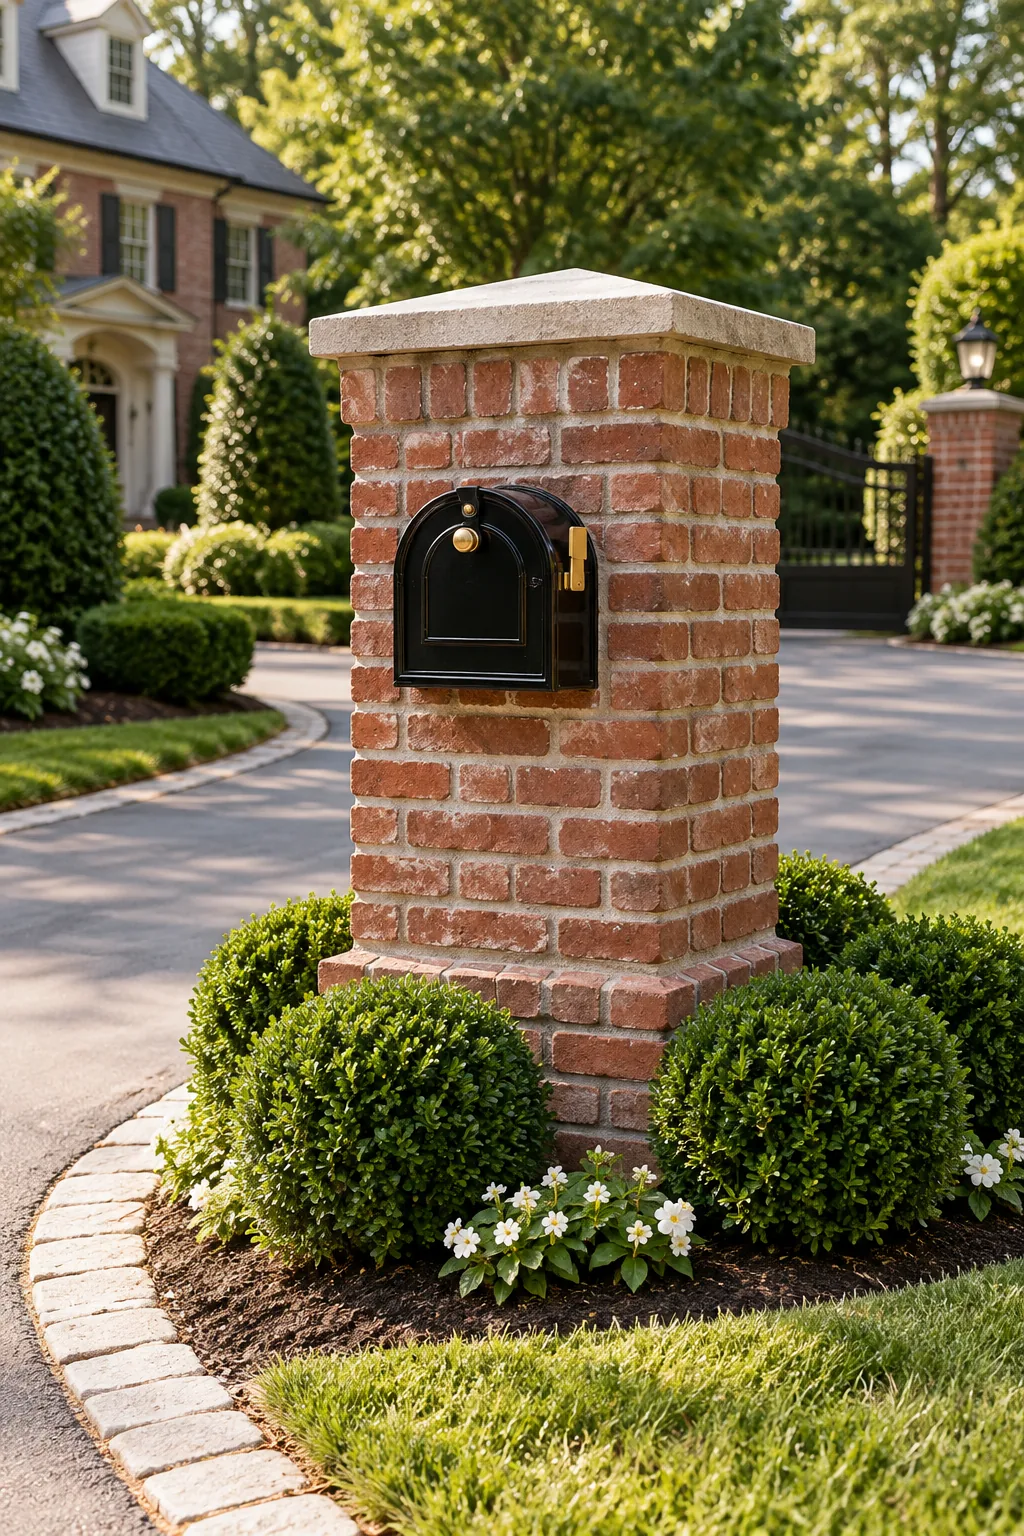
Classic Red Brick: Traditional red brick with crisp white mortar lines offers a timeless, formal look for colonial homes.
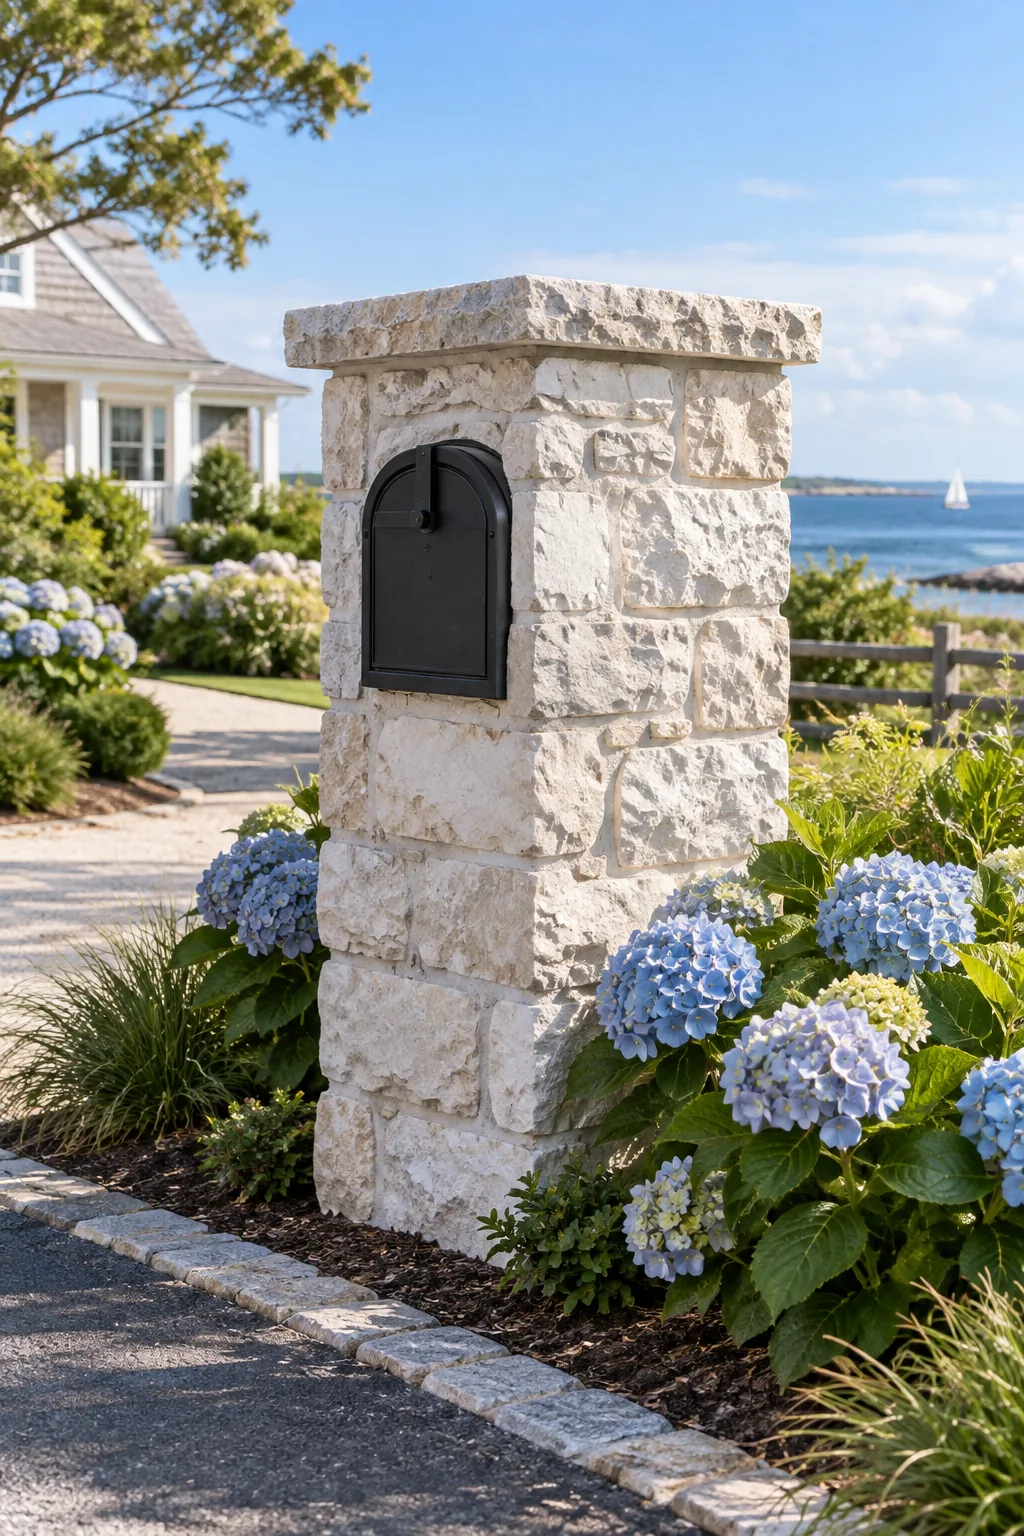
Whitewashed Limestone: Pale, rough-cut limestone paired with vibrant blue hydrangeas brings a bright, airy coastal feel to the curb.
Capping and Landscaping the Pillar
Set the heavy stone cap into a thick bed of mortar, ensuring it pitches very slightly backward to shed rainwater away from the mailbox door. When my husband and I lifted our bluestone cap into place, that one-inch overhang immediately made the whole project look professionally finished.
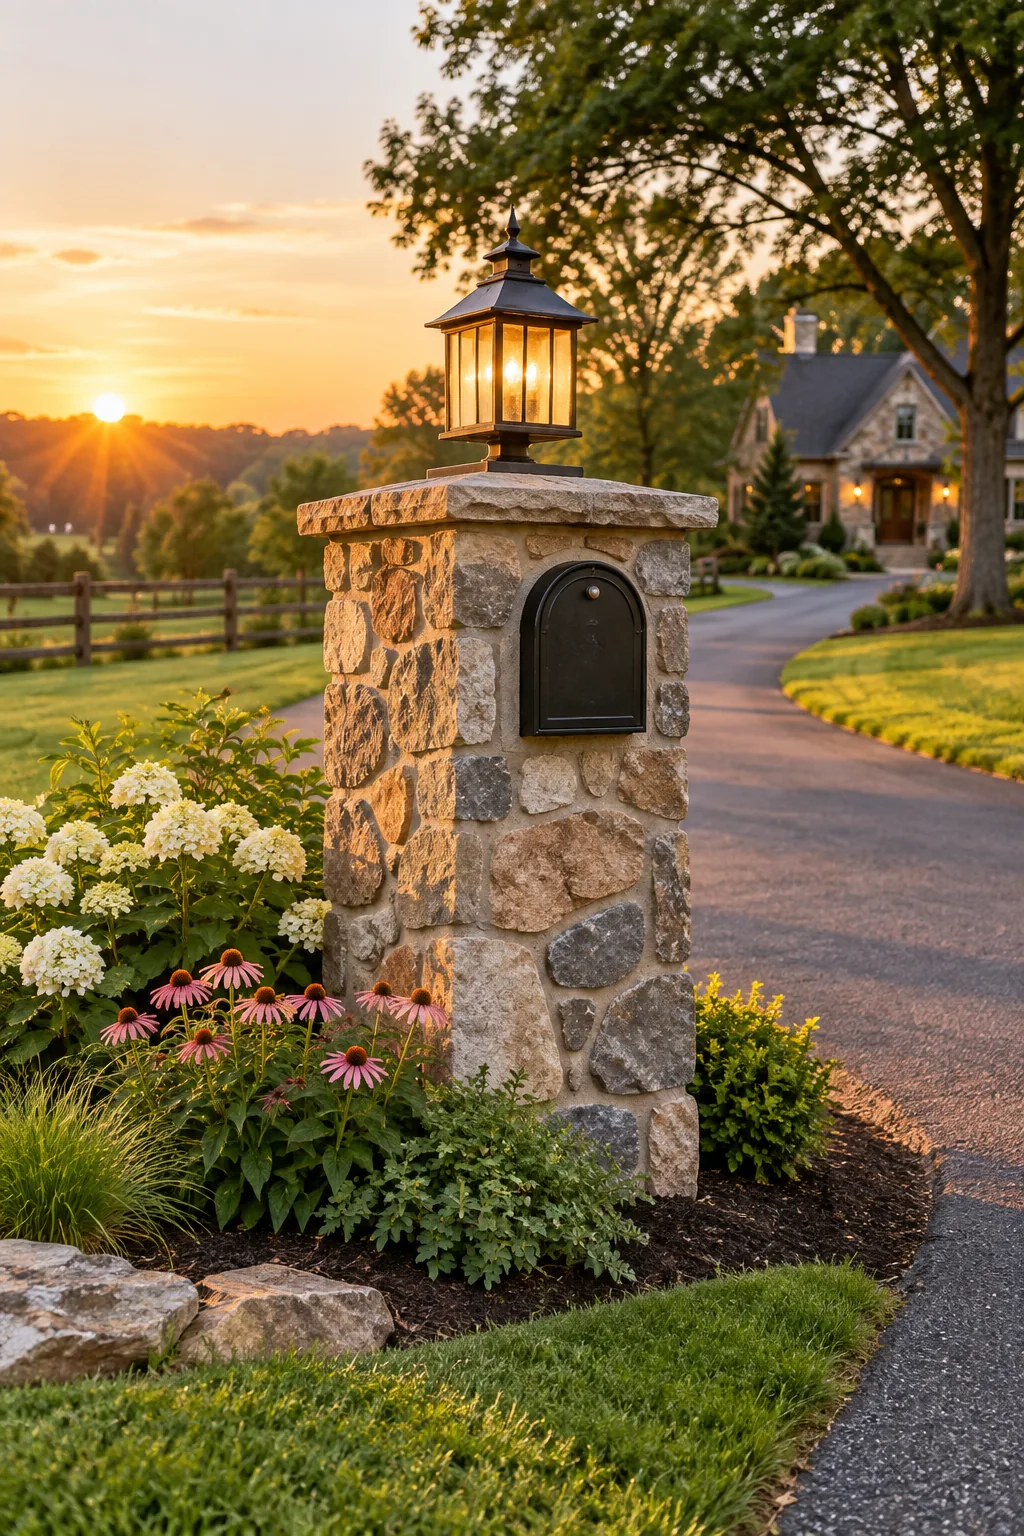
Plant low-growing, salt-tolerant perennials around the base to soften the transition to the lawn and protect the masonry from aggressive string trimmers.