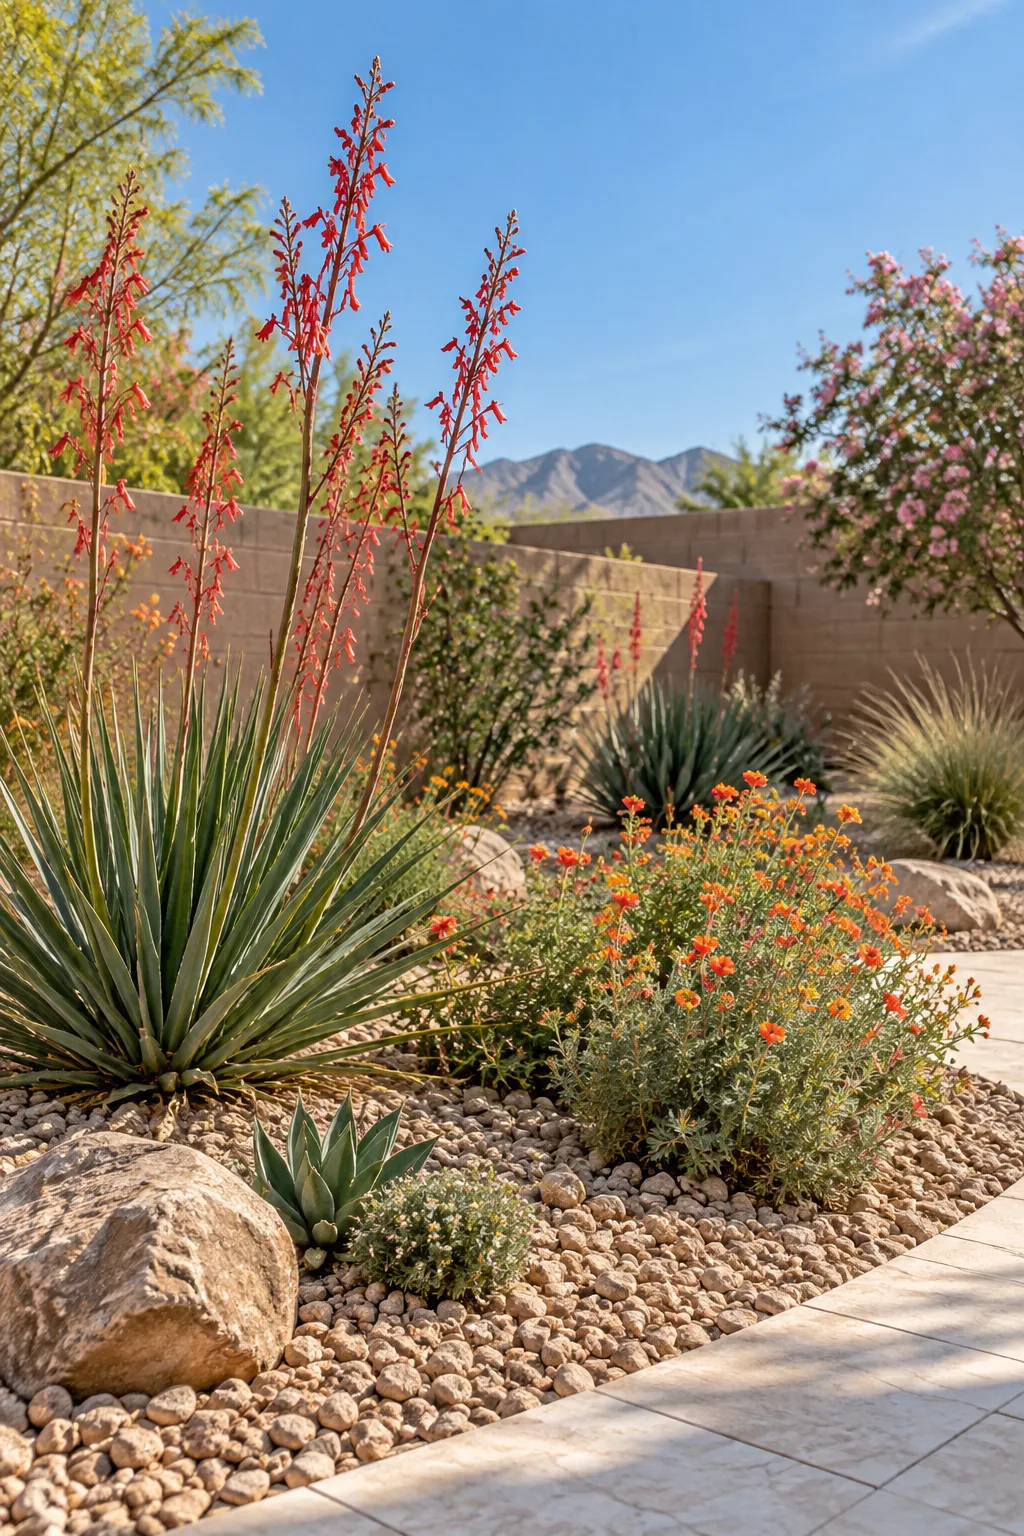
Las Vegas Backyard Build: The Complete Step-by-Step Checklist
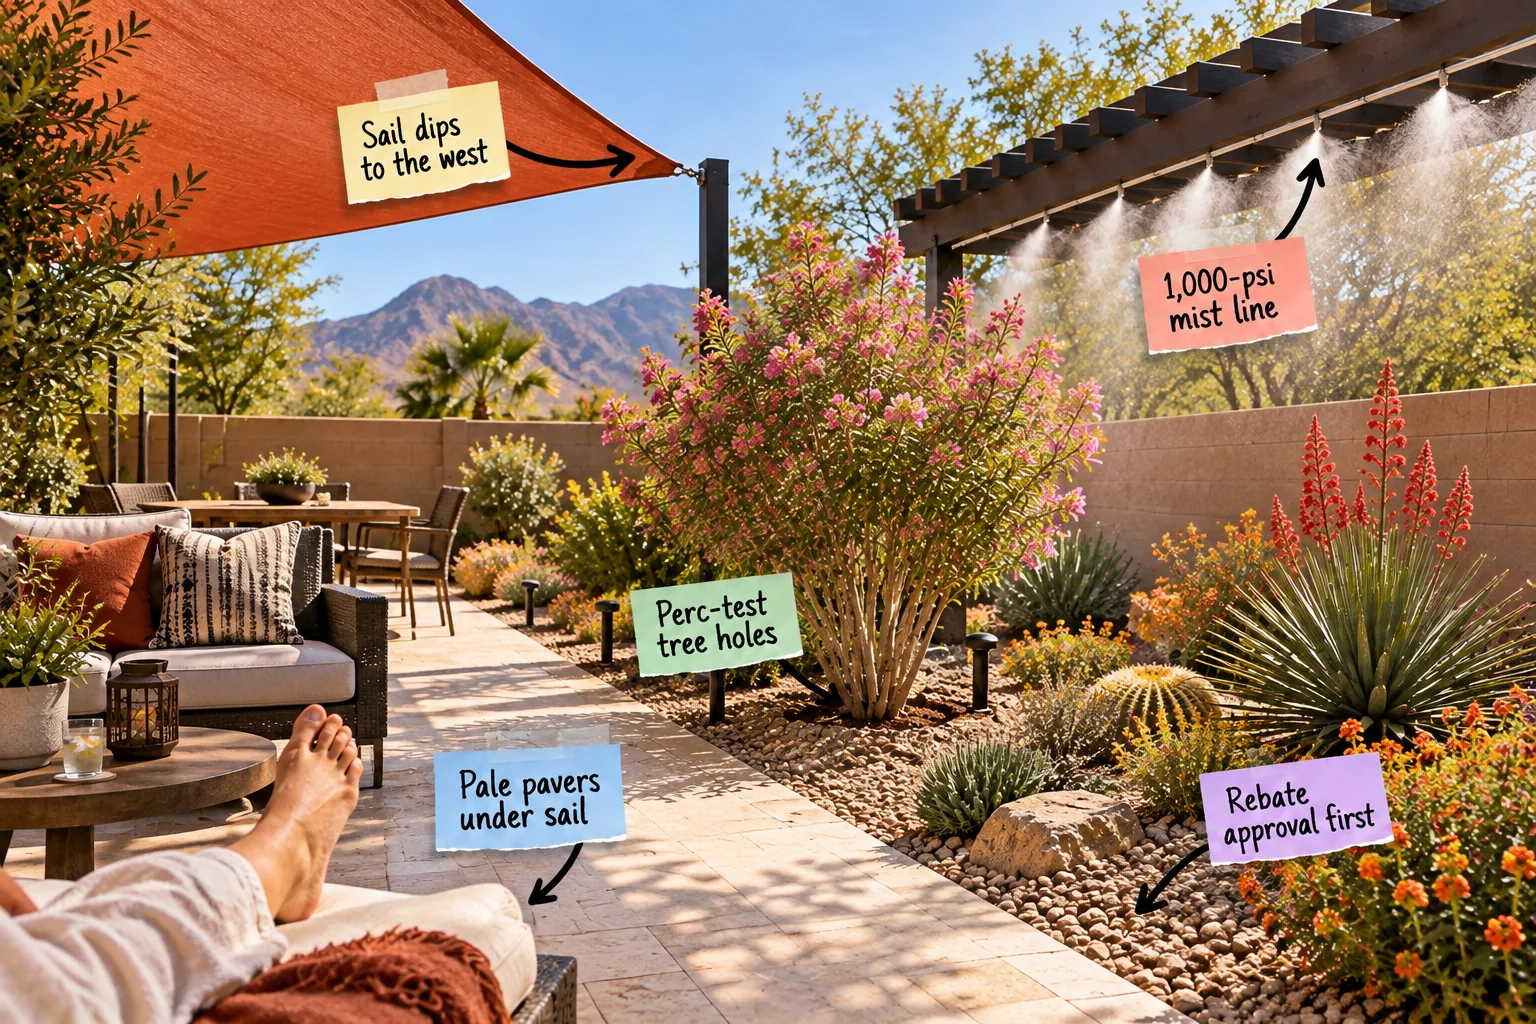
You will be able to sequence your entire backyard renovation to maximize rebates and survive the summer heat with our printable Las Vegas Backyard Build-Order Checklist. This one-page step sequence covers rebate pre-approval, caliche drilling, drip zones by plant type, shade-sail corner heights, and mister mounting height so you can confidently build a desert oasis that shrugs at July.
The Las Vegas Build-Order Checklist
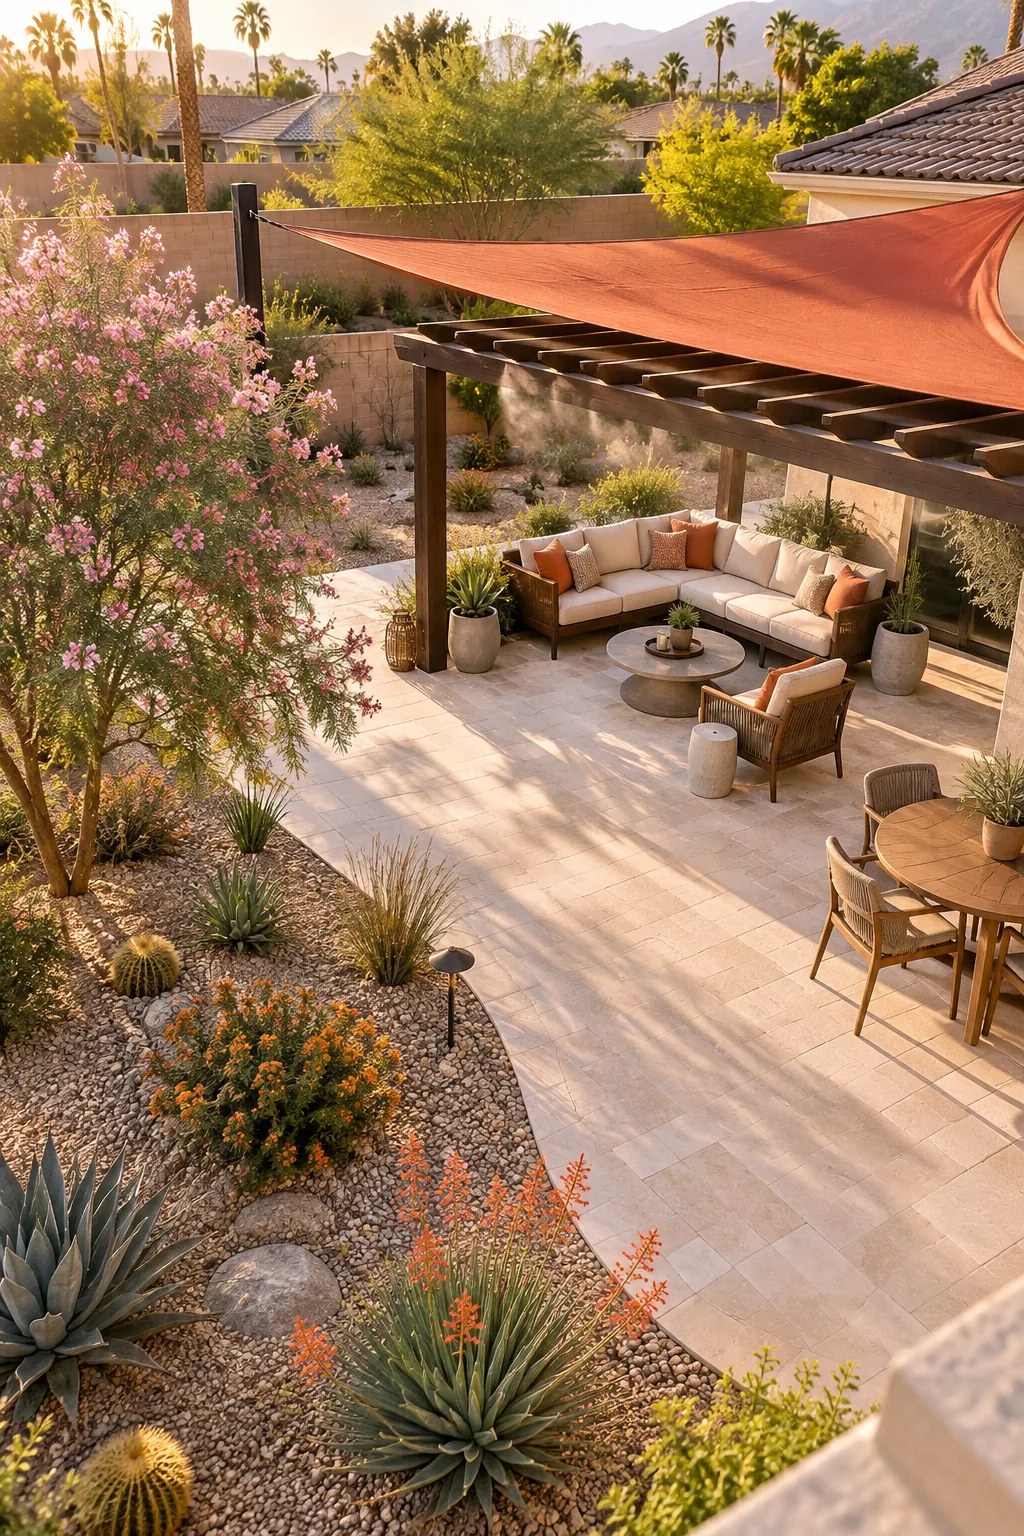
Visualizing the complete sequenced layout ensures utilities and hardscaping align perfectly before any planting begins. Section 1 of the checklist confirms that your new patio footprint won’t interfere with the main irrigation trenches.
Before breaking ground on your desert oasis, verify these administrative details to protect your investment.
Mapping the Underground Utilities
Locating existing water and power lines dictates where you can safely sink deep footings for new shade structures. Marking these pathways prevents catastrophic damage when you begin trenching for the new PVC irrigation mains.
Securing Rebate Approval First
Never remove a single blade of grass before the Southern Nevada Water Authority approves your project, but once approved, immediately verify that your soil composition won’t trap water around delicate roots. When we converted our Austin lawn, I almost dug up the grass early, which would have voided our entire credit!
Removing the Existing Turf
Renting a mechanical sod cutter makes quick work of the dead grass, slicing it cleanly away from the topsoil. Removing this organic layer entirely prevents future weed growth and provides a clean, graded slate for your drought-tolerant landscape design.
Capping the Old Sprinkler Heads
Shutting off the main valve allows you to safely unscrew and cap the obsolete pop-up sprinkler bodies. Sealing these old lines tightly ensures your new high-efficiency drip system maintains maximum water pressure without hidden underground leaks.
Grading the Soil for Drainage
Shaping the bare dirt with a slight 2-degree slope away from your home’s foundation prevents monsoon rains from flooding the patio. Proper grading directs excess surface water toward the deep-rooted trees where it can slowly percolate.
Perc-Testing and Caliche Drilling
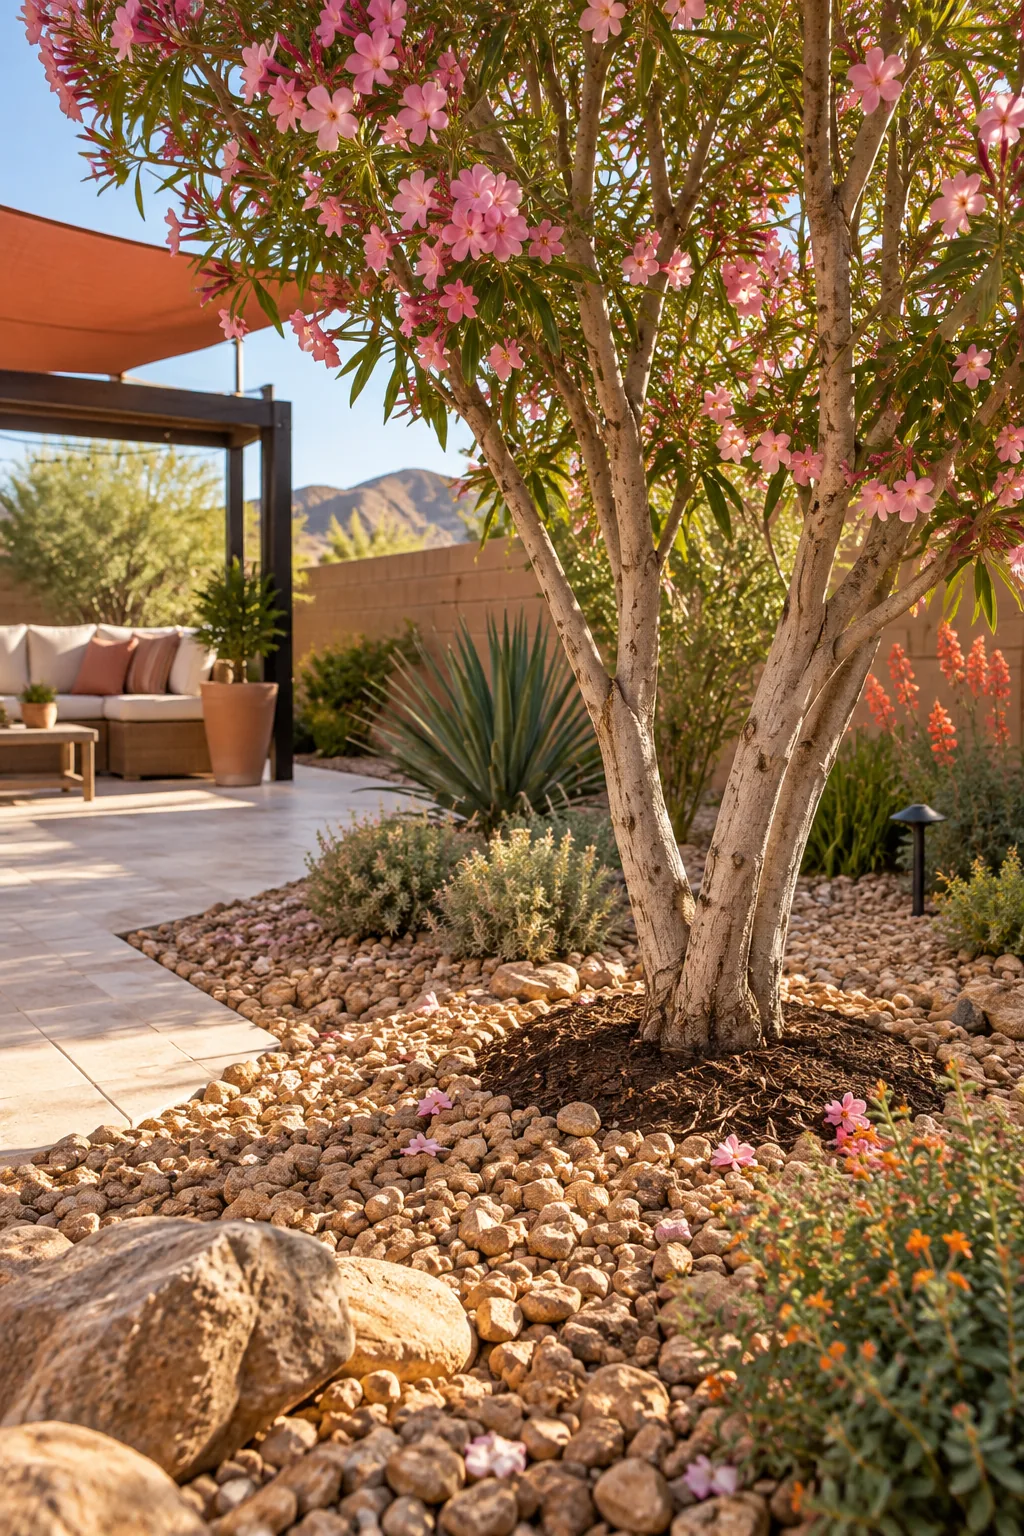
Las Vegas soil is notorious for hardpan caliche that traps water, meaning even drought-tolerant trees will fail if their roots sit in standing water trapped by impenetrable soil; always fill your newly dug tree holes with water to measure the drainage rate before planting.
Amending the Planting Holes
Mixing native soil with a small amount of compost gives new root systems a gentle transition zone. Avoiding heavy fertilizers during this initial planting phase forces the roots to stretch outward in search of naturally occurring nutrients.
Selecting the Desert Willow
Choosing a native species like the desert willow guarantees beautiful summer blooms without demanding excessive irrigation. These resilient trees provide dappled shade for lower-lying succulents, creating a microclimate that helps delicate accent plants survive the intense afternoon heat.
Trenching for the Irrigation Lines
Digging trenches at least 8 inches deep protects the vulnerable PVC pipes from accidental shovel strikes during future gardening. Burying the lines also insulates the water from extreme surface temperatures, preventing the plastic from degrading under the UV rays.
Wiring the Smart Irrigation Controller
Mounting a Wi-Fi enabled controller allows you to automatically adjust watering schedules based on real-time local weather data. Connecting the multi-strand wire to the correct zone valves ensures your trees and shrubs receive perfectly timed hydration.
Drip Zones by Plant Type
Group your landscaping into distinct watering zones based on plant needs, separating deep-watering trees from shallow-rooted shrubs onto different valve lines while planning your hardscape layout. Incorporating light-colored stone reflects radiant heat to keep outdoor living areas usable, ensuring delicate drip lines aren’t baked.
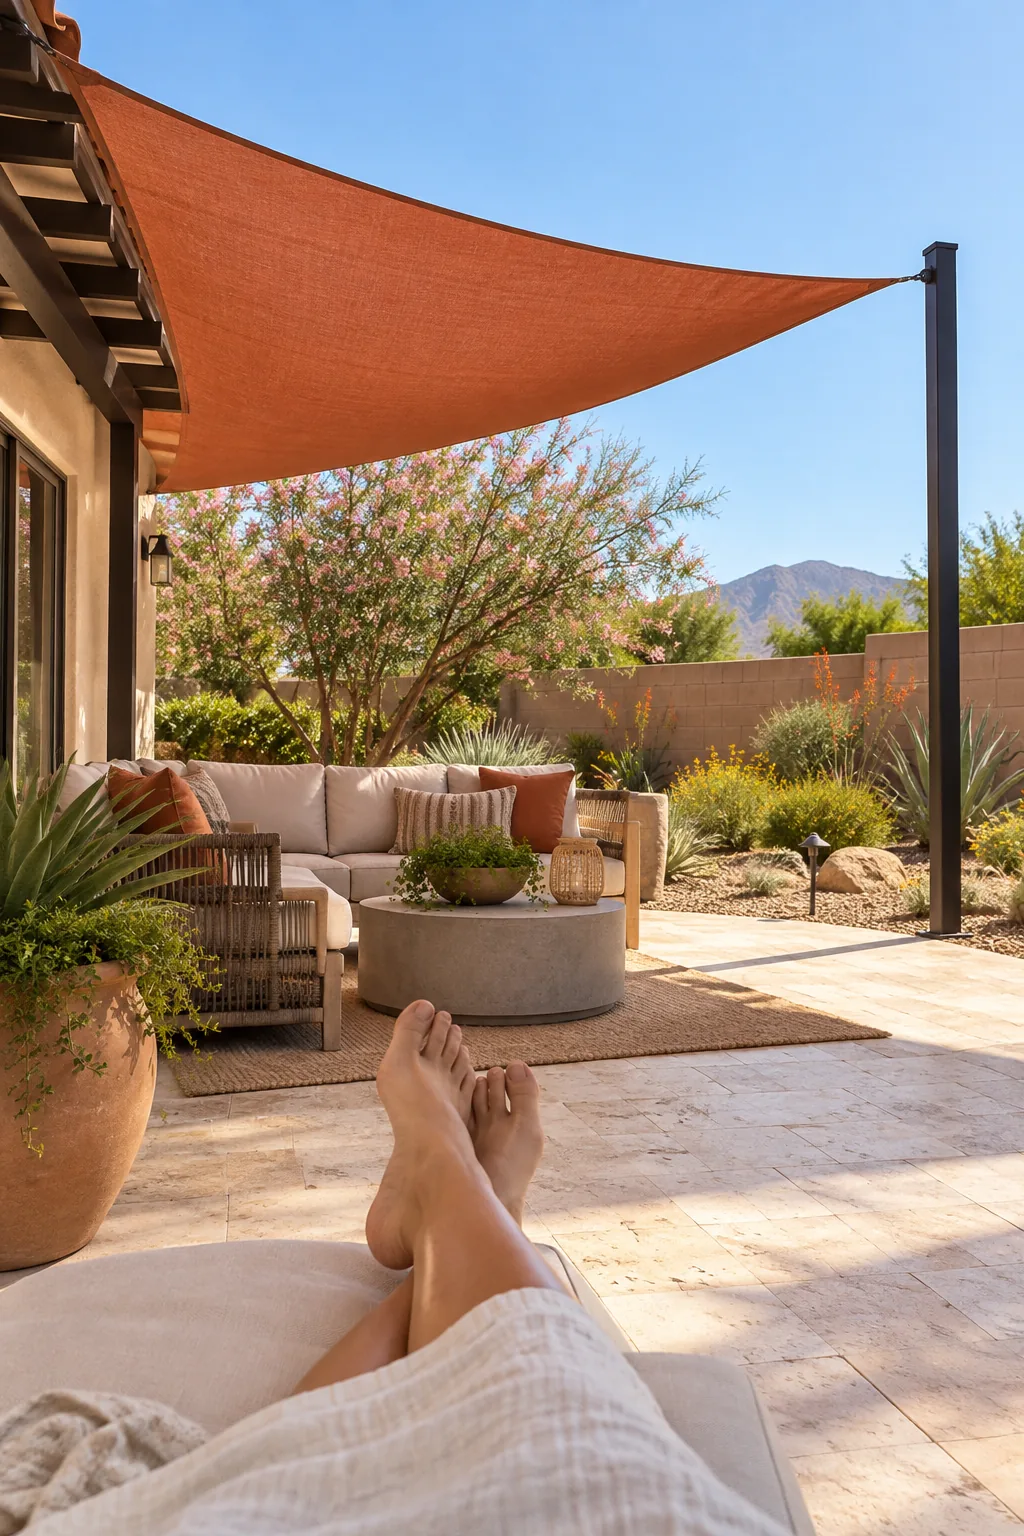
Laying the Travertine Base
Spreading a thick layer of crushed gravel creates a stable, fast-draining foundation for your heavy patio stones. Proper base preparation prevents the pavers from shifting or settling unevenly over time, maintaining a perfectly level surface for your outdoor lounge chairs.
Compacting the Gravel Foundation
Running a rented plate compactor over the damp gravel locks the jagged edges together into a solid mass. Achieving a fully compacted base is the single most important step for preventing your expensive hardscaping from cracking during winter freezes.
Pale Pavers Under the Sail
Select hardscaping materials that reflect radiant heat rather than absorbing it, like ivory tumbled travertine that stays significantly cooler under bare feet than dark concrete during a 110-degree July afternoon. To further protect this cool stone, lowering the western anchor shields the seating area from blinding glare.
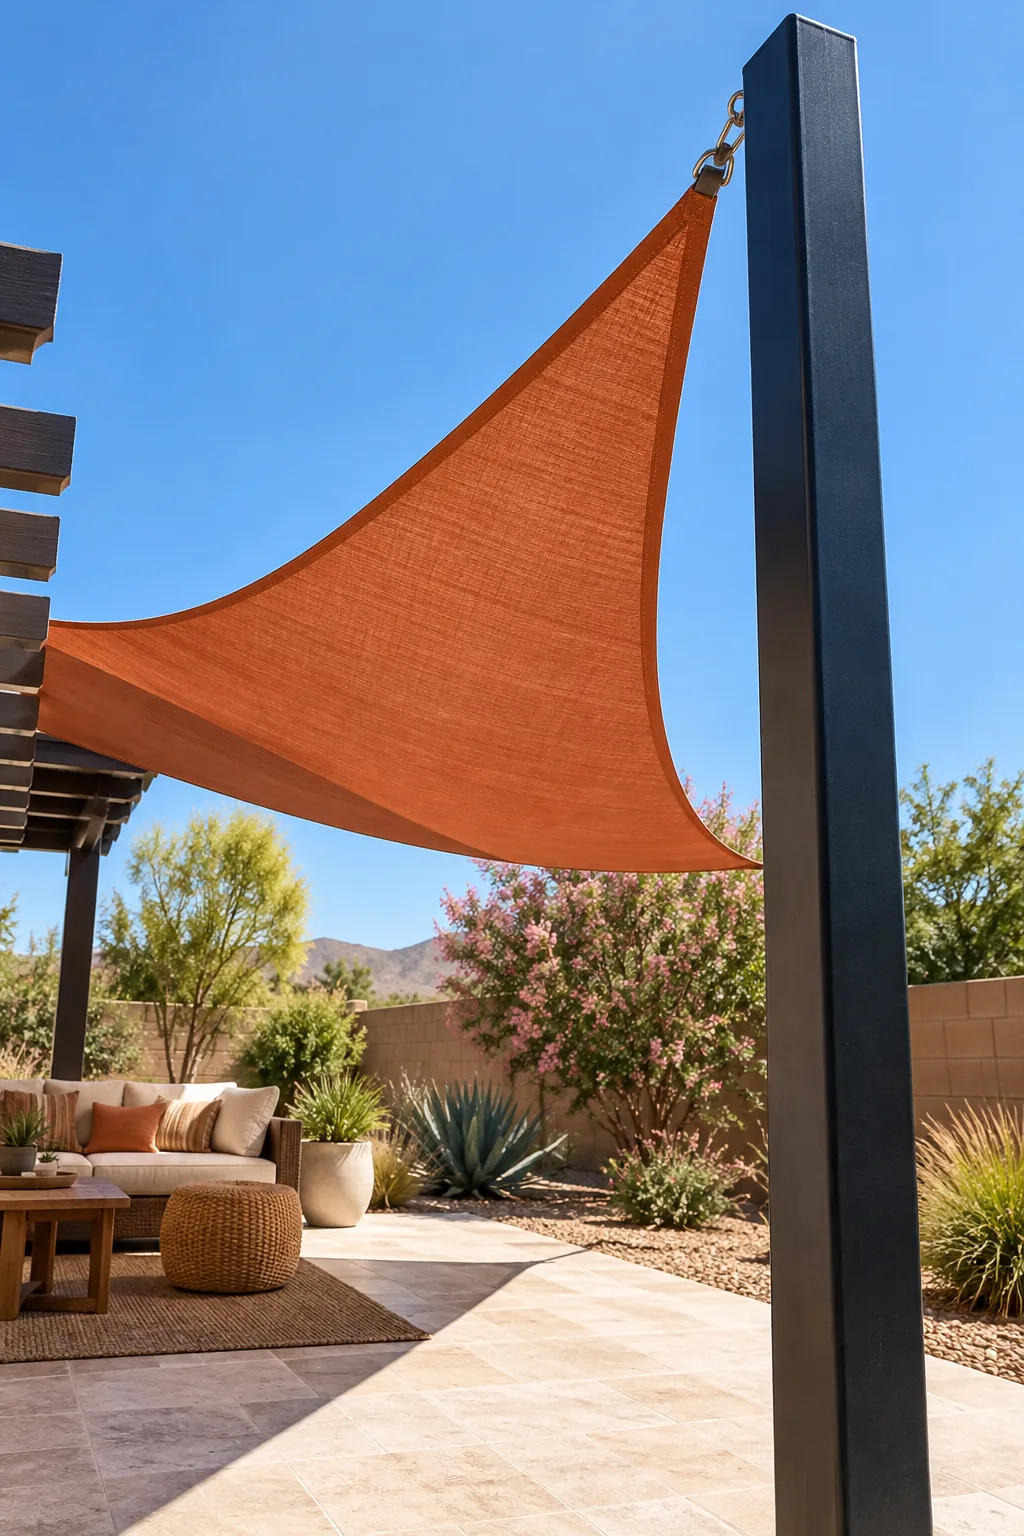
Sinking the Steel Shade Posts
Setting heavy-duty 4-inch steel posts deep into concrete footings provides the necessary tension strength for a large canvas canopy. Matching the footing depth to the canopy size ensures the structure won’t bend or snap.
| Canopy Size | Post Diameter | Footing Depth | Concrete Volume |
|---|---|---|---|
| 10×10 ft | 3 inches | 36 inches | 4 bags |
| 15×15 ft | 4 inches | 48 inches | 8 bags |
| 20×20 ft | 6 inches | 60 inches | 14 bags |
Pouring the concrete slightly above grade and sloping it away from the steel prevents water from pooling and rusting the base.
Curing the Concrete Footings
Allowing the concrete to cure for a full seven days before attaching the fabric prevents the posts from leaning under immense wind loads. Rushing this step often results in micro-fractures below the soil line that compromise the entire shade structure.
Shade Sail Heights for West Sun
Plan the geometry of your terracotta shade sail to combat the most brutal part of the day by anchoring the west-facing corner noticeably lower to a steel post. During our first Austin summer, we mounted our sail perfectly flat, and the 5 p.m. sun blasted right underneath it!
Tensioning the Canopy Hardware
Twisting the stainless steel turnbuckles pulls the fabric drum-tight, preventing the sail from sagging or flapping violently in the wind. A properly tensioned canopy sheds rain instantly and distributes structural stress evenly across all anchor points.
Sizing the Misting Pump
Investing in a commercial-grade pump guarantees enough pressure to atomize the water droplets instantly into a cooling fog. Standard garden hose pressure only creates a wet drizzle, whereas a true high-pressure system drops the ambient temperature without soaking your furniture.
Routing the Stainless Tubing
Securing rigid stainless steel tubing along the top edge of the pergola keeps the high-pressure lines perfectly straight and visually hidden. Unlike flexible nylon hoses, stainless steel won’t sag between the mounting clips or degrade when exposed to constant desert sunlight.
The 1,000-PSI Mist Line
Install a high-pressure misting system along the underside of the pergola beam, mounted at approximately 9 feet high. High-pressure flash evaporation cools the air without leaving surfaces damp, utilizing a 1,000-psi pump to create a micro-fine fog that vanishes instantly.
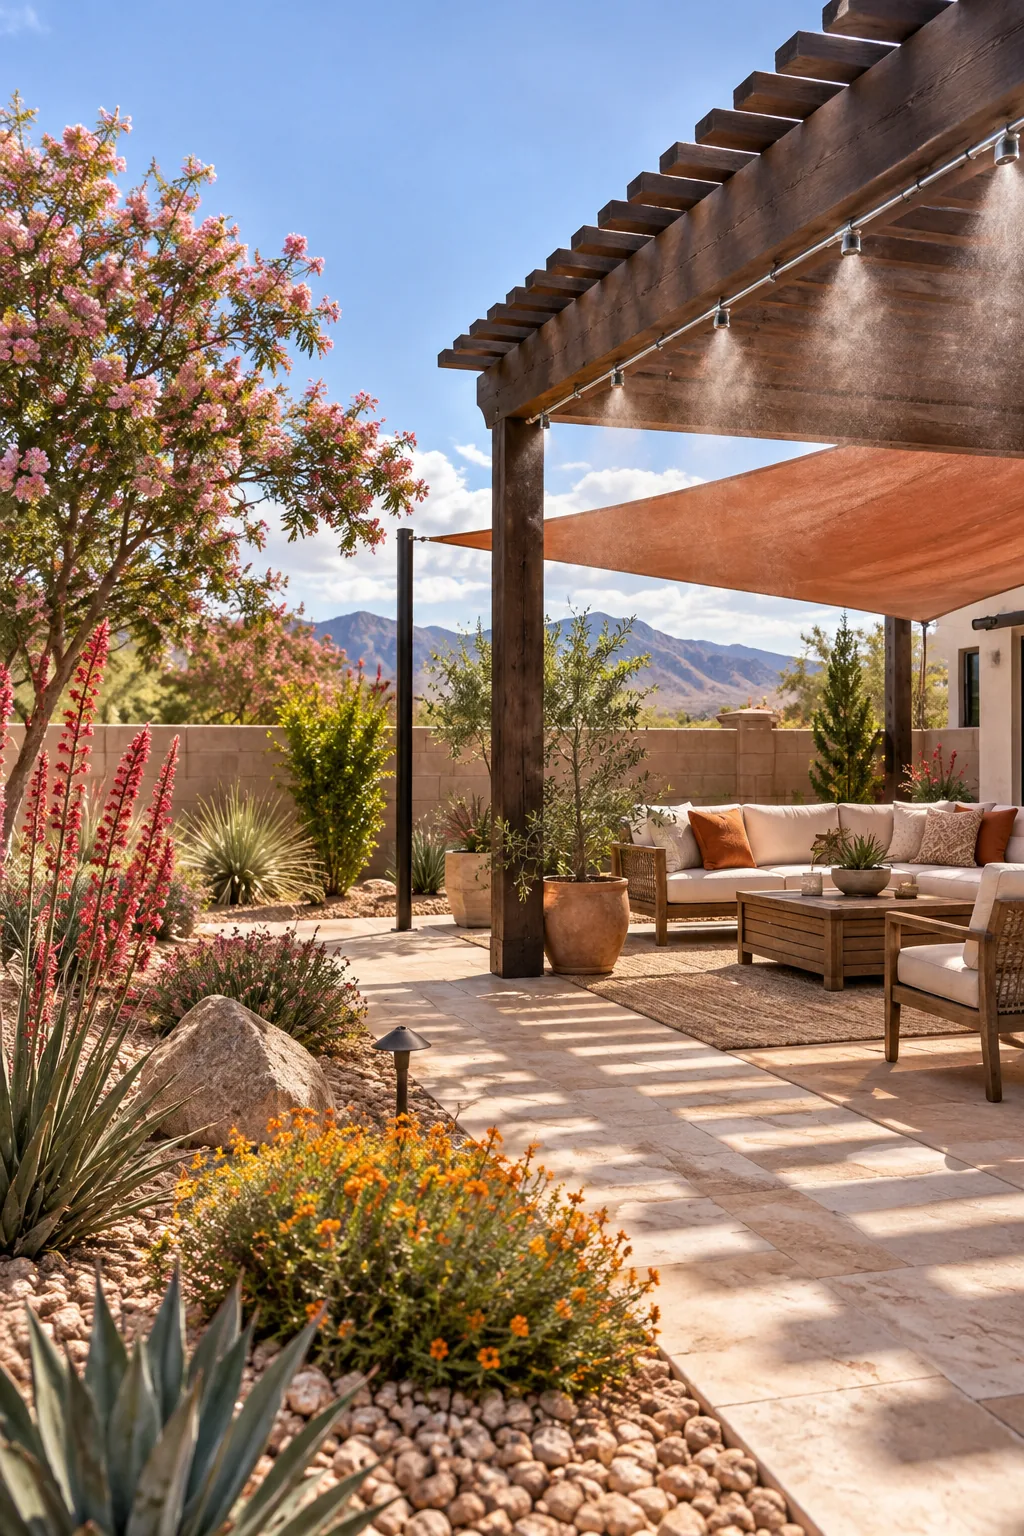
Choosing the Right Rock Mulch
Selecting a heavier gauge gravel prevents the intense desert winds from blowing your ground cover directly into the pool. Larger rocks lock together tightly, creating a stable surface that withstands light foot traffic while effectively shielding the delicate topsoil.
4 More Ways to Style a Desert Backyard
Find the perfect climate-adapted aesthetic for your outdoor space.
Modern Desert Monochrome: Crisp white walls and pale gravel create a high-contrast backdrop for sculptural agave.
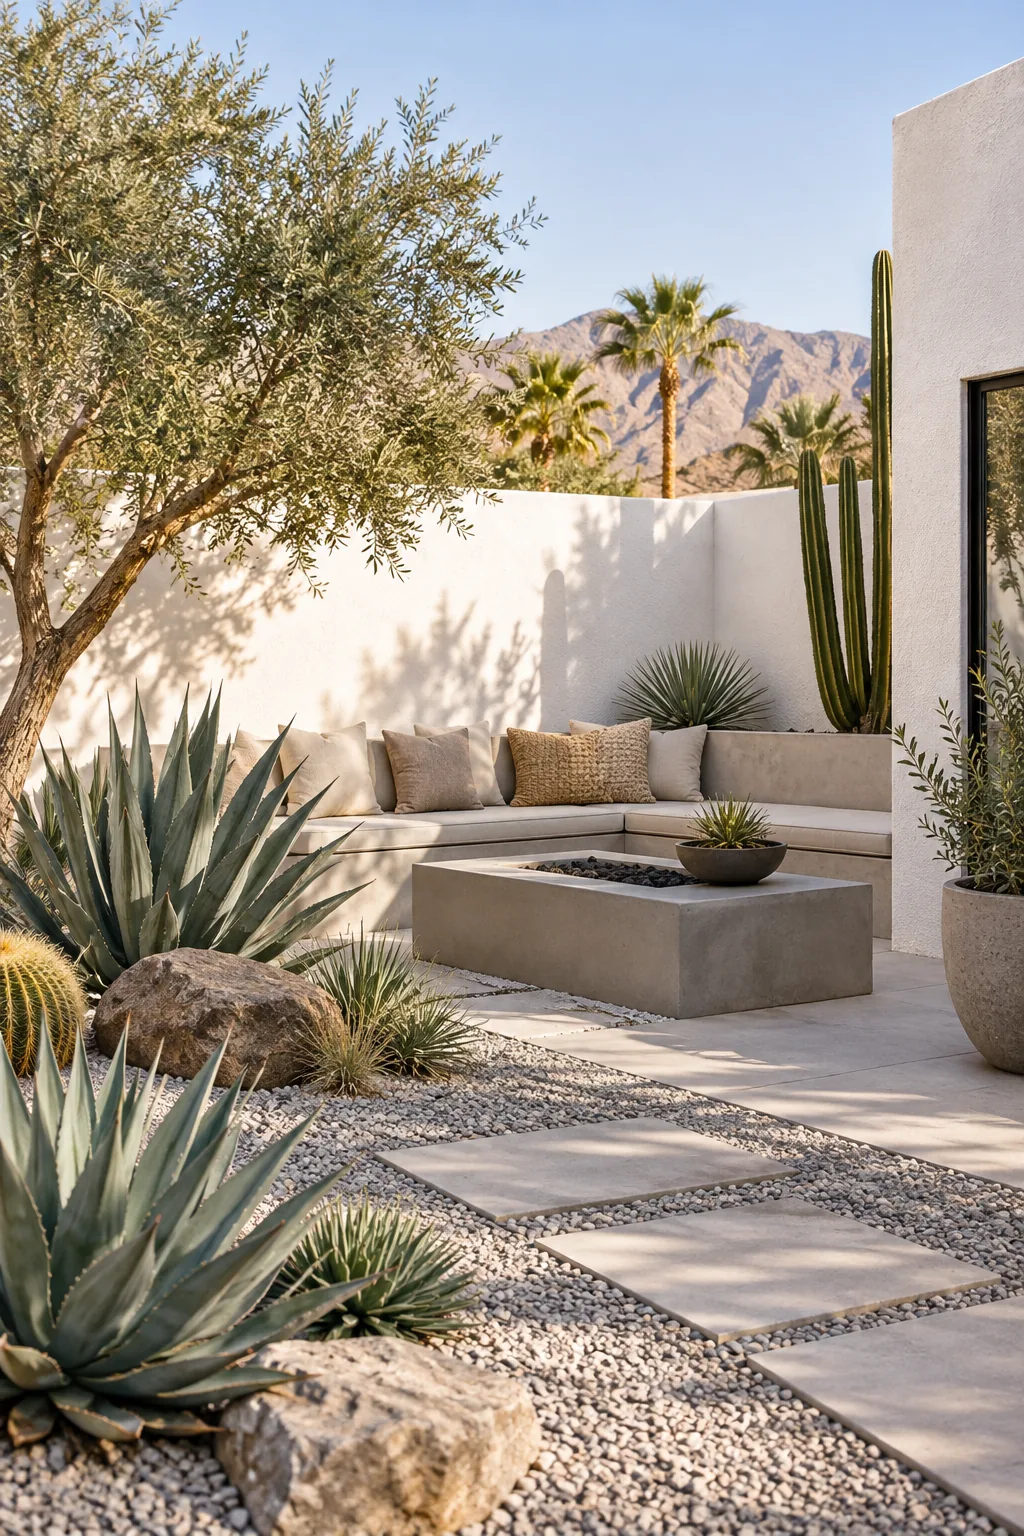
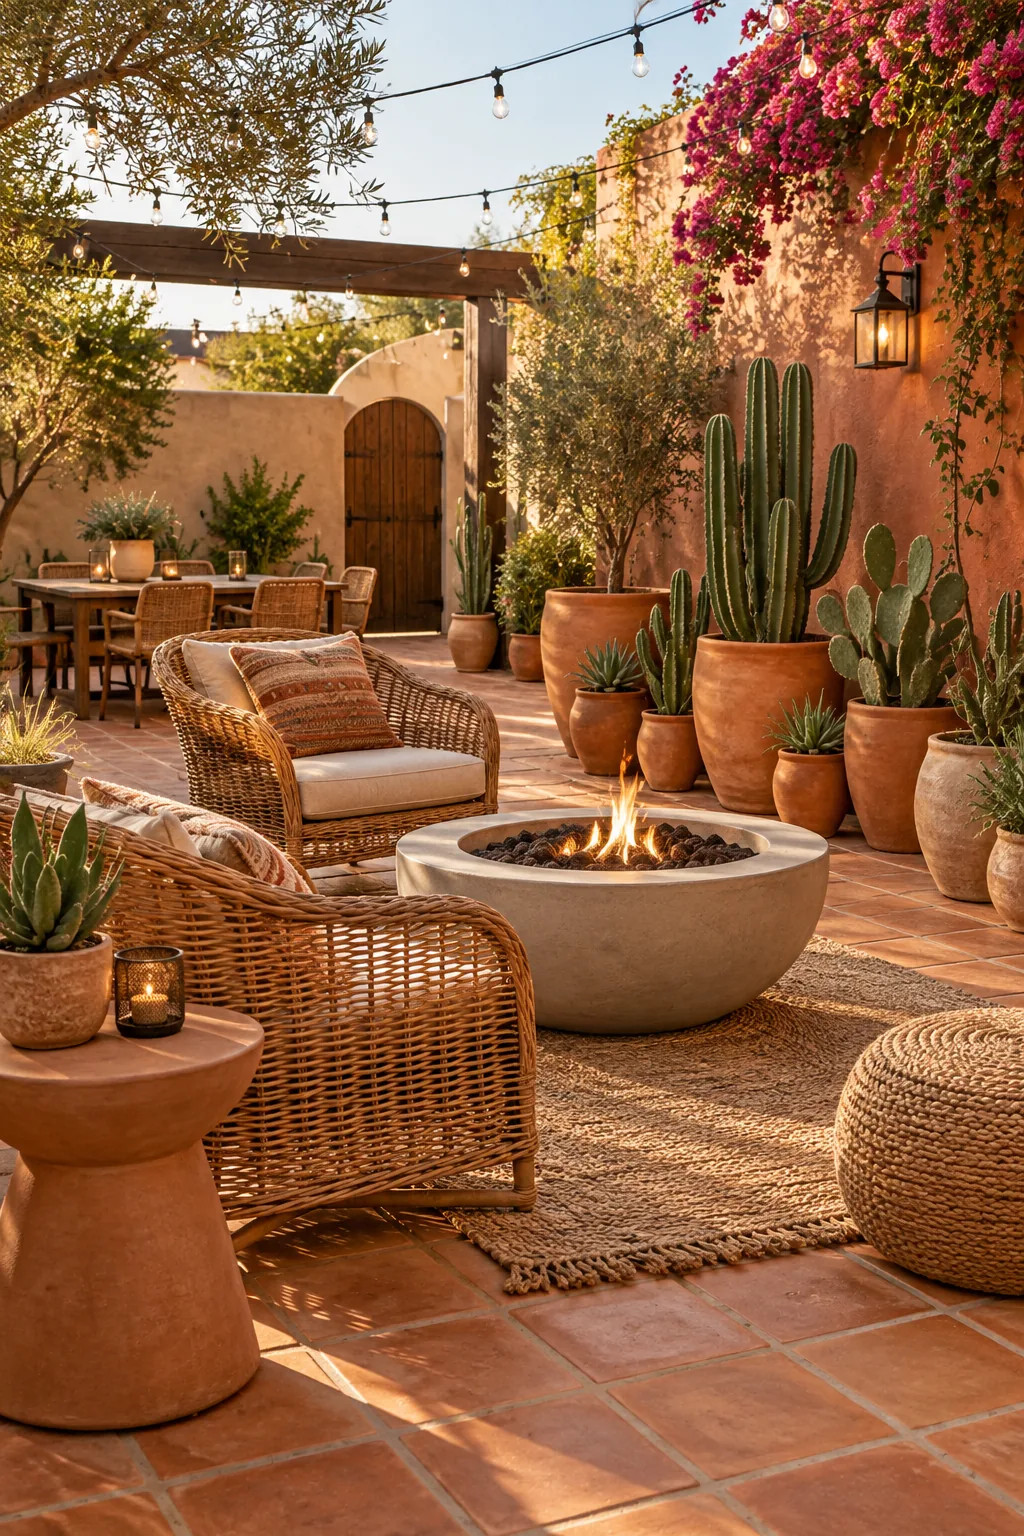
Boho Terracotta Courtyard: Warm saltillo tiles and clustered potted cacti bring an inviting, earthy feel to enclosed spaces.
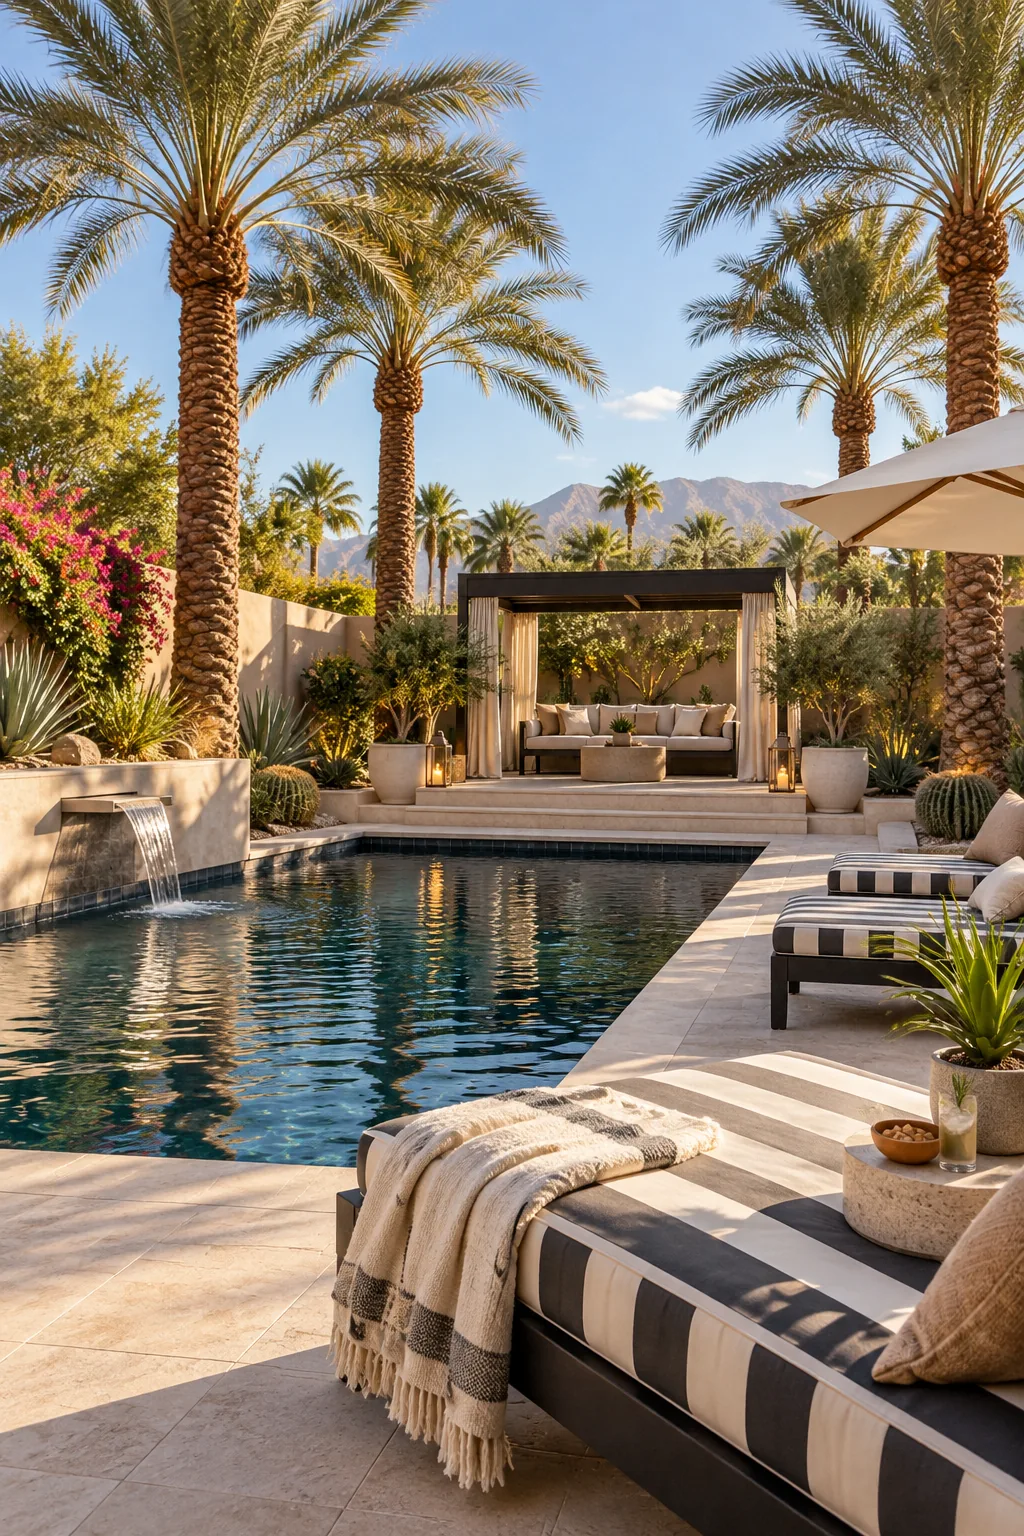
Resort-Style Oasis: A dark plunge pool surrounded by limestone decking offers a luxurious escape from the heat.
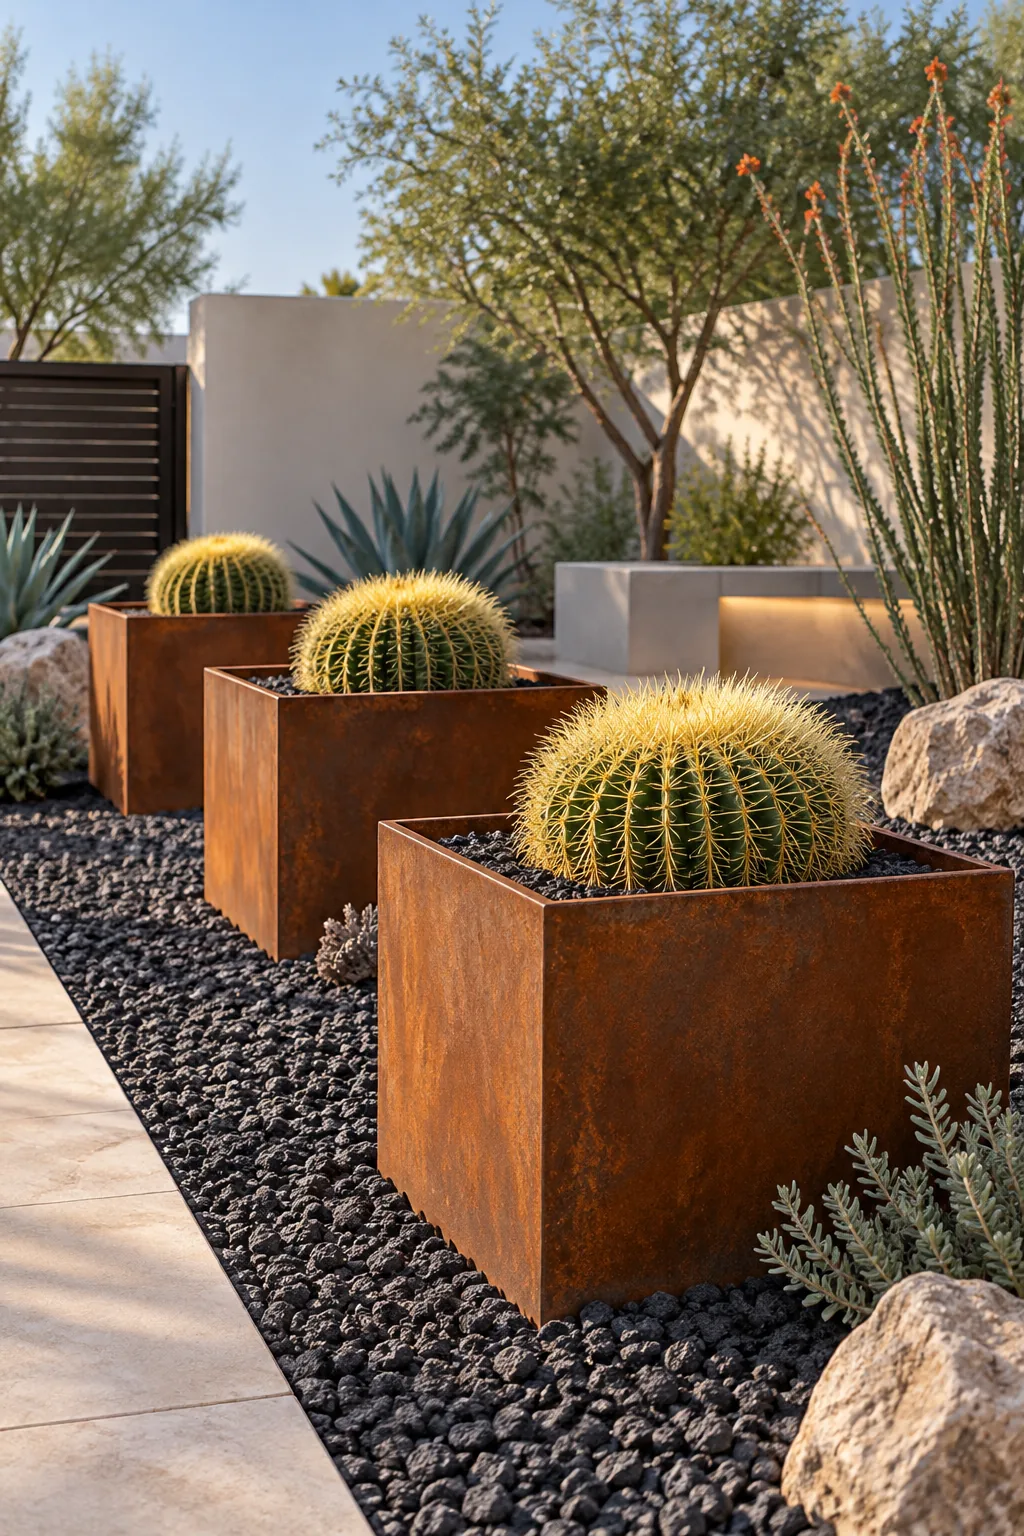
Minimalist Xeriscape: Rusted corten steel planters pop beautifully against dark crushed basalt and golden barrel cacti.
Finishing the Xeric Beds
Complete the transformation by spreading a thick layer of tan rock mulch over the xeric beds to visually tie the desert landscaping to the block walls. Thick rock mulch insulates soil and suppresses weeds around drought-tolerant plants, locking in vital moisture during the peak summer heat.