
Halloween Front Yard: The Ghost Bones Build & Supply List
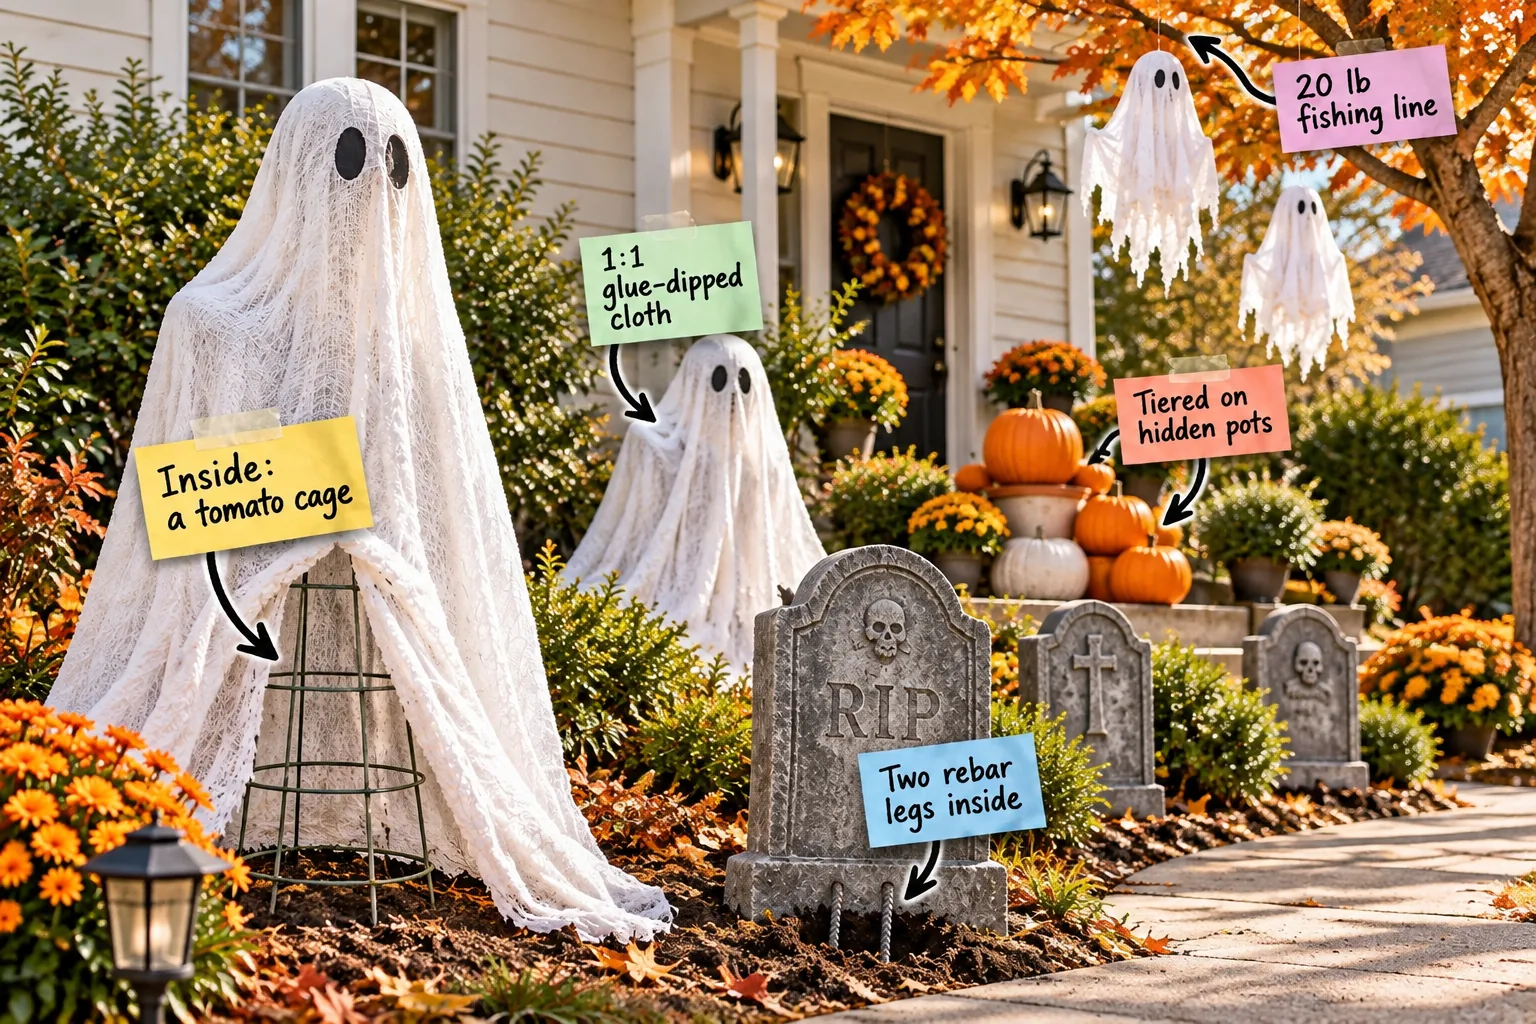
Get ready to build a wind-proof Halloween display with our printable Ghost-Bones Build & Shopping List, detailing every hidden structural support. You will be able to print the exact materials list and assemble sturdy yard props that effortlessly survive unpredictable October weather.
The Complete Ghost Bones Build List
Download our two-page printable shopping sheet to grab the exact quantities of wire cages, metal stakes, terracotta pots, fishing line, and fabric needed for a typical suburban front yard.
Planning these underlying structural supports translates directly into a cohesive, stable yard layout that remains standing through heavy storms. Gathering all your hidden bones before you start decorating makes the entire installation process incredibly smooth and entirely stress-free.
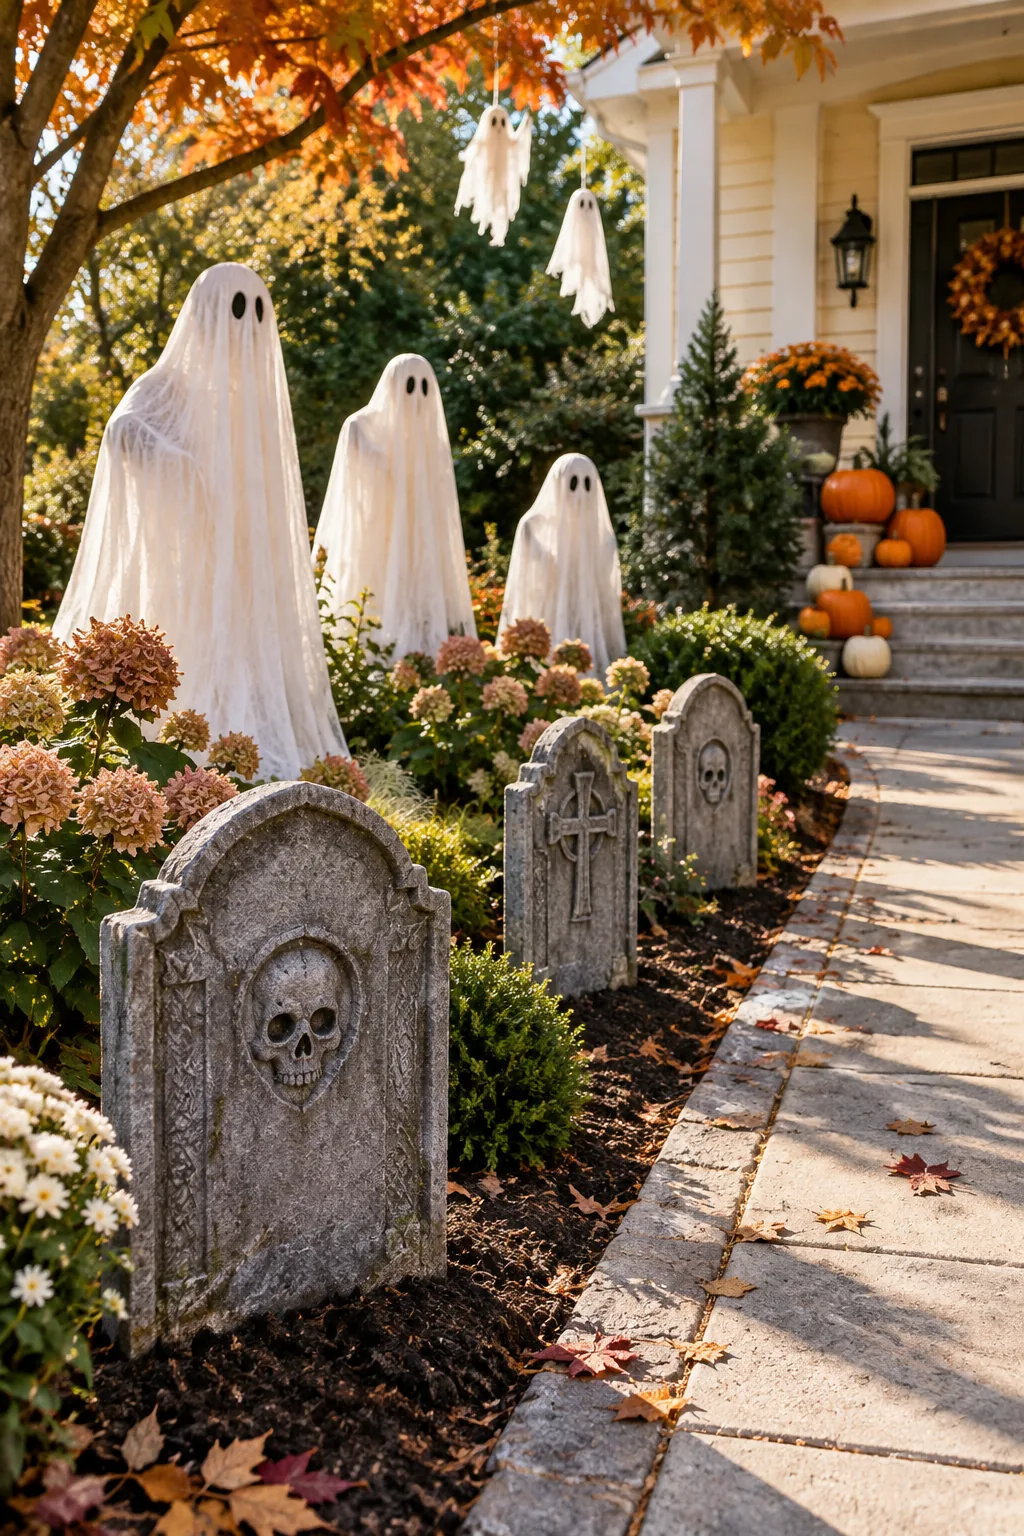
Once you have your supplies staged on the lawn, you can begin mapping out exactly where each decorative zone will sit. Starting from the ground level ensures your heavier foundational pieces are perfectly positioned before you hang anything overhead.
Preparing the Yard for Installation
Always wait for a dry afternoon when the soil is slightly damp but not muddy before driving your metal supports into the earth. Slightly moist ground grips the steel tightly, creating a vacuum seal that dry, cracking dirt simply cannot provide during high winds.
Anchoring Gravestones with Rebar
After chasing my favorite foam headstones down my Austin street during a sudden storm, I learned to drive two 18-inch rebar stakes into the ground behind each prop. Slide the foam directly over the metal to create a rigid, invisible anchor.
Foam headstones act like giant sails in autumn winds, so those flimsy wooden stakes included in the packaging will inevitably snap or pull out by mid-October. Upgrading to solid steel ensures your spooky cemetery stays exactly where you planted it.
Sizing Rebar for Different Props
Matching your metal supports to the height of your decorations prevents the tops from bending backward in heavy gusts. I always recommend burying exactly one-third of the stake underground to maximize leverage against the pushing force of the wind.
| Gravestone Height | Rebar Length | Buried Depth | Exposed Support |
|---|---|---|---|
| Up to 12 inches | 12 inches | 4 inches | 8 inches |
| 12 to 18 inches | 18 inches | 6 inches | 12 inches |
| 18 to 24 inches | 24 inches | 8 inches | 16 inches |
| 24 to 30 inches | 30 inches | 10 inches | 20 inches |
| 30 to 36 inches | 36 inches | 12 inches | 24 inches |
| Over 36 inches | 48 inches | 16 inches | 32 inches |
Using this simple ratio guarantees that even your tallest, most elaborate cemetery markers will remain perfectly vertical throughout the entire holiday season. You never have to worry about waking up to a flattened graveyard after a rough night of weather.
Framing the Lawn Ghosts
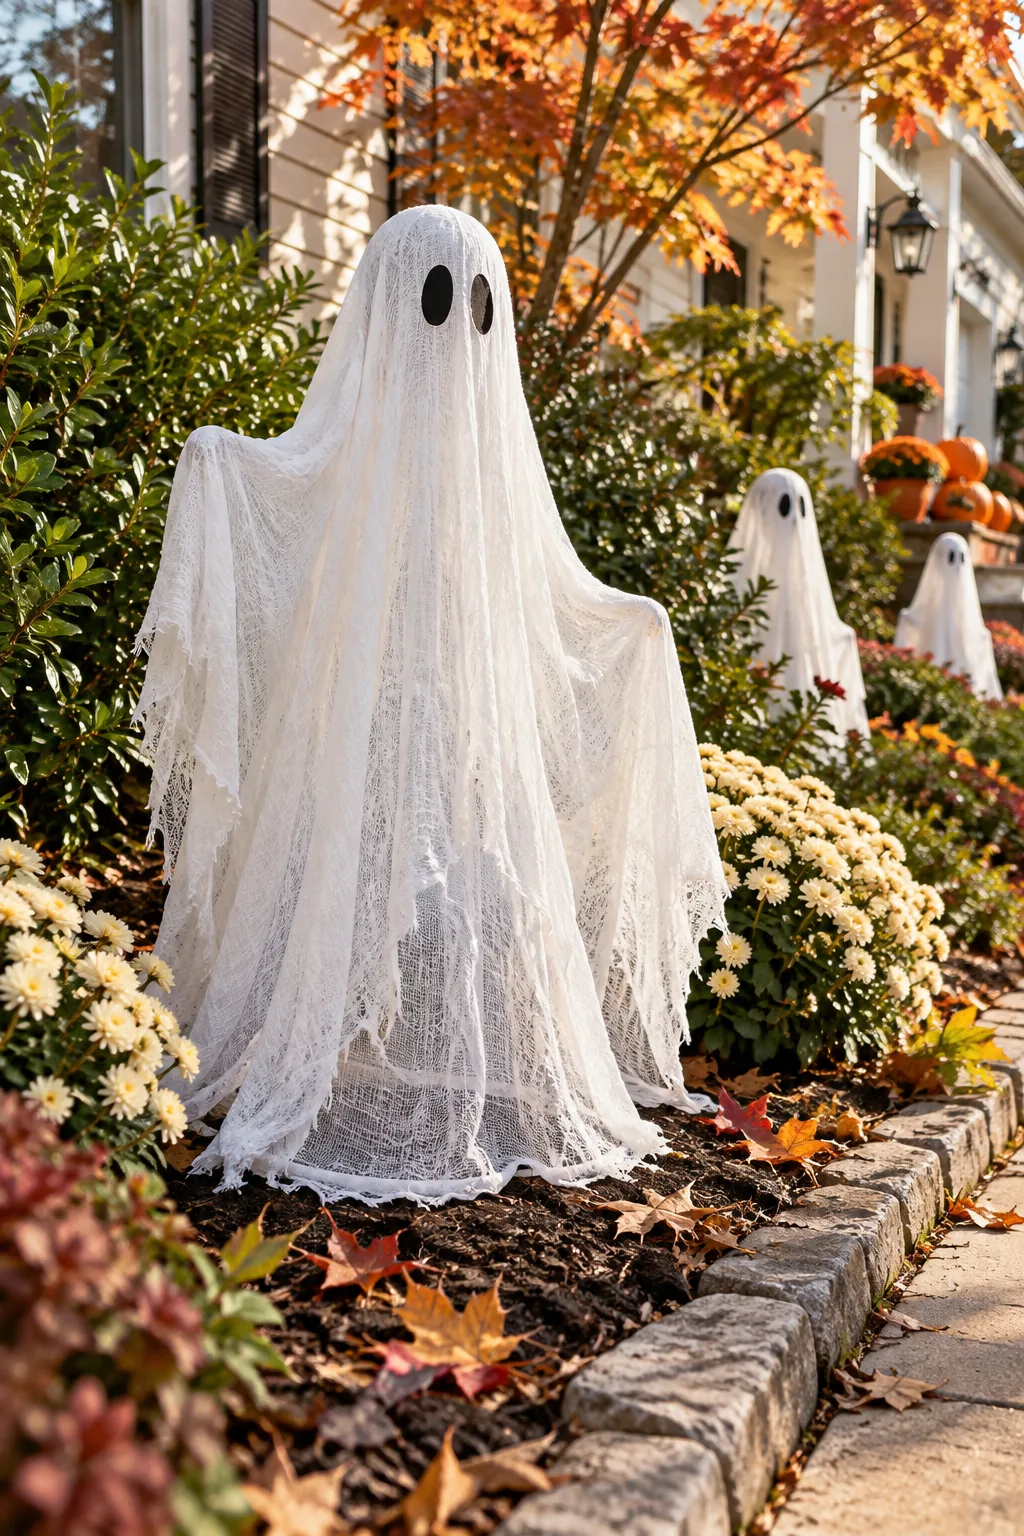
I used to struggle with building complicated PVC frames for ghosts until I realized standard 54-inch wire tomato cages turned upside down form the perfect conical body. Push the top prongs deeply into the soil to ensure the structure stays put.
Sinking the top prongs of the inverted cage at least six inches into the soil provides a remarkably sturdy base. The wide wire rings at the top naturally mimic a broad set of shoulders, giving your phantom a realistic, imposing presence.
Securing the Wire Base
If your soil is exceptionally loose or sandy, reinforce the bottom wire ring by hammering heavy-duty landscape pins over the metal at three different points. This extra mechanical grip prevents the cage from tilting sideways when the heavy, wet fabric is initially applied.
Choosing the Best Cheesecloth Grade
Always purchase Grade 50 cheesecloth for your outdoor spirits, as the tighter weave holds the stiffening mixture much better than cheaper alternatives. The denser threads create a solid, opaque appearance that beautifully catches pathway lighting without looking like a stringy mess.
Sculpting the Cheesecloth
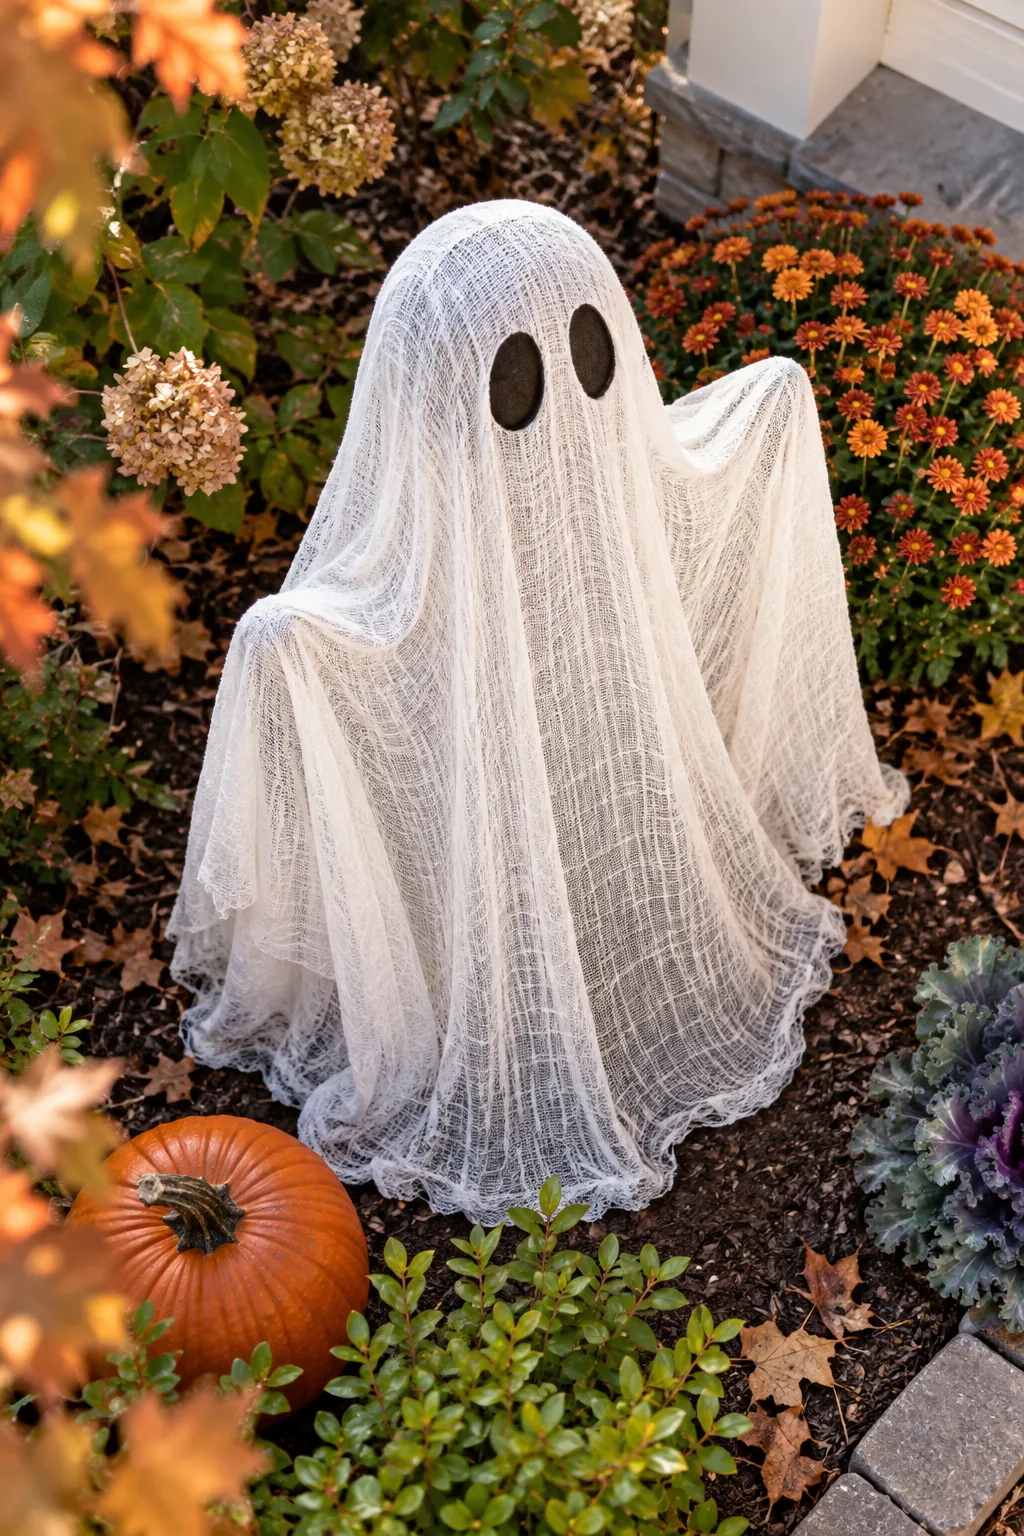
My early fabric ghosts always wilted into sad puddles until I started dipping the cheesecloth in a 1:1 mixture of standard school glue and water. Once dry, this ratio creates a stiffened, weatherproof shell that holds crisp folds beautifully.
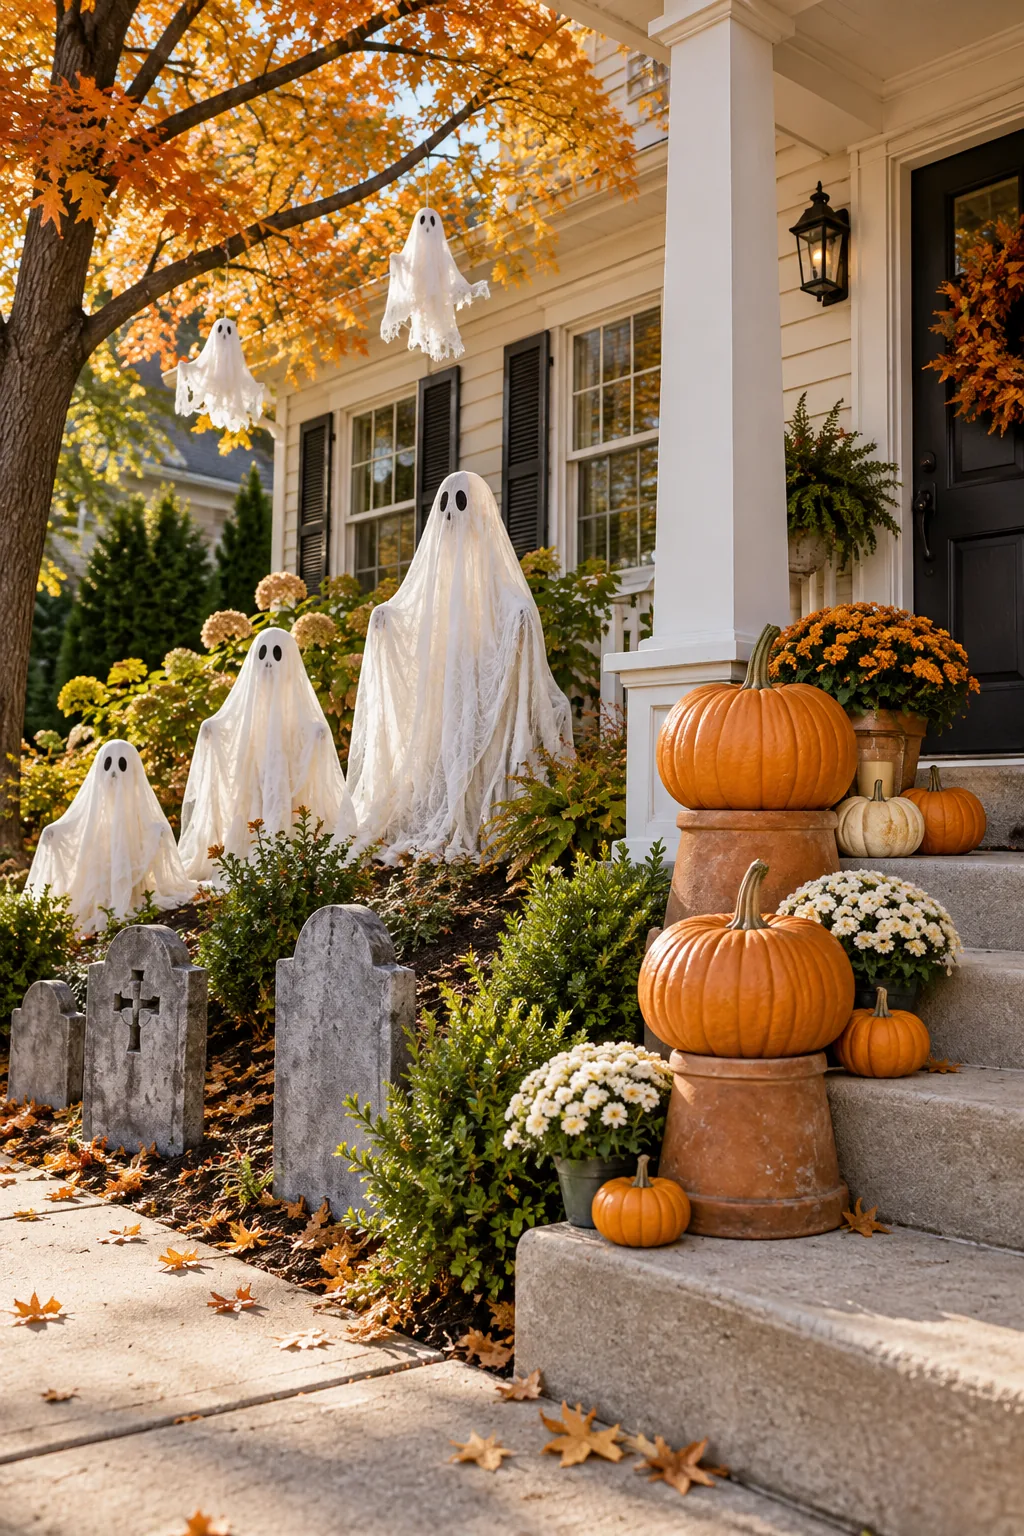
Pinching the wet fabric directly at the wire shoulder joints creates permanent, rigid creases that give the illusion of an internal torso. Working quickly before the glue sets allows you to drape dramatic, sweeping hems that look frozen in mid-air.
Weatherproofing the Fabric Shell
Once the glue mixture has completely cured in the sun, spray the entire ghost with a matte clear acrylic sealer to lock out morning dew. This invisible barrier stops moisture from re-softening the starch, ensuring your spectral visitors maintain their sharp, terrifying posture.
Tiering Pumpkins on Hidden Pots
Create dynamic height on your porch steps by resting the upper pumpkins on overturned 6-inch terracotta pots. The heavy clay bases provide a slip-resistant, elevated foundation that keeps your carefully stacked gourds safely in place without wobbling.
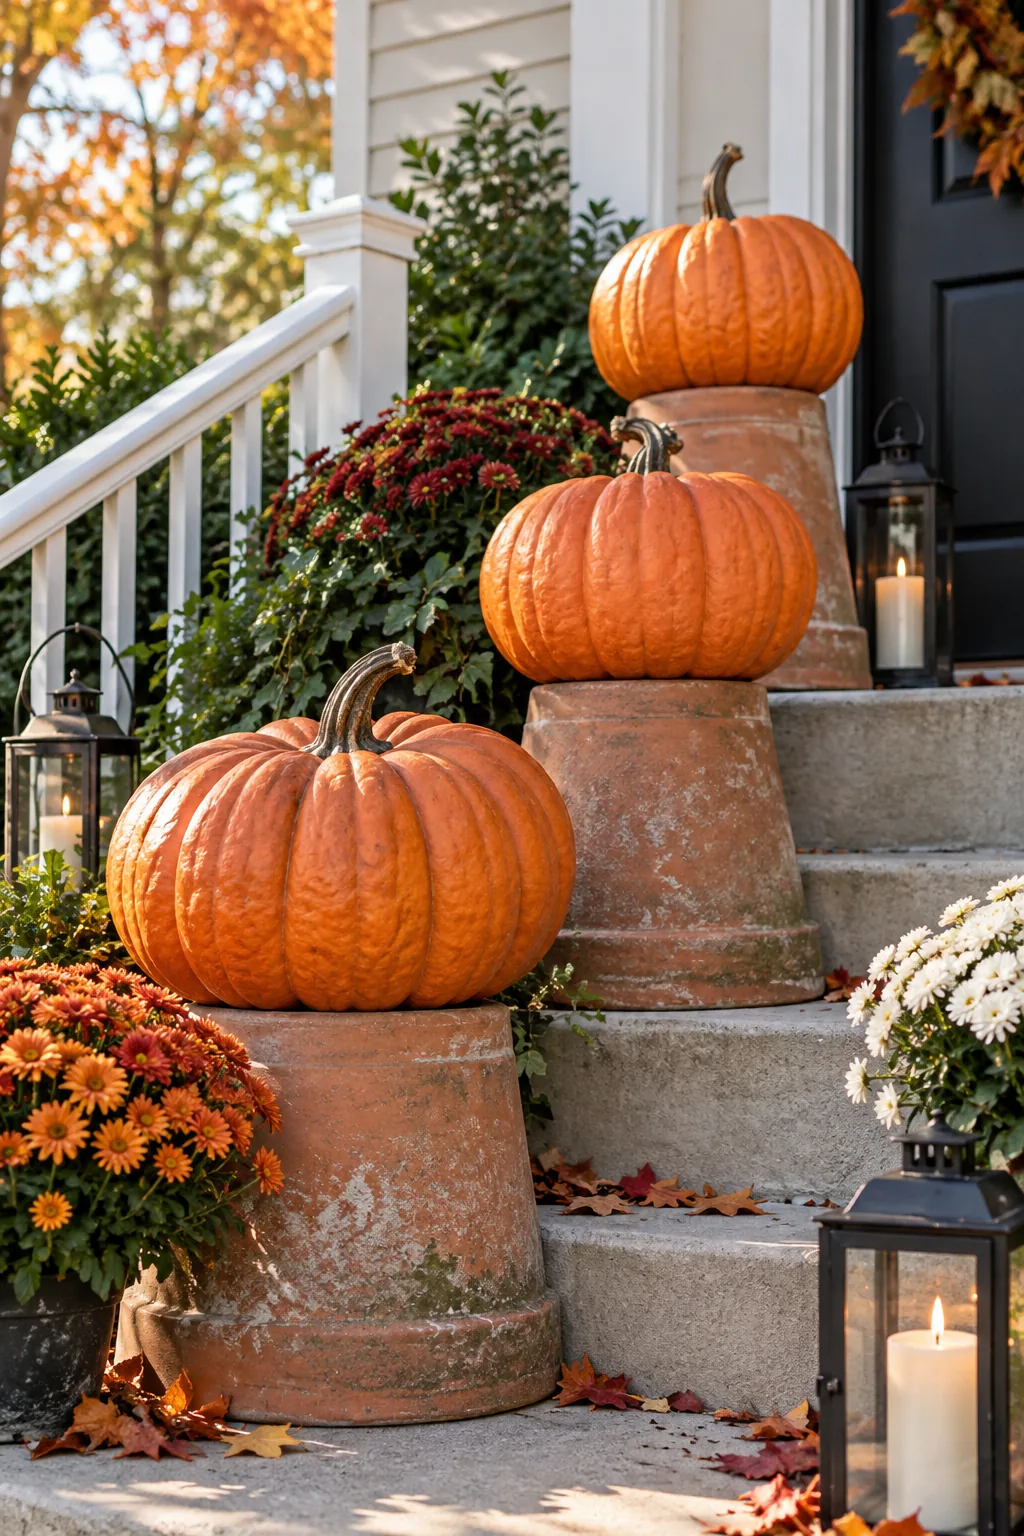
Even the heaviest pumpkins can easily slide off smooth terracotta rims when accidentally bumped by eager trick-or-treaters navigating your front steps. Using heavy clay rather than flimsy plastic nursery pots anchors the entire vertical arrangement firmly against the concrete.
Selecting the Right Gourds
When building these tiered displays, always select flat-bottomed heirloom pumpkins for the base layers to maximize surface contact with the pots. Varieties like Cinderella or Fairytale naturally possess broad, stable shapes that are practically designed for secure, architectural stacking.
Suspending the Tree Ghosts
Hang your smaller ghosts from sturdy branches using 20 lb clear fishing line. This specific weight is strong enough to handle aggressive branch swaying without snapping, yet thin enough to remain totally invisible against the daytime sky.
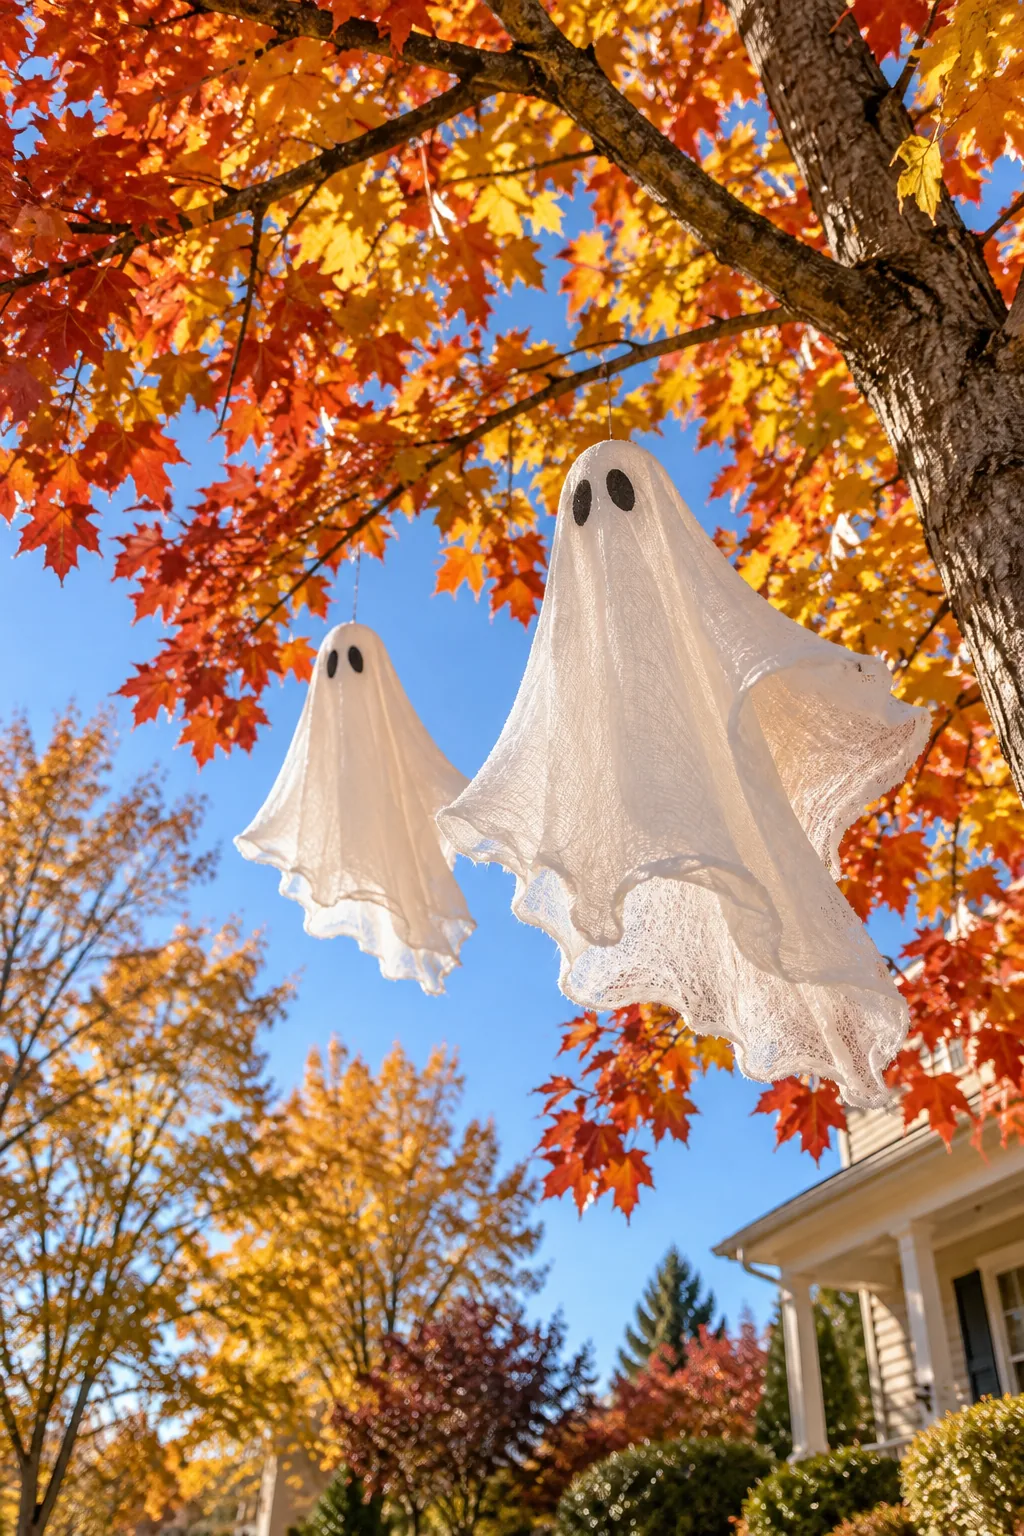
Tying the heavy-duty monofilament high enough to clear your main walkway keeps the floating props safely out of reach of curious hands. The durable line allows the figures to dance erratically in the breeze, adding wonderful kinetic energy to the yard.
Preventing Line Tangles
Attach a small metal fishing swivel between the hanging line and the top of the ghost’s head to allow free rotation. This clever hardware trick stops the monofilament from twisting onto itself and snapping when the wind constantly spins the decoration in circles.
Illuminating the Hidden Bones
Position your low-voltage pathway lights directly beneath the fabric ghosts to cast dramatic, eerie shadows upward through the stiffened cheesecloth. Angling the beams slightly away from the internal wire cages ensures the metal supports remain completely invisible in the dark.
More Front Yard Haunts
Find the perfect spooky aesthetic for your home's exterior with these distinct styling variations.
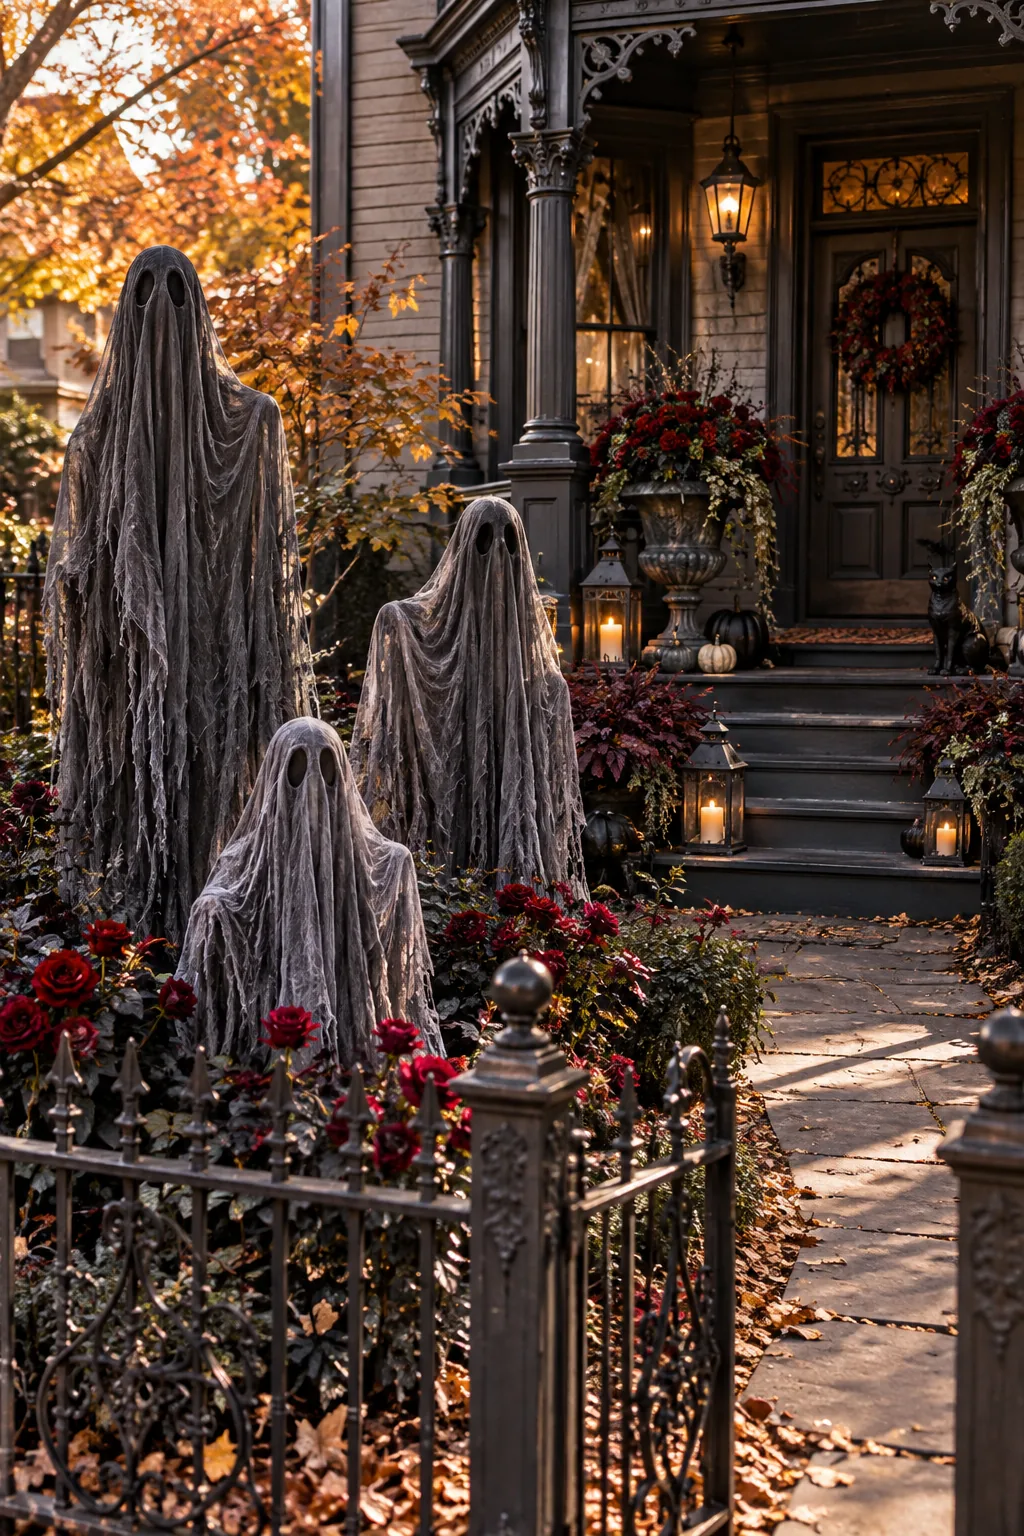
Gothic Victorian Yard: Swap standard white for charcoal cheesecloth and surround the base with dark crimson faux roses.
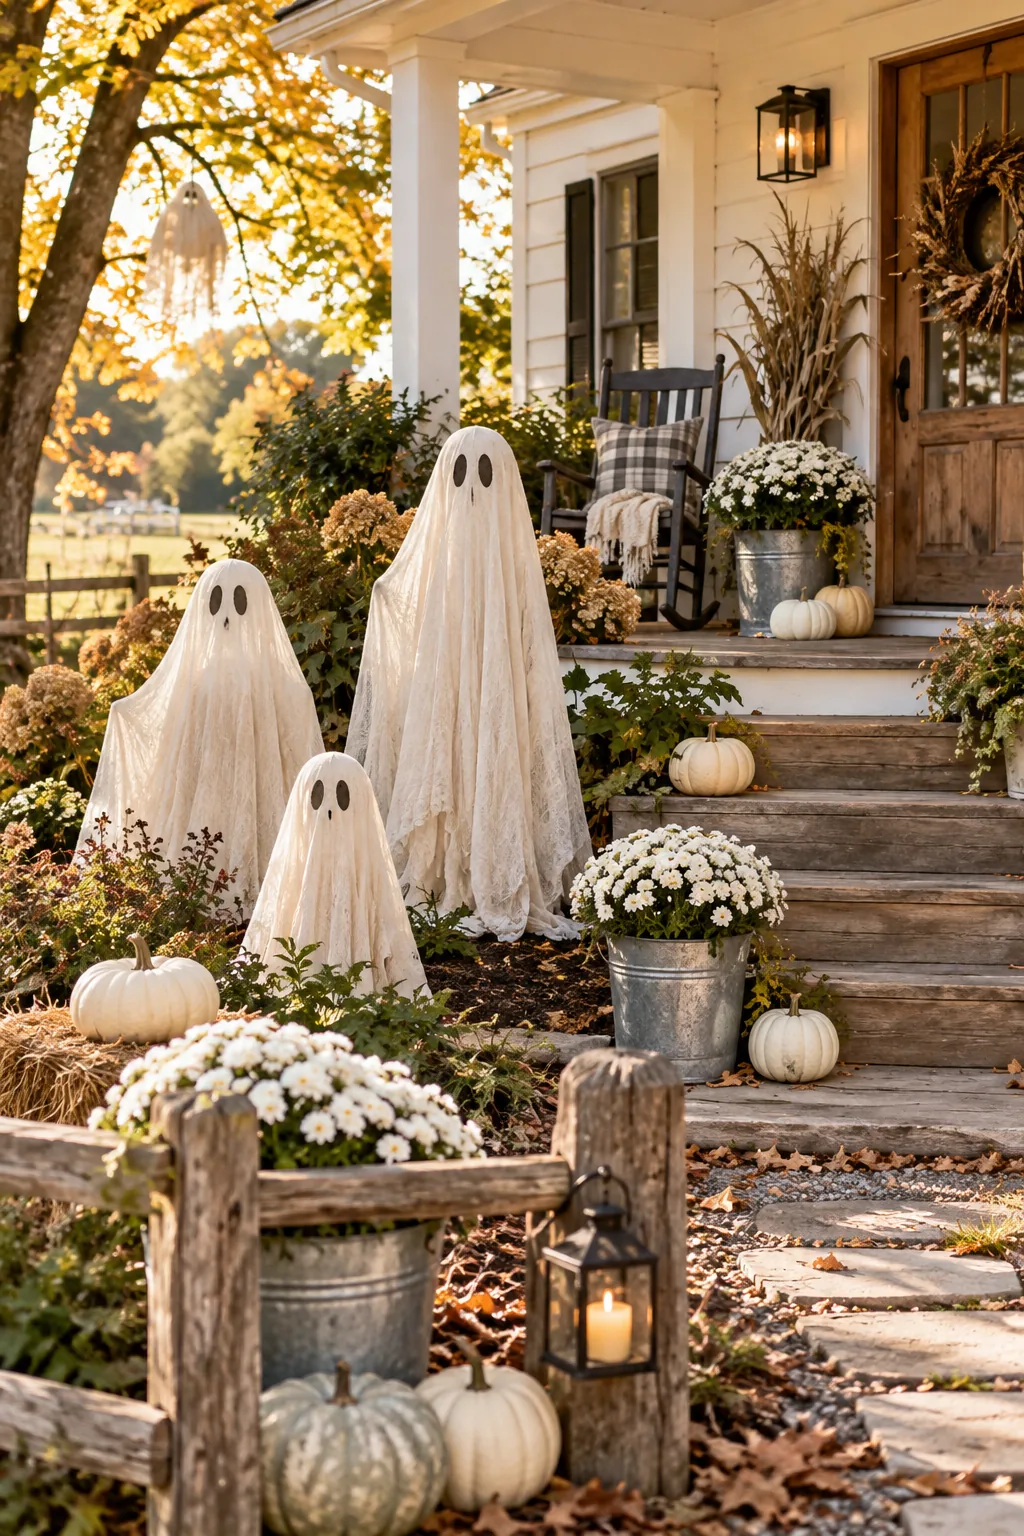
Rustic Farmhouse Yard: Use unbleached muslin over the cages and cluster galvanized buckets around the porch steps.
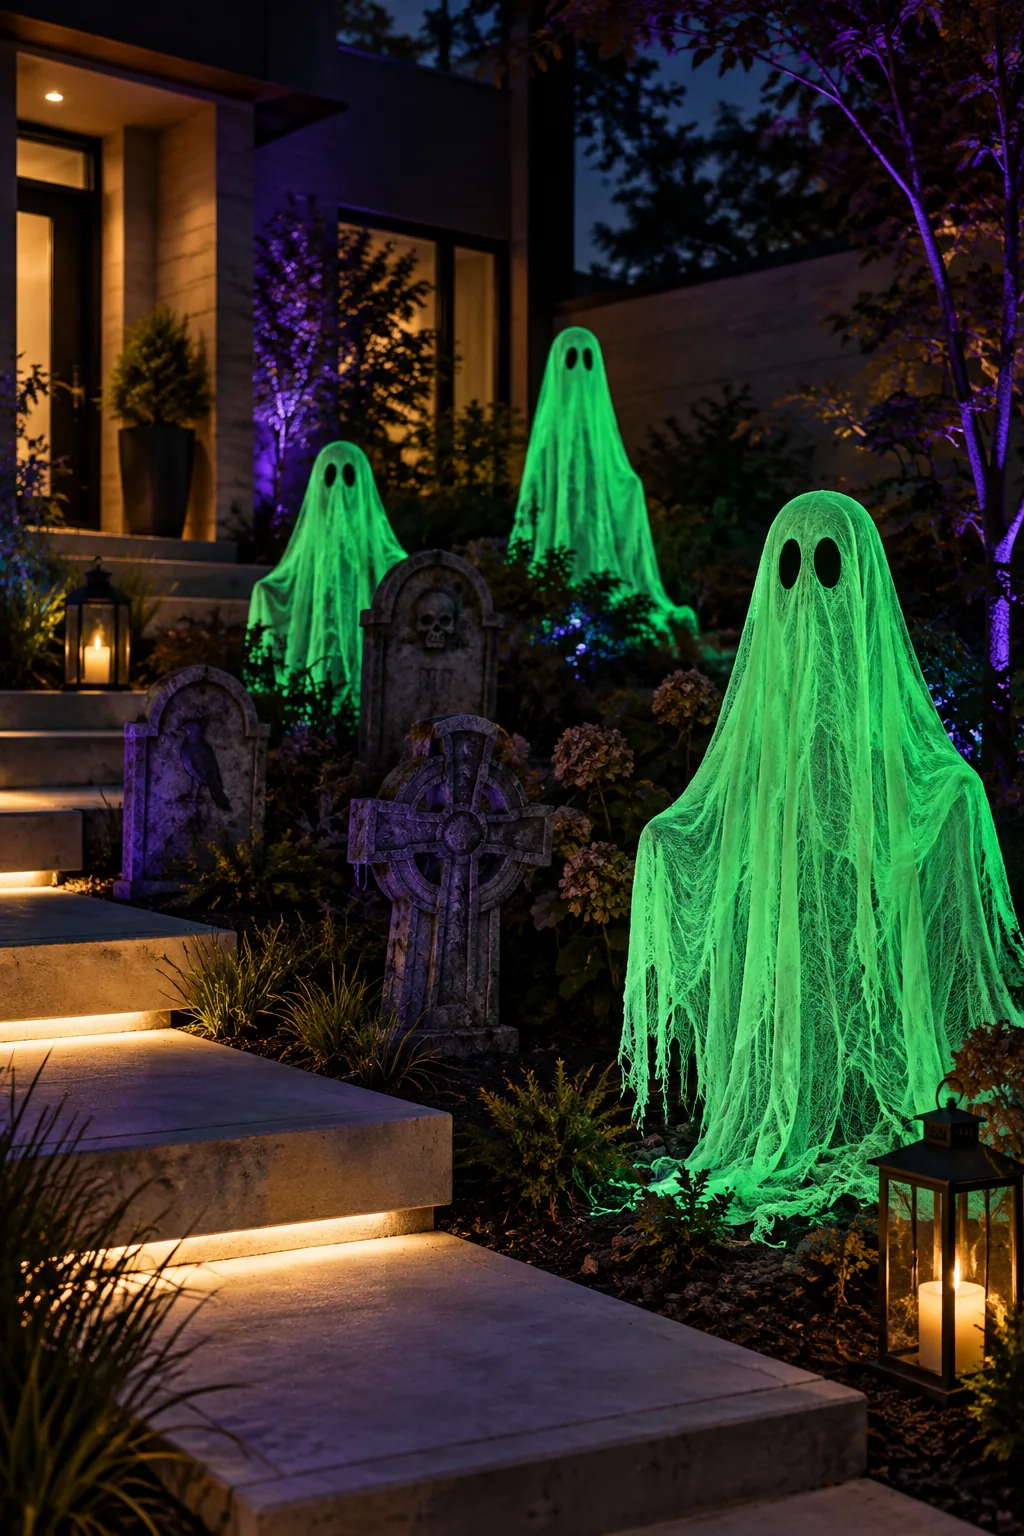
Neon Graveyard Yard: Spray the stiffened ghosts with UV-reactive green paint and illuminate the scene with hidden blacklights.
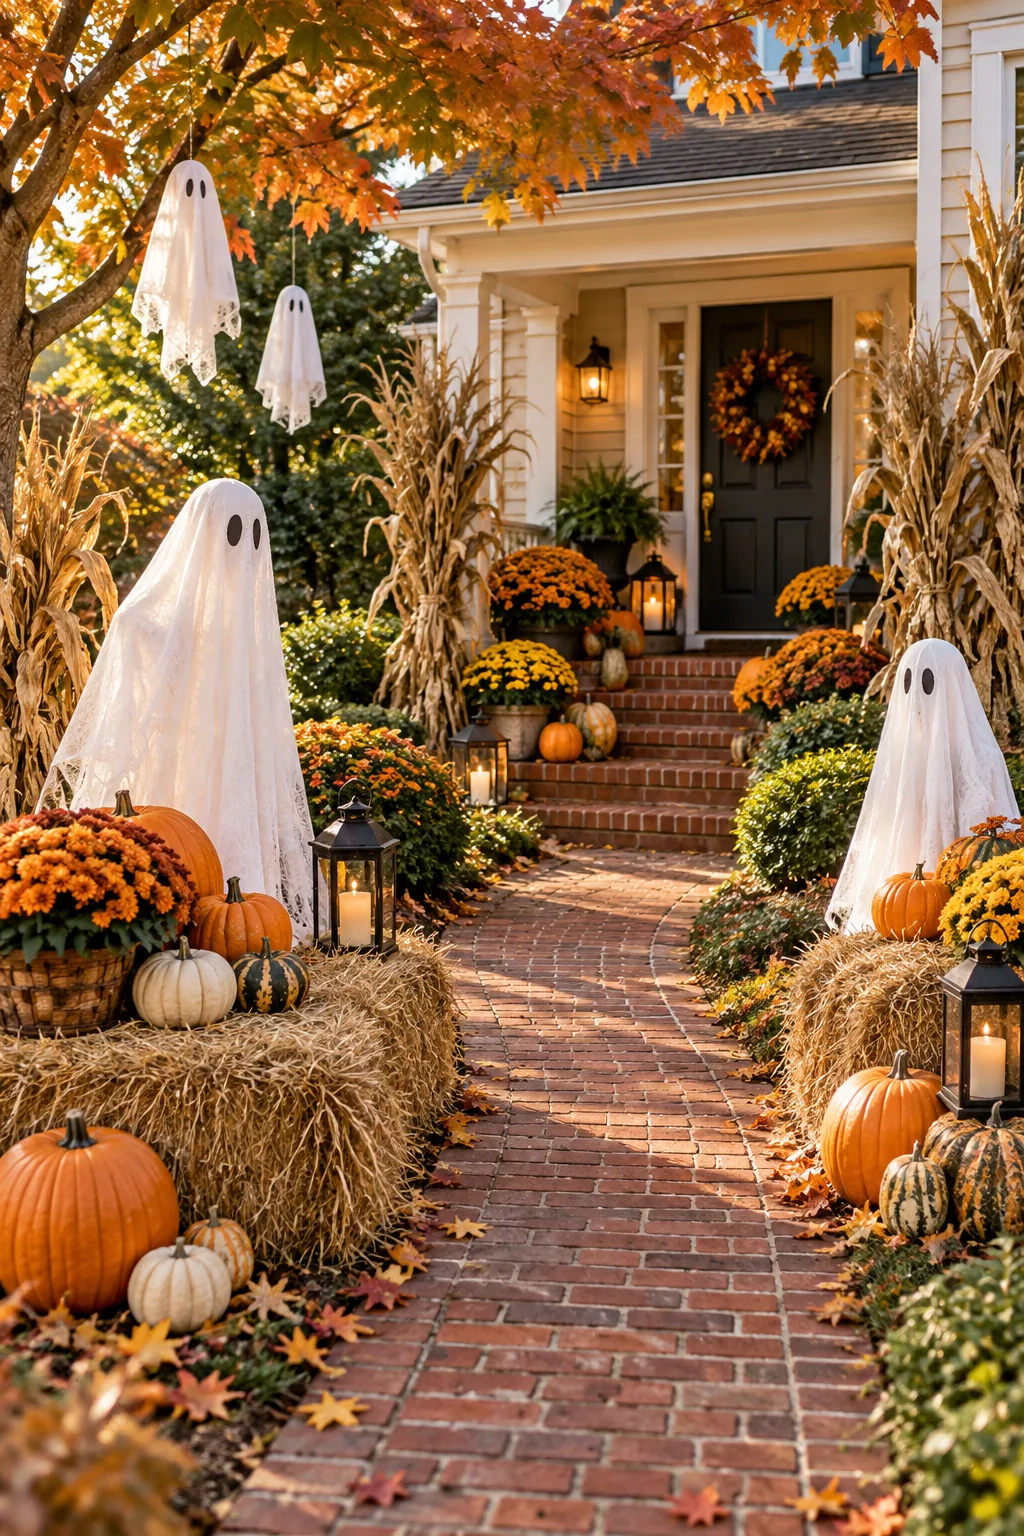
Classic Autumn Harvest: Blend the spooky elements with traditional cornstalks, hay bales, and warm heirloom pumpkins along the path.
Surviving October Winds
Review the entire yard display at dusk to ensure every hidden support is functioning properly and remaining out of sight. A well-planned structural foundation allows the decorative elements to look effortless and spooky rather than messy, collapsed, and neglected.
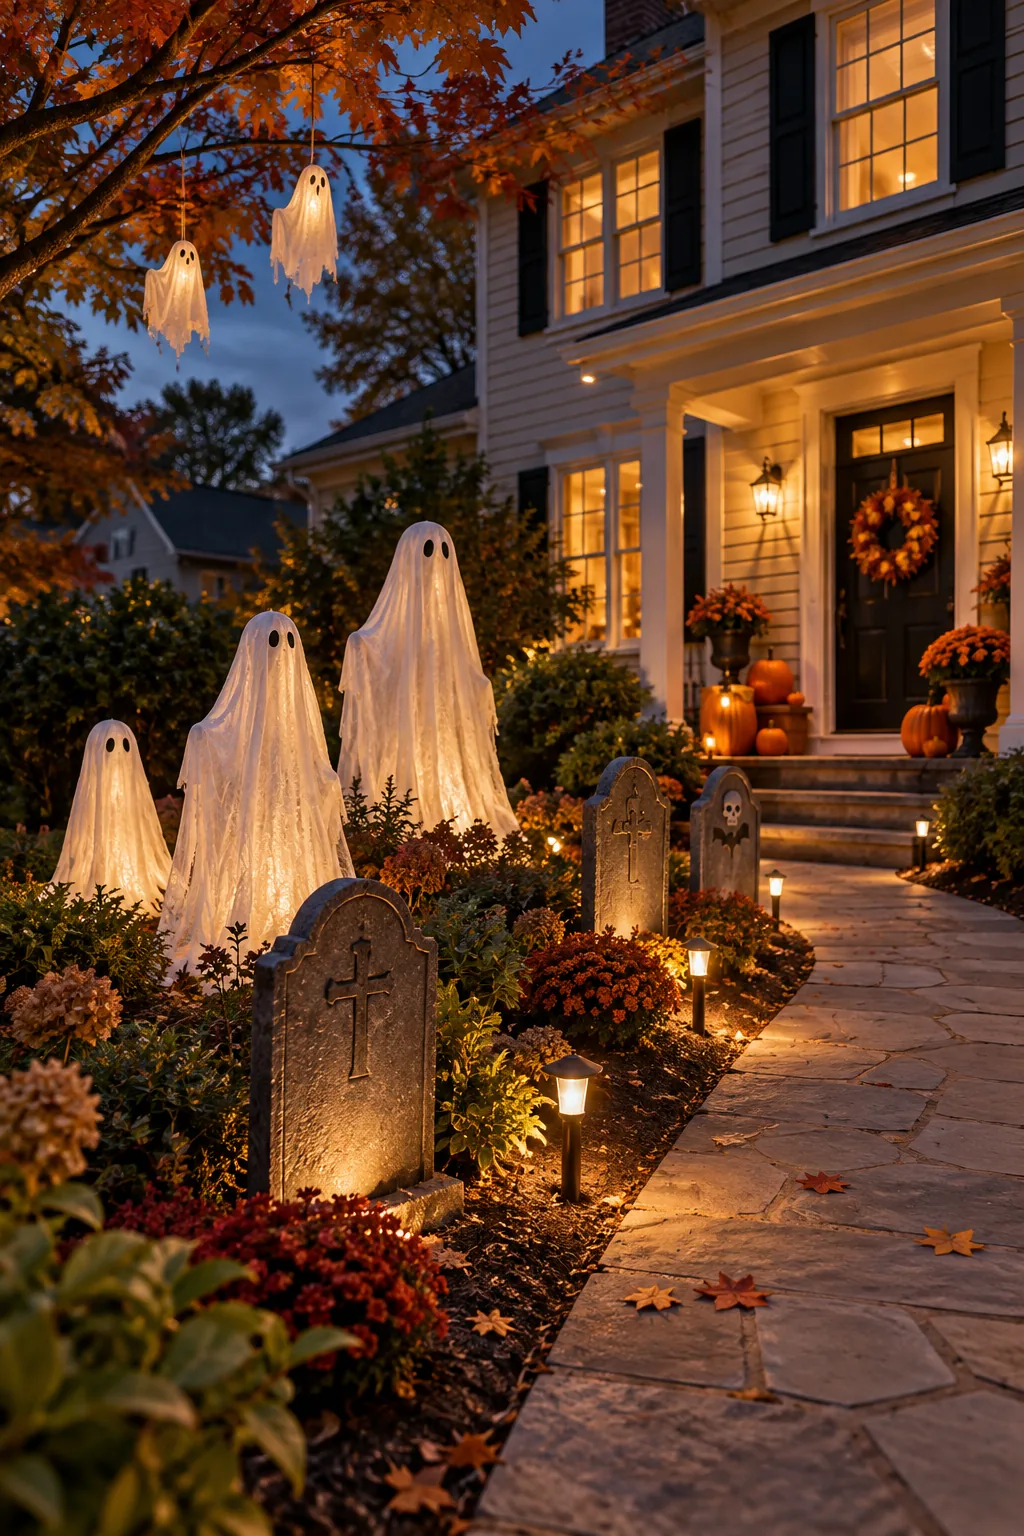
Before the first major autumn storm hits, take a quick walk through the yard to verify every hidden support is holding firm. Catching a loose anchor early is much easier than rebuilding a shattered display in the dark.