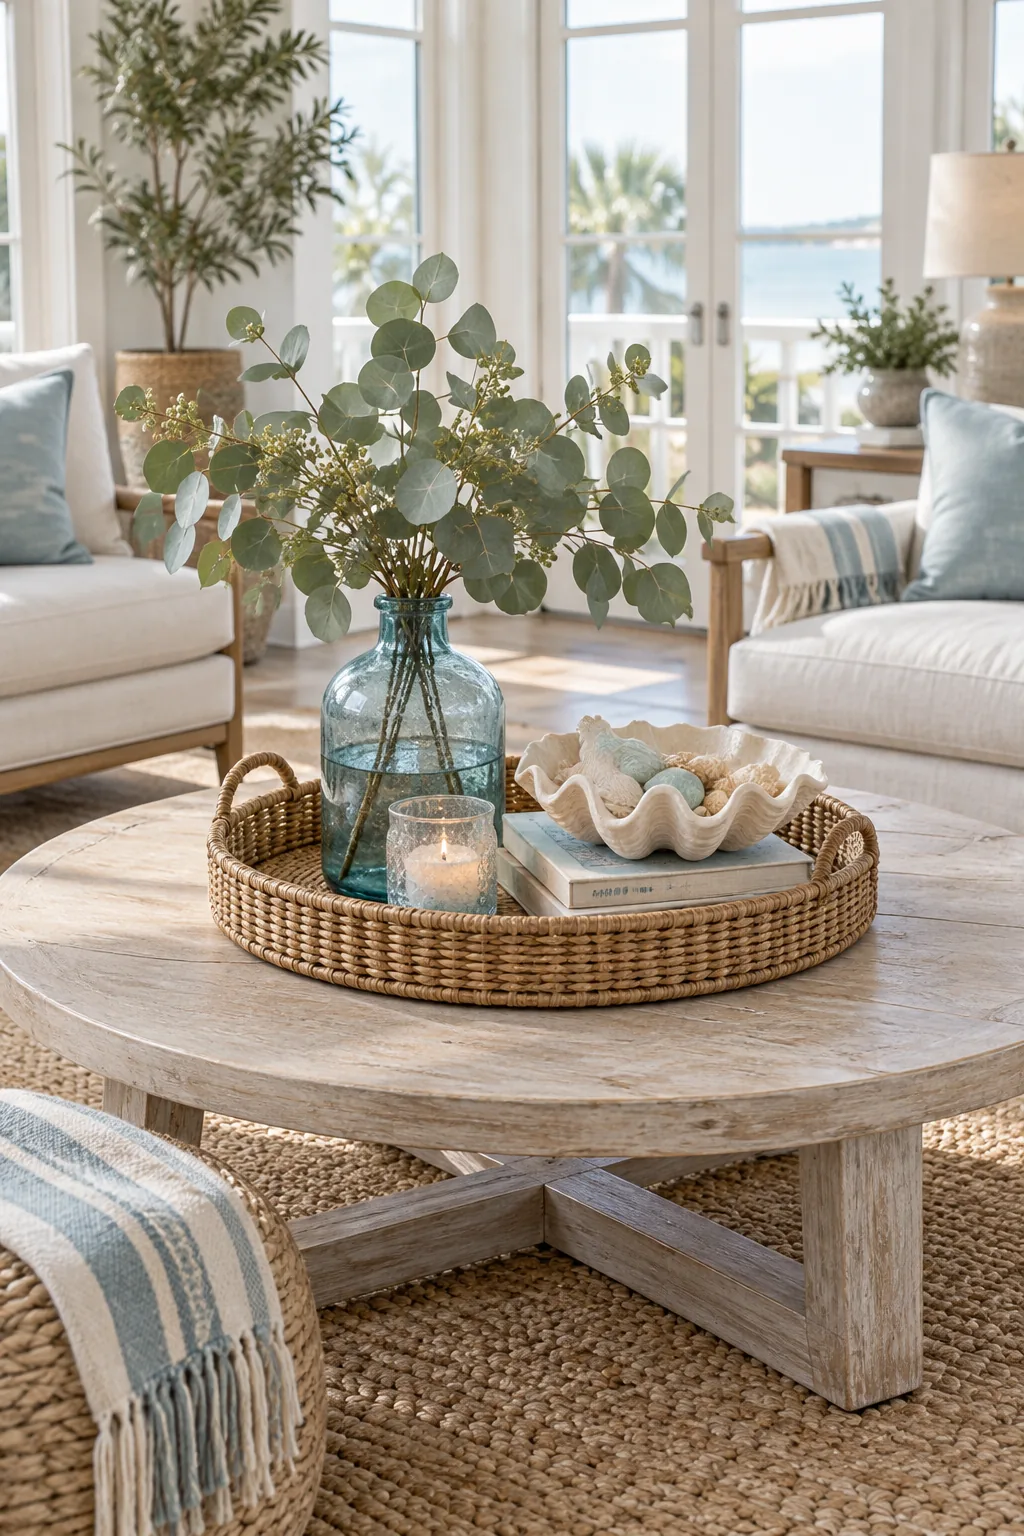
Center Table Decor: The 3-Step Styling Grid for Round Tables
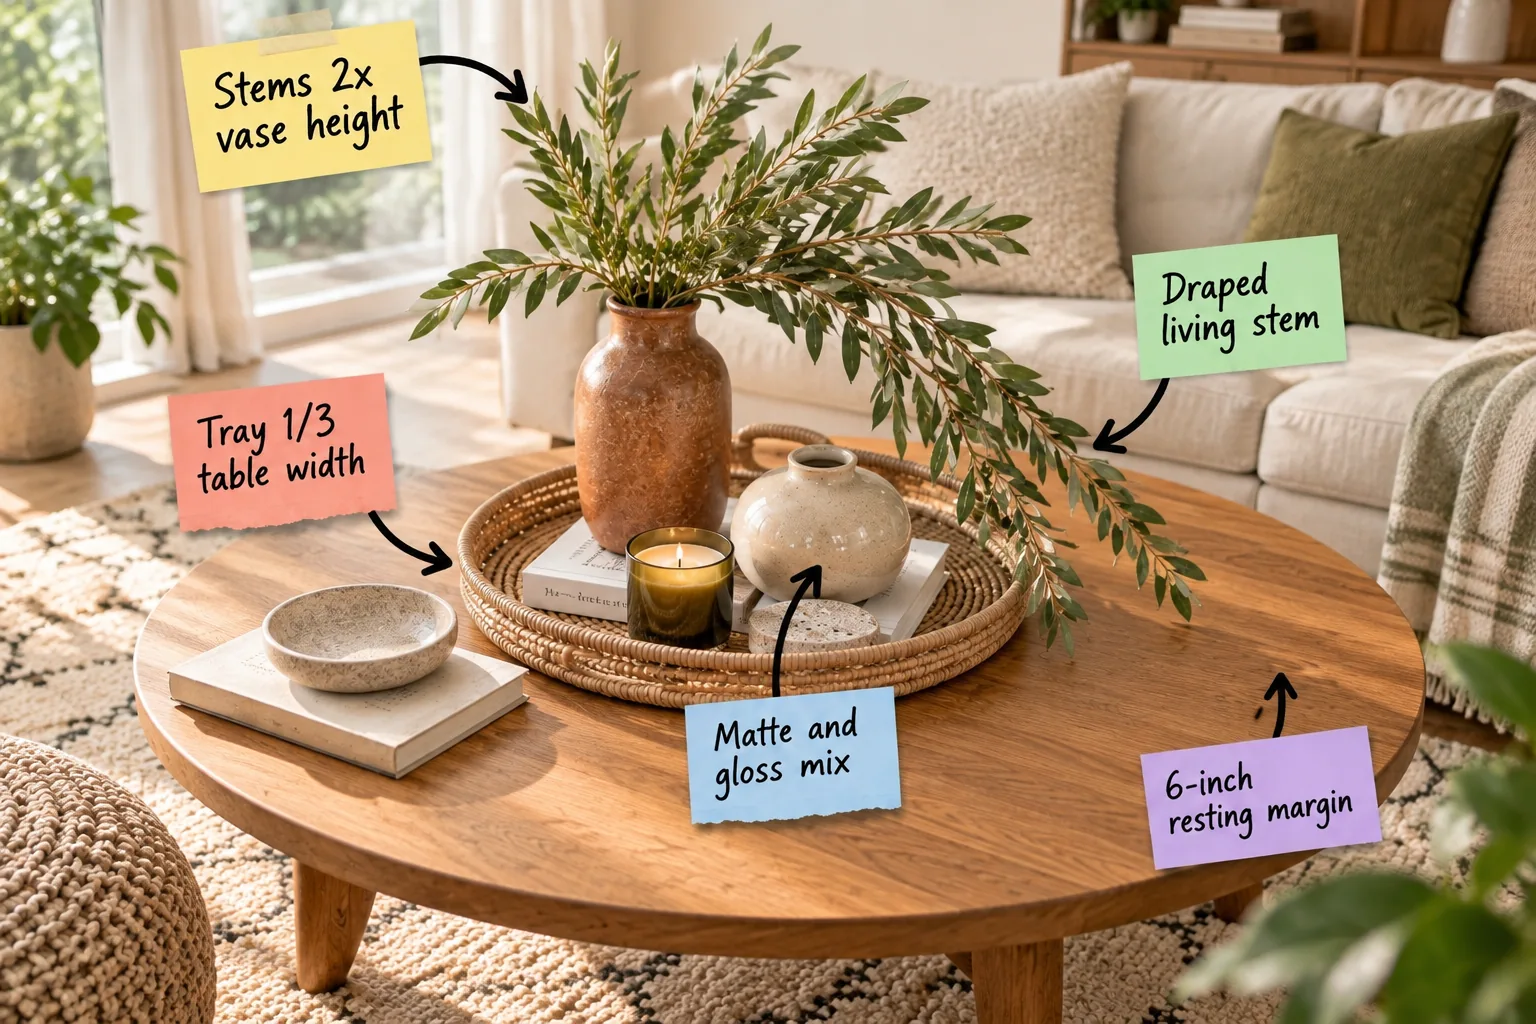
Struggling to arrange your coffee table without it looking cluttered or bare? You will be able to confidently size your tray, build a balanced visual triangle, and style your center table using our downloadable 3-step styling grid.
The 3-Step Table Styling Grid
When I first styled the massive round oak table in my Boston brownstone, I realized that winging the proportions always left the surface feeling chaotic. The solution is our 3-step styling grid, which divides your table into a primary anchor, a secondary accent, and intentional negative space.
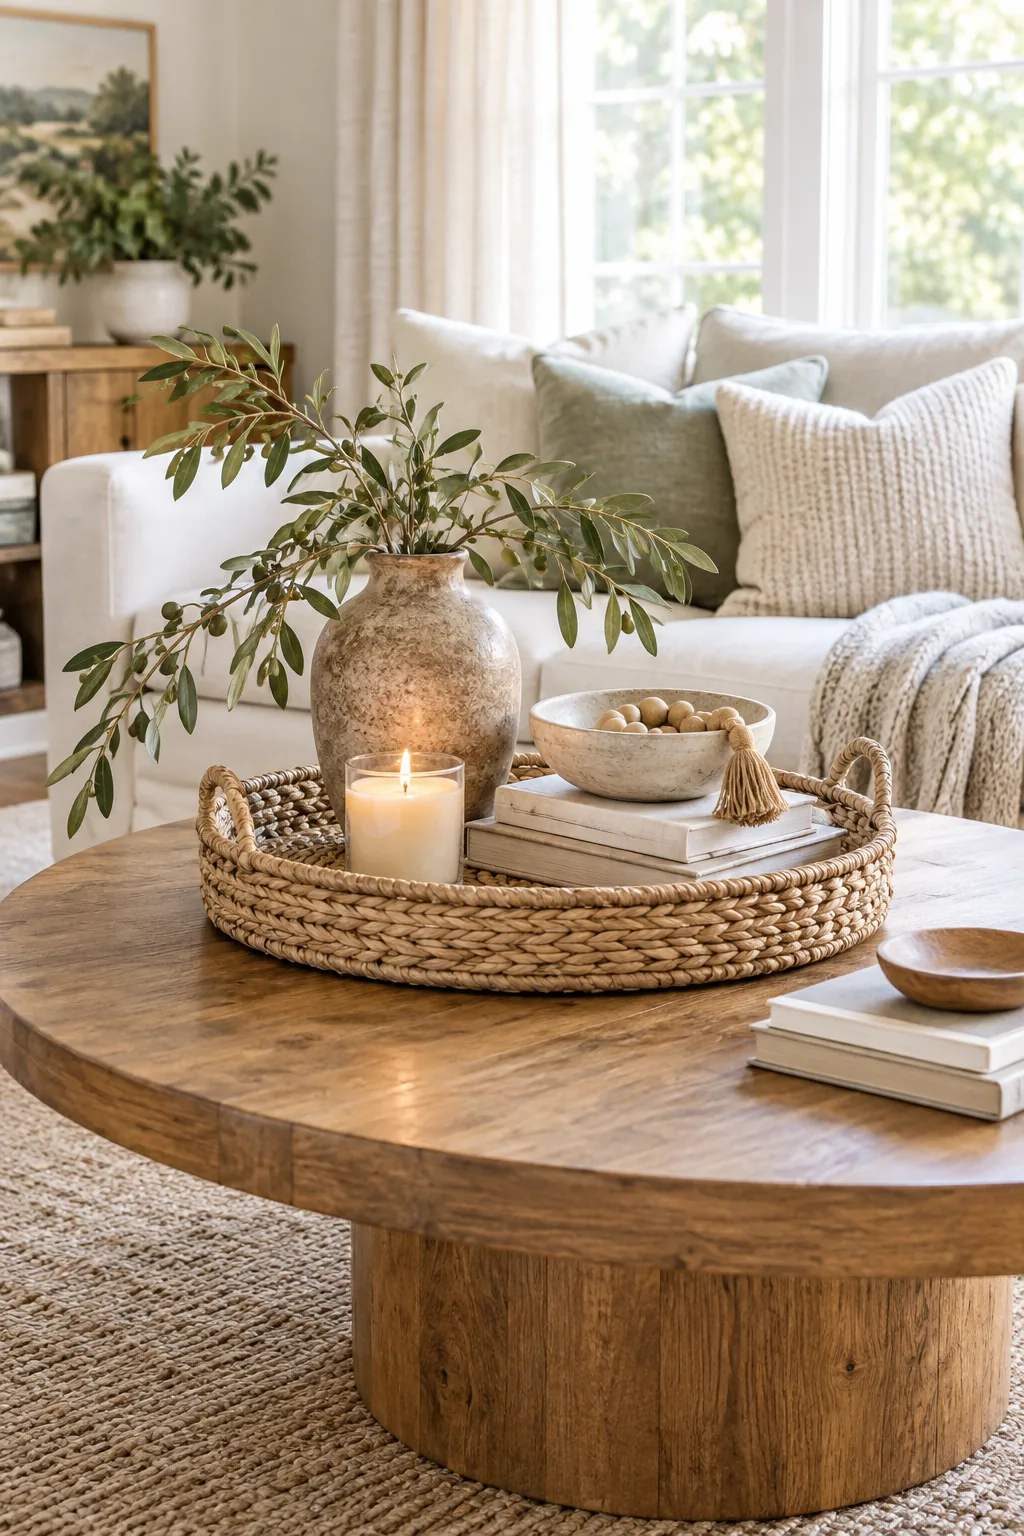
Download the 3-step styling grid to eliminate guesswork and guarantee perfect proportions every time. The following steps will show you exactly how to build this layout from the outer edge inward, ensuring your arrangement never feels heavy or cluttered.
Sizing the Tray: 1/3 Table Width
Your primary anchor needs mathematical boundaries, which means the tray should measure exactly one-third of the total table width. For a standard 36-inch round table, you must specify a 12-inch tray to anchor the decor without overwhelming the usable surface area.
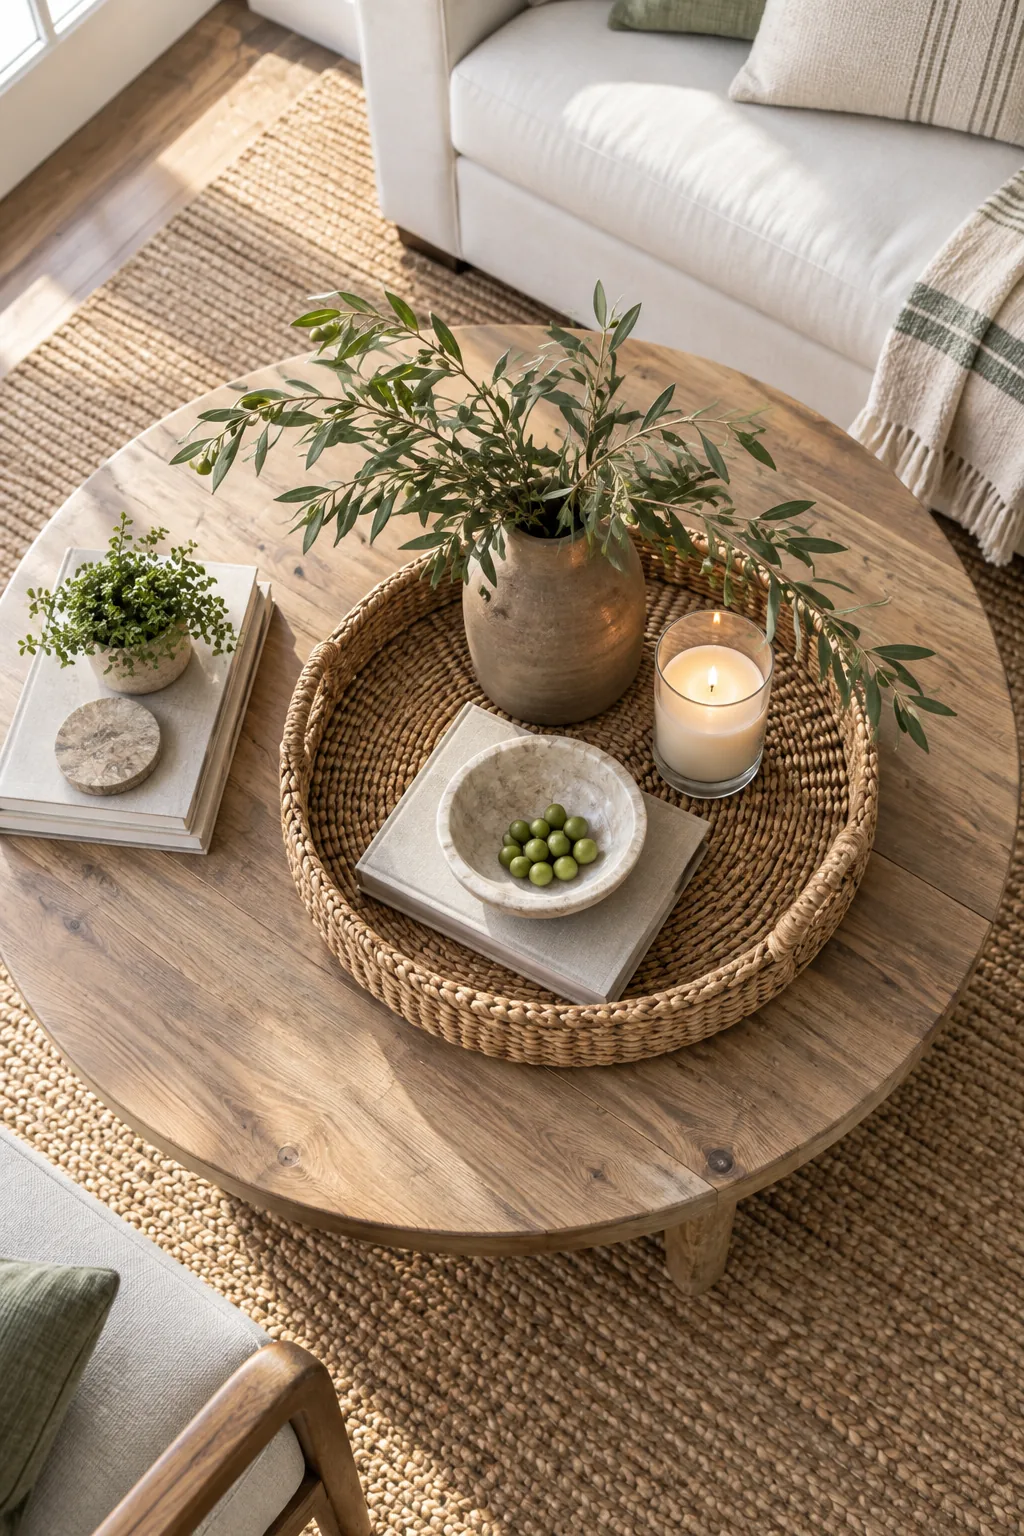
Getting the tray size right is the most critical step, but the shape of your foundation matters just as much as its dimensions.
The 6-Inch Resting Margin
Negative space around the table’s perimeter is what makes the styling functional rather than frustrating. You must leave a minimum 6-inch resting margin from the outer table edge to the nearest decor item, creating a protective buffer for daily life.
- Measure inward from the table edge using a standard ruler to mark your boundary.
- Place small pieces of painter’s tape at the 6-inch mark around the circumference.
- Keep all permanent decor strictly inside this taped interior zone.
This intentional void provides functional room for resting coffee cups, setting down remote controls, or kicking up your feet without knocking over a fragile vase.
Calculating Functional Clearances
While the perimeter margin protects the edge, the interior spacing between your tray and secondary accents requires just as much discipline. Maintaining proper clearances ensures the eye can rest and prevents the distinct styling zones from bleeding together into a messy pile.
| Table Diameter | Tray Size | Resting Margin | Interior Clearance |
|---|---|---|---|
| 30 inches | 10 inches | 6 inches | 2 inches |
| 36 inches | 12 inches | 6 inches | 3 inches |
| 42 inches | 14 inches | 7 inches | 4 inches |
| 48 inches | 16 inches | 8 inches | 4 inches |
Sticking to these specific measurements guarantees that your secondary accent stack never crowds the primary tray, keeping the visual flow around the room light and open.
Mastering the Visual Triangle
Whenever I arrange items for a client’s living room, I rely on the triangle method to prevent the tray from looking flat. You must arrange items inside the tray using three varying heights to build a stable, visually pleasing peak.
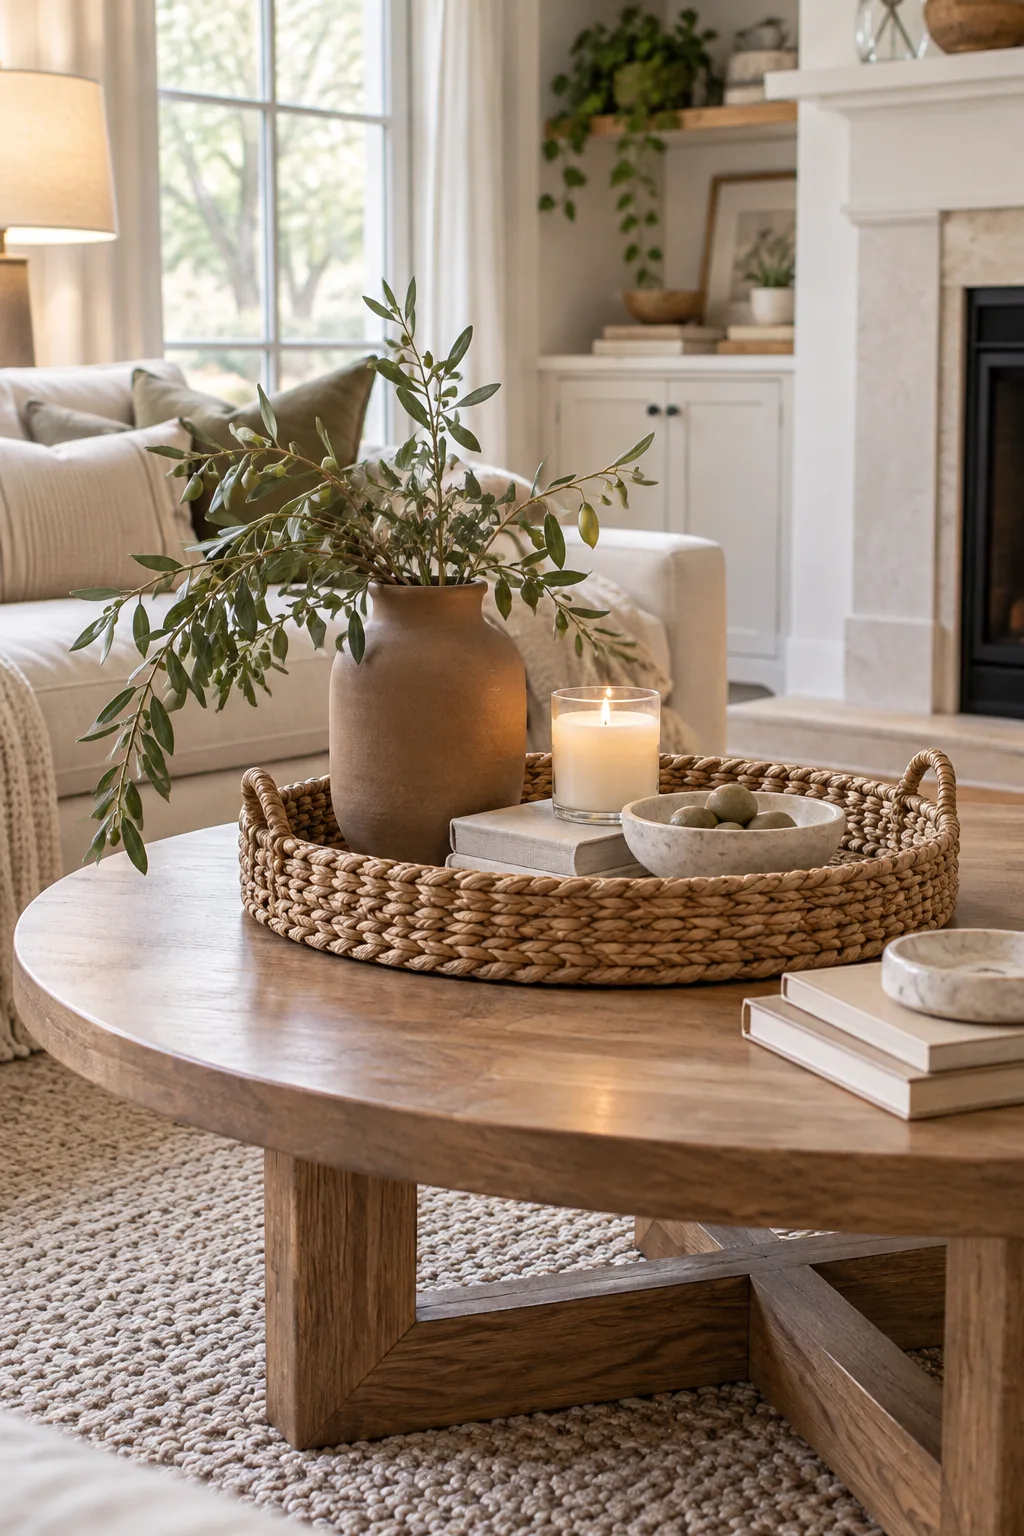
Start with a tall vase at the back, add a medium structural object like a pillar candle, and finish with a low grounding element like a decorative bowl in the front.
The Matte and Gloss Mix
Contrasting textures bring the tray arrangement to life by catching the ambient light differently. You should pair at least one highly reflective item, like a glass candle jar or gloss ceramic, with flat, light-absorbing surfaces such as matte linen books or porous stone.
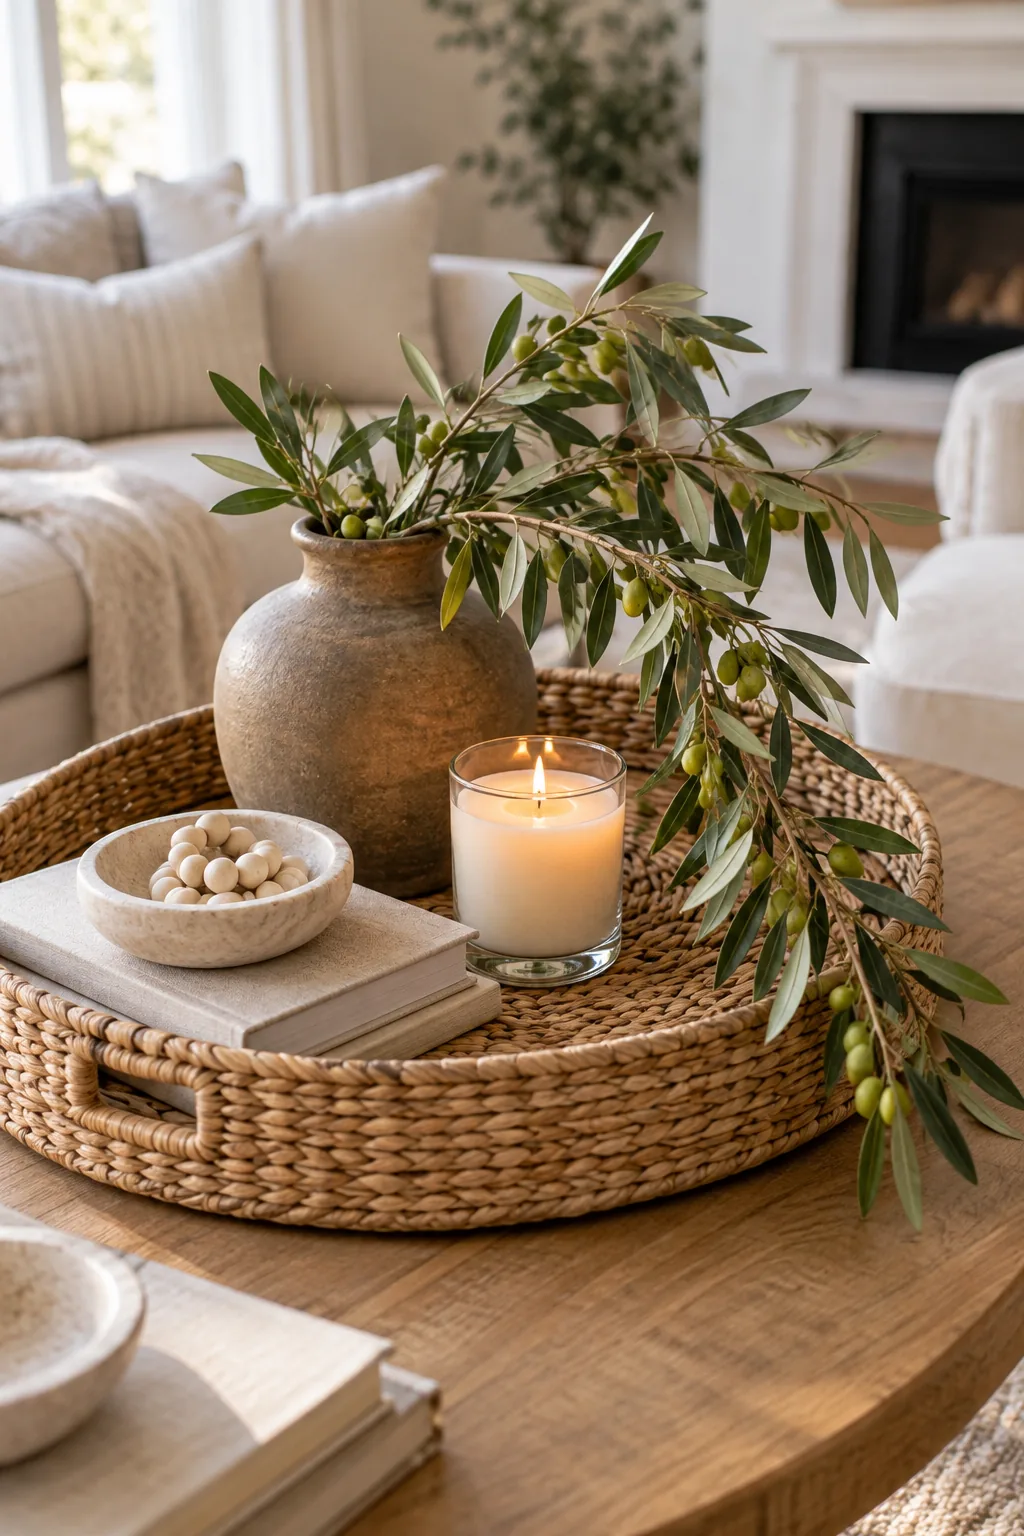
Texture is the secret ingredient that makes a neutral palette interesting, but it is incredibly easy to tip the balance too far in one direction.
Finding the Peak: Stems 2x Vase Height
The tallest point of your triangle dictates the energy of the entire table. Your highest reaching stems should extend to exactly twice the height of the vase itself, ensuring the greenery feels intentional and proportional rather than stubby or overgrown.
Measuring this 2-to-1 ratio prevents the vessel from swallowing the foliage and guarantees that the peak of your visual triangle commands attention from across the room.
Selecting the Right Vase Shape
Before you can properly measure your stems, you need a vessel that physically supports the dramatic height without tipping over. The shape of your tall element determines how effectively it anchors the back of your visual triangle.
- A wide-bottomed ceramic jug provides maximum stability for heavy, woody branches.
- A narrow glass cylinder works best for delicate, lightweight floral stems.
- A footed stone urn elevates the arrangement while maintaining a heavy, grounded base.
Choosing a vase with a base wider than its mouth ensures the heavy stems fan out beautifully while keeping the center of gravity low and safe.
Adding Movement: Draped Living Stems
I always look for that one rogue branch that refuses to stand up straight, because perfect symmetry feels too stiff in a living space. You can break up rigid vertical lines by introducing a draped living stem that naturally cascades downward.
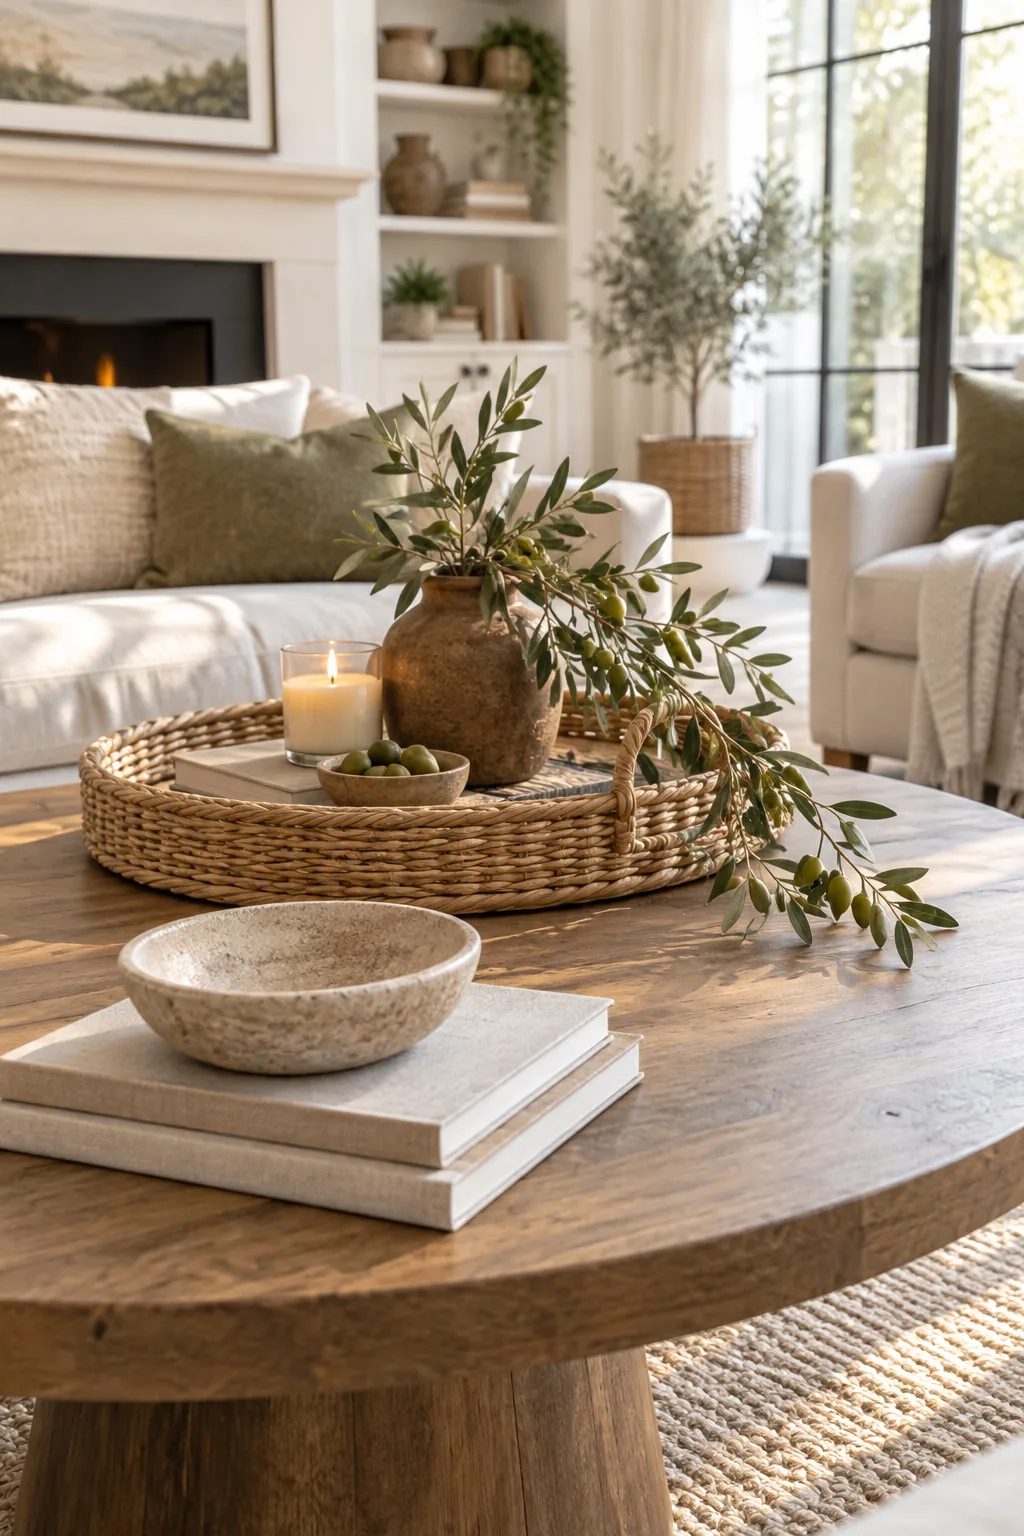
Allowing one long olive branch or trailing green to spill over the edge of the vase and onto the tray softens the entire arrangement and visually connects the varying heights.
Grounding the Anchor with Books
A beautifully draped stem needs a solid visual foundation beneath it to truly pop. Placing a stack of two or three thick, neutral-toned linen books inside the tray provides the necessary visual weight to ground the lighter glass and floral elements perfectly.
Selecting Secondary Accent Materials
When moving outside the primary tray, the materials you choose must contrast with the woven foundation without competing for attention. A smooth marble coaster set or a raw concrete bowl offers the perfect tactile shift while remaining visually quiet against the wood grain.
Balancing with a Secondary Stack
The decor located outside the main tray acts as the crucial secondary accent in your styling grid. Placing a small, low-profile stack—like a single hardcover book topped with a shallow stone bowl—just outside the tray balances the heavy anchor.
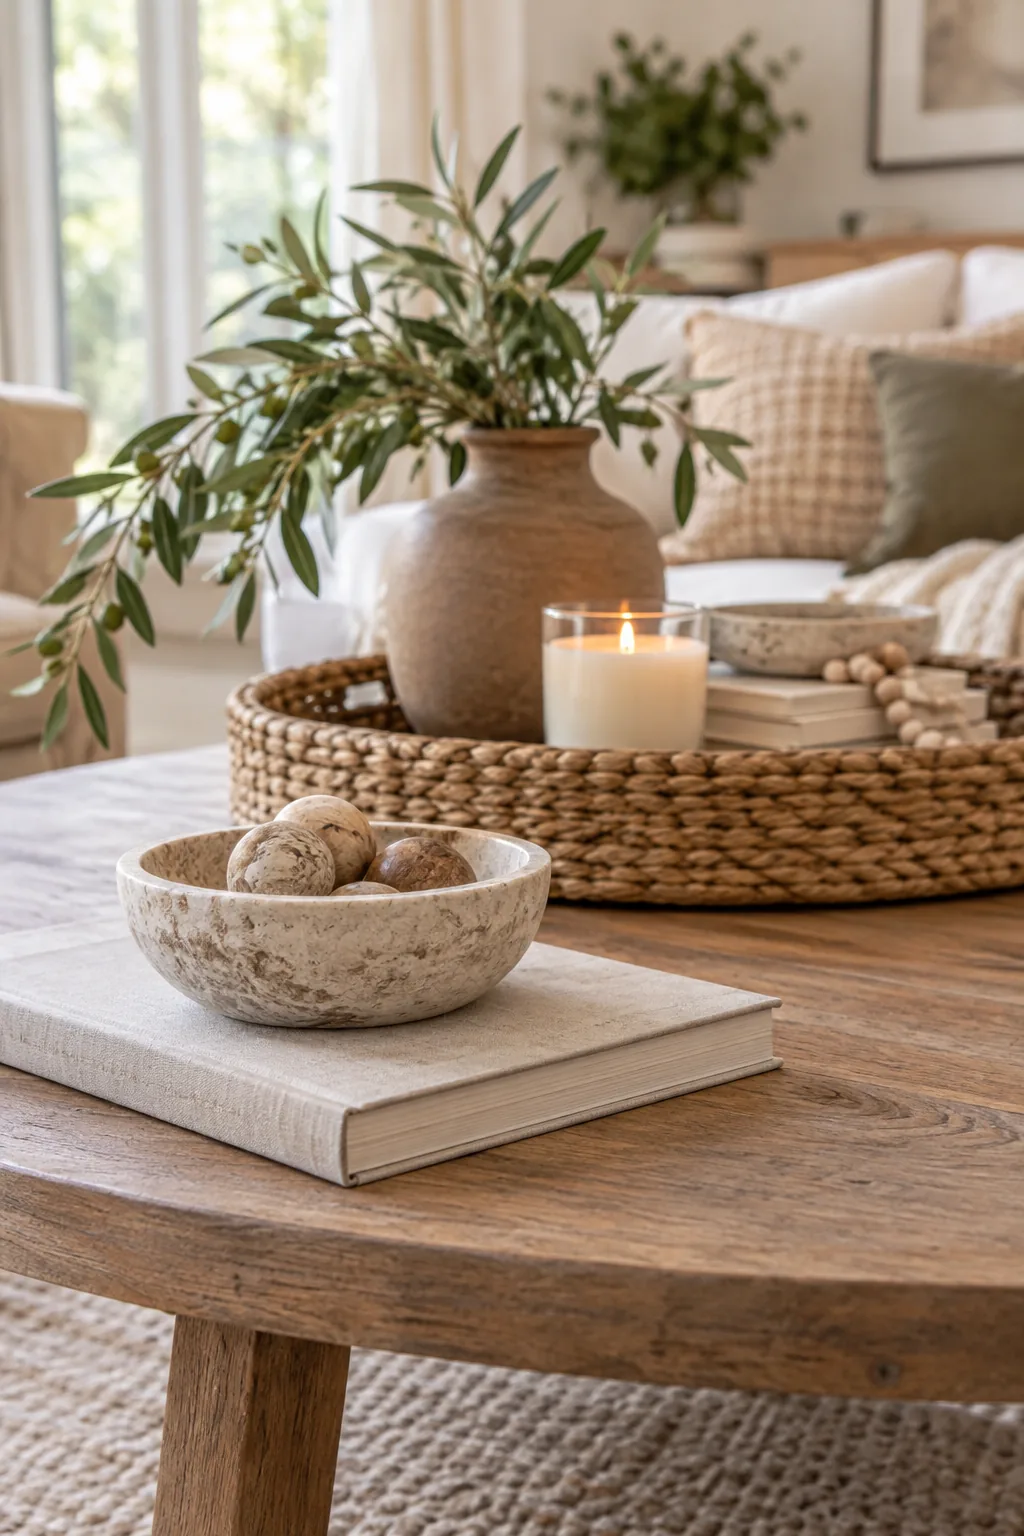
This subtle addition completes the composition by drawing the eye across the surface, all while safely respecting the 6-inch resting margin you established at the very beginning.
3 Ways to Style Your Center Table
Explore these three distinct variations to find the perfect center table look for your living room's mood.
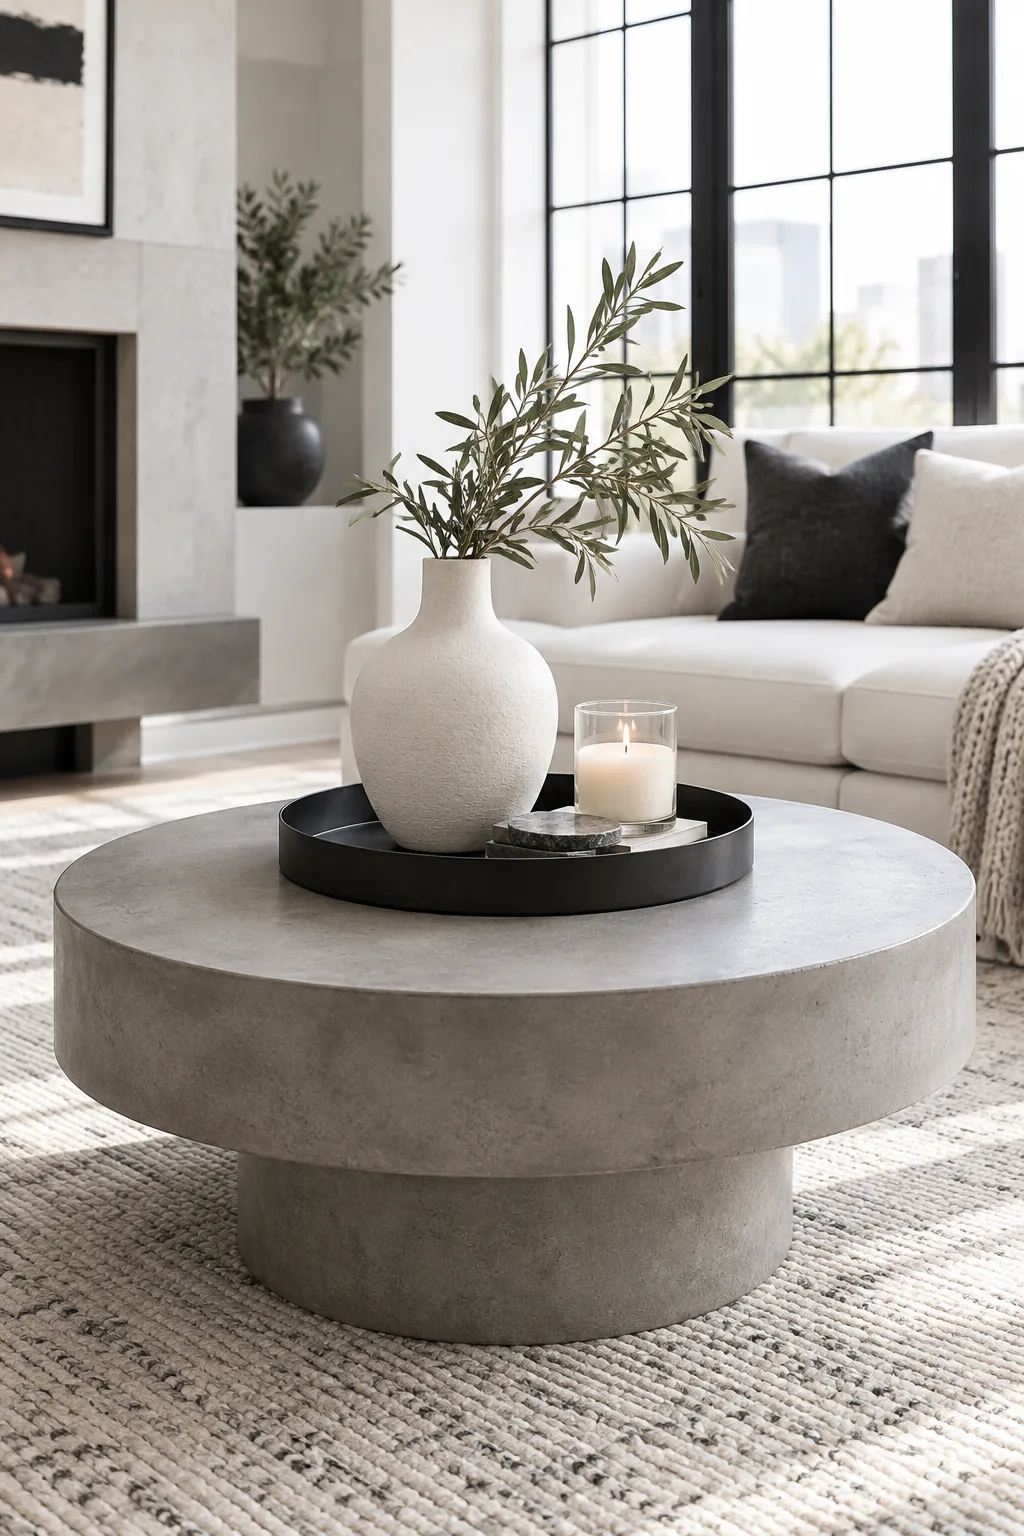
Modern Minimalist: Embrace stark contrasts with a black metal tray and a single architectural vase. This approach works beautifully in uncluttered, contemporary living spaces.
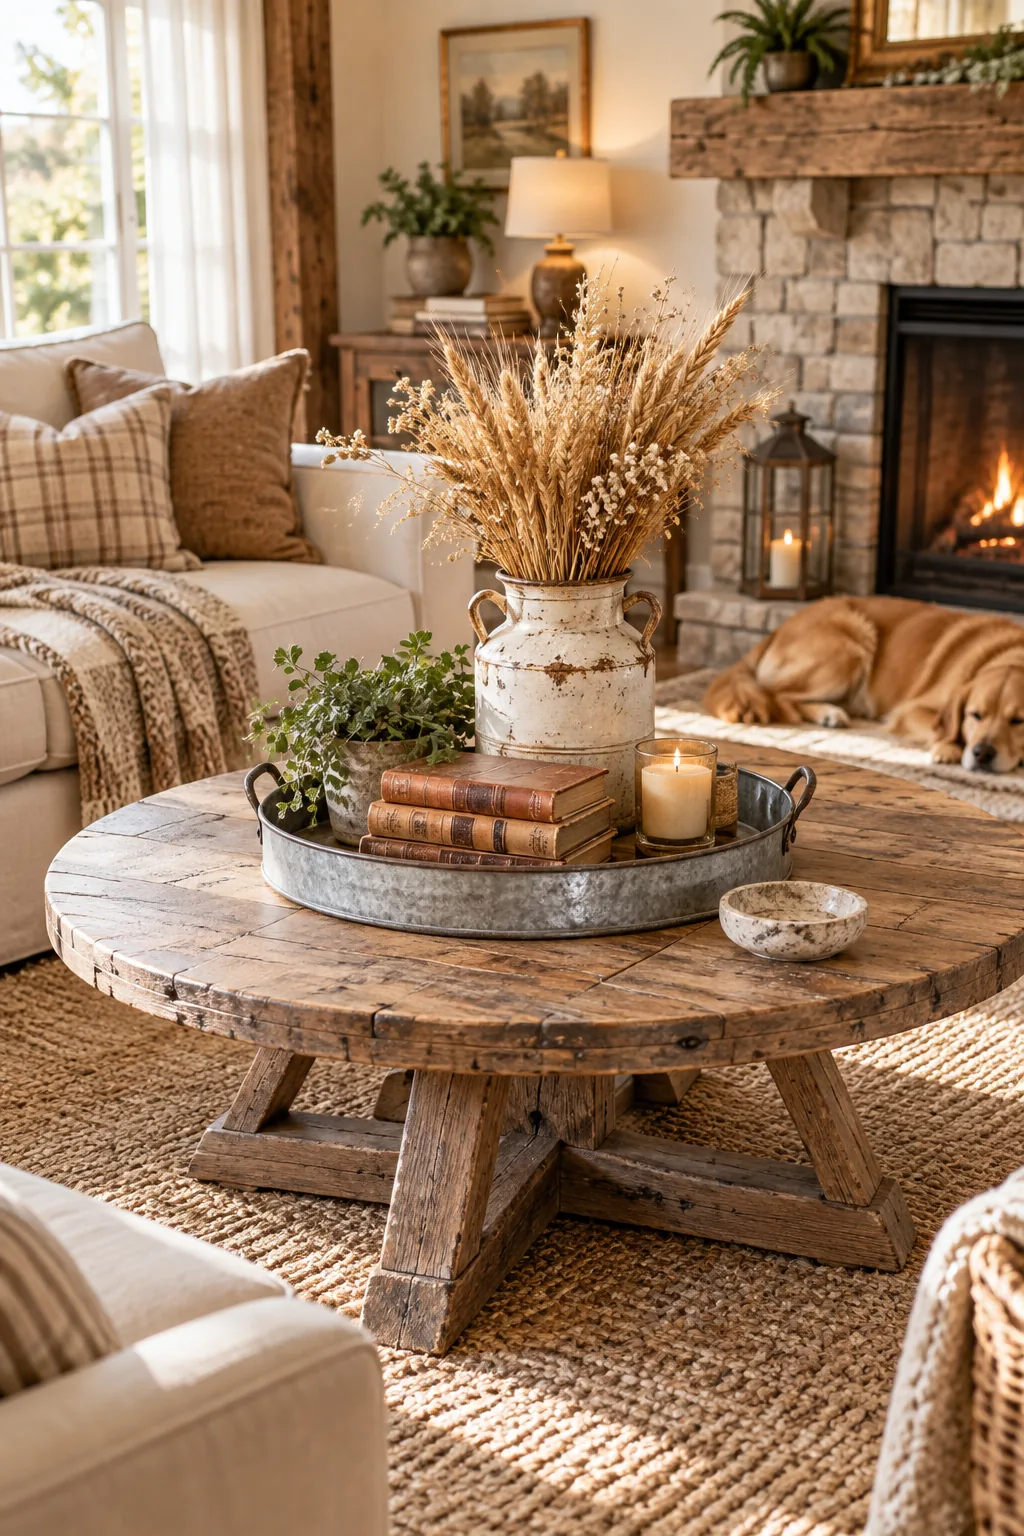
Rustic Farmhouse: Bring warmth to a cottage room by using a distressed metal tray and vintage jugs. Dried wheat offers the perfect low-maintenance height.
Coastal Transitional: Channel a breezy sunroom feel with soft sea glass tones and woven rattan. A clam shell bowl adds a natural, grounding element.