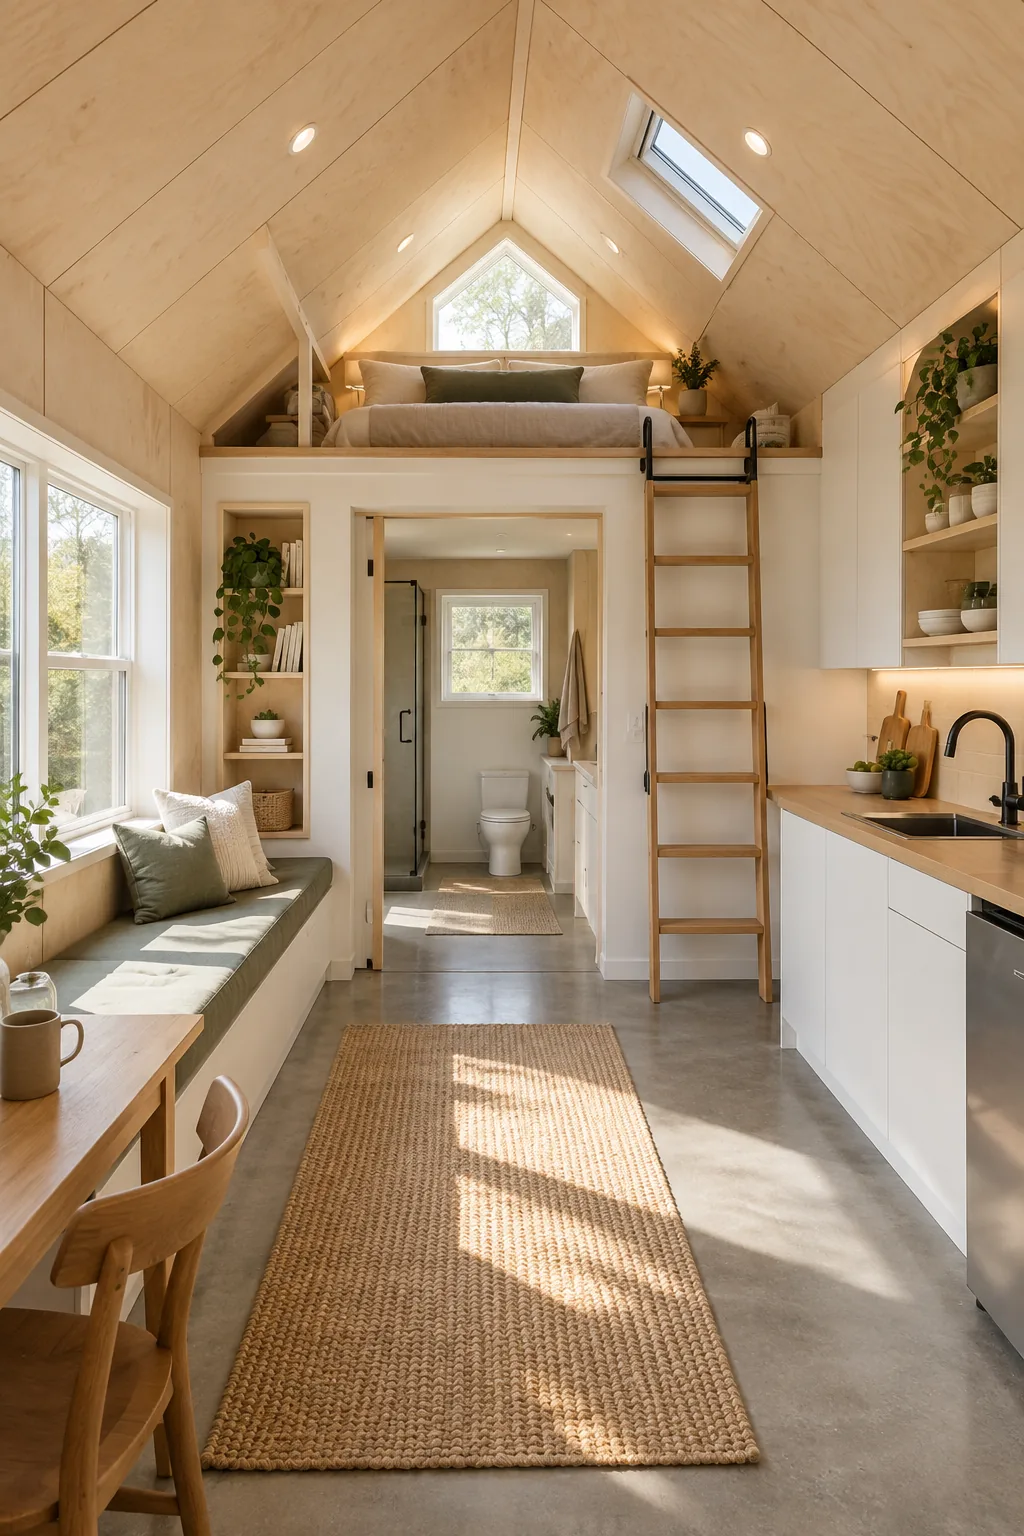
Shed Homes Inside: The 12×24 Lofted Layout & Measure Sheet
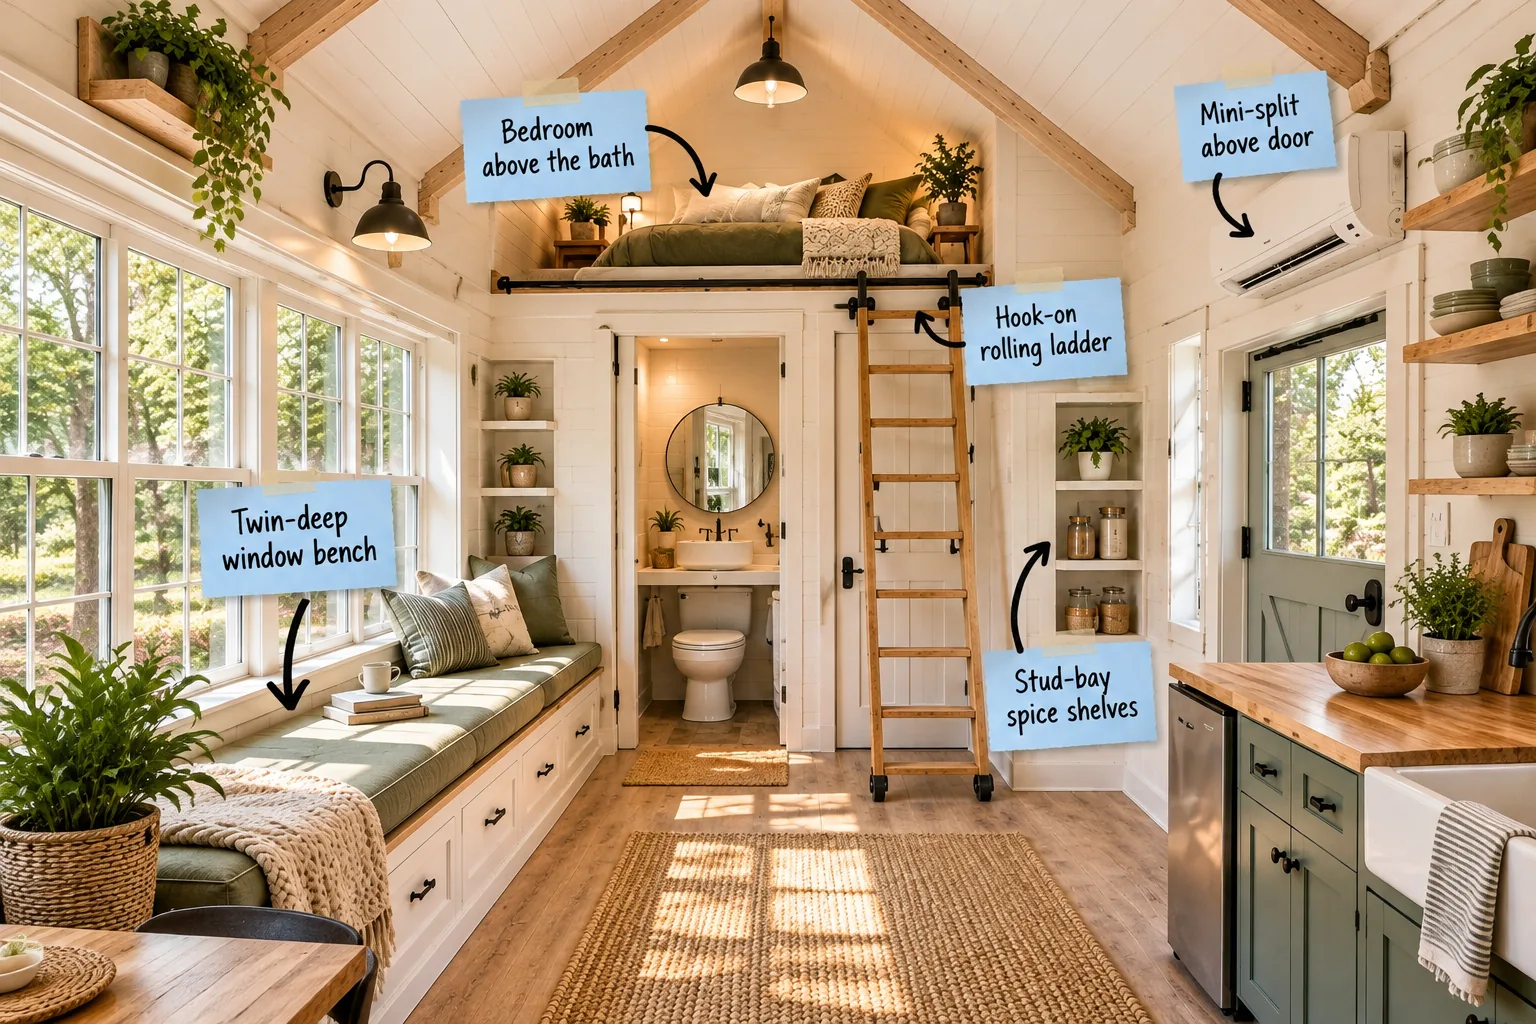
Step inside this stunning 12×24 lofted shed home and discover how to maximize every single inch of your narrow floor plan. You will be able to map out your own tiny conversion using our 12×24 Lofted Shed Home Measure Sheet for exact loft, bathroom, and built-in bench dimensions.
Establishing the Entry Climate Zone
Start by establishing your climate control strategy right at the front entry to ensure even distribution. Keeping the primary heating and cooling source central to the open volume prevents hot spots in the loft and maintains a comfortable temperature throughout the main living space.
Mounting the Mini-Split Above the Door
Placing the ductless mini-split head directly above the Dutch door utilizes otherwise dead space and keeps the main walls free, while sizing the gap between the ceiling and the unit ensures proper airflow.
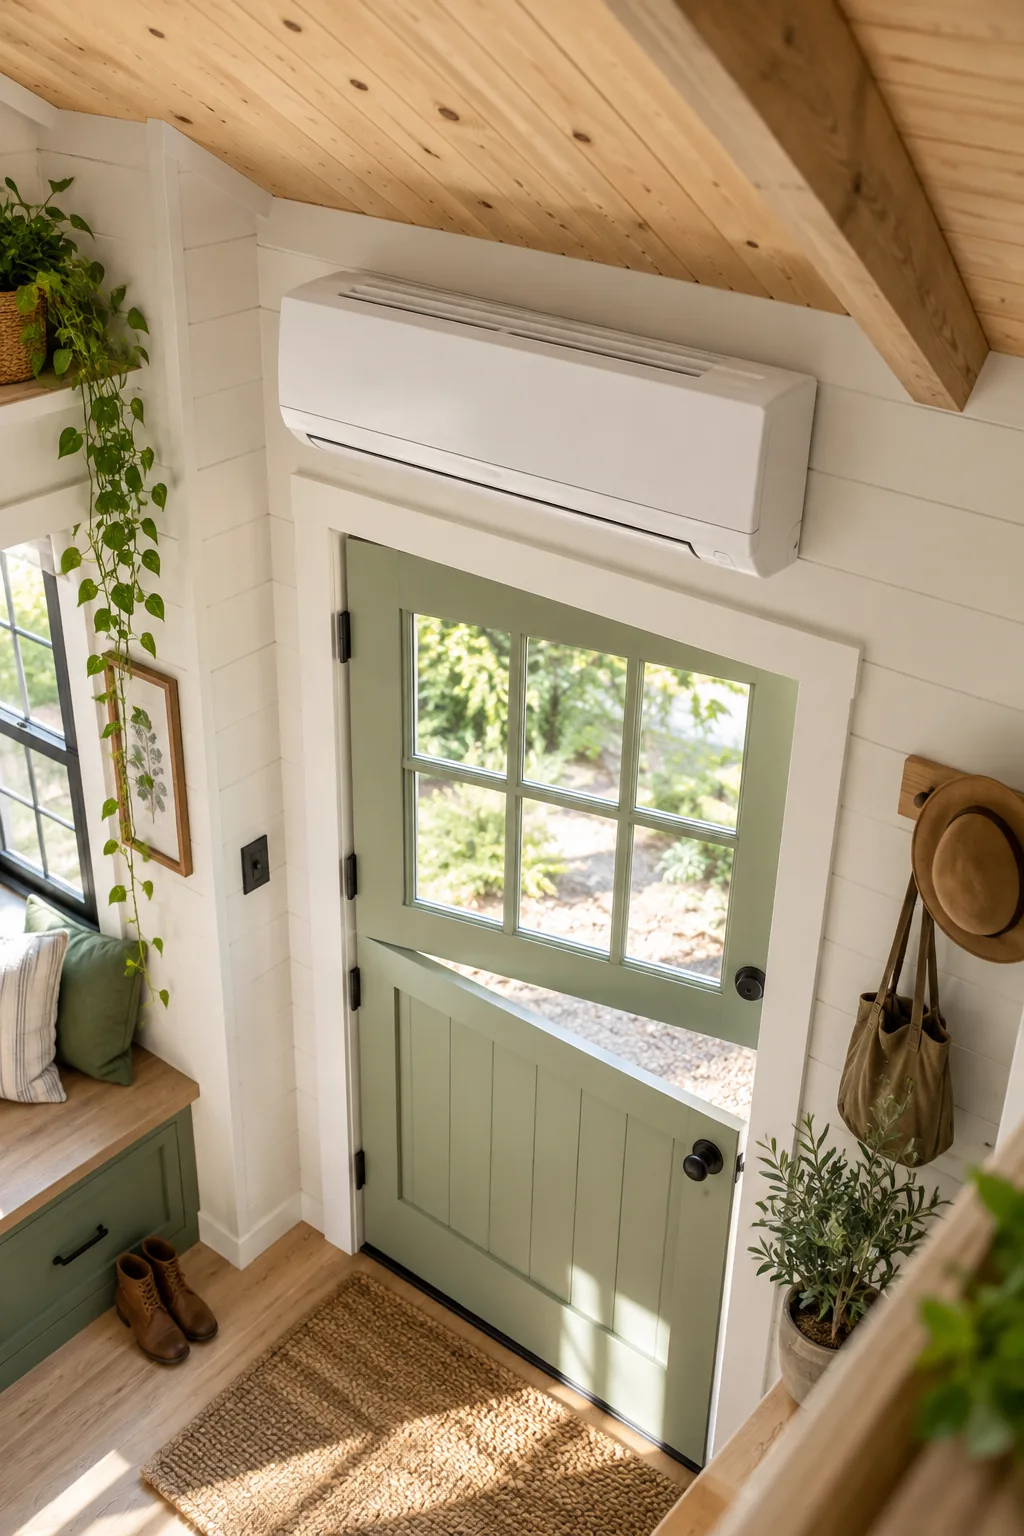
Always check the manufacturer’s specs for the required ceiling clearance—typically 4 to 6 inches—before mounting the steel bracket, as failing to leave enough room will severely reduce the unit’s heating and cooling efficiency.
Concealing the Exterior Refrigerant Lines
Routing the lines directly through the header space above the door keeps the interior looking remarkably clean and maintains perfect visual symmetry on your entry wall, which is essential for setting a calm, organized tone.
| Unit Size | Ceiling Gap | Side Gap |
|---|---|---|
| 9,000 BTU | 4 inches | 5 inches |
| 12,000 BTU | 6 inches | 5 inches |
Cover the exterior lines with a paintable PVC line hide kit to blend seamlessly with your shed’s siding and protect the delicate insulation from harsh UV rays and nesting pests over the years.
Sealing the Dutch Door Entry
A Dutch door adds incredible charm and allows fresh air to circulate on warm days without letting pets escape into the yard. Ensure you install high-quality weatherstripping around the split seam to prevent winter drafts from undermining the efficiency of your newly mounted mini-split system.
Framing the Main Living Wall
The long side wall of a 12×24 footprint serves as the primary anchor for all your heavy built-in furniture. Leaving this expanse uninterrupted by interior partitions creates a sweeping visual line that draws the eye backward, making the compact shed feel twice its actual size.
Building a Twin-Deep Window Bench
Along the main wall, a built-in bench serves double duty as a spacious lounge and a guest bed. In my own Denver studio, framing this seat to accommodate a standard 38×75 inch twin mattress provided incredible comfort, but deep drawers can become difficult to pull smoothly without proper support.
Sizing the Under-Bench Drawers
The vast space underneath the twin-deep bench is perfect for holding extra linens and bulky off-season clothing. Divide the 75-inch length into three equal drawer boxes to prevent the plywood bottoms from sagging under heavy loads while maintaining a balanced, harmonious look across the living area.
Choosing the Bench Cushion Fabric
Because the window bench doubles as a guest bed and a daily dining seat, the upholstery must withstand heavy, continuous traffic. Select a durable, washable performance fabric in a calming, earth-toned hue to ground the space visually and easily resist inevitable coffee or wine spills.
Planning the Kitchenette Footprint
Transitioning from the living zone to the kitchen requires careful alignment of your base cabinets to maintain the central sightline. Keep the cabinet depth to a standard 24 inches to avoid pinching the walkway as you move smoothly toward the bathroom at the rear of the shed.
Recessing Stud-Bay Spice Shelves
In a narrow footprint, every fraction of an inch matters, so utilize the empty cavity between 2×4 studs by adding flush shelves facing the kitchenette to reclaim otherwise wasted space.
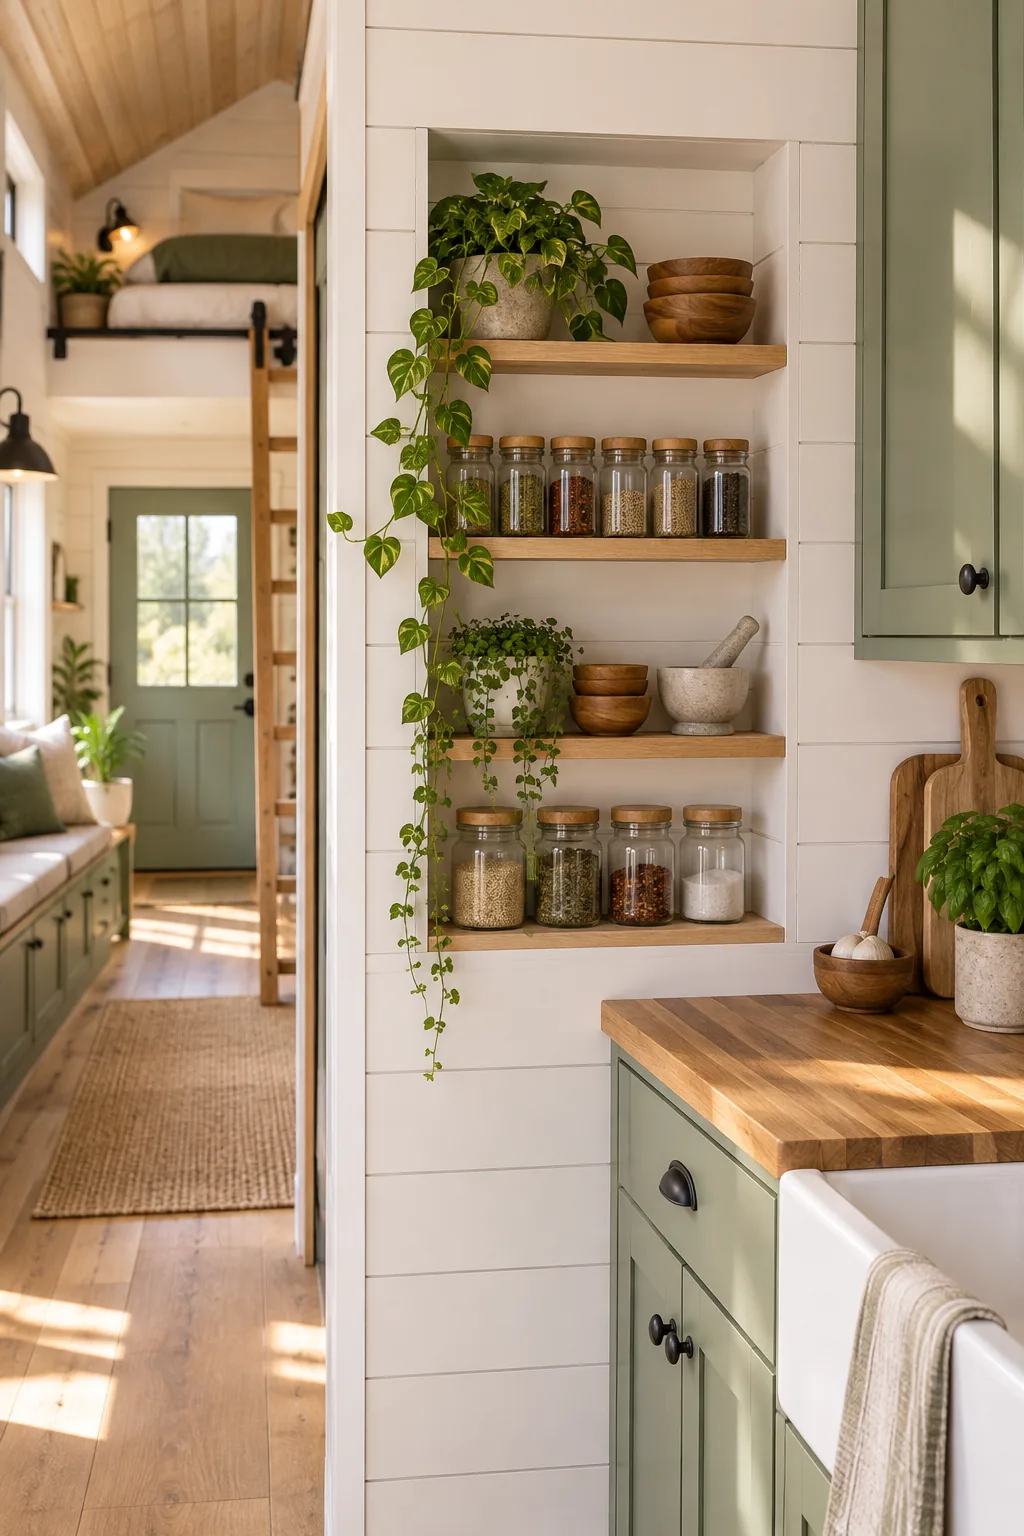
Standard 2×4 wall framing yields exactly 3.5 inches of usable depth, which I found is the perfect dimension in my own kitchen for storing spices and mugs without protruding into the room and disrupting the clean lines.
Organizing the Stud-Bay Shelves
To maintain a sense of calm in the kitchen, avoid overstuffing your new shallow wall storage with mismatched packaging. Transfer your everyday spices and dry goods into matching glass jars to create a cohesive, orderly display that serves as functional, beautiful wall art.
Integrating the Kitchen Sink
Position your kitchen sink directly under the side window to provide natural light and a calming view while washing dishes. Opt for a compact 18-inch single-basin sink to preserve valuable countertop prep space on either side of the wet zone for chopping vegetables and plating meals.
Positioning the Loft Access
Navigating the transition between the kitchen and the bathroom is the most logical place to position your loft access point. Keeping the climbing path out of the main kitchen work triangle ensures safe, uninterrupted movement throughout the lower level while someone else is cooking.
Installing the Hook-On Rolling Ladder
Accessing the loft safely requires a sturdy, stowable solution that won’t permanently block your lower cabinets or narrow the hallway. A hook-on rolling ladder glides smoothly along a horizontal steel rail mounted securely to the loft fascia board, providing immediate access whenever you need it.
Calculating the Climbing Angle
Calculate the steel rail height carefully to match the ladder’s safe climbing geometry before you drill any mounting holes into the fascia. The ladder should pitch at around 75 degrees for comfortable daily use without feeling overly steep or encroaching too far into the kitchen workspace.
Storing the Ladder When Not in Use
When you finish your morning routine in the loft, the ladder must be moved to keep the kitchen aisle completely clear. Push the rolling hardware to the far end of the steel rail where it rests vertically against the wall, securely out of the main traffic path.
Laying Out the Rear Wet Room
The bathroom sits at the far gable end, sized just large enough for a toilet, a small vanity, and a compact shower stall. Grouping all the plumbing fixtures against the back exterior wall simplifies your drain venting and water supply lines, saving you significant time and money.
Framing the Compact Bathroom Enclosure
The bathroom sits at the far gable end, sized just large enough for a toilet, a small vanity, and a shower stall. The sturdy framing of this wet room enclosure provides the solid structural backing needed to anchor the heavy steel ladder rail.
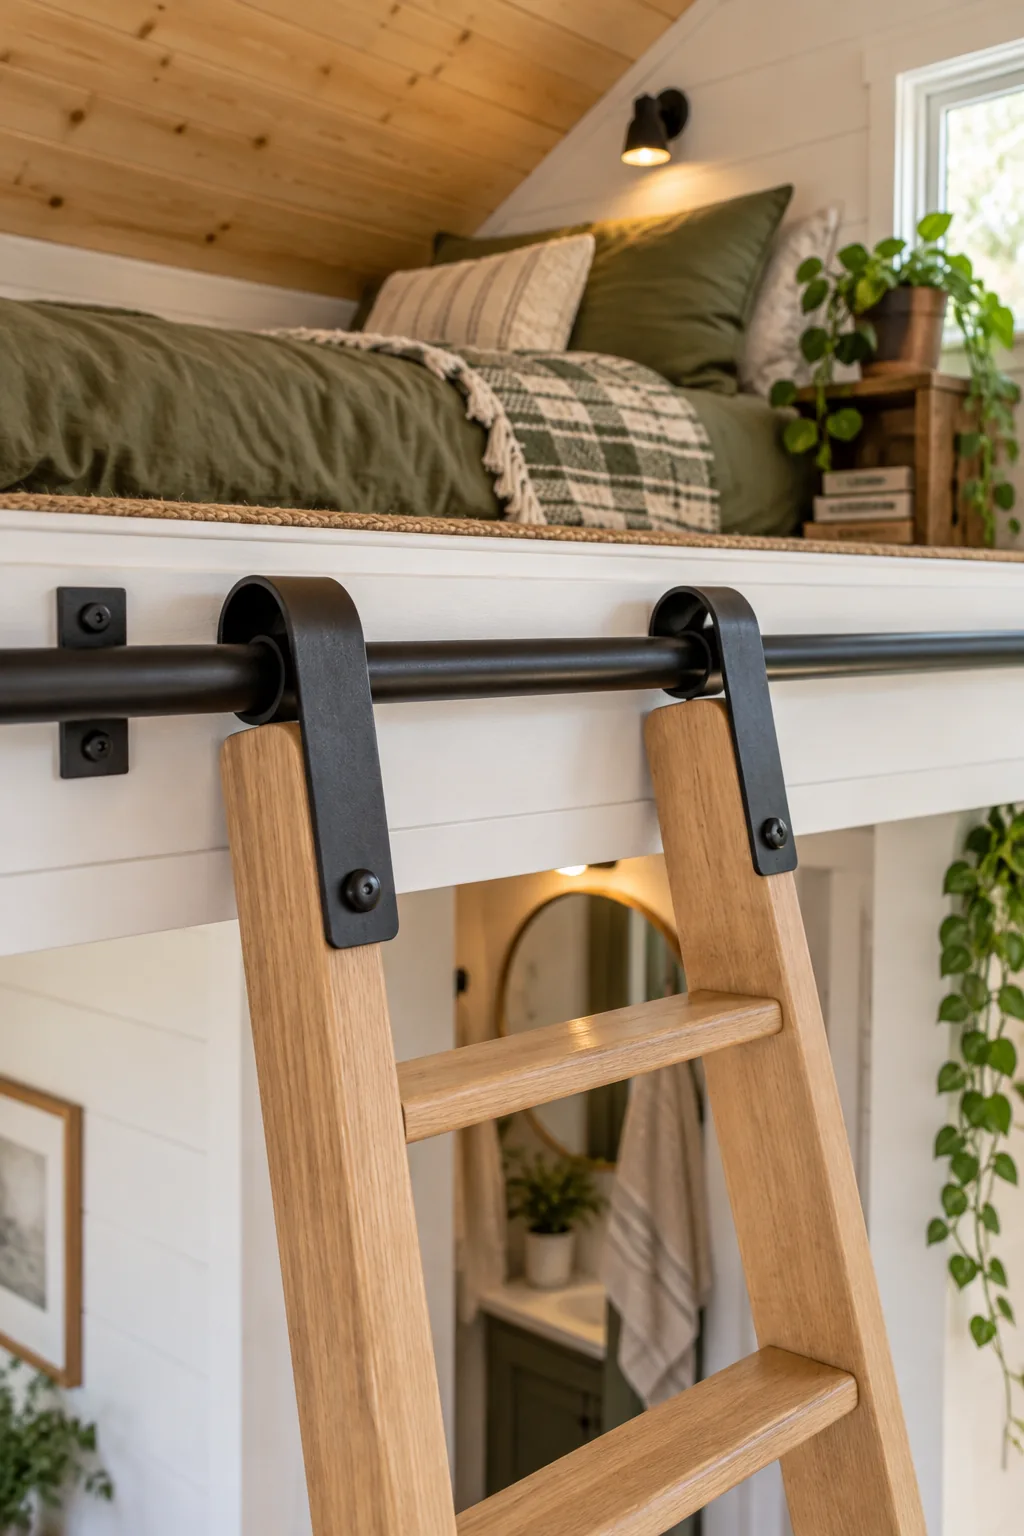
Prioritize a minimum standing headroom of 6’8″ in the bathroom, adjusting slightly based on the height of the primary occupants to ensure the space feels balanced before setting the rail height to match the ladder’s optimal climbing angle.
Selecting the Shower Pan Profile
Choose a low-profile shower pan to maximize your vertical space within the bathroom enclosure. A pan that sits just three inches off the subfloor saves crucial overhead room compared to a traditional custom mud pan, giving you more flexibility when framing the loft deck above.
Venting the Compact Bathroom
Moisture management is critical in a small, tightly sealed shed home, especially directly beneath a cozy sleeping loft. Install a high-capacity, ultra-quiet exhaust fan in the bathroom ceiling to pull steam outside before it can travel up into your mattress area and cause dampness issues over time.
Structuring the Upper Deck
The sleeping loft deck is built directly over the bathroom ceiling joists to maximize the shed’s vertical space. Use 2×6 floor joists spaced 16 inches on center to ensure the loft floor feels completely rigid and secure underfoot when you are moving around upstairs.
Designing the Bedroom Above the Bath
The sleeping loft deck is built directly over the bathroom ceiling joists to maximize the shed’s vertical space. When planning this upper zone, balancing the standing headroom in the bathroom below with the sitting headroom in the loft above means the mattress thickness will rapidly eat into your remaining clearance.
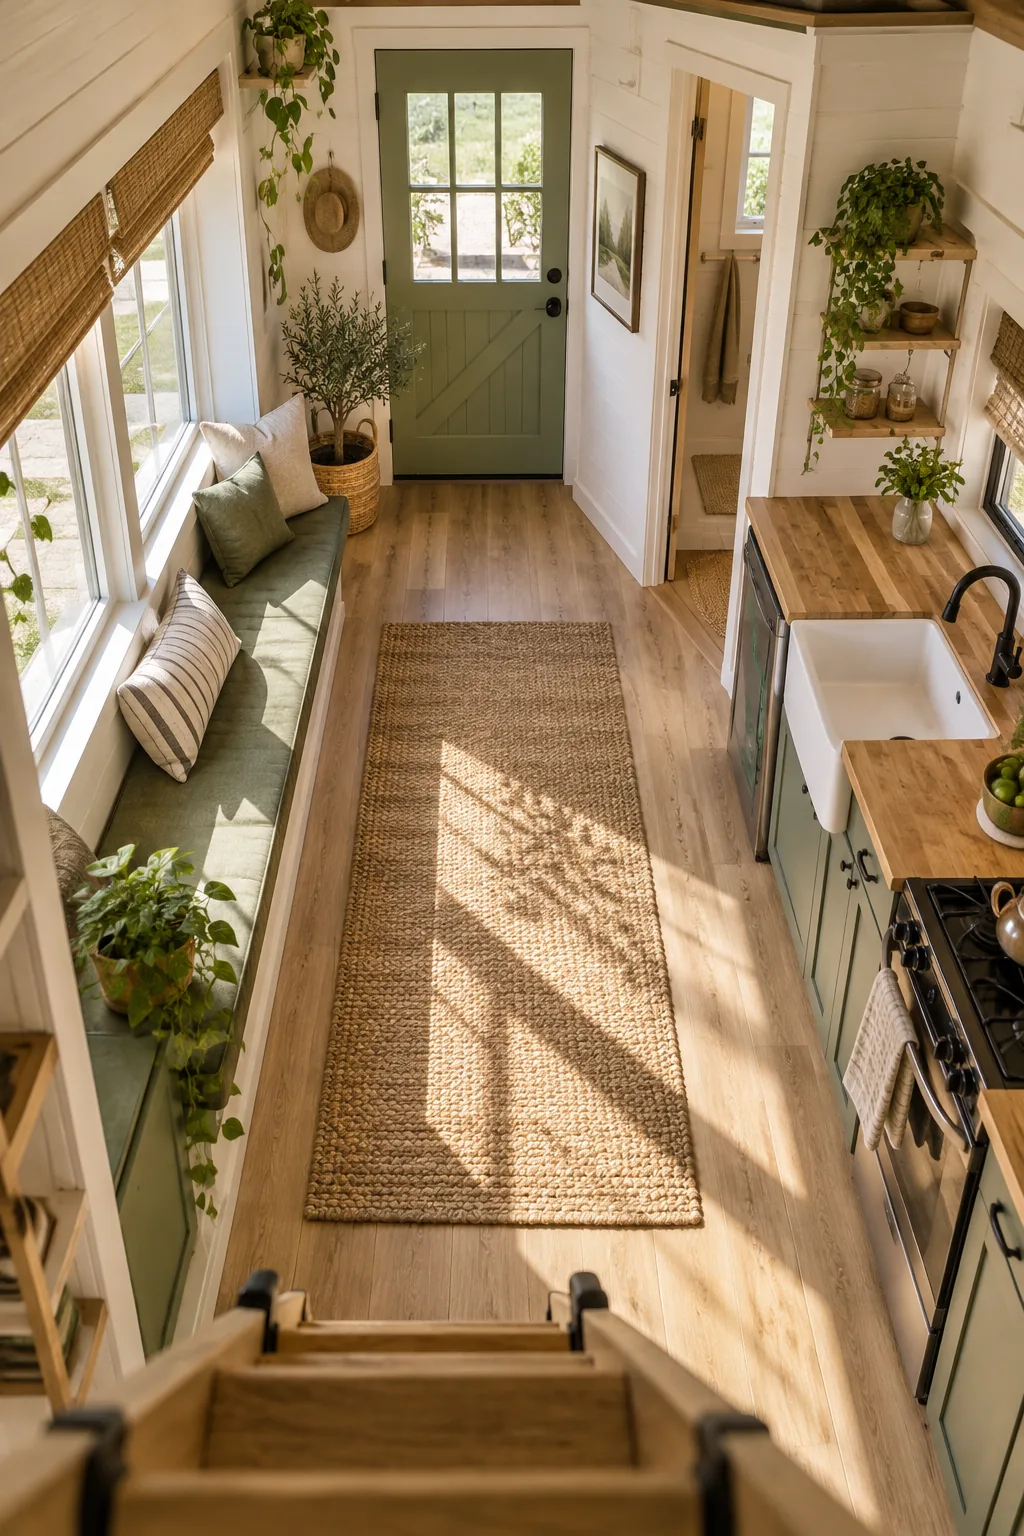
Choose a low-profile mattress, typically around six inches thick, to ensure you retain enough sitting headroom to read in bed without feeling cramped or hitting your head on the vaulted wooden ceiling panels.
Lighting the Sleeping Quarters
Install flush-mount LED puck lights in the vaulted ceiling to provide bright illumination without dropping fixtures into your limited headspace. Wire these lights to a three-way switch accessible from both the loft bed and the bottom of the ladder for ultimate convenience and nighttime safety.
Securing the Loft Railing
Safety in the upper deck requires a sturdy barrier that does not block the natural light flowing from the main windows downstairs. Build a minimalist railing using horizontal steel cables or a low wooden parapet to keep the visual sightlines completely open and airy.
The 12×24 Lofted Shed Measure Sheet
To bring all these zones together, you need precise planning before you cut a single board, a lesson I learned quickly on my first tiny build. Print the 12×24 shed home measure sheet below to get our complete two-page dimension guide, ensuring you get every measurement right.
- Exact loft deck height and bathroom headroom
- Twin-deep window bench and drawer sizes
- Ladder rail height and climbing angle
- Mini-split mounting clearances and stud-bay shelf depths
Interpreting the Dimension Guide
Keep the printed measure sheet on your clipboard as you frame each interior partition to quickly verify your rough openings. Cross-referencing these precise measurements against your actual lumber dimensions prevents costly teardowns and keeps your construction timeline moving smoothly from framing to final finishes.
Balancing the Floor Plan
The ultimate success of this lofted layout relies entirely on the open floor space connecting the entry, kitchen, and bathroom. Avoiding bulky freestanding furniture keeps the visual flow intact and honors the Eastern design principle of empty, breathable space, which makes the entire shed feel incredibly serene.
Maximizing the Central Walkway
Maintain at least 36 inches of clear walkway width between the edge of the twin-deep bench and the kitchenette cabinets to ensure safe passage.
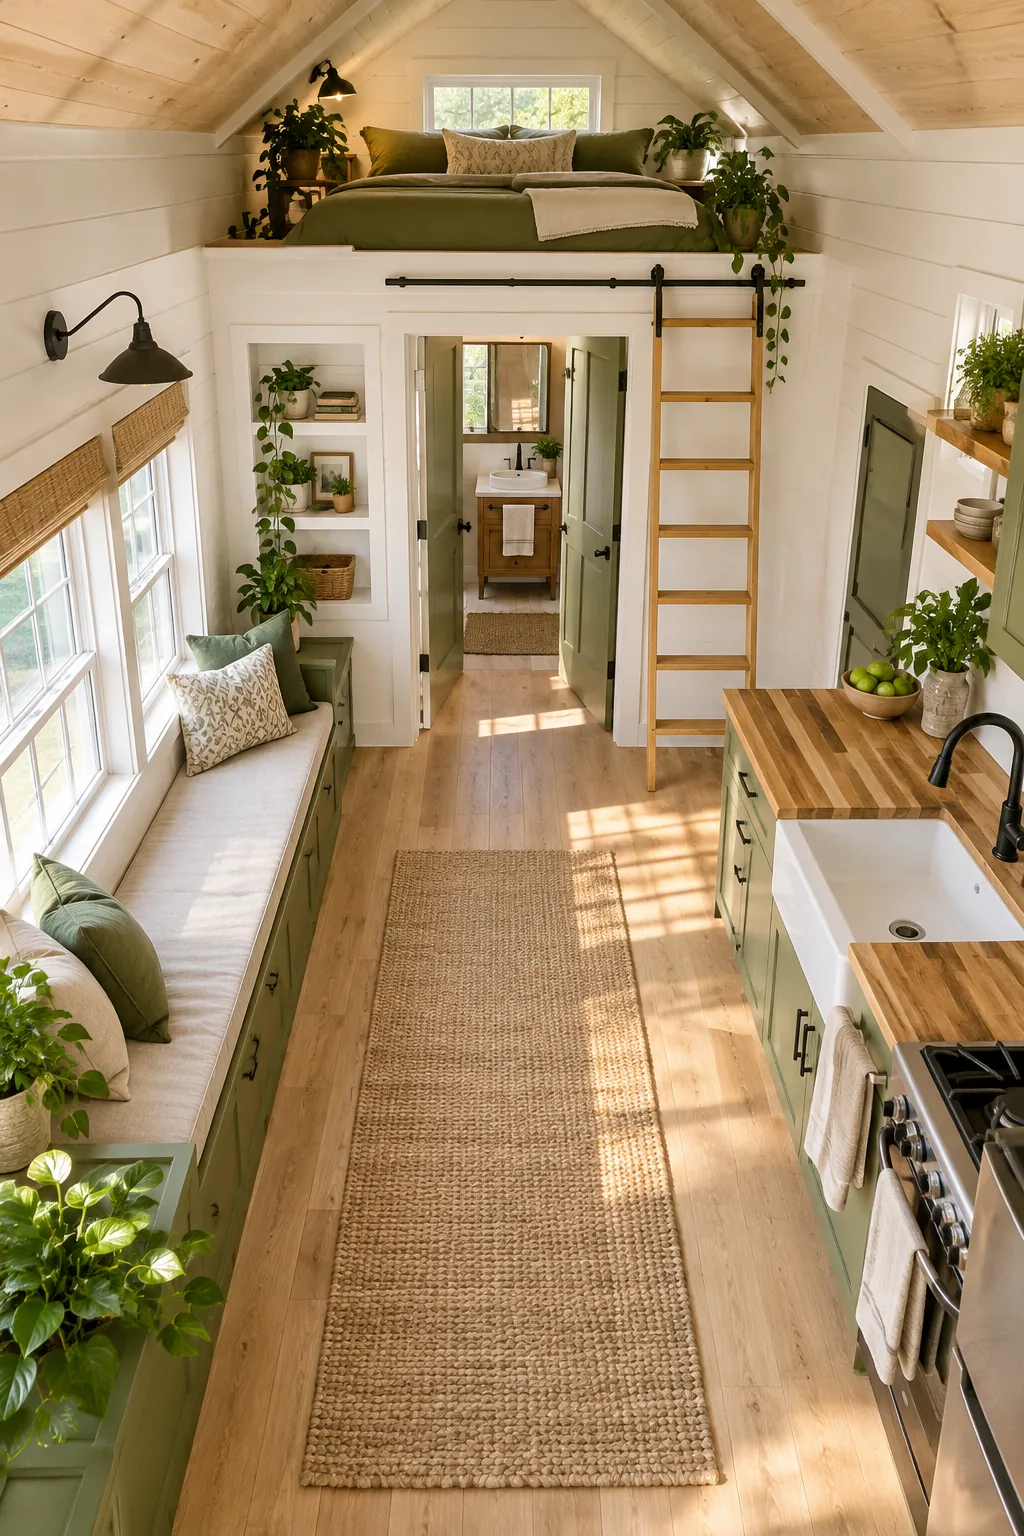
This central path keeps the narrow footprint feeling breathable, and in my own recent shed conversion, I found it allows two people to pass comfortably. Before finalizing your floor plan, verify these essential clearances to ensure the space remains code-compliant and highly functional.
More Shed Home Interior Styles
Explore how different materials and color palettes can completely change the mood of a lofted tiny home.
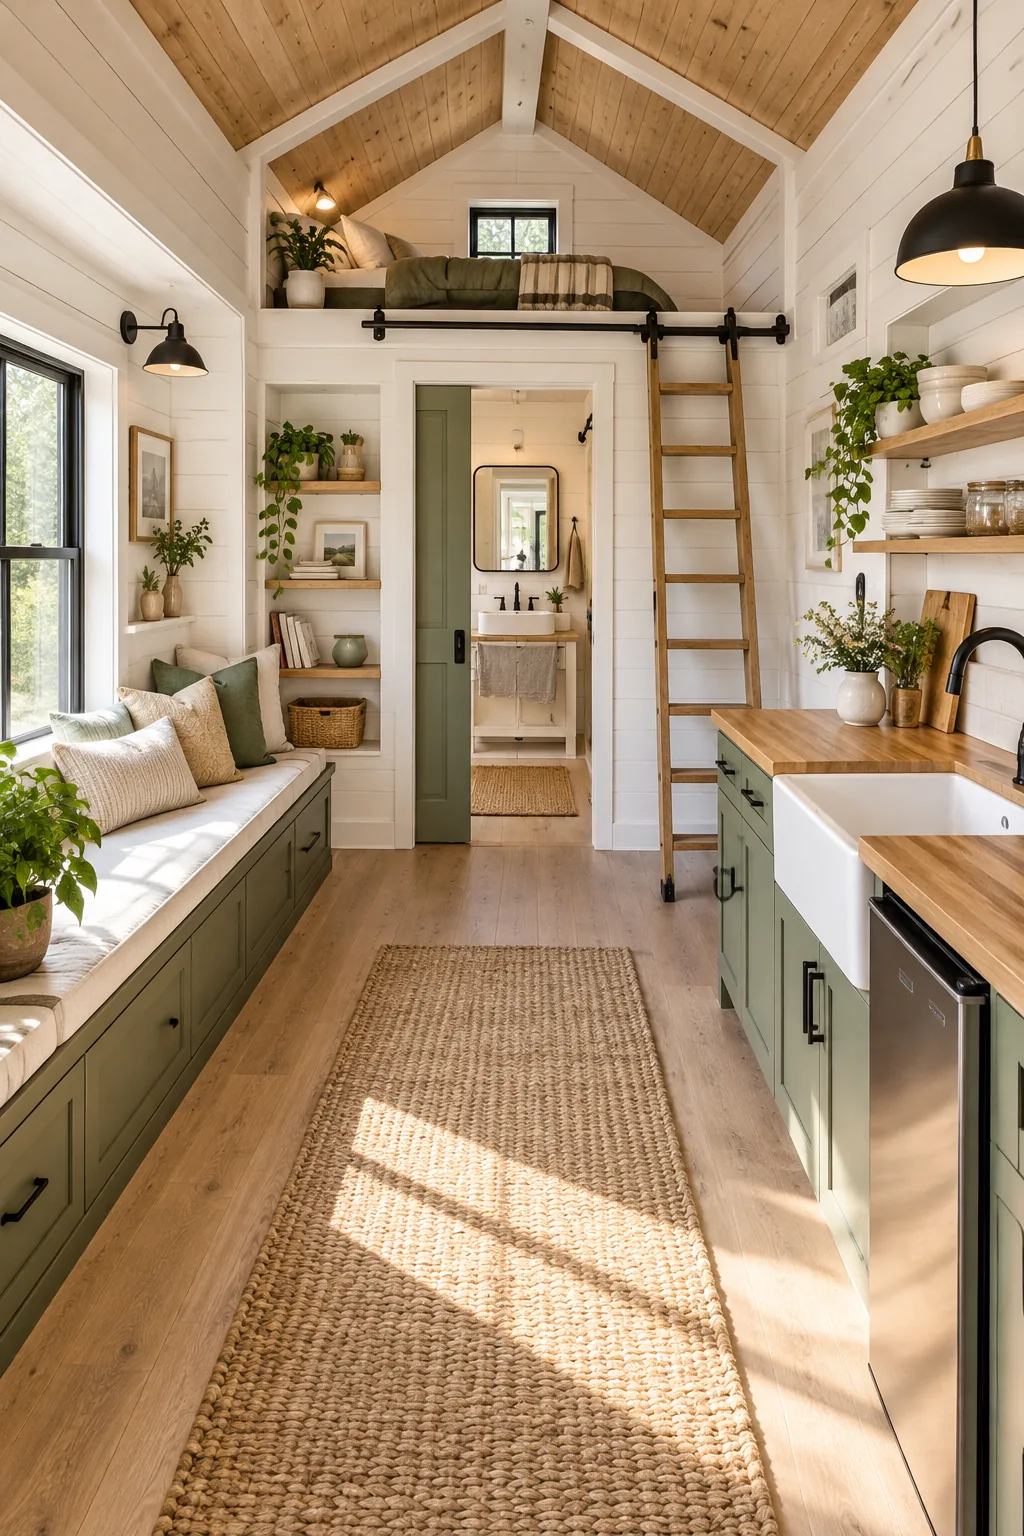
Modern Farmhouse Brights: Crisp white shiplap walls and matte black hardware give this lofted shed a classic farmhouse feel, while light oak floors keep the narrow space airy.
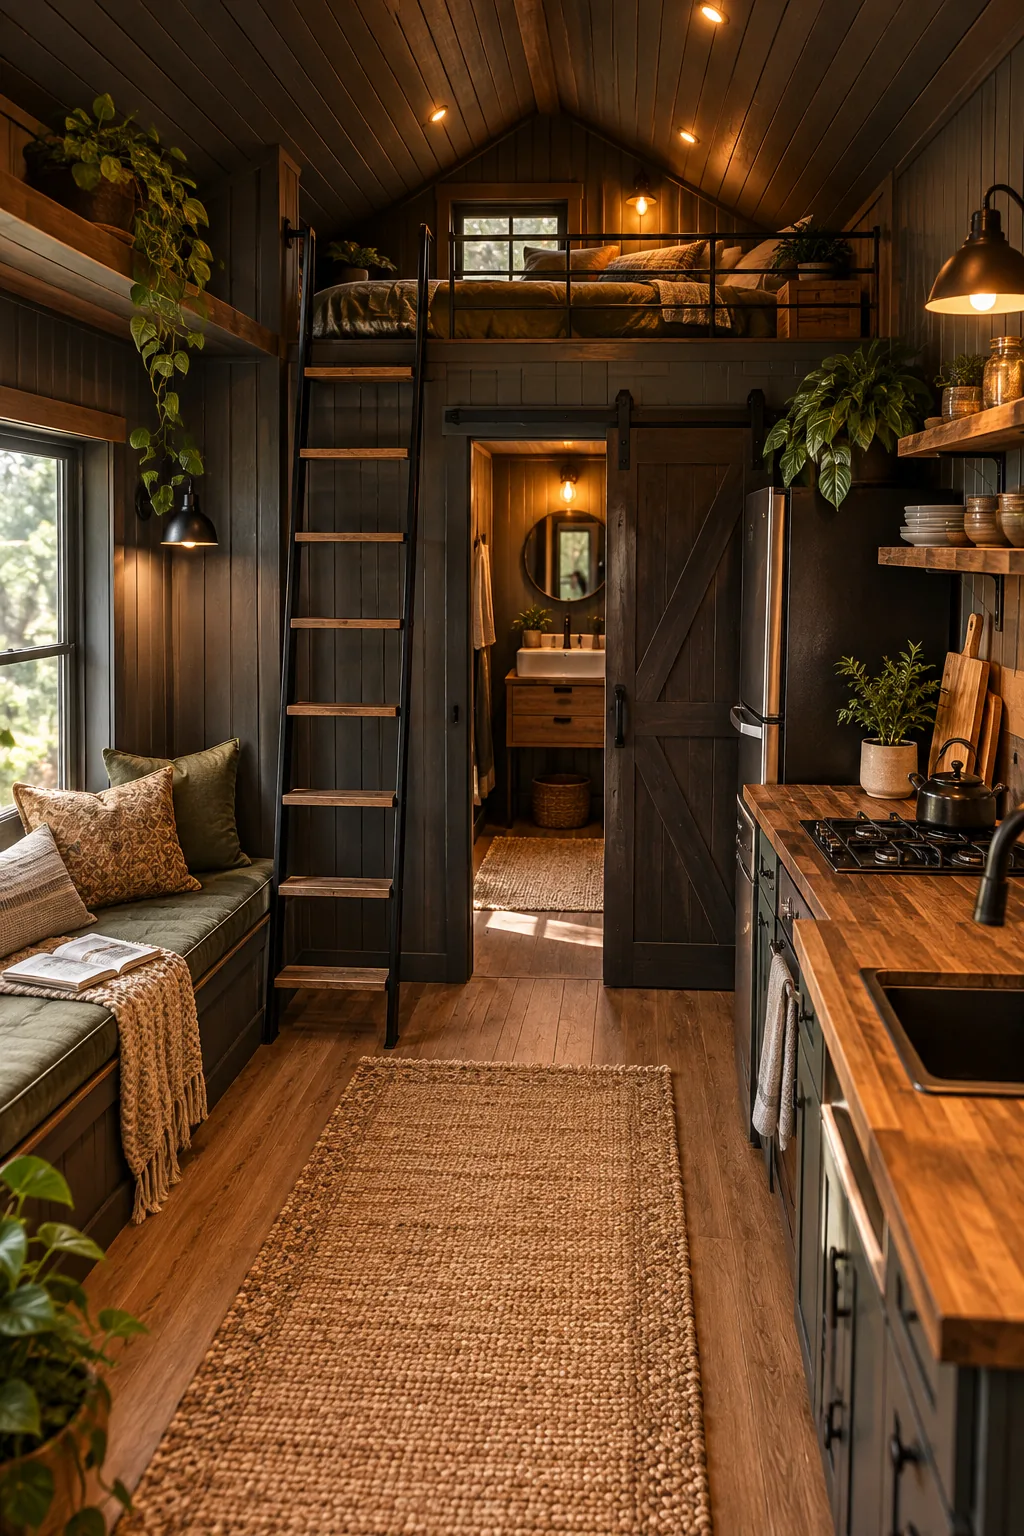
Moody Cabin Retreat: Dark charcoal beadboard and rich walnut butcher block counters transform the shed into a cozy, rustic cabin perfect for weekend getaways.
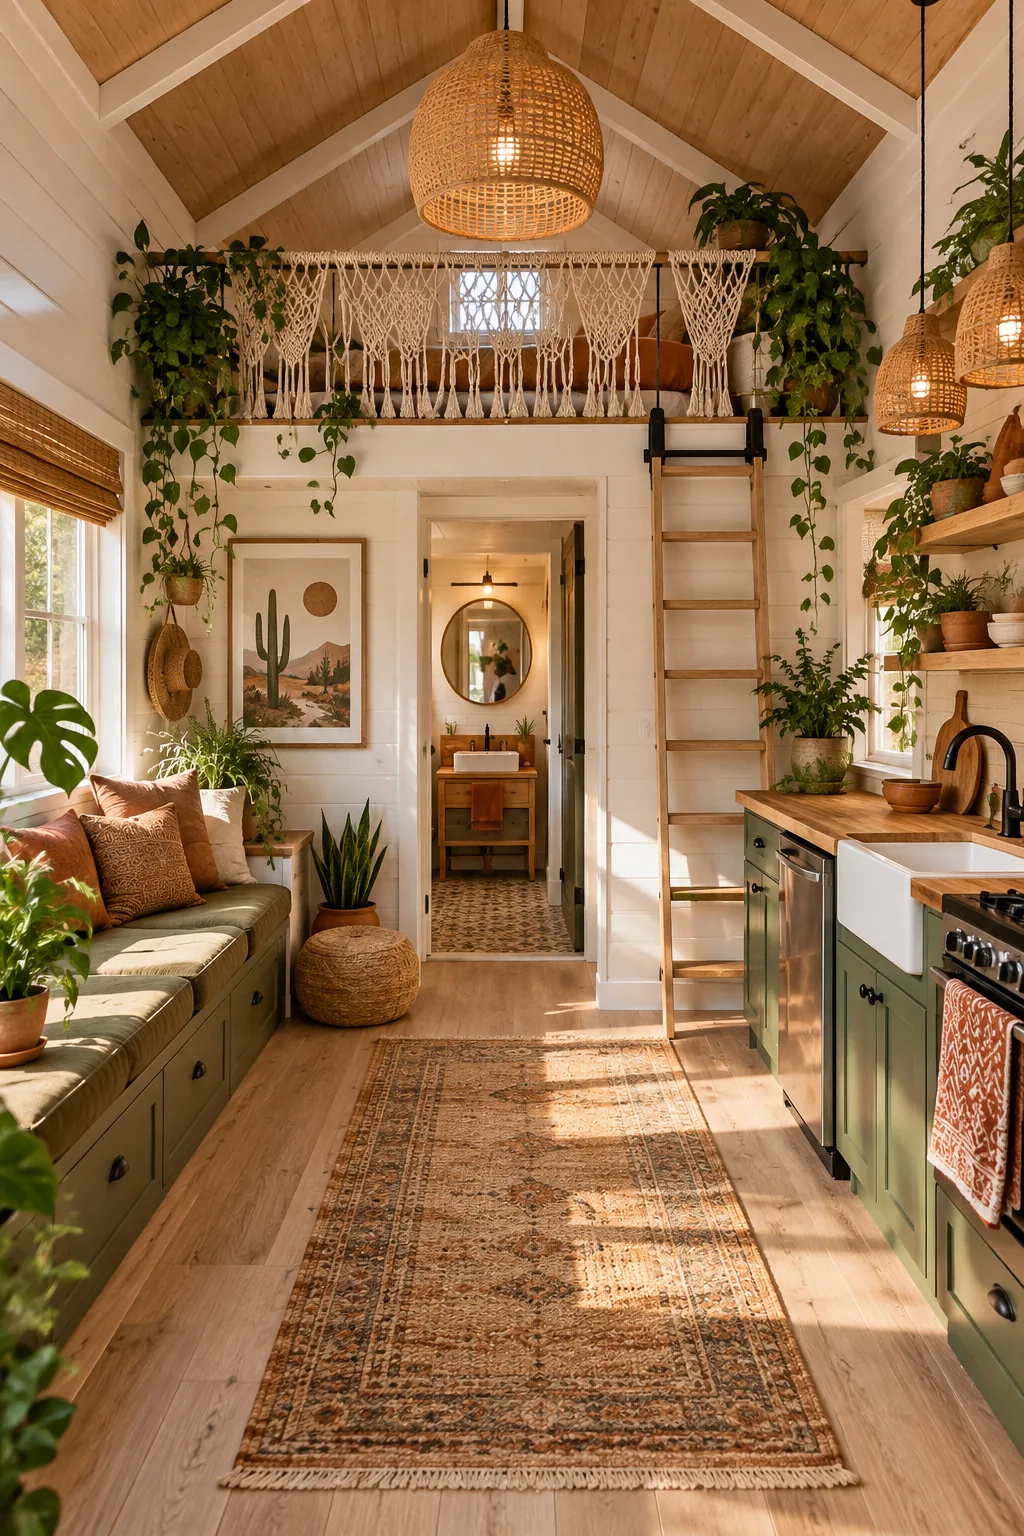
Boho Desert Oasis: Terracotta accents, natural rattan light fixtures, and abundant trailing plants create a warm, relaxed bohemian atmosphere inside this sunlit tiny home.
Minimalist Scandi Studio: Pale birch plywood paneling and handleless flat-panel cabinetry offer a sleek, uncluttered Scandinavian aesthetic that maximizes visual space in the compact layout.