
Budget Backyard Concrete Patio: DIY Square-by-Square Pour Plan
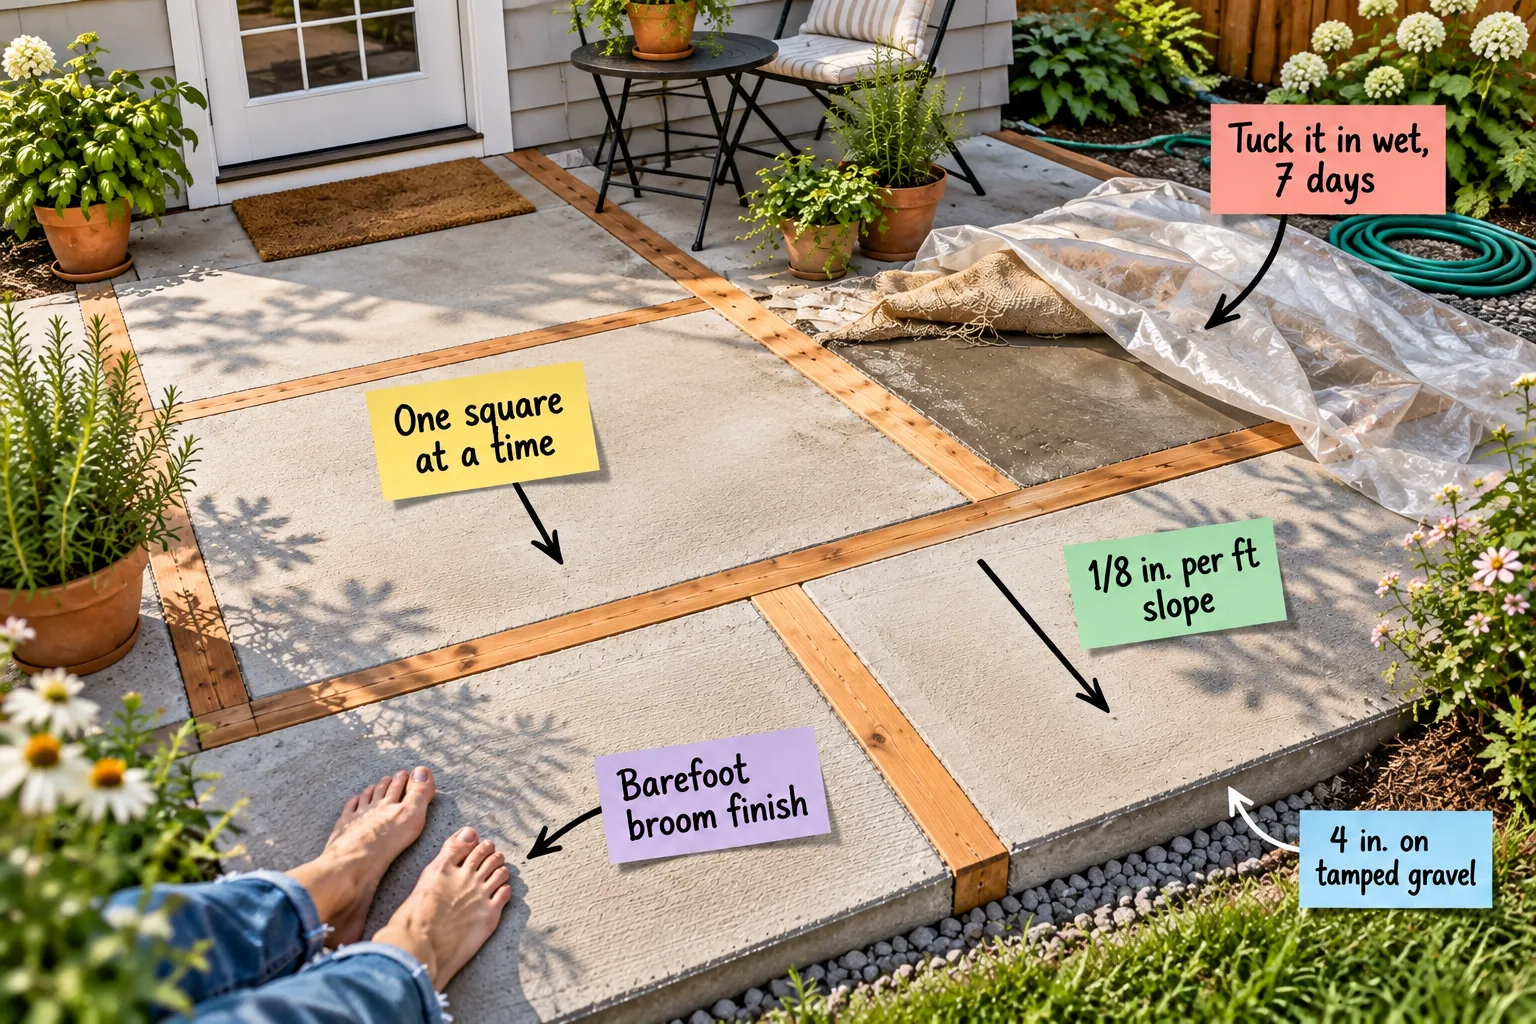
Grab our printable two-page guide featuring exact bag counts, gravel quantities, and a 7-day watering schedule to build your own 10×12 foot grid patio. You will be able to calculate your materials and confidently pour a beautiful budget patio one manageable square at a time.
Preparing the Ground: Excavation Basics
Digging out the topsoil is hard work, but removing organic matter prevents your patio from sinking. You must excavate deep enough to accommodate both the gravel base and the concrete slab, ensuring the final patio surface sits perfectly flush with your lawn.
Installing a Heavy-Duty Weed Barrier
Laying down a commercial landscape fabric before adding your gravel is a strictly non-negotiable step. This tough permeable barrier stops aggressive weeds from pushing up through the base while allowing rainwater to safely filter down into the deep soil below.
A Solid Foundation: 4 Inches of Tamped Gravel
When I built my first backyard fire pit, I skipped the proper base and watched it heave by spring. A long-lasting patio requires exactly 4 inches of compacted crushed gravel to prevent the heavy slab from cracking and shifting over time.
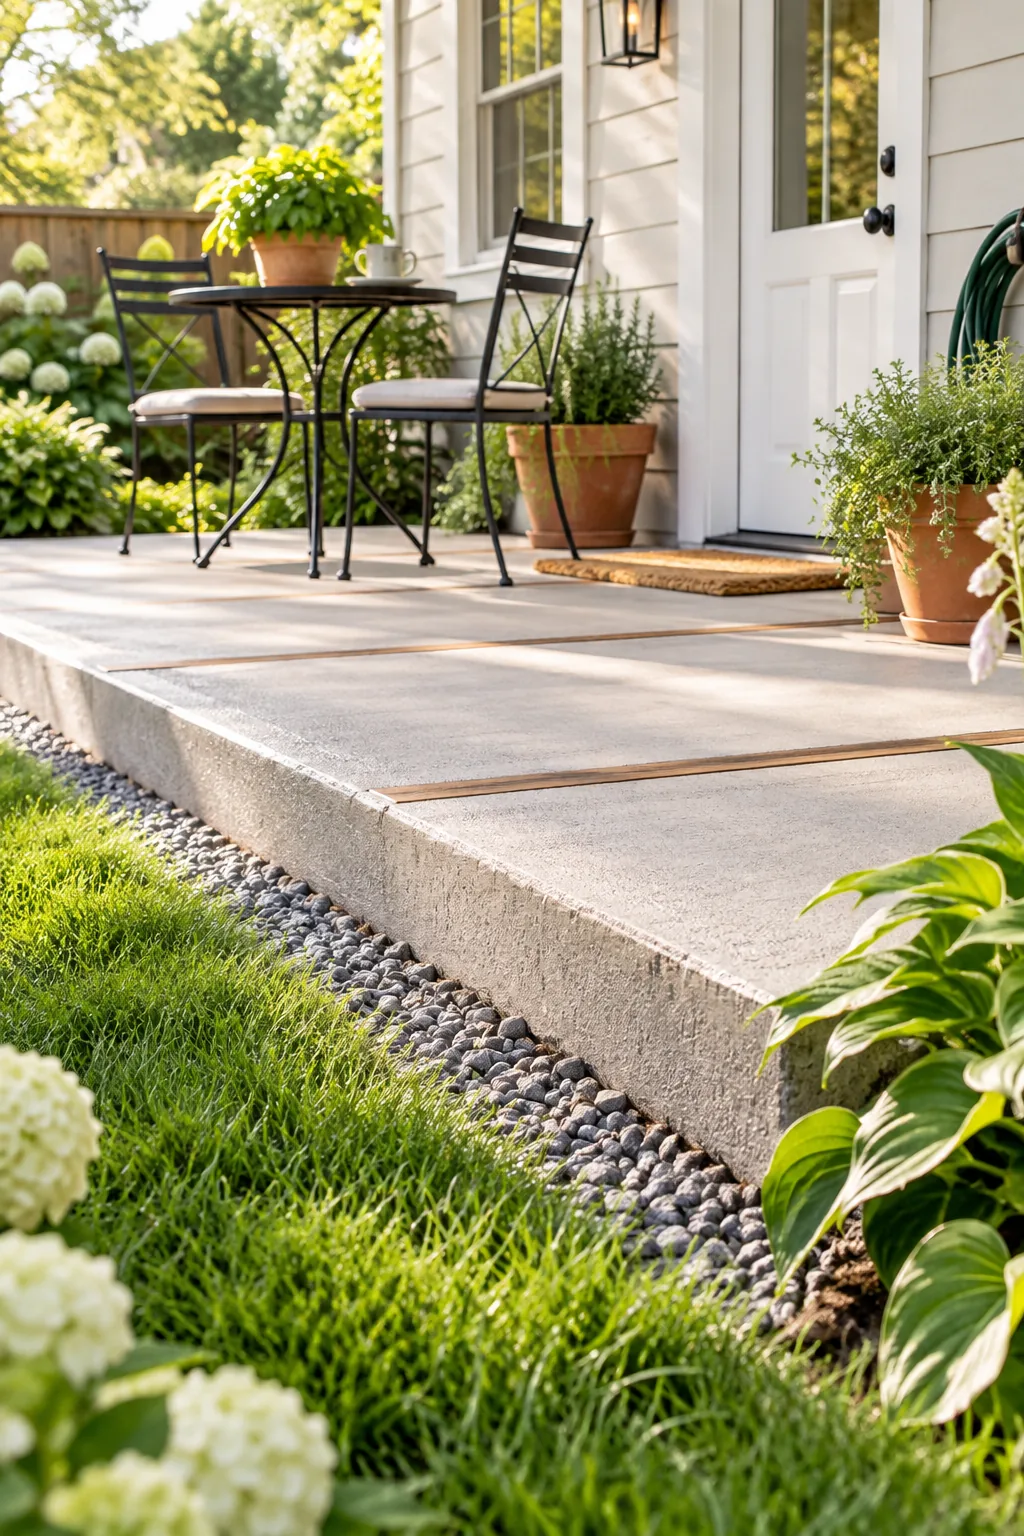
Proper compaction ensures your base drains well and strongly resists winter frost heave. Once your gravel is perfectly leveled and tamped solid, you can confidently move on to setting up your critical drainage slope.
Pitching for Drainage: The 1/8-Inch Slope Rule
I once accidentally sloped a tiny walkway toward my garage, and the next rainstorm was a muddy disaster. Always follow the standard concrete rule of dropping the grade by 1/8 inch for every foot of distance away from the back door.
Getting the pitch wrong can lead to pooling water or severe foundation damage, so always measure your slope twice before locking in the wooden forms.
Framing the Permanent Cedar Grid
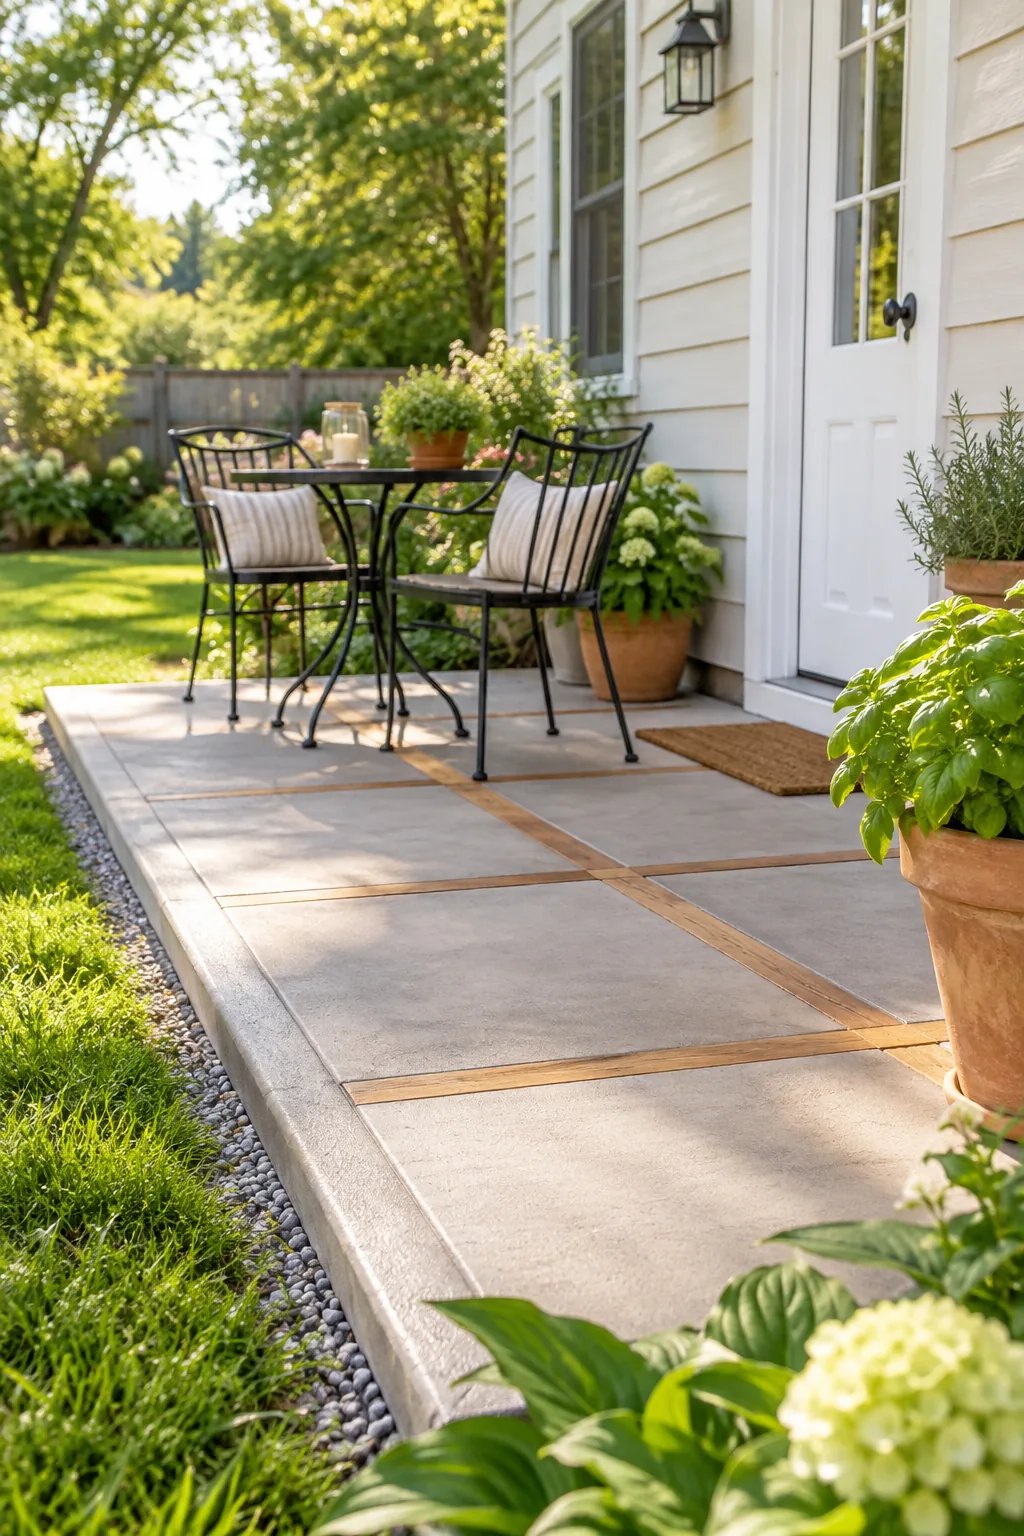
Using rot-resistant cedar strips as both your concrete forms and permanent expansion joints breaks the overall footprint into highly manageable sections. This simple grid strategy visually warms up the cool concrete while completely eliminating the need to strip messy forms later.
Choosing the Right Concrete Mix
Selecting the correct bag makes all the difference when tackling a DIY backyard project. You want a high-strength concrete mix that offers plenty of working time before it starts to stiffen in your wheelbarrow.
| Mix Type | Strength Rating | Working Time | Best Application |
|---|---|---|---|
| High-Strength | 4,000 PSI | 45-60 minutes | Patio slabs and walkways |
| Fast-Setting | 4,000 PSI | 15-20 minutes | Setting heavy fence posts |
| Crack-Resistant | 4,000 PSI | 45-60 minutes | Large unjointed pours |
| Sand Mix | 3,000 PSI | 30-45 minutes | Patching and leveling |
Knowing your mix gives you the confidence to work methodically without rushing the chemical reaction. This reliable working window is exactly why breaking the patio into much smaller sections is an absolute game-changer.
Evaluating Weather Conditions Before Pouring
Checking the local forecast is critical because extreme temperatures completely ruin the chemical curing process. Aim for a mild, overcast day between fifty and seventy degrees, and absolutely never start mixing concrete if heavy rain is expected within twenty-four hours.
The Low-Stress Method: One Square at a Time
My favorite part of this grid system is that I could mix bags by hand on a Tuesday evening without rushing. By pouring a single 4×4 foot square at a time, you completely eliminate the panic of racing against the concrete’s setting clock.
Working in small batches ensures you can carefully screed and level each section before moving on. Once you understand the simple rhythm of a single square, scaling up to the full patio is incredibly straightforward.
Your Printable Square-by-Square Pour Plan
I remember calculating materials for my first pour and panicking at the hardware store, so I made this guide foolproof. For a 10×12 foot patio, you will need six 80-lb bags per 4×4 foot square at 4 inches thick, and exactly 1.5 cubic yards of gravel total.
- Base Preparation: Excavate the topsoil and compact the 1.5 cubic yards of crushed gravel to a strict 4-inch depth.
- Grid Construction: Frame the overall 10×12 foot layout using cedar strips to create distinct 4×4 foot sections.
- Checkerboard Pouring: Mix six 80-lb bags for one square, pouring alternate sections to keep the wooden forms stable.
- Daily Curing: Implement the strict 7-day wet-cure watering schedule to maximize the final structural strength.
Mixing by Hand: The Wheelbarrow Technique
Achieving the perfect consistency requires adding water slowly until the mix resembles thick, moldable oatmeal. A proper water-to-concrete ratio ensures the slab cures to its full strength without shrinking or developing deep structural cracks over time.
Screeding the Concrete Flat
Pulling a straight two-by-four board across the wet concrete levels the surface perfectly with your cedar forms. Using a rapid side-to-side sawing motion pushes the heavy aggregate stones down and brings the smooth cement paste to the top.
Edging for a Professional Look
Running a specialized steel edging tool along the inside of the cedar strips creates a clean, slightly rounded border. This simple finishing touch prevents the fragile concrete corners from chipping off when you accidentally bump them with heavy patio furniture.
Achieving the Barefoot Broom Finish
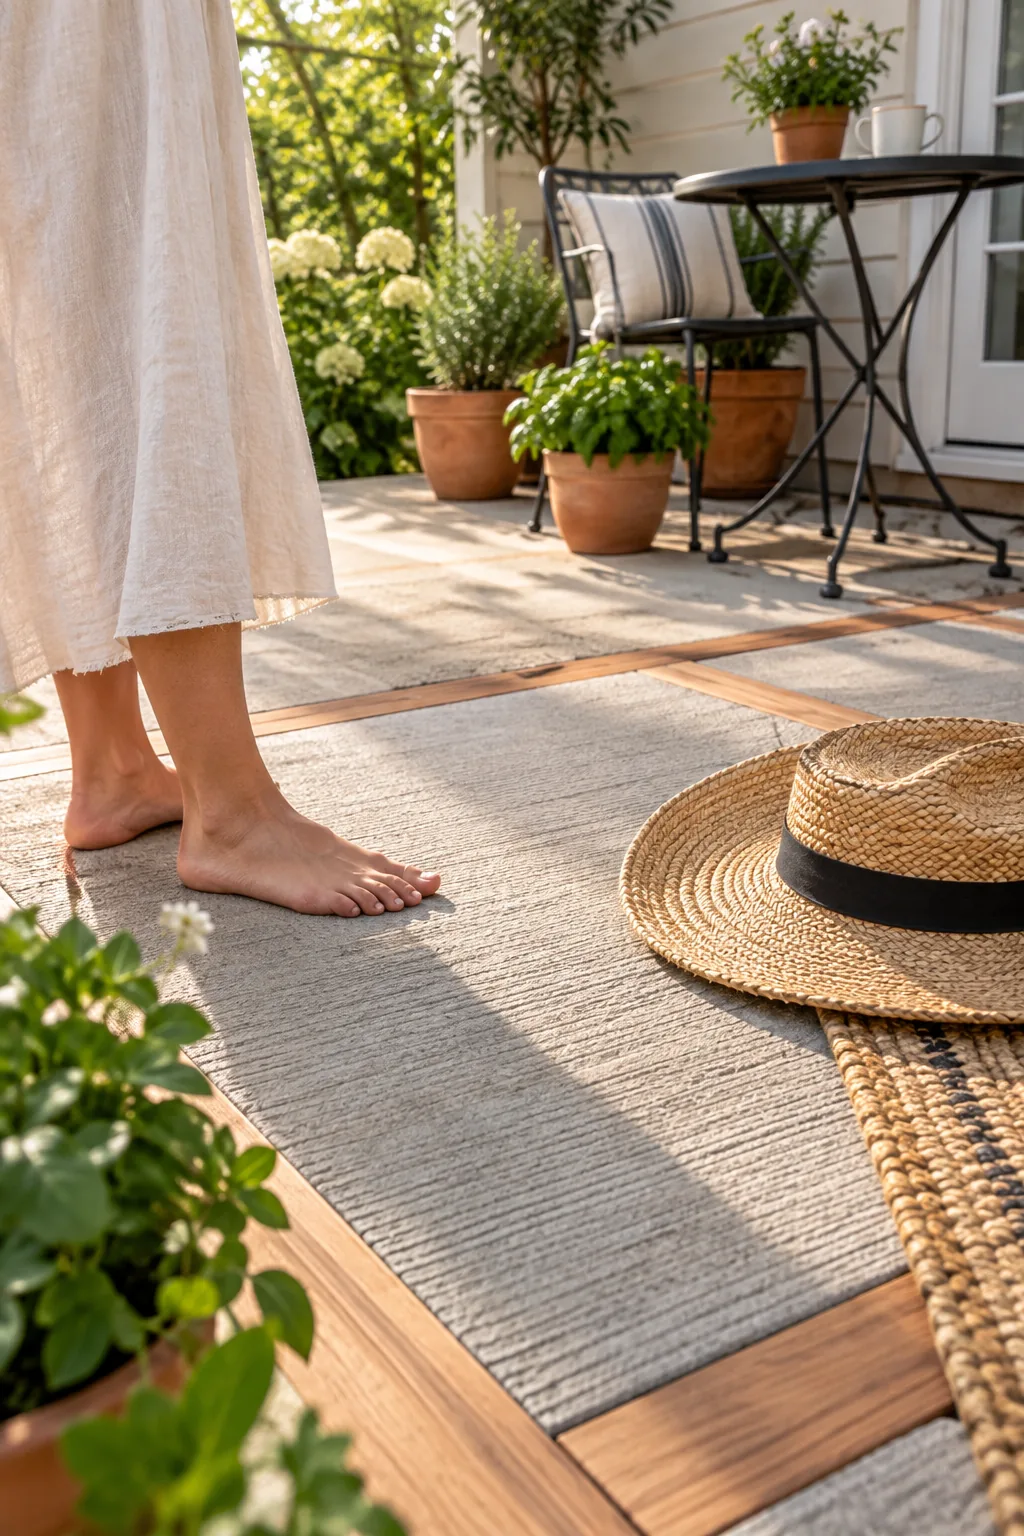
You want a non-slip but gentle surface that is perfectly comfortable for morning coffee. Lightly dragging a fine-bristle push broom across the wet concrete just as it loses its watery sheen creates an ideal, even texture.
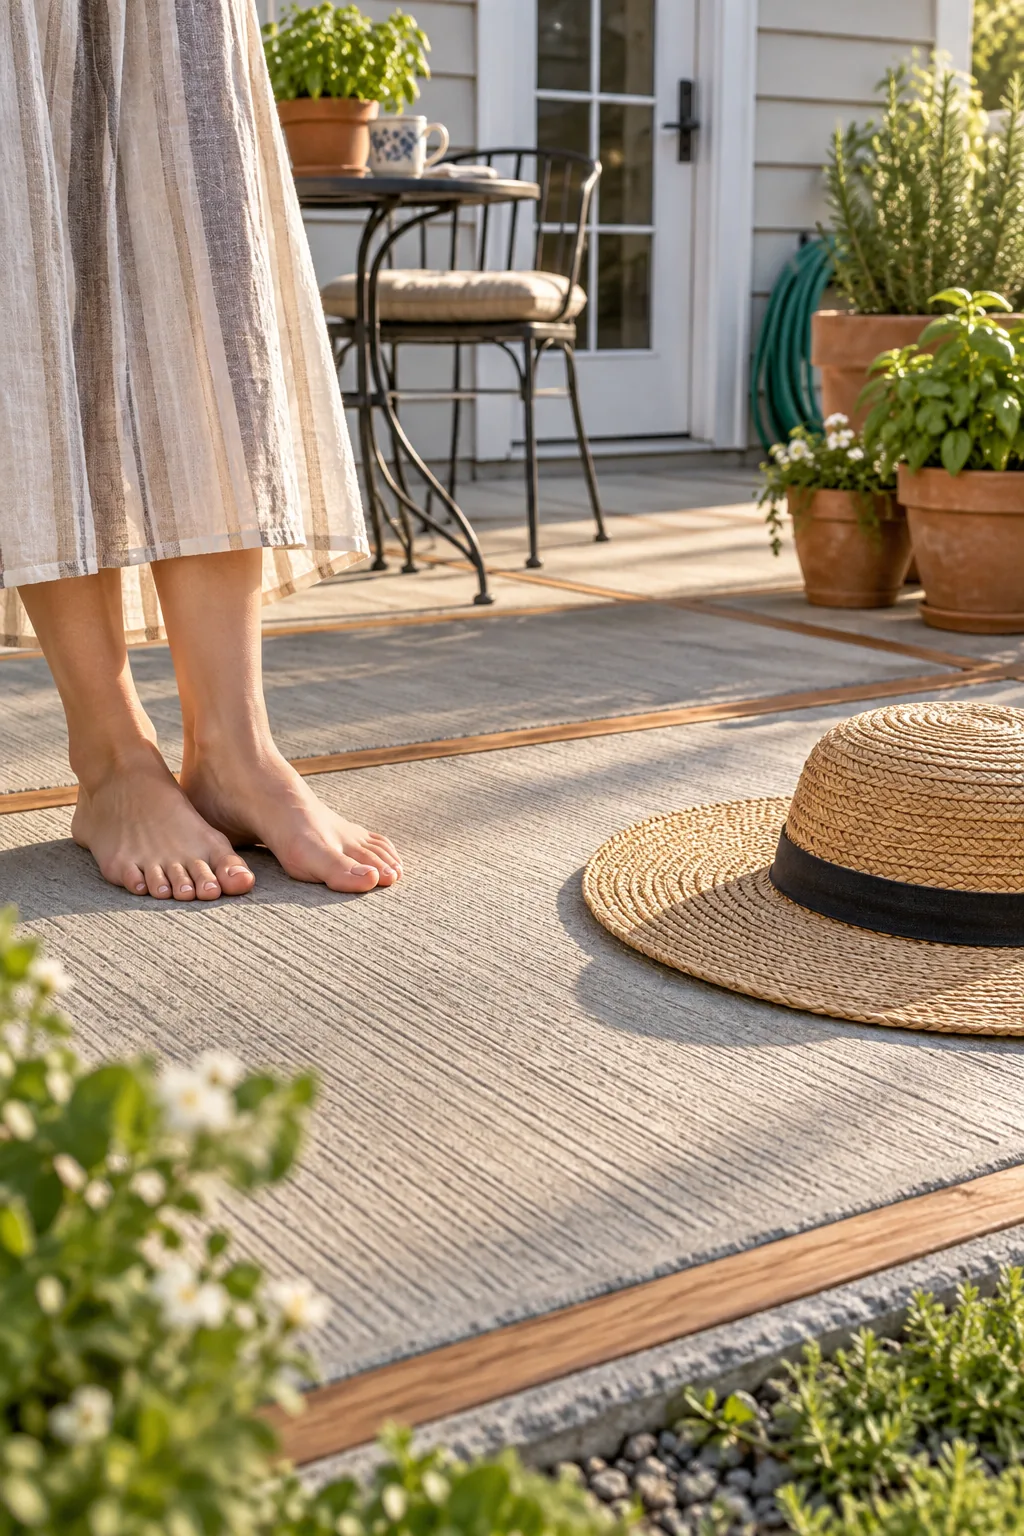
A light touch guarantees excellent outdoor traction without scraping sensitive soles during the summer. After texturing the surface, you must immediately protect the fresh concrete from drying out too quickly in the hot sun.
Tuck It In Wet: The 7-Day Curing Process
Concrete needs to cure slowly under a damp burlap blanket and clear plastic sheeting to reach full strength. Skipping the 7-day wet cure is the fastest way to invite surface cracks, so treat this step as a strict daily routine for the first week.
Sealing the Concrete for Longevity
Waiting a full 30 days allows the fresh slab to release all trapped moisture before you apply a protective finish. Rolling on a penetrating concrete sealer prevents winter freeze damage and keeps accidental barbecue spills from permanently staining your patio.
Managing Joint Expansion
Concrete naturally expands and contracts with wild seasonal temperature swings, which inevitably causes solid slabs to crack. The genius of the permanent cedar grid is that the wood completely absorbs this movement, acting as a built-in buffer that protects your finish.
3 Ways to Style a Concrete Grid Patio
See how different material pairings and landscaping choices can completely change the mood of a poured grid.
Modern Desert Oasis: Tinting the concrete mix a warm sand tone and filling the grid gaps with smooth beach pebbles creates an instant arid retreat.

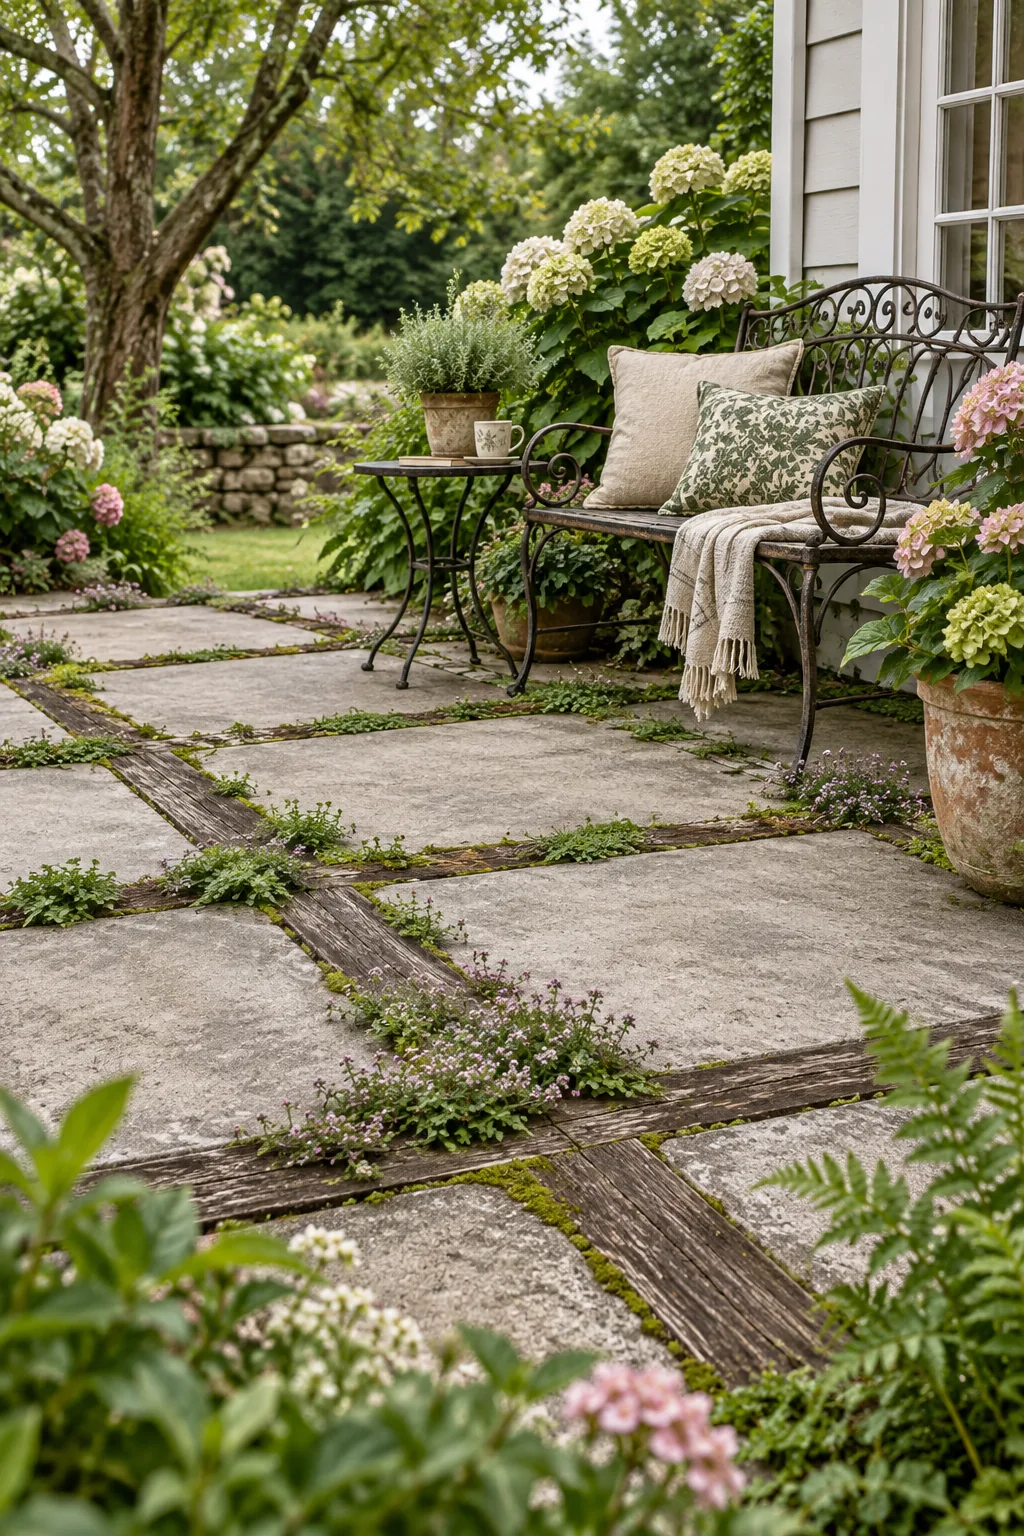
Cottage Garden Path: Using reclaimed wood for the dividers and letting creeping thyme spill over the edges softens the hardscape into a romantic garden feature.
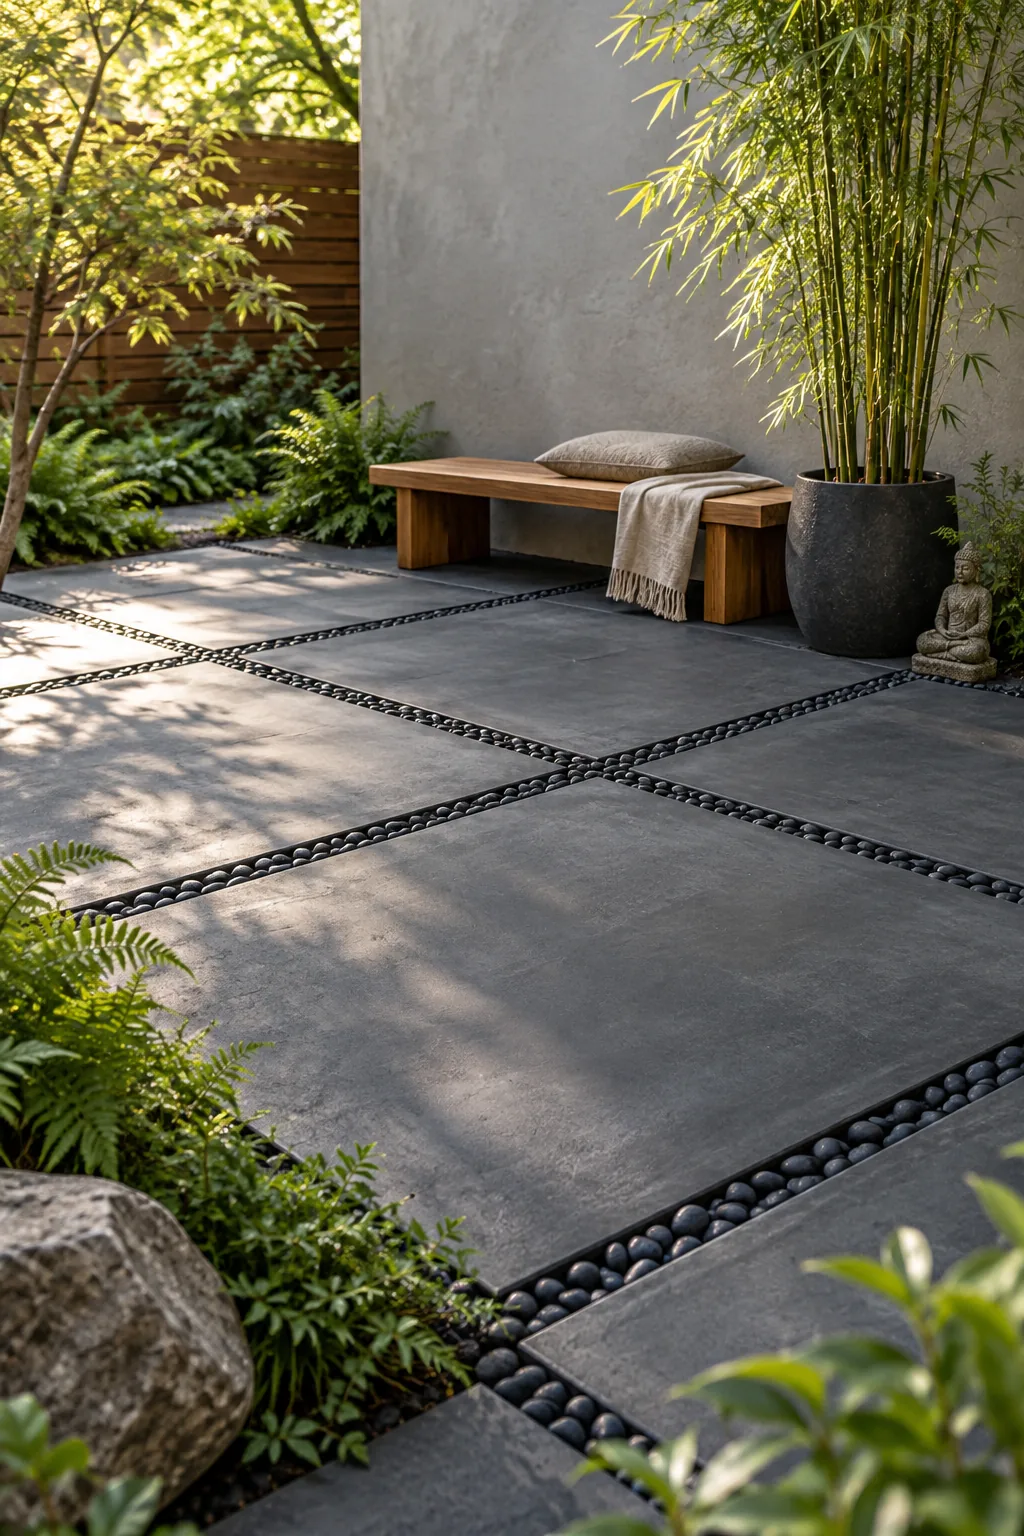
Minimalist Zen Courtyard: A dark charcoal colorant added to the concrete paired with precise black river rock joints delivers striking, moody contrast for a quiet courtyard.
Styling Your Barefoot Morning Patio
Turn your finished concrete grid into a cozy, lived-in backyard retreat by clustering terracotta pots filled with fragrant herbs. Utilizing the warm cedar strips as visual anchors for furniture makes placing a simple bistro set feel incredibly intentional and inviting.
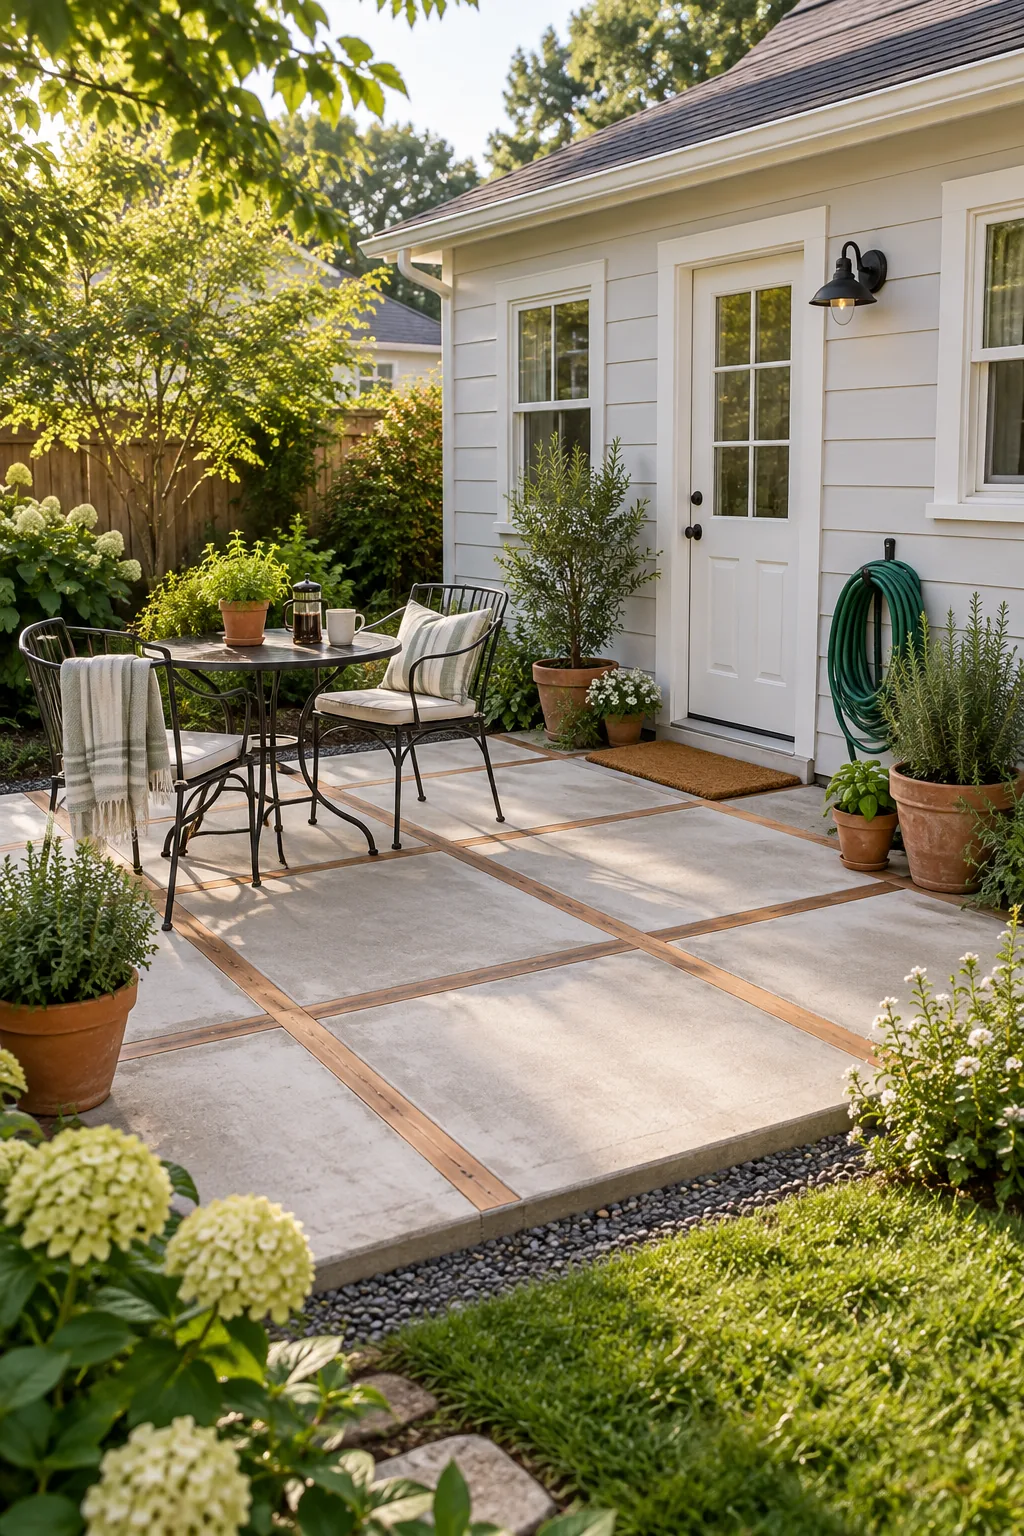
Natural wood dividers beautifully soften the modern industrial feel of the cool concrete squares. Add a few string lights overhead, and your durable budget patio instantly becomes the ultimate destination for slow, relaxing weekend mornings.